Ovarian tissue processing from organ donor
Hannah McDowell, Elizabeth L Tsui, Monica M Laronda
Abstract
Purpose: This protocol is intended to be used for human ovarian tissue processing from organ donors in a research setting. This details initial processing of the female reproductive tract, isolation of the ovary, and preparation of tissue sections for fixation, decellularization, freezing (for protein assays), and cryopreservation (by controlled-rate or slow freezing).
Steps
Ovarian Tissue Processing
Record donor information. This may include: sample ID, location of procurement, date received, age, cause of death, sex, race, ethnicity, infectious disease serologies, weight, height, and body mass index (BMI).
Tissue must be processed within 24 hours of procurement in order to maintain optimal viability and is kept at 2-4°C throughout all processing steps unless otherwise indicated. Additionally, tissue must be kept in appropriate holding media buffered for air, such as OFC Holding Media or Leibovitz-15, and at 2-4°C to prevent the tissue from drying out.
Throughout processing, ensure notation of anatomic location within the ovary consistent with suggested nomenclature as described in these references.
Image anterior and posterior of the whole female reproductive tract (FRT) (uterus, fallopian tubes, and ovaries).


Record the weight of the whole reproductive tract.
Remove each ovary from the FRT by cutting along the hilum. Each ovary is placed in a 60 mm dish and labeled as the left or right ovary according to anatomic position.
Image and record the weight of each isolated ovary.
Bisect each ovary through the hilum (along the long axis) using a straight blade, keeping track of which half is located anatomically superior ("Over") vs. anatomically inferior ("Under").
These regions are named in line with the recently published 3-D regional model of the human ovary described in the following citation.
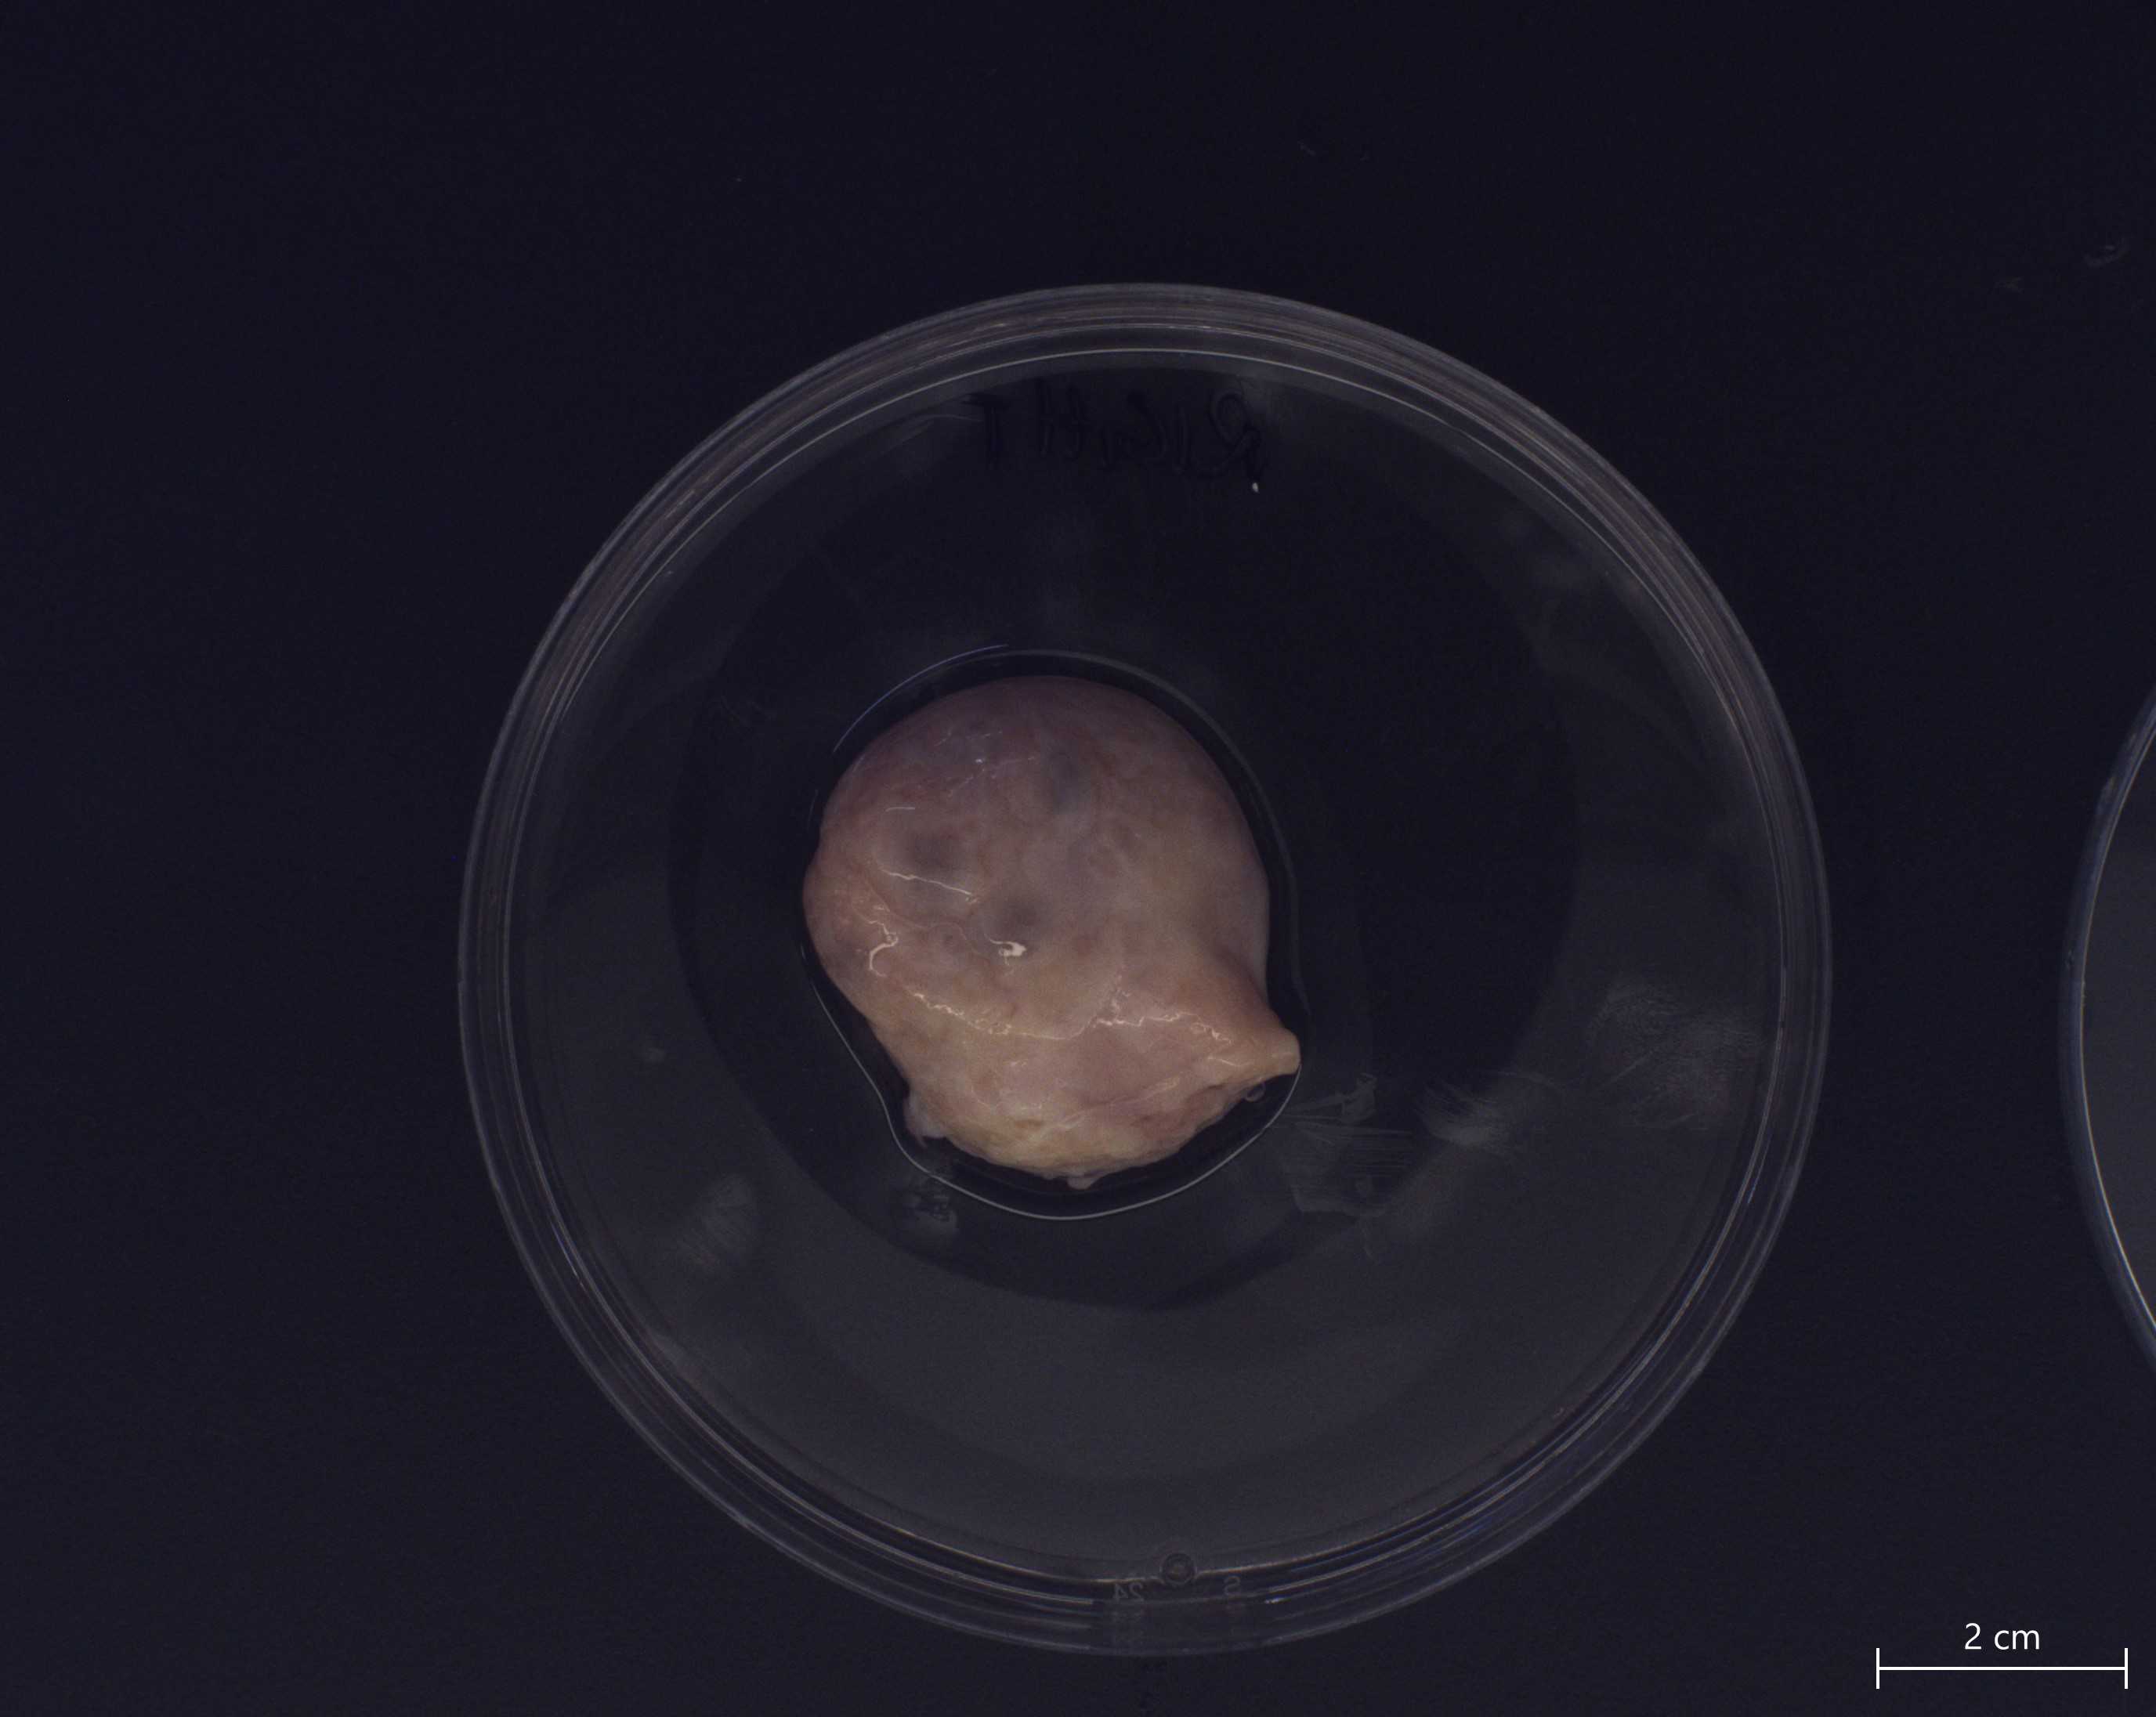
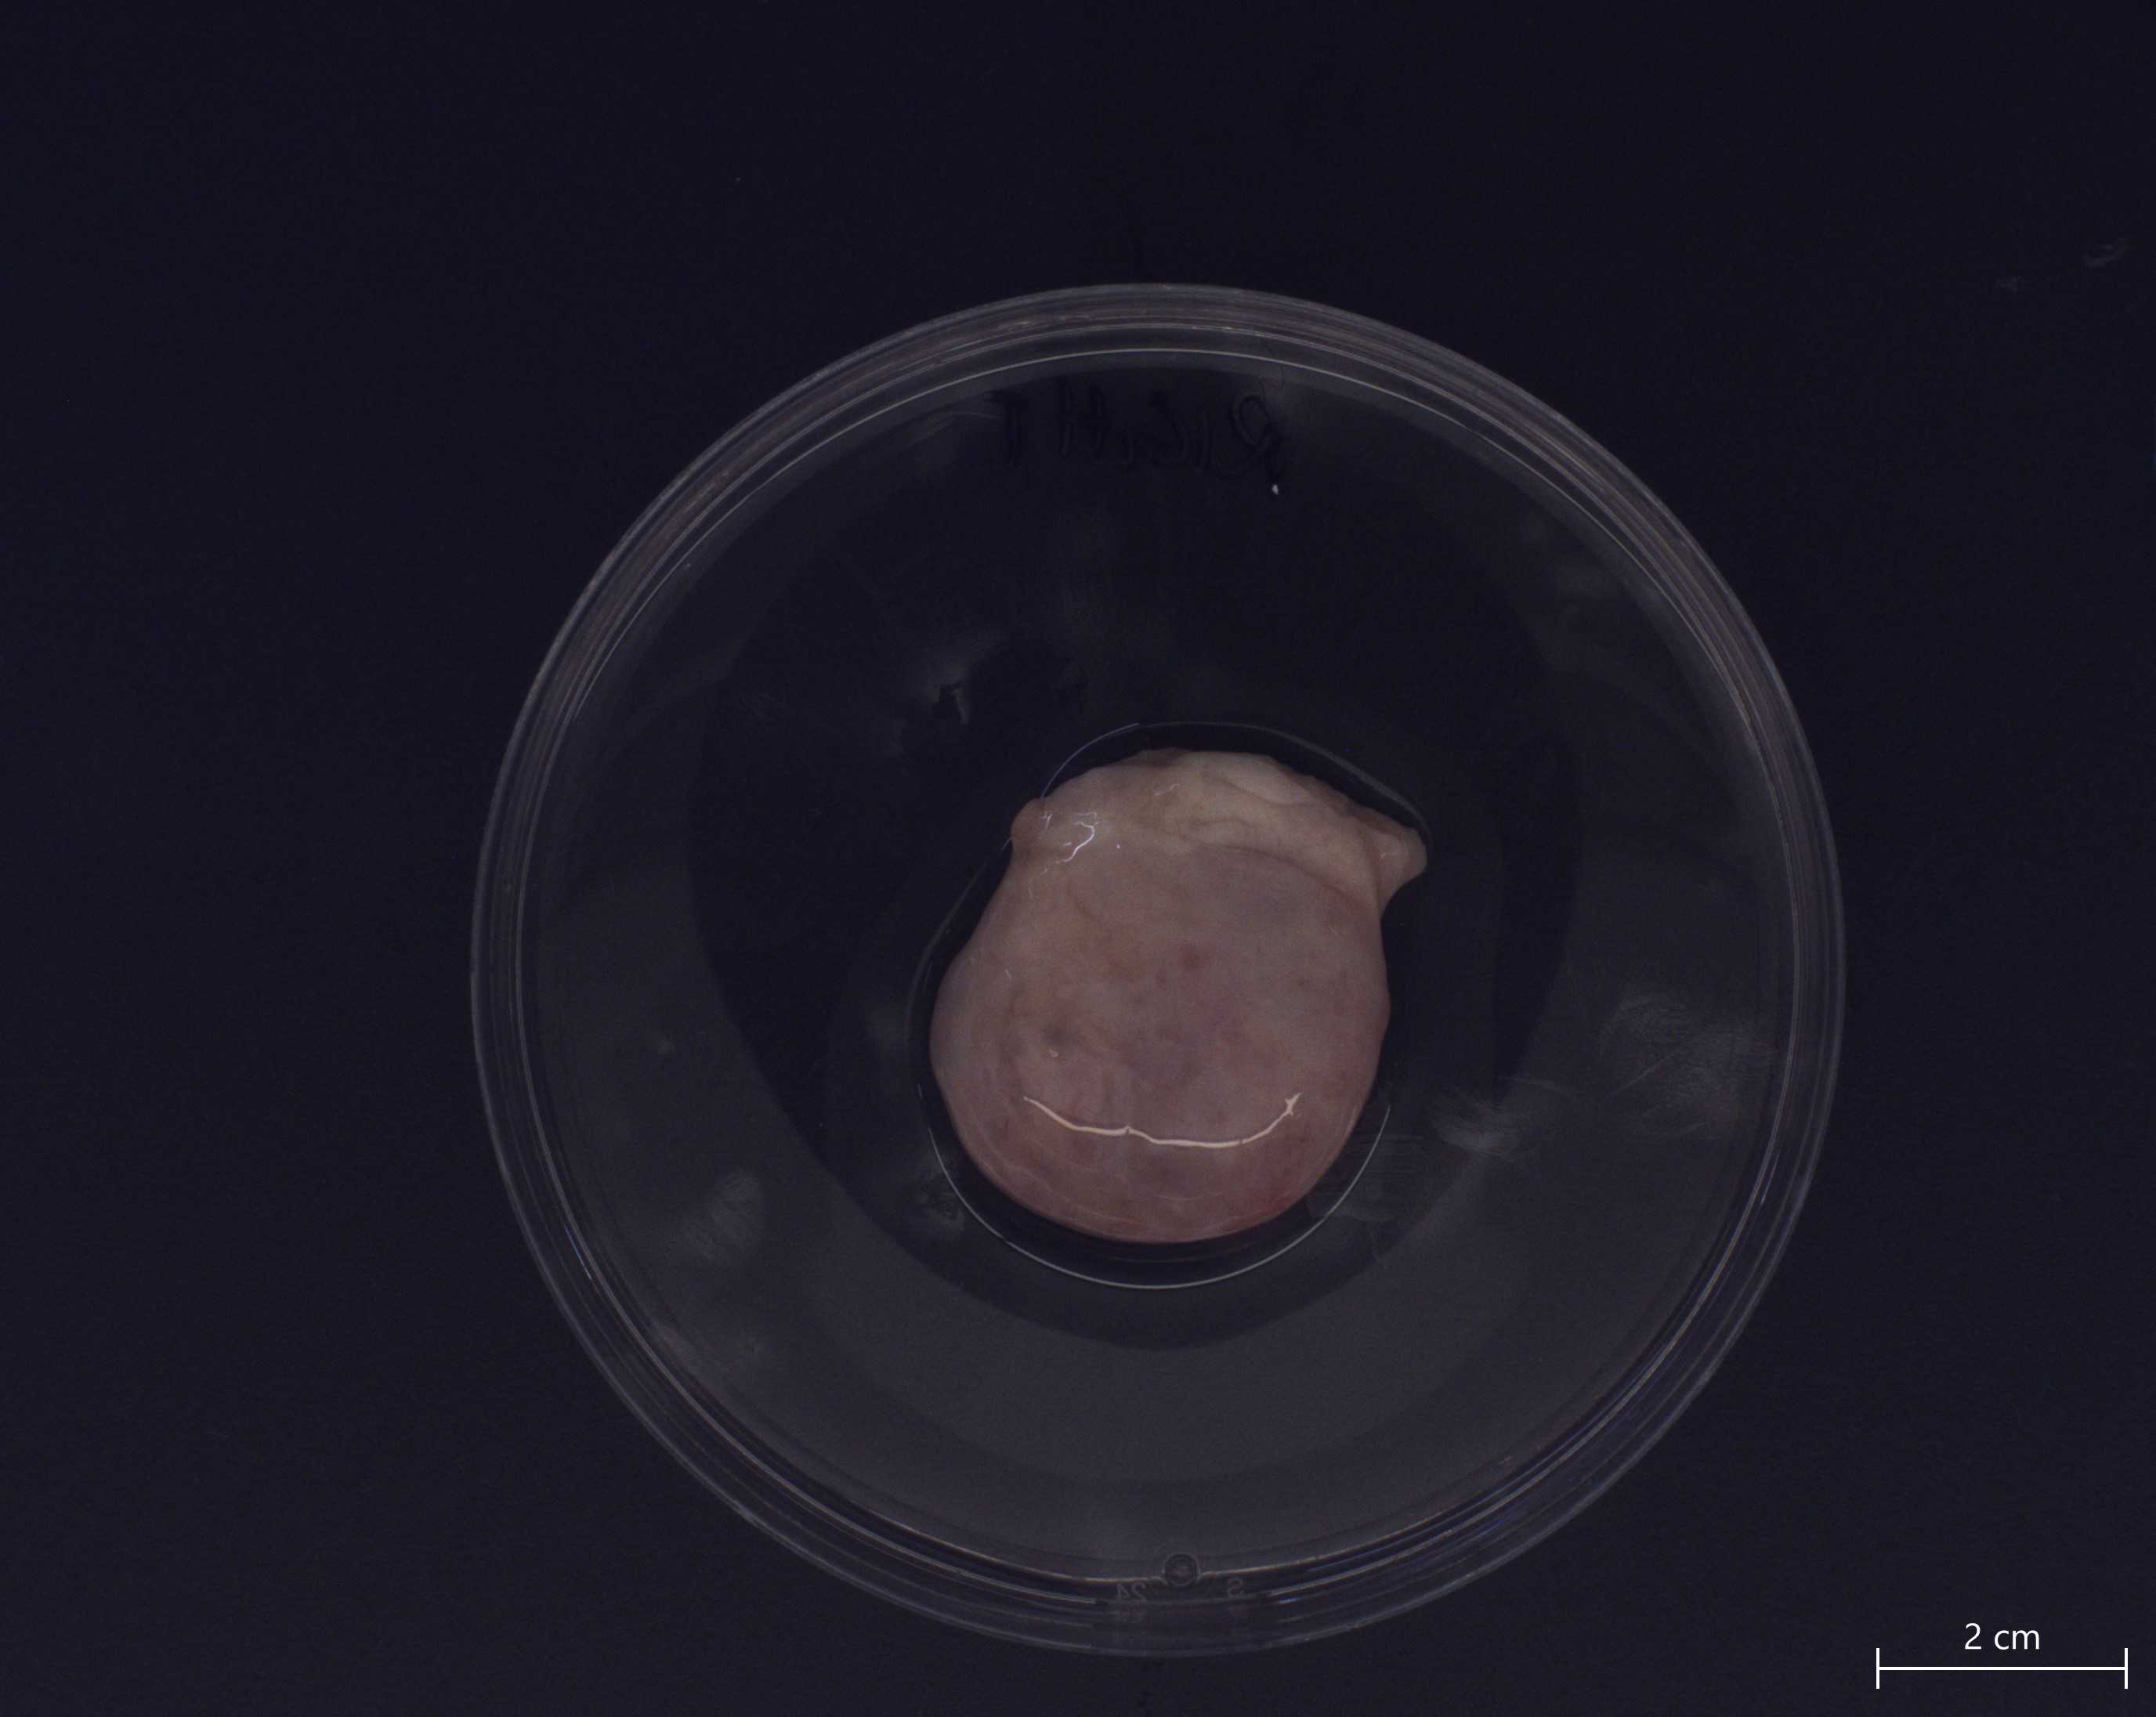
Using the Stadie-Riggs slicer, prepare a 0.5 mm slice of the internal portion of a bisected half to generate a cross-sectional slice of the ovary across its short axis.
Equipment
| Value | Label |
|---|---|
| Stadie-Riggs Tissue Slicer/Microtome Blades | NAME |
| labForce | BRAND |
| 6727C10 | SKU |
Repeat this step with the other ovary to generate a total of two 0.5 mm tissue sections for tissue sections.
If you are proceeding with paraffin-embedded analyses, fix with Modified Davidson's Fixative (MDF).
If you are proceeding with analyses that require frozen sections for Vanderbilt collaborations, please follow the following protocol.
Freezing and Formalin Fixation of Tissue

For MDF-fixed sections: after fixation in MDF overnight (< 24 hours), remove fixative and dehydrate tissue by washing in increasing amounts of histology grade ethanol. Begin at 50% ethanol (repeat 2x), then 60% ethanol (repeat 2x), and finally 70% ethanol. Package tissue into histology cassettes and store cassettes submerged in 70% ethanol at 4°C until processed and embedded in paraffin by histology core.
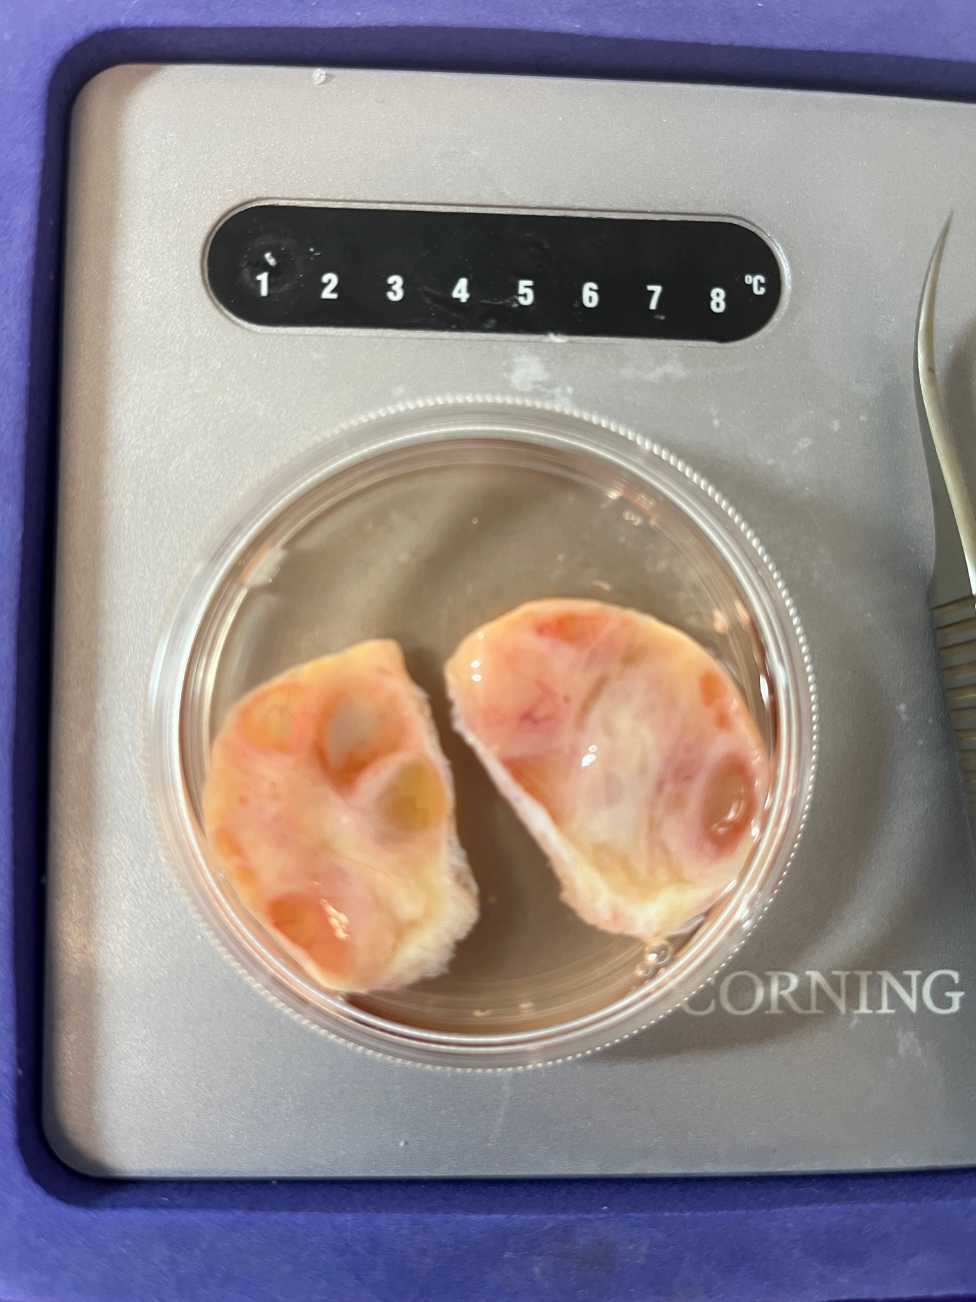
Return to the bisected halves (over and under portions) and cut along the central pole to generate two quarter spheres (representing lateral and medial regions) per bisected half.
<img src="https://static.yanyin.tech/literature_test/protocol_io_true/protocols.io.8epv5jp4dl1b/central%20cut%201.png" alt="Bisected "Over" portion" loading="lazy" title="Bisected "Over" portion"/>
<img src="https://static.yanyin.tech/literature_test/protocol_io_true/protocols.io.8epv5jp4dl1b/central%20cut.png" alt="Bisected "Under" portion" loading="lazy" title="Bisected "Under" portion"/>
Generate tissue sections for decellularization. decellularization.
With the lateral under portion from each ovary, use the Stadie-Riggs slicer to generate 0.5 mm sections.
Place each section into a labeled 15mL conical, noting anatomic location within the ovary. For example, the first 0.5 mm slice (most superficial) taken from the left ovary is labeled: Left Under, Lateral dECM-1.
Add the appropriate volume (10-20 x tissue volume) of 0.1% SDS to each conical and allow to nutate at 4°C for 48 hours to decellularize. Replace SDS solution within the 48 hour incubation, if cloudy.
 corresponding to the 0.5mm slice - 2.0mm slice")
Following incubation in 0.1% SDS solution, rinse decellularized samples in double distilled water for two minutes. Repeat 3 times total and proceed to downstream applications or store at -80°C .
Generating banked tissue sections for slow freeze/cryopreservation. banked tissue sections for slow freeze/cryopreservation .
With the medial under portion of the ovary, slice coronally into sections no larger than 5 mm in any dimension to allow for adequate penetration of cryoprotectant. A typical section is usually 4 mm x 2 mm x existing depth.
Note anatomic location as described above and proceed with cryopreservation protocol.
Slow freeze (cryopreservation) protocol for human ovarian tissue
Generating tissue sections for protein analysis (flash freeze). protein analysis (flash freeze) .
With the lateral over portion of the ovary, use the Stadie Riggs slicer to generate 0.5mm slices from the ovarian surface epithelium to the medulla.
Place into labeled 1.5 mL eppendorf tubes, noting anatomic position as described above.
When complete, place tubes in liquid nitrogen until frozen. Once frozen, transfer to -80°C .
Generating slow frozen tissue sections for downstream RNAseq. slow frozen tissue sections for downstream RNAseq .
Using the medial over portion of the ovary, divide the quarter sphere into mesenteric (closest to hilum) and antimesenteric portions. For both mesenteric and antimesenteric pieces, slice the tissue coronally into sections no larger than 5 mm in any dimension to allow for adequate penetration of cryoprotectant. A typical section is 2 mm x 2 mm x existing depth.
Note anatomic location ( make sure to include mesenteric vs. antimesenteric information ) and proceed with cryopreservation protocol.
Slow freeze (cryopreservation) protocol for human ovarian tissue
Overall Protocol Schematic

