Sectioning of Mouse Brain by Cryostat
Maryana Nissan
Disclaimer
DISCLAIMER – FOR INFORMATIONAL PURPOSES ONLY; USE AT YOUR OWN RISK
The protocol content here is for informational purposes only and does not constitute legal, medical, clinical, or safety advice, or otherwise; content added to protocols.io is not peer reviewed and may not have undergone a formal approval of any kind. Information presented in this protocol should not substitute for independent professional judgment, advice, diagnosis, or treatment. Any action you take or refrain from taking using or relying upon the information presented here is strictly at your own risk. You agree that neither the Company nor any of the authors, contributors, administrators, or anyone else associated with protocols.io, can be held responsible for your use of the information contained in or linked to this protocol or any of our Sites/Apps and Services.
Abstract
This protocol describes how to use the cryostat to prepare and slice mouse brain sections for Immunohistochemistry
Steps
Preparation Methods
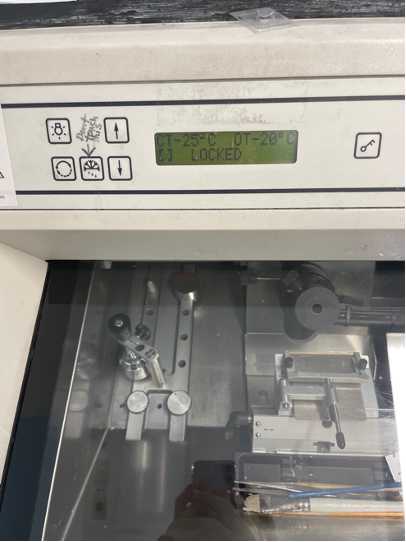
After removing the brain from -80C storage, leave the brain on dry ice for 15-20 minutes. This will ensure there is not a big temperature difference when it is placed in the chamber of the cryostat. The cryostat my lab uses is Leica, model CM-30505.
Label microscope slides. For embryonic brains, you will need between 8 to 10 slides. For early post-natal brains, you will need up to 10 slides and for adult brains, you will need 13-15 slides.
When the temperatures of the cryostat are set, begin mounting the brain.
Place a disposable base mold [Fisher brand, CAT# 22-038-272] on the stand.
Fill half of the plate with embedding media
Gently transfer brain from dry ice to the center of the plate, securing it. Make sure to place it in the orientation you’d like.
Fill up the rest of the plate with embedding media. Note, when the embedding media freezes, it will turn white. This will make it difficult to tell the orientation of the brain. To prevent this, label the orientation of the brain on the plate.
Place the plate under the cold press and press it to cool. Leave the press on the plate for 2-5 minutes.
Lift the cold press, releasing the plate
Remove the block from the plate. Now, you will have a frozen block.
Place the block on the concentric circle, and secure it with more embedding media
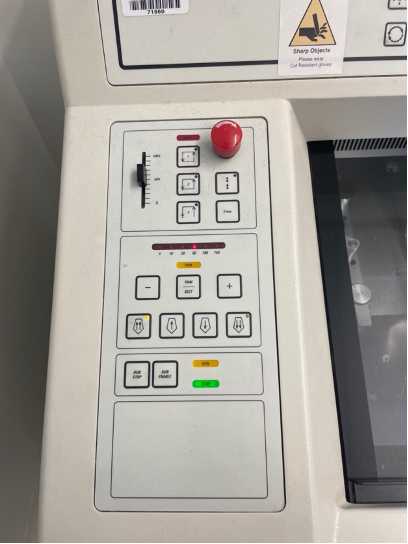
Prior to slicing, double check the settings. Make sure you have the correct thickness
Slicing Methods
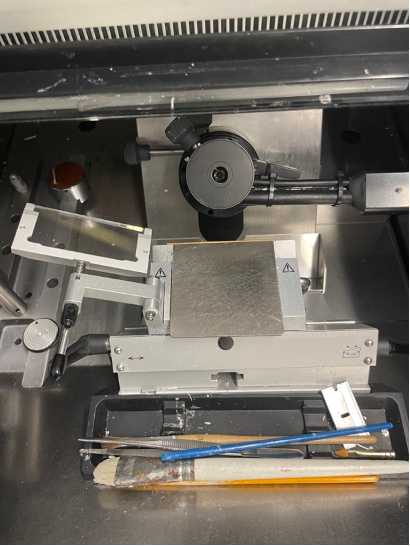
Adjust the settings of the stand as needed to ensure that the blade is slicing full sections of the brain
Let the cryostat section the brain and occasionally stop it by double pressing “RUN STOP” and “RUN ENABLE” to brush off the embedding media on the stand
Stop the automated settings when you notice the cryostat has reached the brain. Begin manually collecting the brain sections.
Carefully mount each brain section onto a microscope slide by slightly tilting the slide over the brain section and pressing down. Be careful to not break the section, press down gently to lift the brain section.
Continue collecting sections until you have sliced the entirety of the brain
Store slides at -80C


