S3: Step-by-step-guide using Blender in the work flow.
Paul Kalke, Conrad Helm
Abstract
Step-by-step-guide how to use Blender to analyse and visualize your segmented structures, for example exporting it as a video as mp4-file.
Steps
Moving in Blender and Hotkeys --> https://www.youtube.com/watch?v=TPrnSACiTJ4
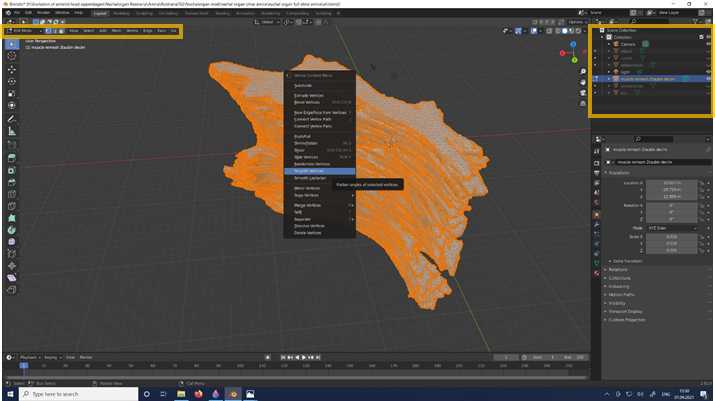
•to manipulate objects properly close all objects instead of one in the Scene Collection on the top right window
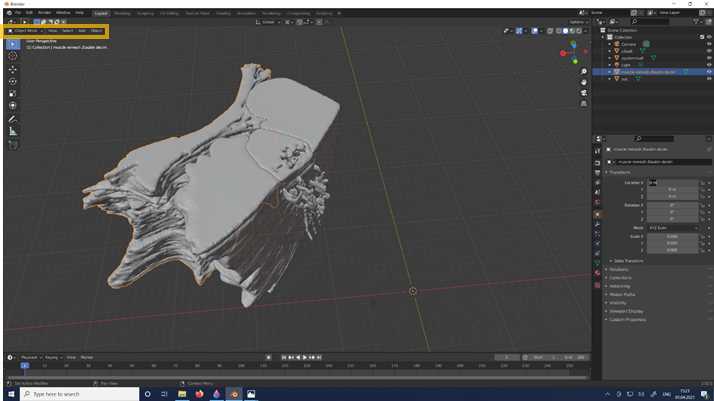
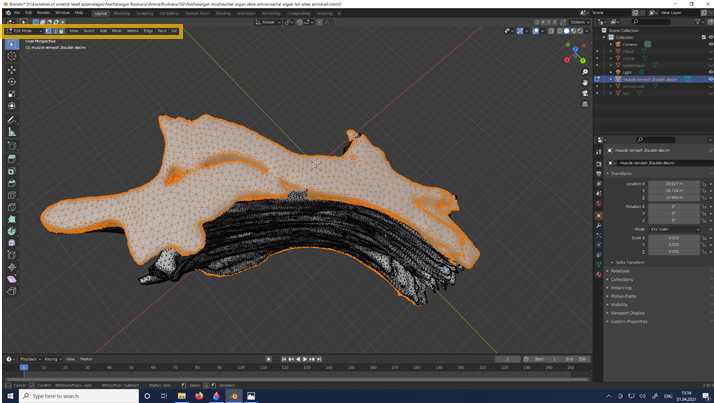
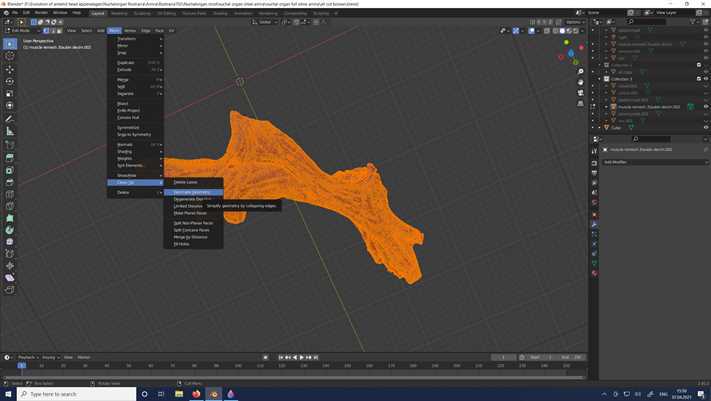
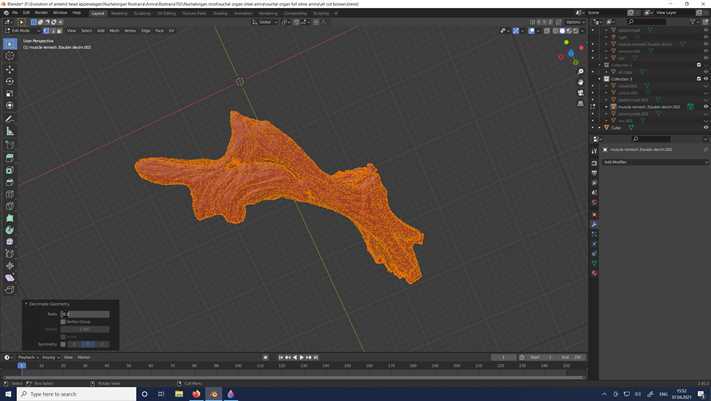
•if you want to smooth your whole object change from Object Mode to the Edit Mode (top left corner) and Select all – HotKey: A
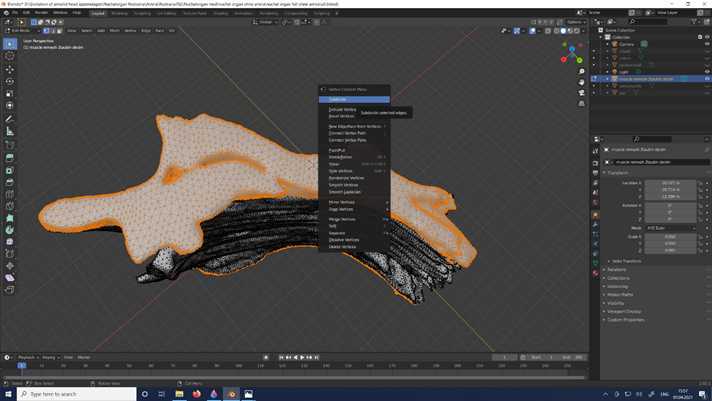
•Right mouse button (r mb) – Smooth Vertices , this can be repeated multiple times
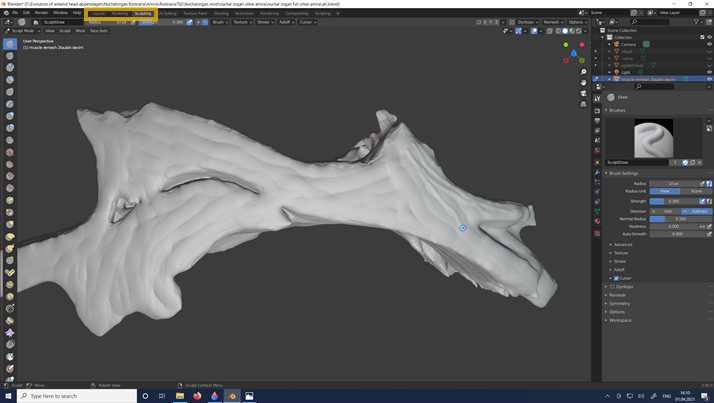
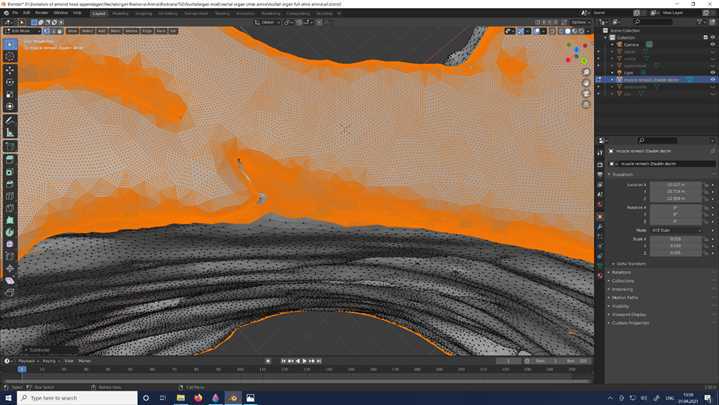
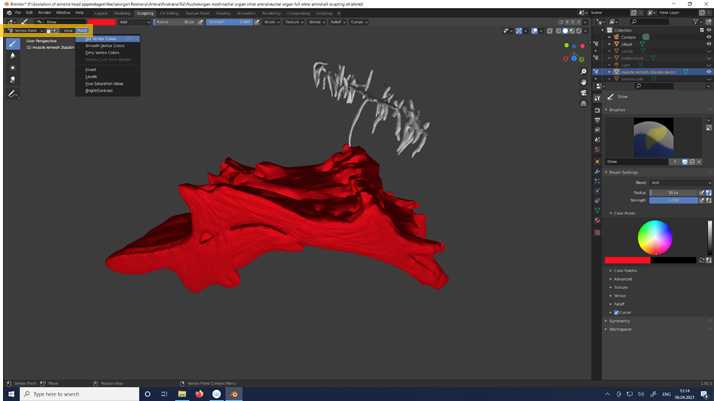
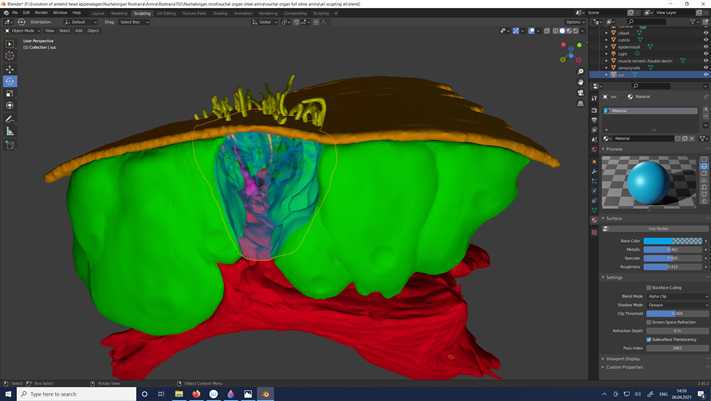
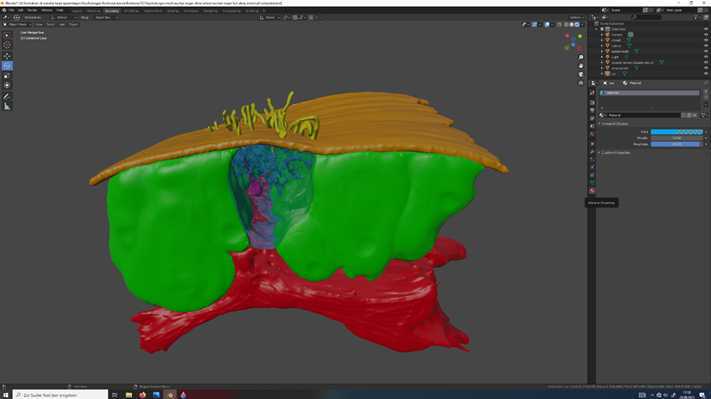
•Change from Layout to Sculpting to give your surface the structure you want:
-In this case we exemplarily used the original data as a template and added muscle fibers
•If you want to cut your objects later check for overlapping surfaces --> it might be difficult to make bigger adjustments later (see Boolean Modifier , Cutting)
--> Also see: https://www.youtube.com/watch?v=VYuUlQO-kYE
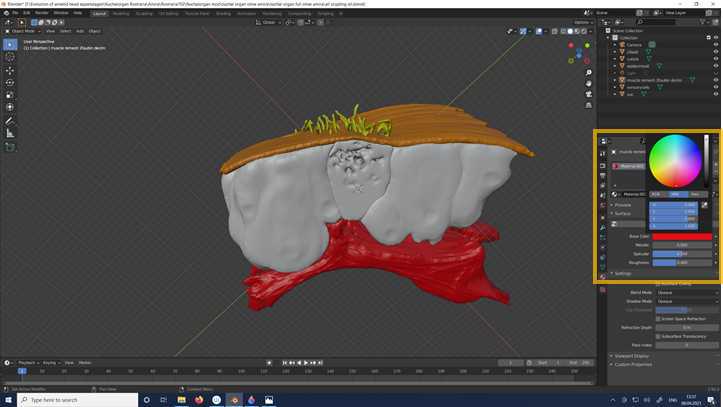
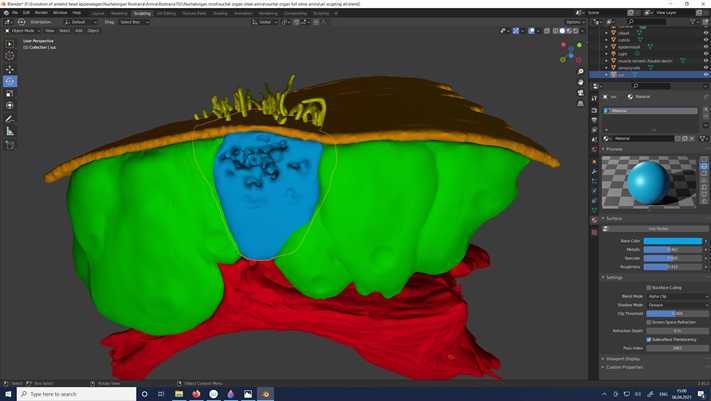
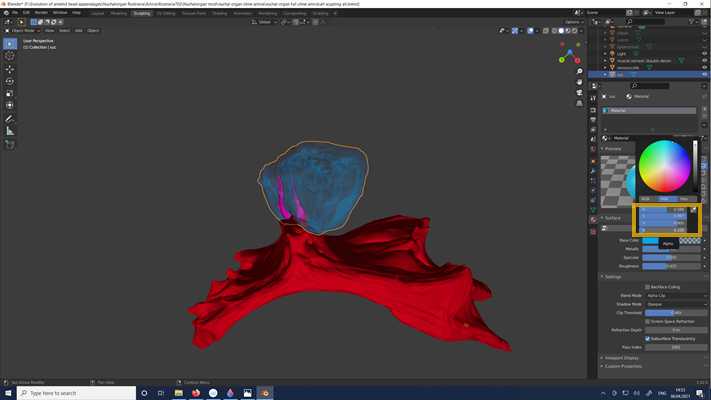
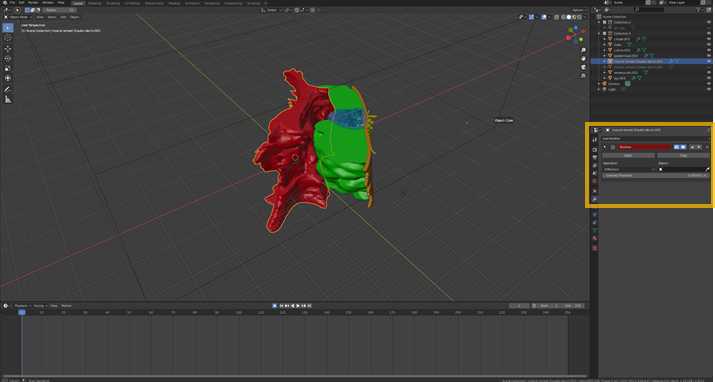
•If you like to colouryour objects in consistent colours change to Object Mode and choose your respective colour under Material properties
•Don´t use Use Nodes for that ( Workbench )
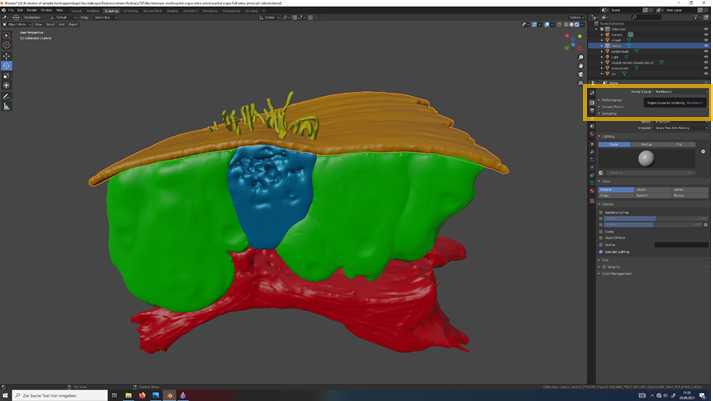
•If you use Workbench as Render Engine the coloration will be kept that way
•If you want to use Eevee or Cycles you have a lot more to configure
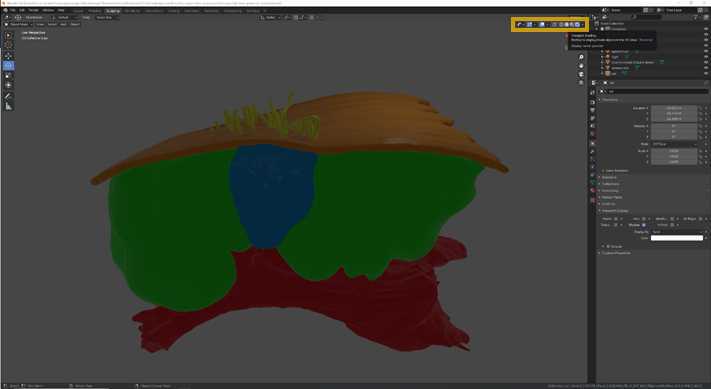
•You can check the appearance of your objects in the Render by choosing the Viewport Shading (left to the Scene collection)- Display render preview
•Now our structure of interest (here the nuchal organ) is coloured, sculptured and ready for animation
-In this example we used modifications of what we think this workflow should provide
--> Finally we want to show how to do a rotating video of the nuchal organ of
Paramphinome sp.--> In this video we want to show the entire nuchal organ and a cutted version of it, to get abetter view of the internal morphology
--> Therefore we have to arrange the scene
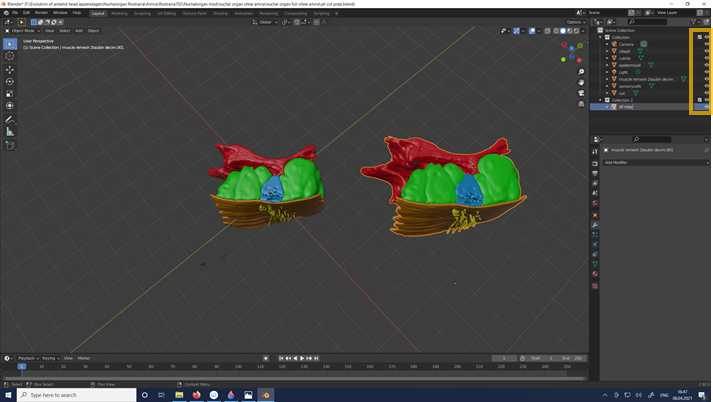
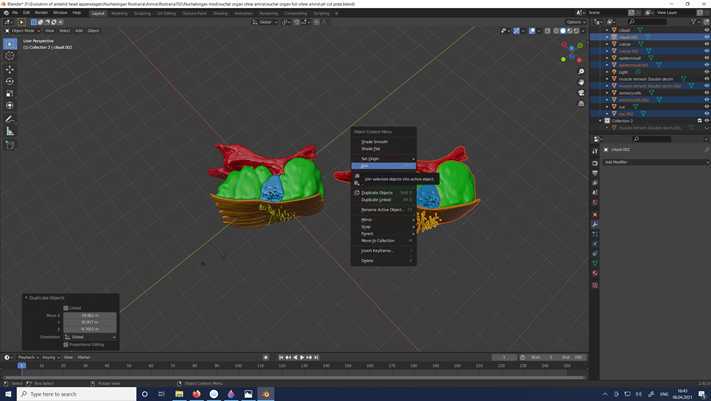
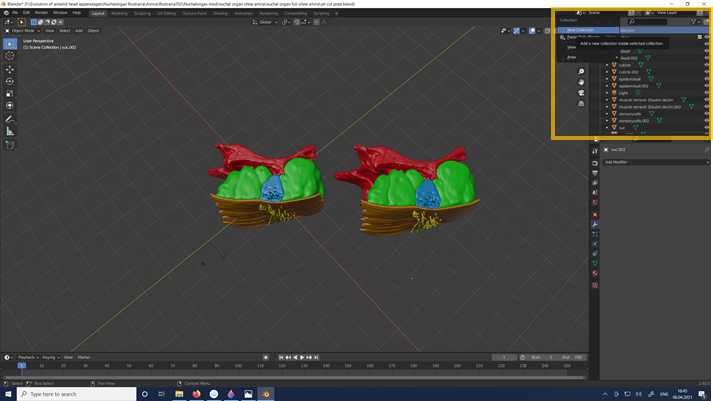
•Rename your joined objects inside the new collection (Collection 2)
•For the recording we put the joined and the unjoined (later cut) version of the nuchal organ at the exact same position
•You can make each Collection or object visible or invisible by checking or unchecking the eye button in the Scene Collection
--> For the next step, the cutting of the nuchal organ in half it might be helpful to do the following steps as a preparation
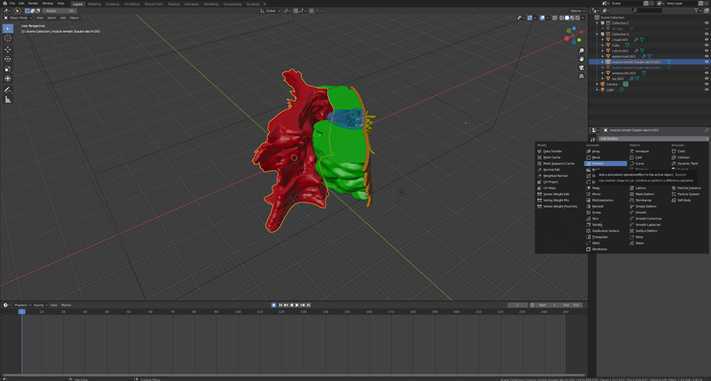
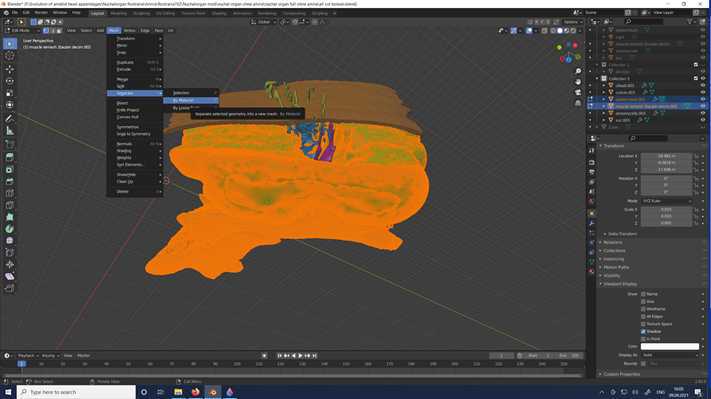
•In Edit Mode select two meshes and go to Mesh-Separate-By Material
--> You can repeat it for all meshes or just select all of them in ones, but it makes it slightly more chaotic
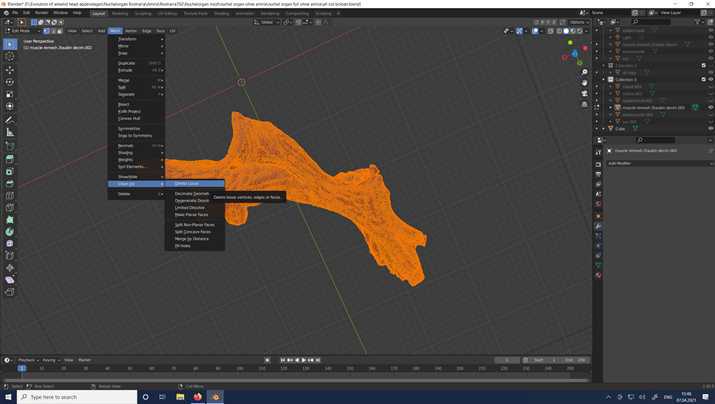
•If you choose …-by Loose Parts all not connected parts of your mesh will be listed seperately in the Scene Collection , an easy way to get rid of loose parts/vertices or faces in your objects/meshes
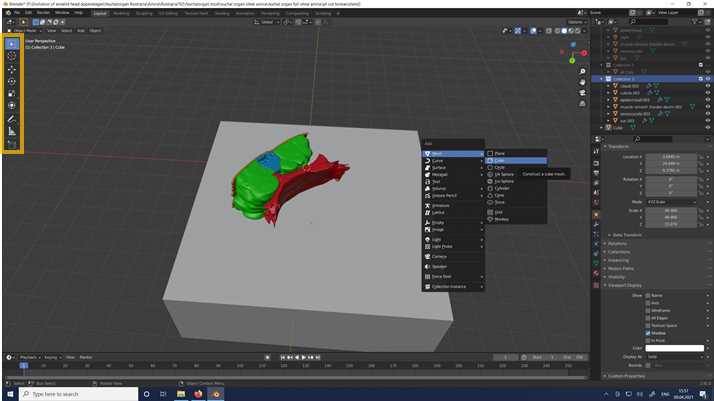
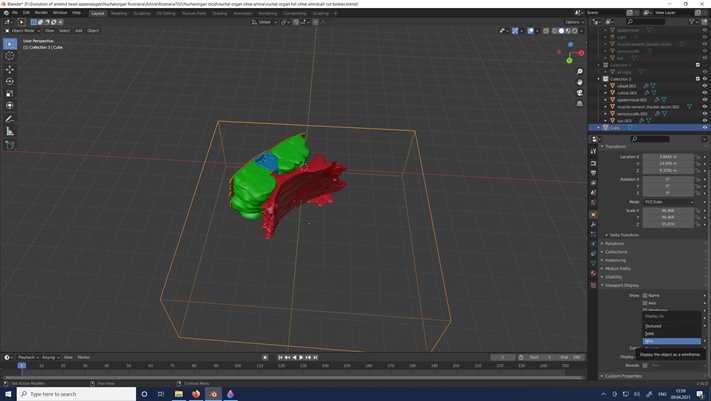
•In Object Mode go to – Mesh-Cube or Hotkey: shift+A and create a cube
•Scale the cube by click on the left vertical bar Scale , pull the green, blue or red handle as you need it or Hotkey: S+X,Yor Z and move the mouse
-->The cube should be thicker than the half of the object you want to cut and longer and wider than the whole object, we will use the cube to define the area of your object which will get cut
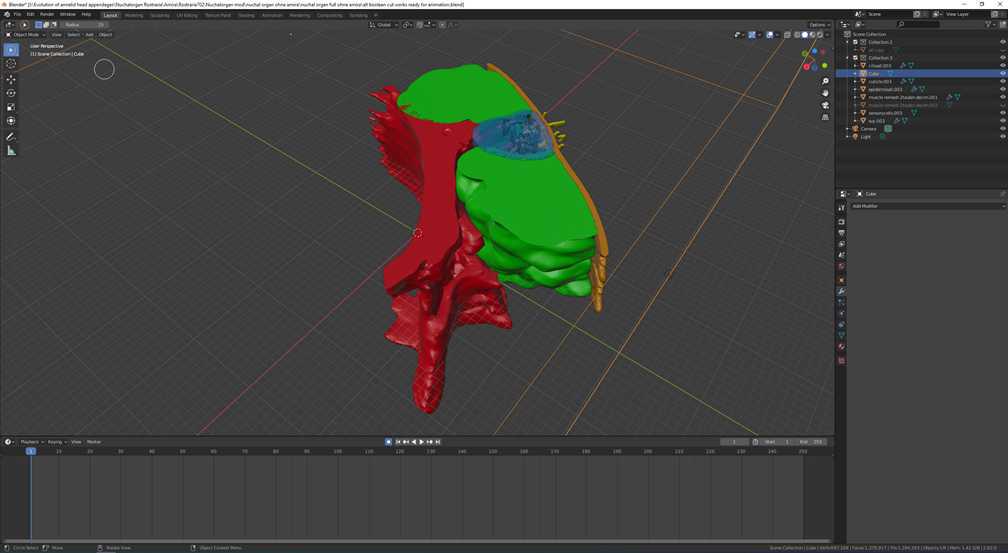
•After repeating it for all objects which are part of you animation it looks like shown
•If it does not work for the Z-plane you want to cut, try to move the cube in Z-direction
•If your computer gets too slow, delete the modifier, move the cube and start again
•At the boarders of the different objects you see artefacts because of surfaces overlaps
•You can select one of the overlapping surfaces and go to Edit Mode-Mesh-Transform-e.g. Shrink/Fatten,
•..-Push/Pull and other operators to reduce the area of overlap
--> Or check during the Sculpting that you do not have overlapping surface where you want to cut later
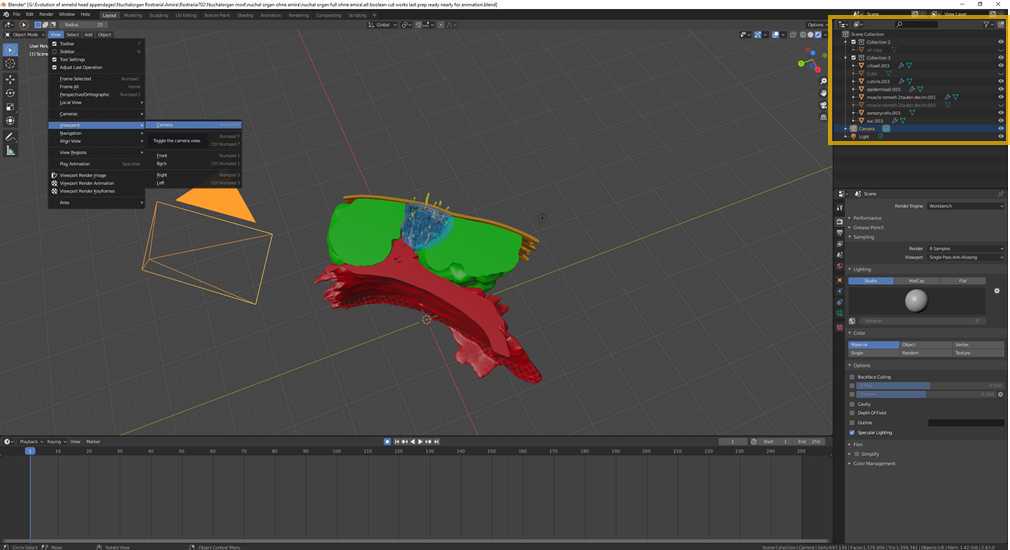
•Now it is time to plan your video or image render
•First go to Object Mode and select View-Viewport-Camera or just click on the Camera in the Scene Collection or Hotkey: numpad0 to have the camera view
•You can move the camera like all other objects under Object Properties or use the Hotkeys after selecting the camera:
-G- moving with the courser
-G+X,Y, and Z- to move it along the x-,y- or z-axis
--> The easiest way to arrange your camera at the starting point you want to is to use your actual view as a template for the camera:
•choose the perfect view
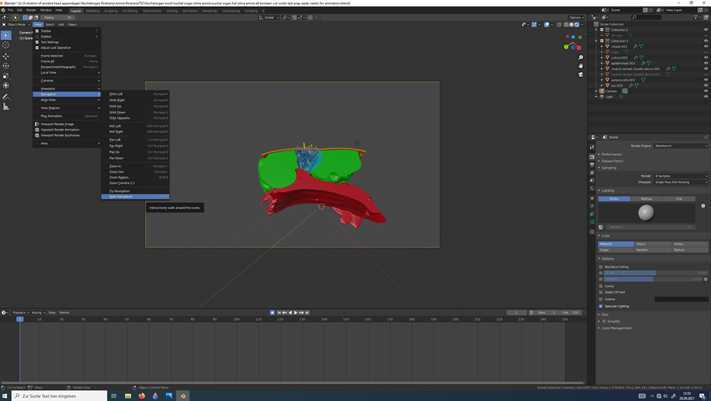
•go to View-Align View-Align Active Camera to View or Hotkey: Ctrl + Alt + numpad 0
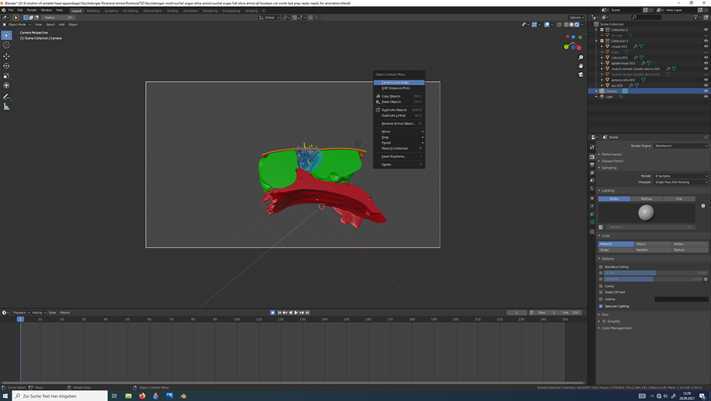
•A very powerful tool in Blender is the Walk Navigation to create animations fast
--> Also see: https://www.youtube.com/watch?v=a7qyW1G350g
•Go to View-Navigation-Walk Navigation , you can create an own Hotkey: e.g. shift+F by r mb on Walk Navigation
--> Also see: camera paths …
https://www.youtube.com/watch?v=n2rwiz5gBnk&t=0shttps://www.youtube.com/watch?v=1byaQygtcpc
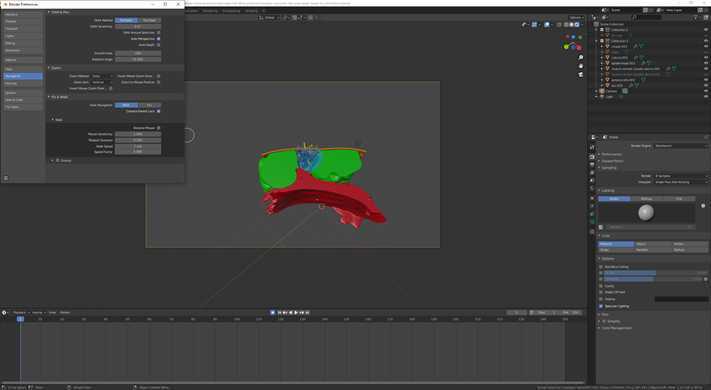
•Now change the parameters for your individual project for the Walk Navigation by clicking on Edit (main toolbar)-Preferences-Navigation-Fly&Walk-Walk and play around what is suitable for you
--> e.g. do a 360° round around your object
--> later we will smooth the camera movements, at the current state the movements are still pretty wobbly or juddery
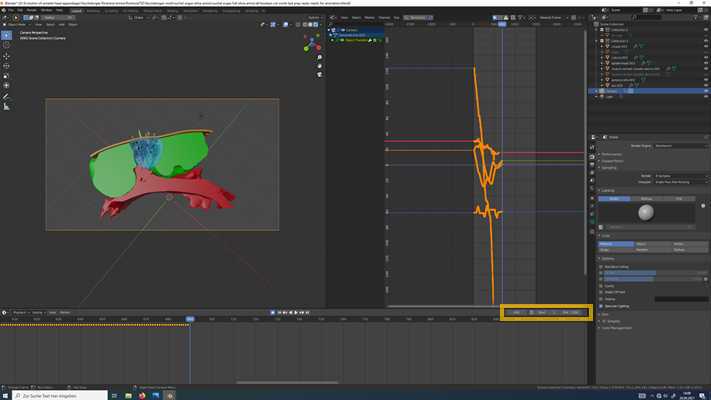
•ready to start your first recording
•activate Auto Keying the dot symbol in the Time Line
•press SPACE bar to start the recording, use the Hotkey (e.g. shift+F) to activate the Walk Navigation and move around your object
•start with a 360° circle around your structure
•l mb to stop the Walk Navigation and space bar for stopping the recording
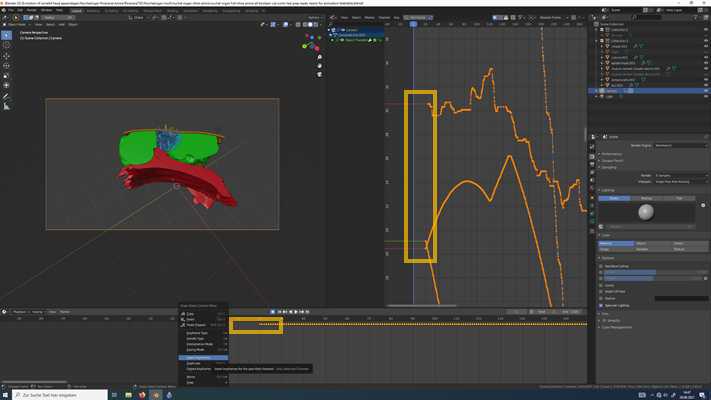
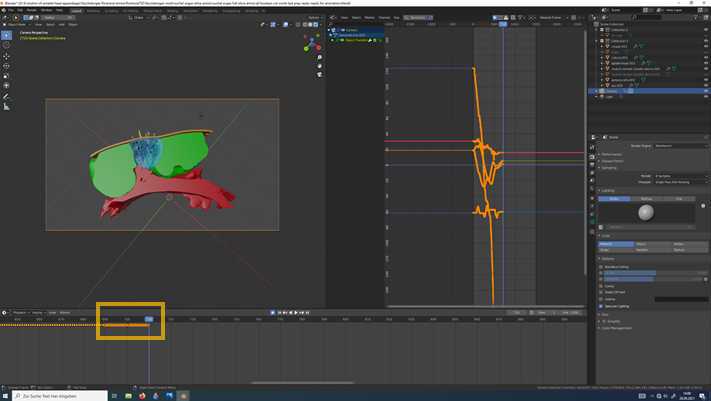
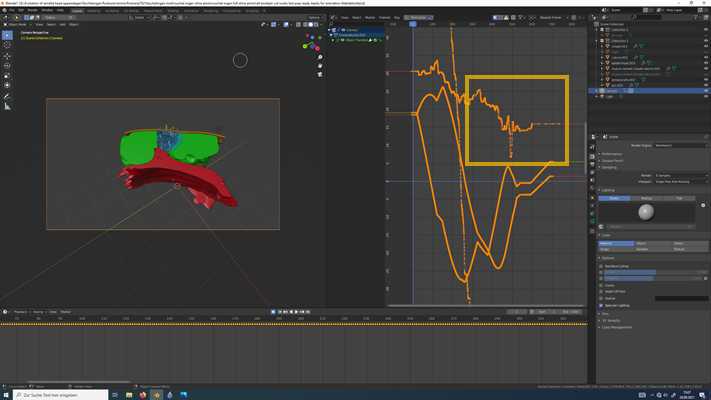
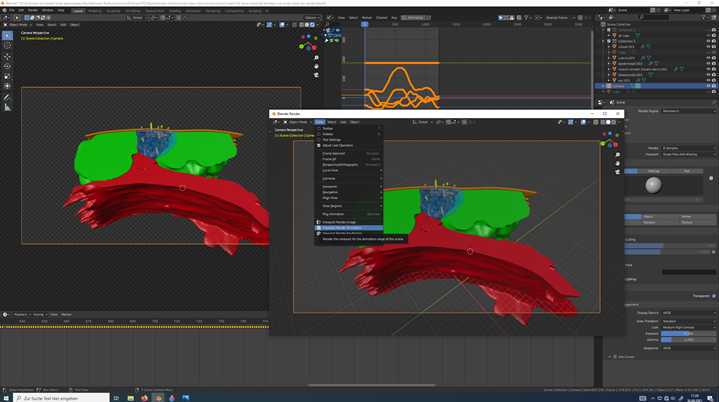
•now you see Keyframes in the Time Line and the Graph Editor
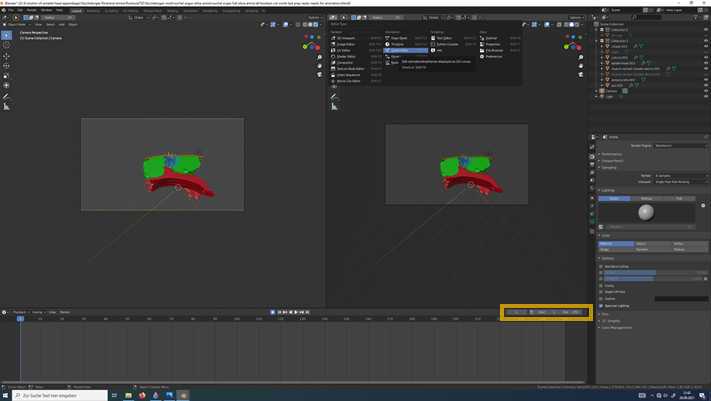
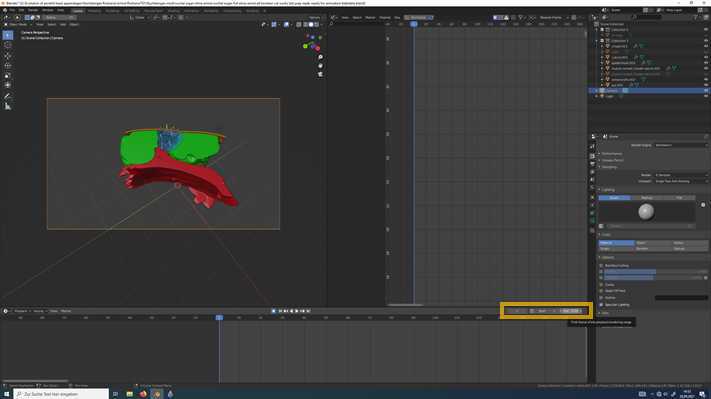
•click on Jump to Endpoint in the direction of the start (left) in the Time Line
•at the beginning of your recording Keyframes are missing, add one at the beginning (frame 0) by r mb – Insert Keyframes or press I and press the enter key for All Channels or Only Selected Channels
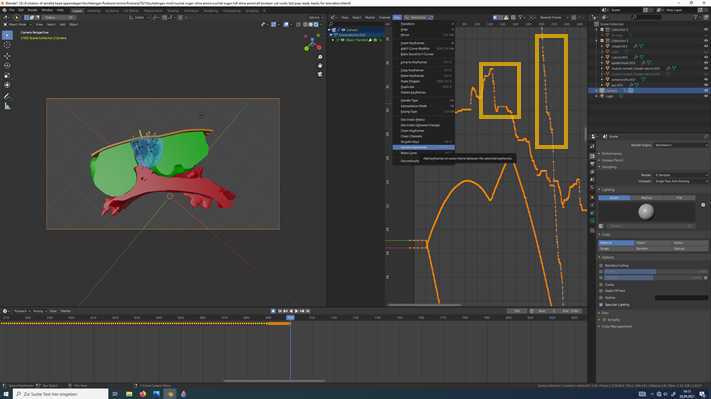
•take a look on your recording by clicking on the Play Animation button in the Time Line
--> it will be pretty woobly, now we want to make it smooth
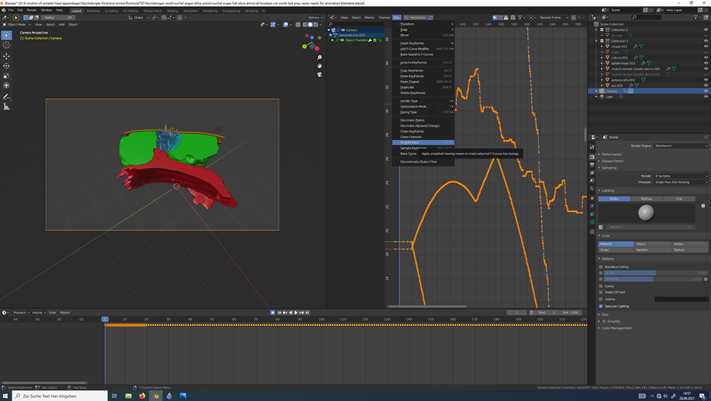
•first we insert Keyframeswere no Keyframes are
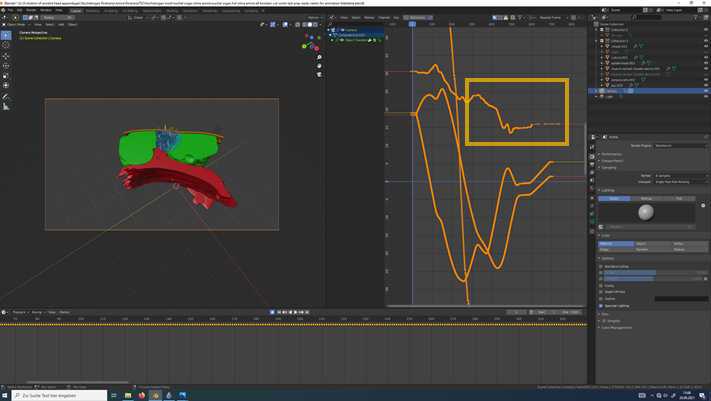
•if you zoom into the Graph Editor you see in the lines free spots
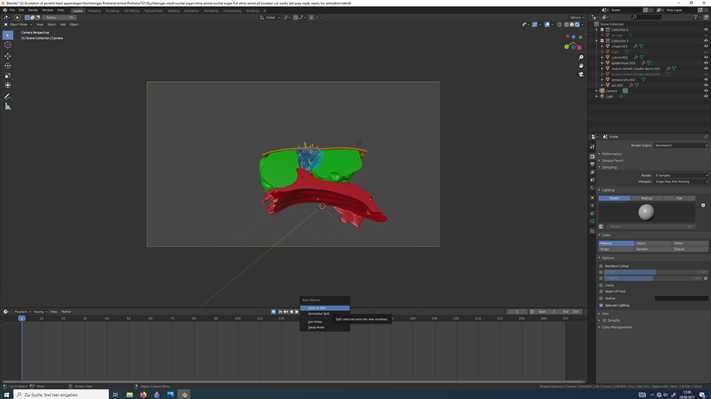
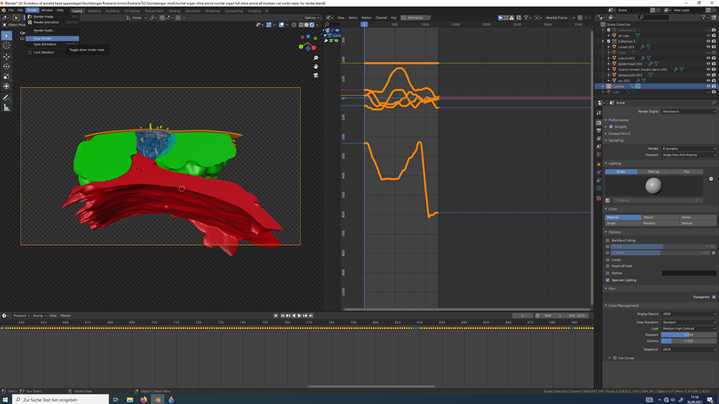
•in the right window next to Editor Type click on Keys-Sample Keyframes or Hotkey: shift+Alt+O
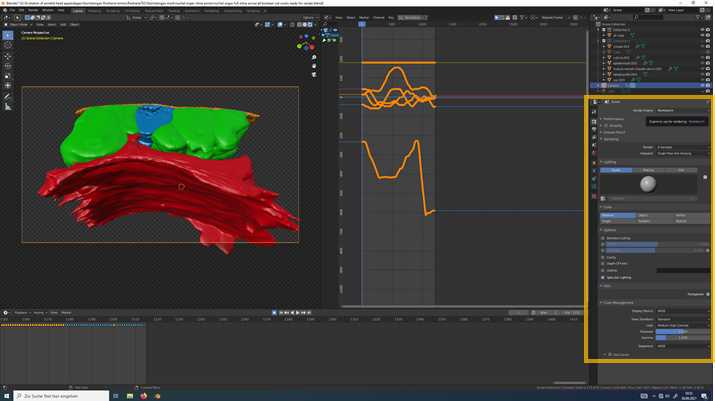
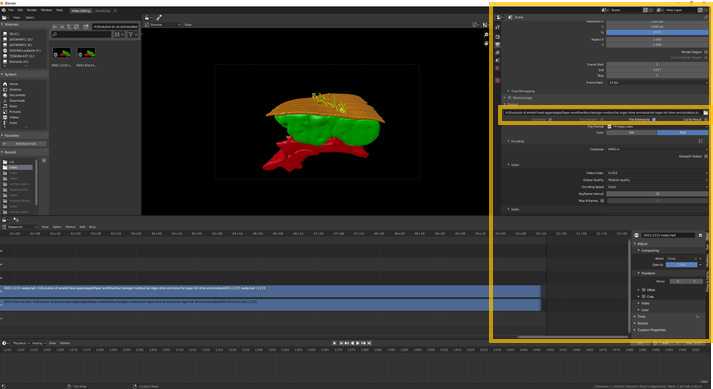
• Render Properties we used, also see: https://www.youtube.com/watch?v=zqK4m8a52U8
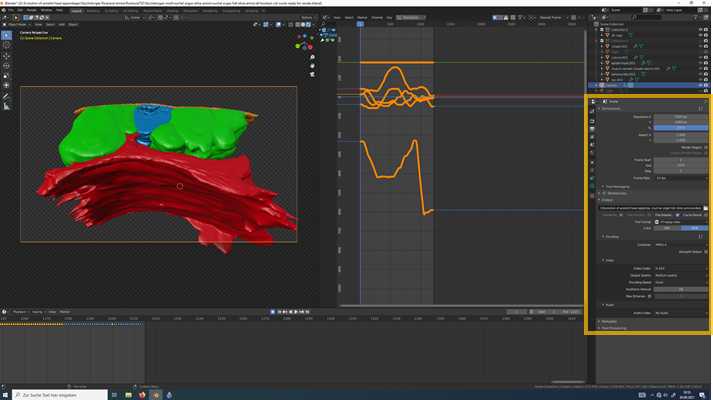
• Output Properties we used, also see: https://www.youtube.com/watch?v=Gifto41kpJw
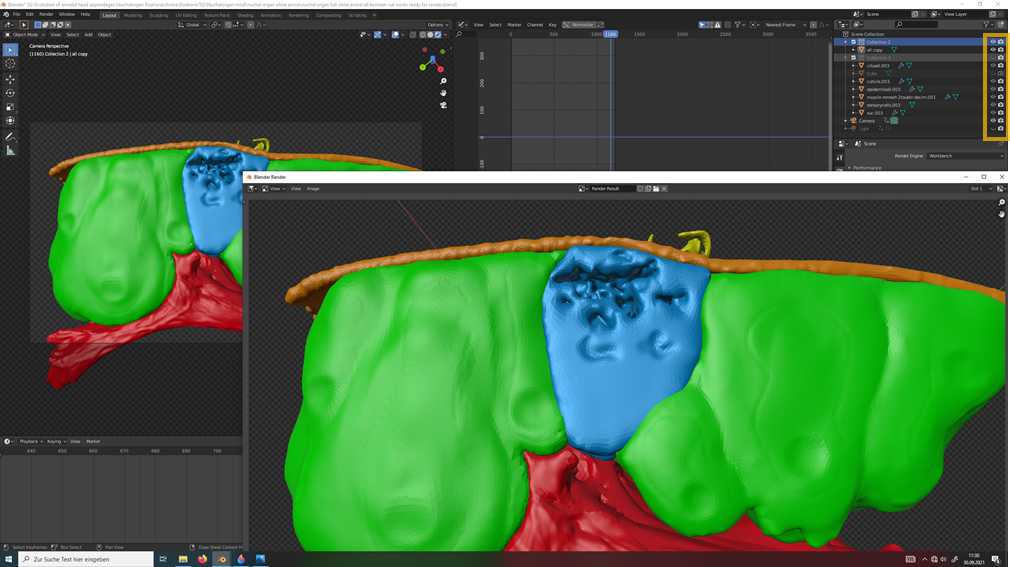
•There are different options how to change between the cut and uncut version of your structure of interest
•The first, more easy but also more error-prone option is to press Disable in Render (the camera symbol in the Scene Collection) for one Collection (e.g. uncut version)and change it during the render
--> As a result you see at the beginning of the render the uncut version of the nuchal organand switch to the cut version in between
•It might happen, when e.g. you are not fast enough that the switch between the version is not clean in your video
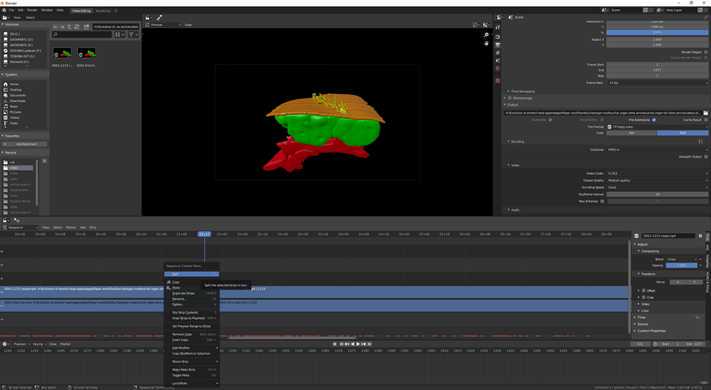
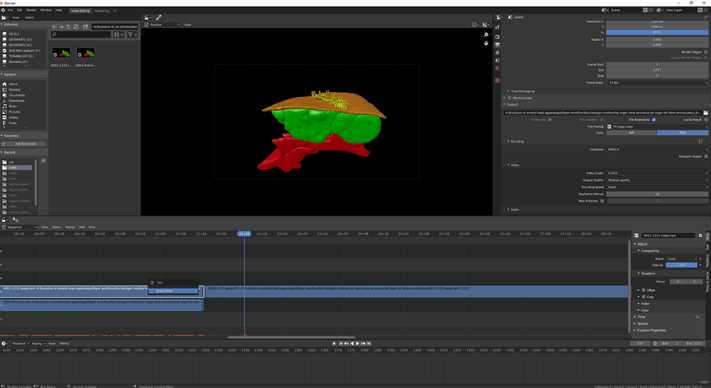
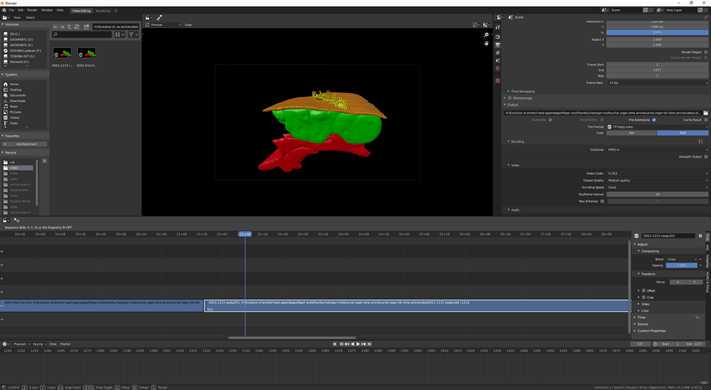
- If it is unclean you can open your video in the Video Sequencer and cut out the 1-3 frames and render it again (see next steps)
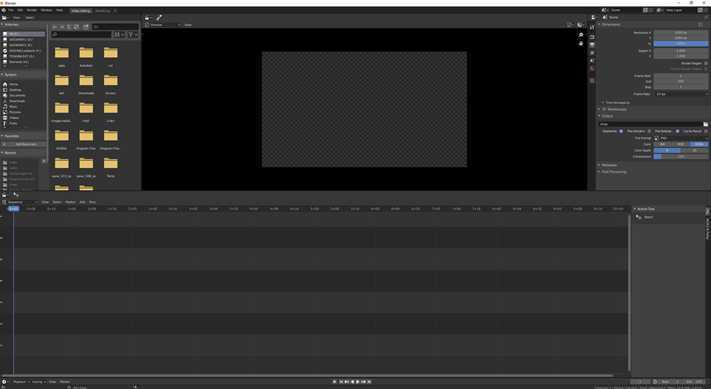
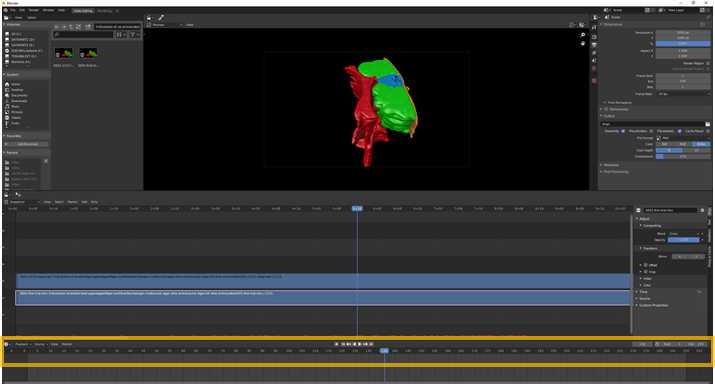
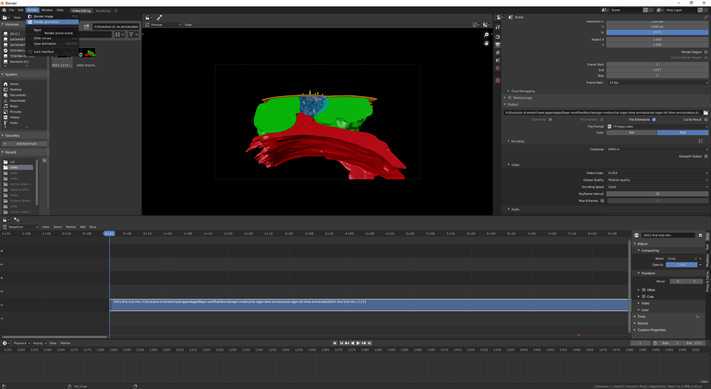
•The other way is to render two videos with each version and put them together in the Video Sequencer
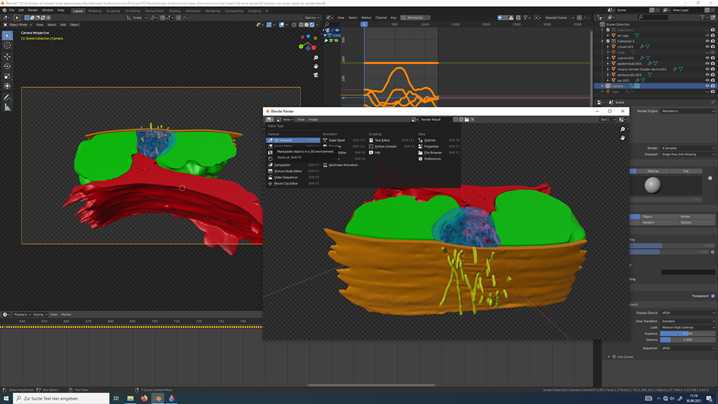
•To open it, go to File-New-Video Editing
--> Also see:
https://www.youtube.com/playlist?list=PLlXsqAWo0V6IiiThMKxaezET2sdO7grjQ
