Pre-extraction sample processing for CALIBER project

James JN Kitson

Published: 2022-05-06 DOI: 10.17504/protocols.io.n92ldz7xov5b/v1

Abstract

This is a document that outlines the steps needed to prepare field-collected samples during the CALIBER project for archiving and further processing.

Steps

Setup

1.

Source steel beads (ball bearings) for tissue grinding (Tungsten beads are not usually necessary). We use hardened carbon steel or stainless steel bearings from simplybearings.co.uk. This protocol requires two beads per sample tube.

2.

Beads are usually shipped coated in manufacturing oil (especially the carbon steel beads). To remove this, place beads in a borosilicate glass beaker or Duran bottle with the pouring lip and lid removed then bake for at least 12 hours at 250 oC.

Figure 1: Depending on baking time, carbon steel beads will change colour, this is normal.
3.

Prepare 5 ml screwcap collection tubes (e.g. Starlab #E1450-1100) containing three 3 mm hardened steel beads in batches of 96 tubes.
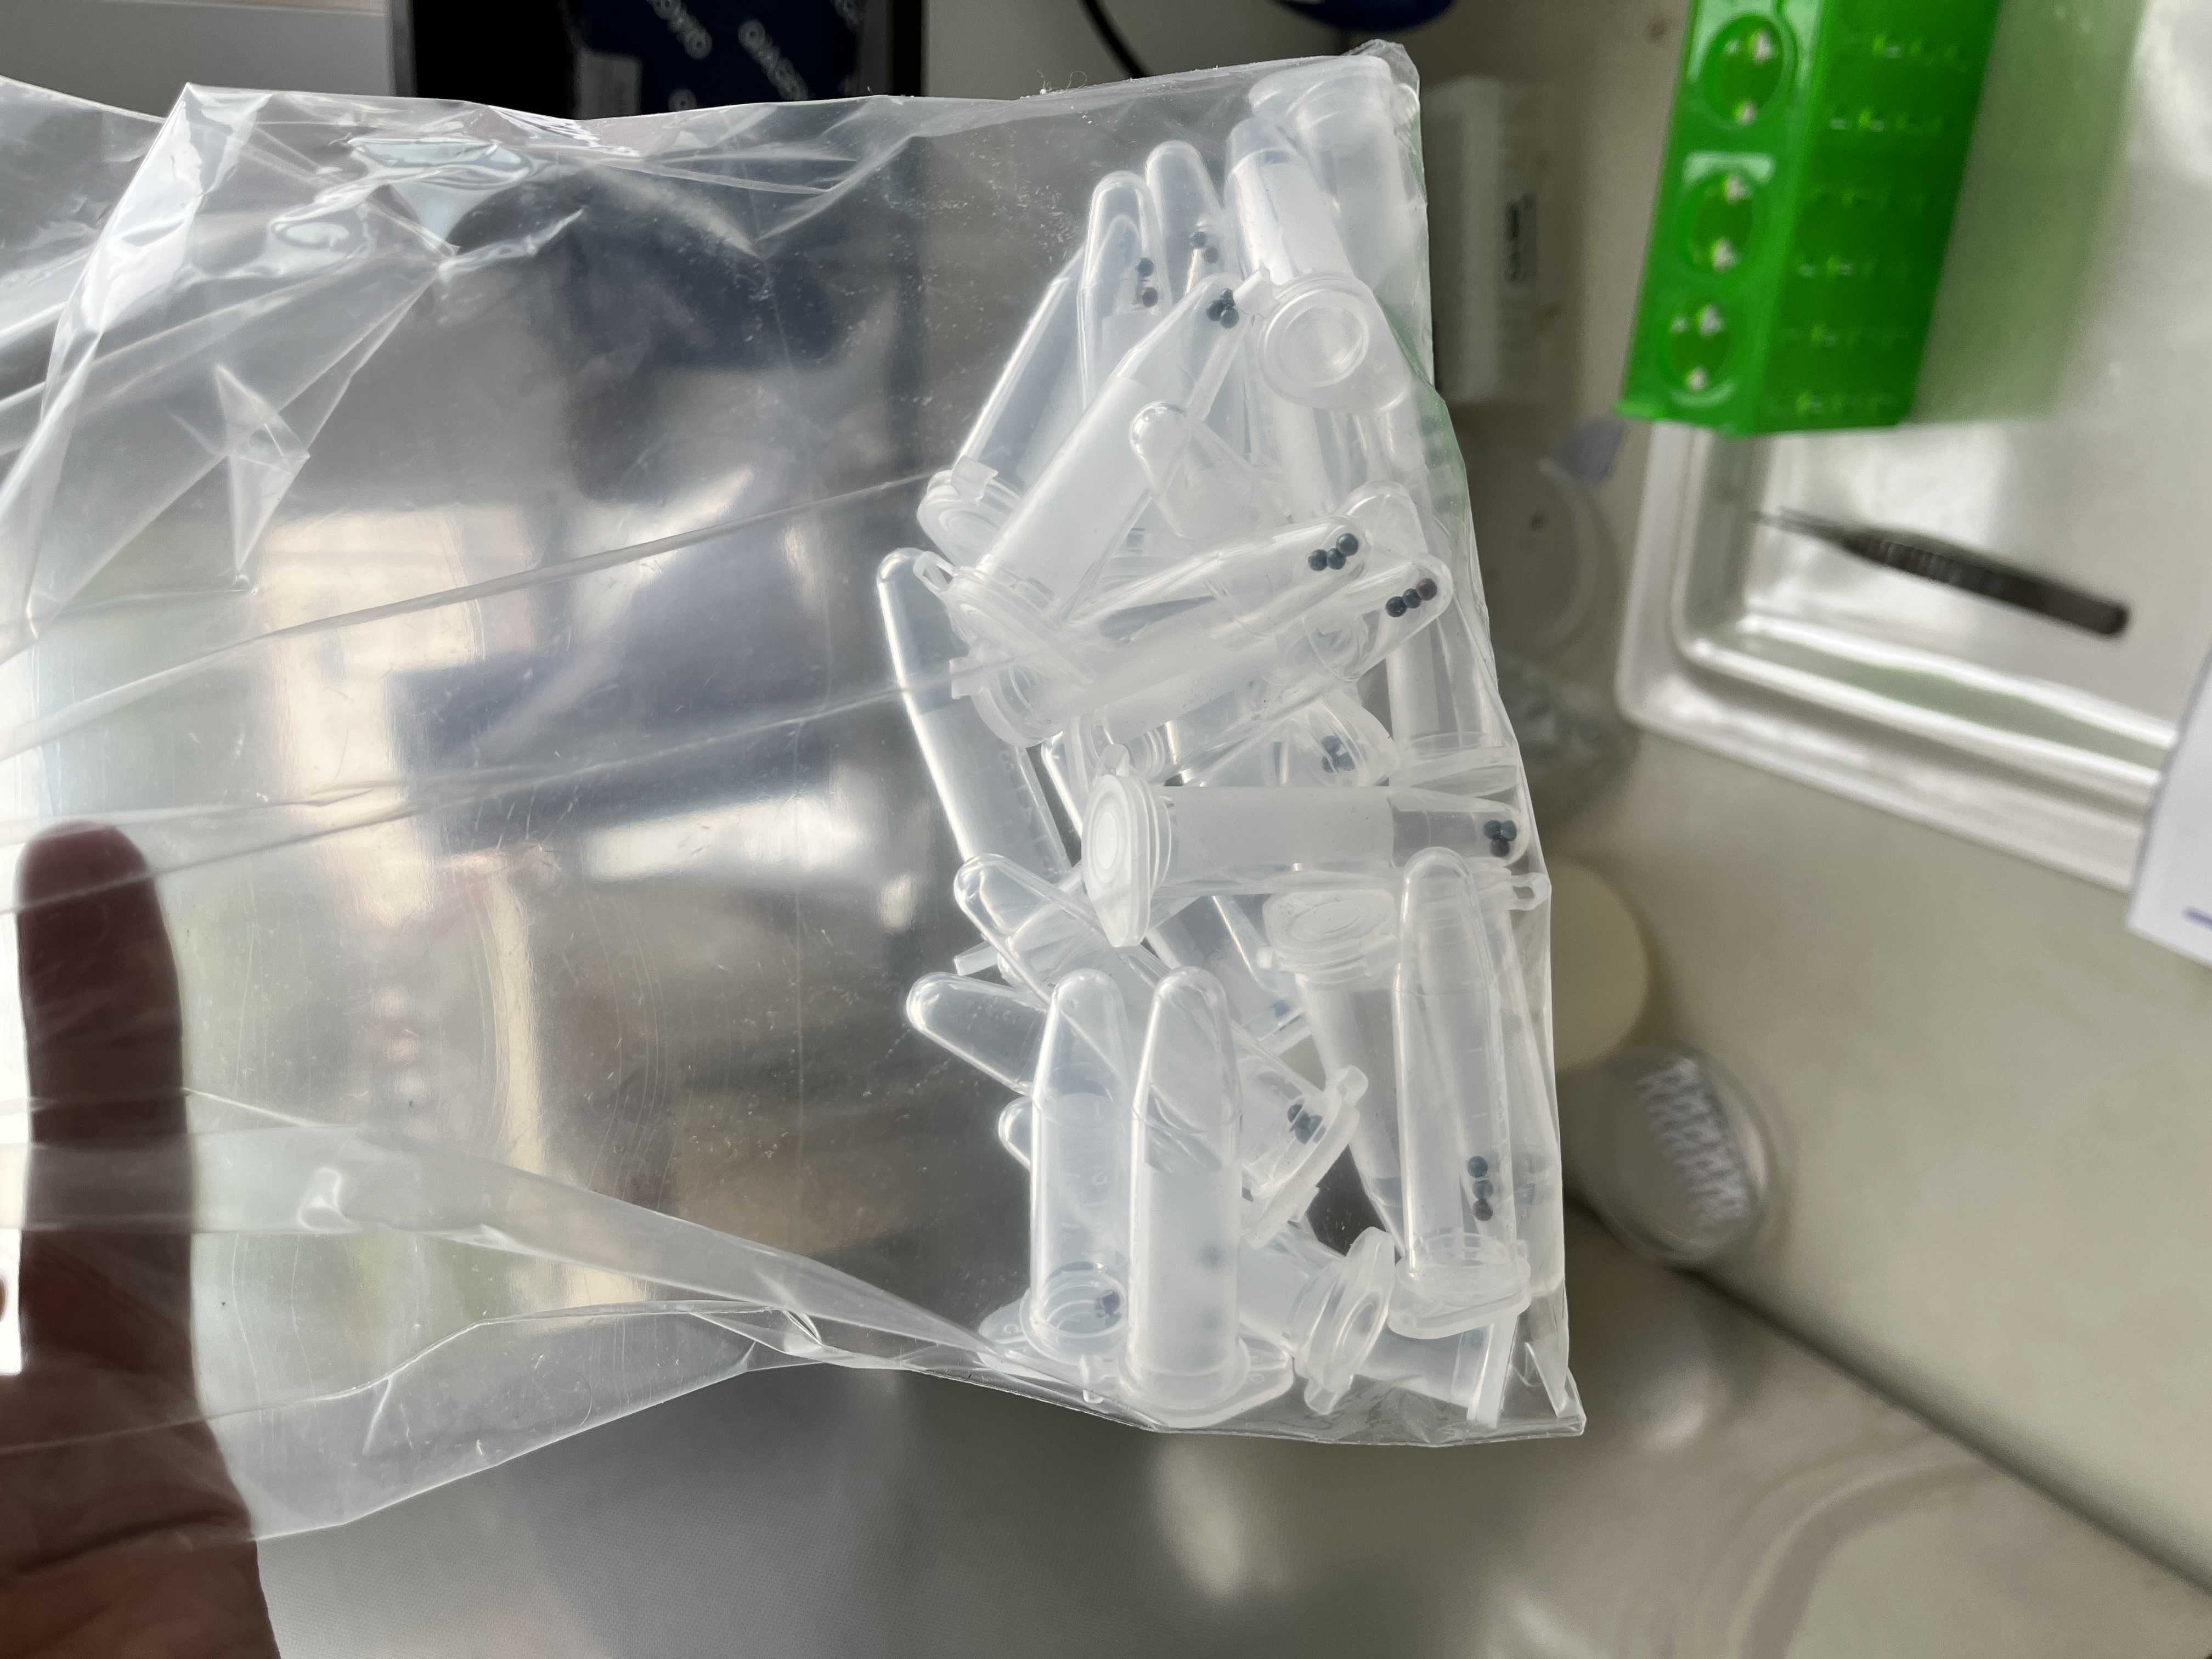
Figure 2: Plant grinding tubes ready for plant material.

Insect sample processing

4.

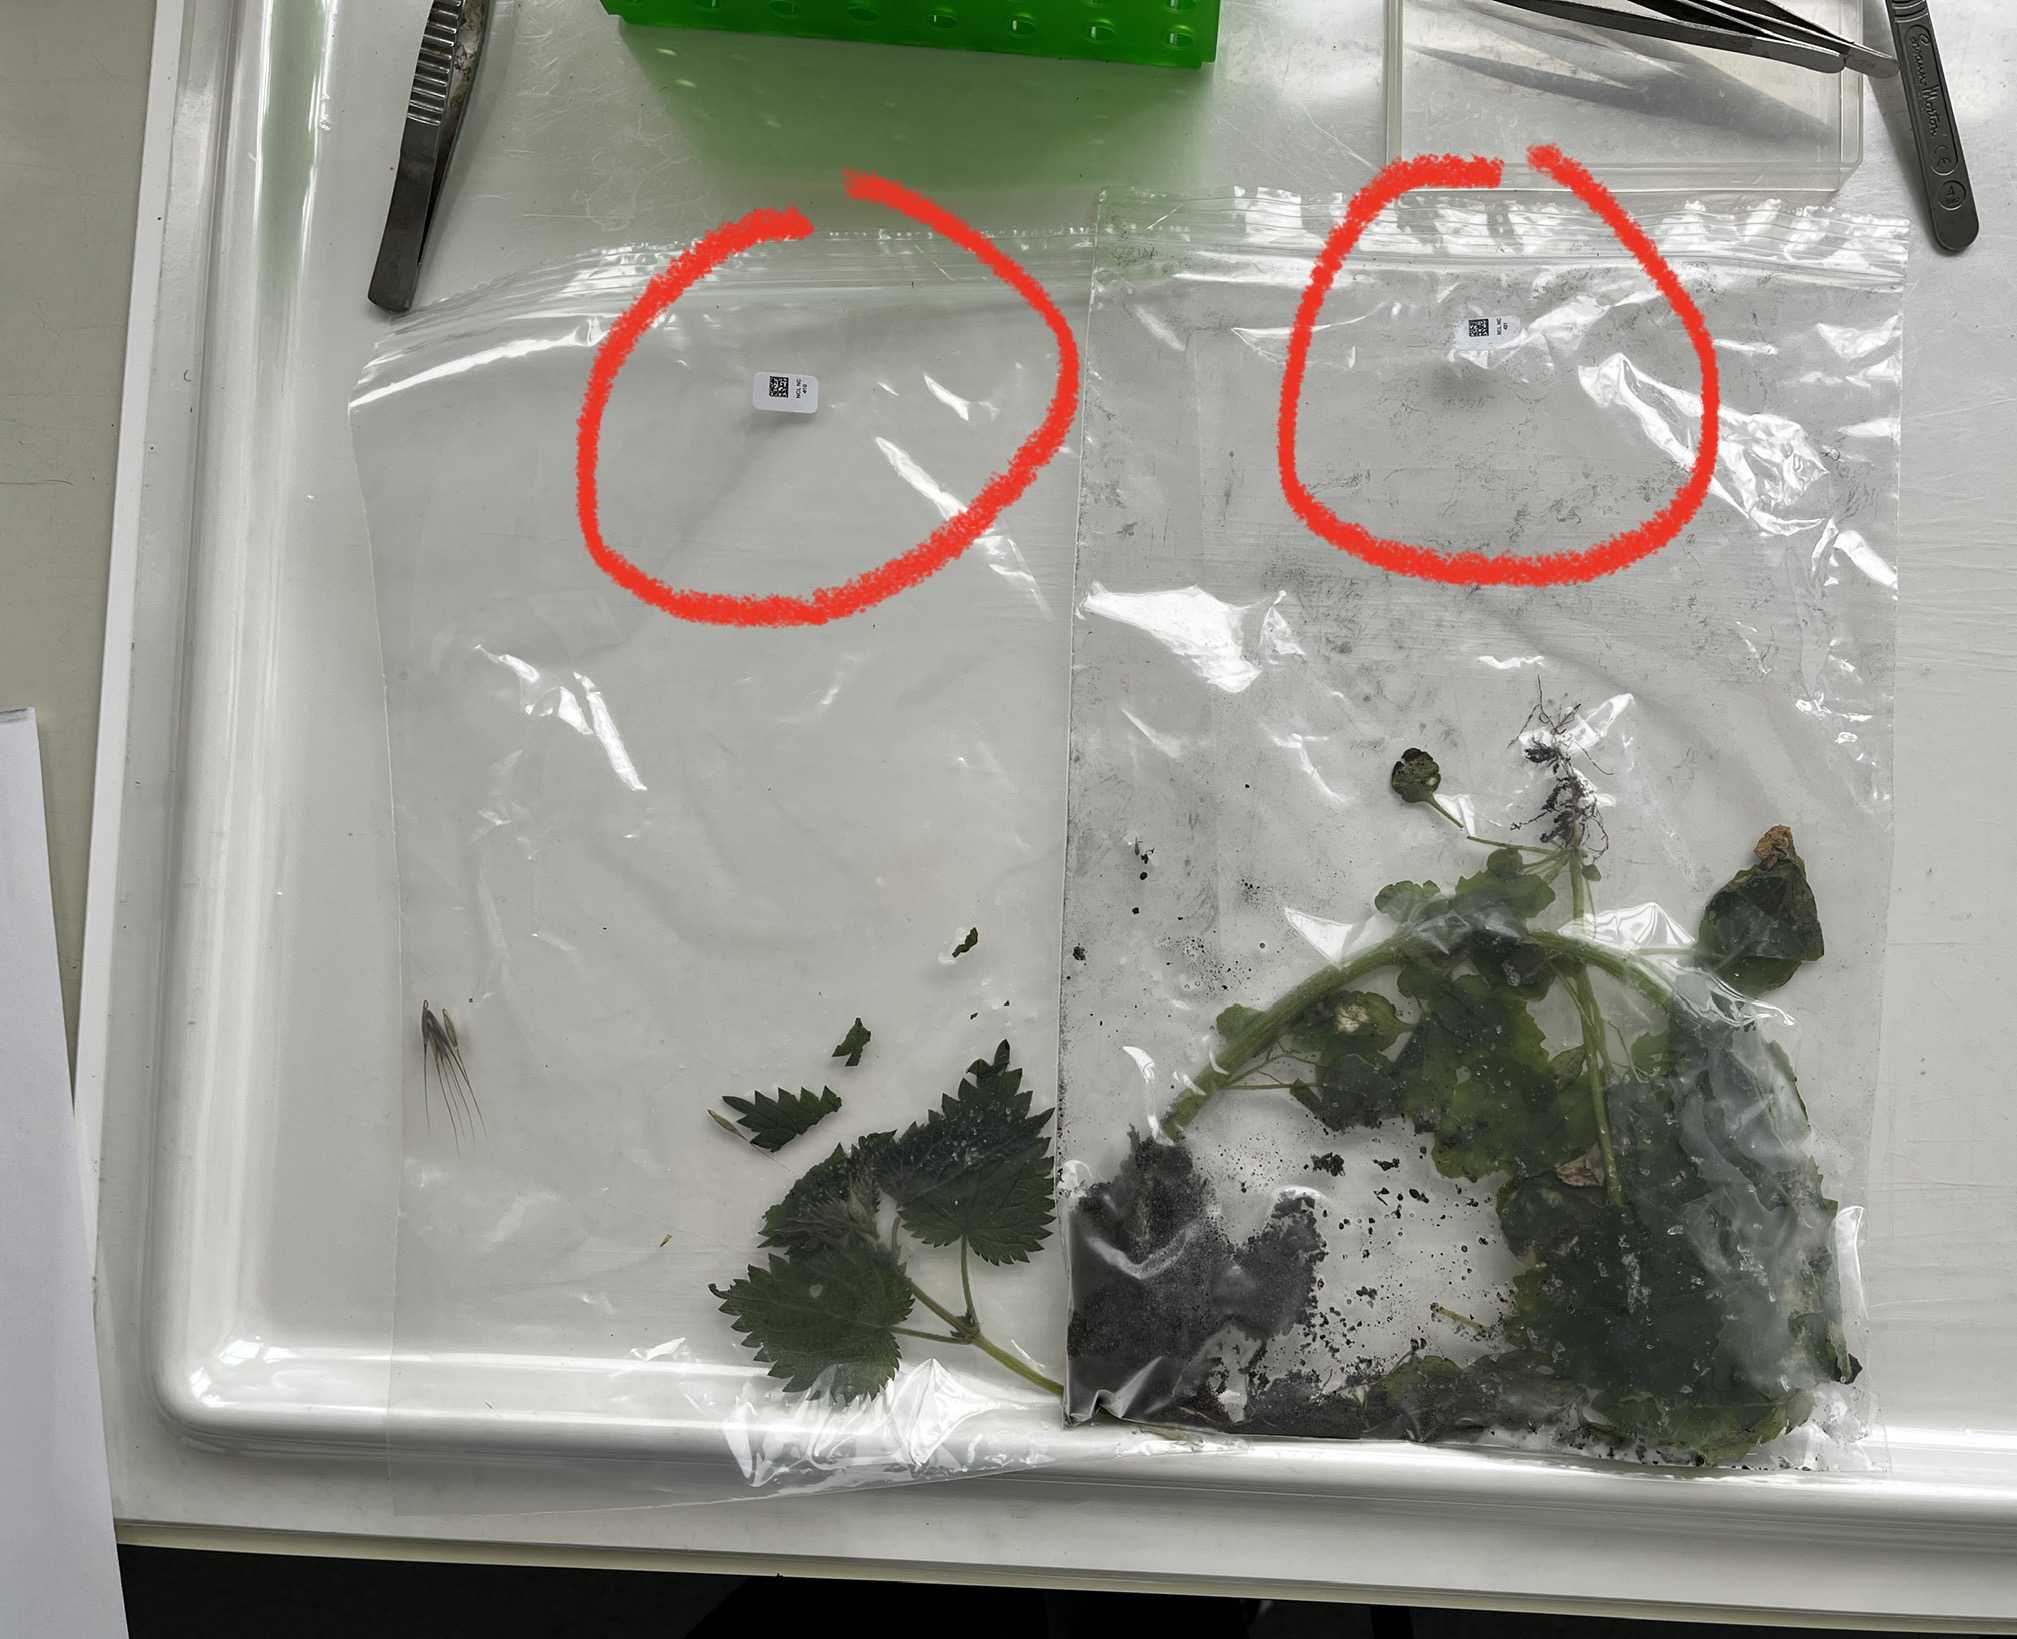
Pick out a frozen plant sample bag from the freezer and note the sample name.

Figure 3: Typical sample bags with sample names highlighted.
5.

Using clean forceps, pick off all insects and place in a screwcap tube of the appropriate size (2ml/5ml/15ml) then fill the tube with a solution of 95% Ethanol and 5% Glycerol.

6.

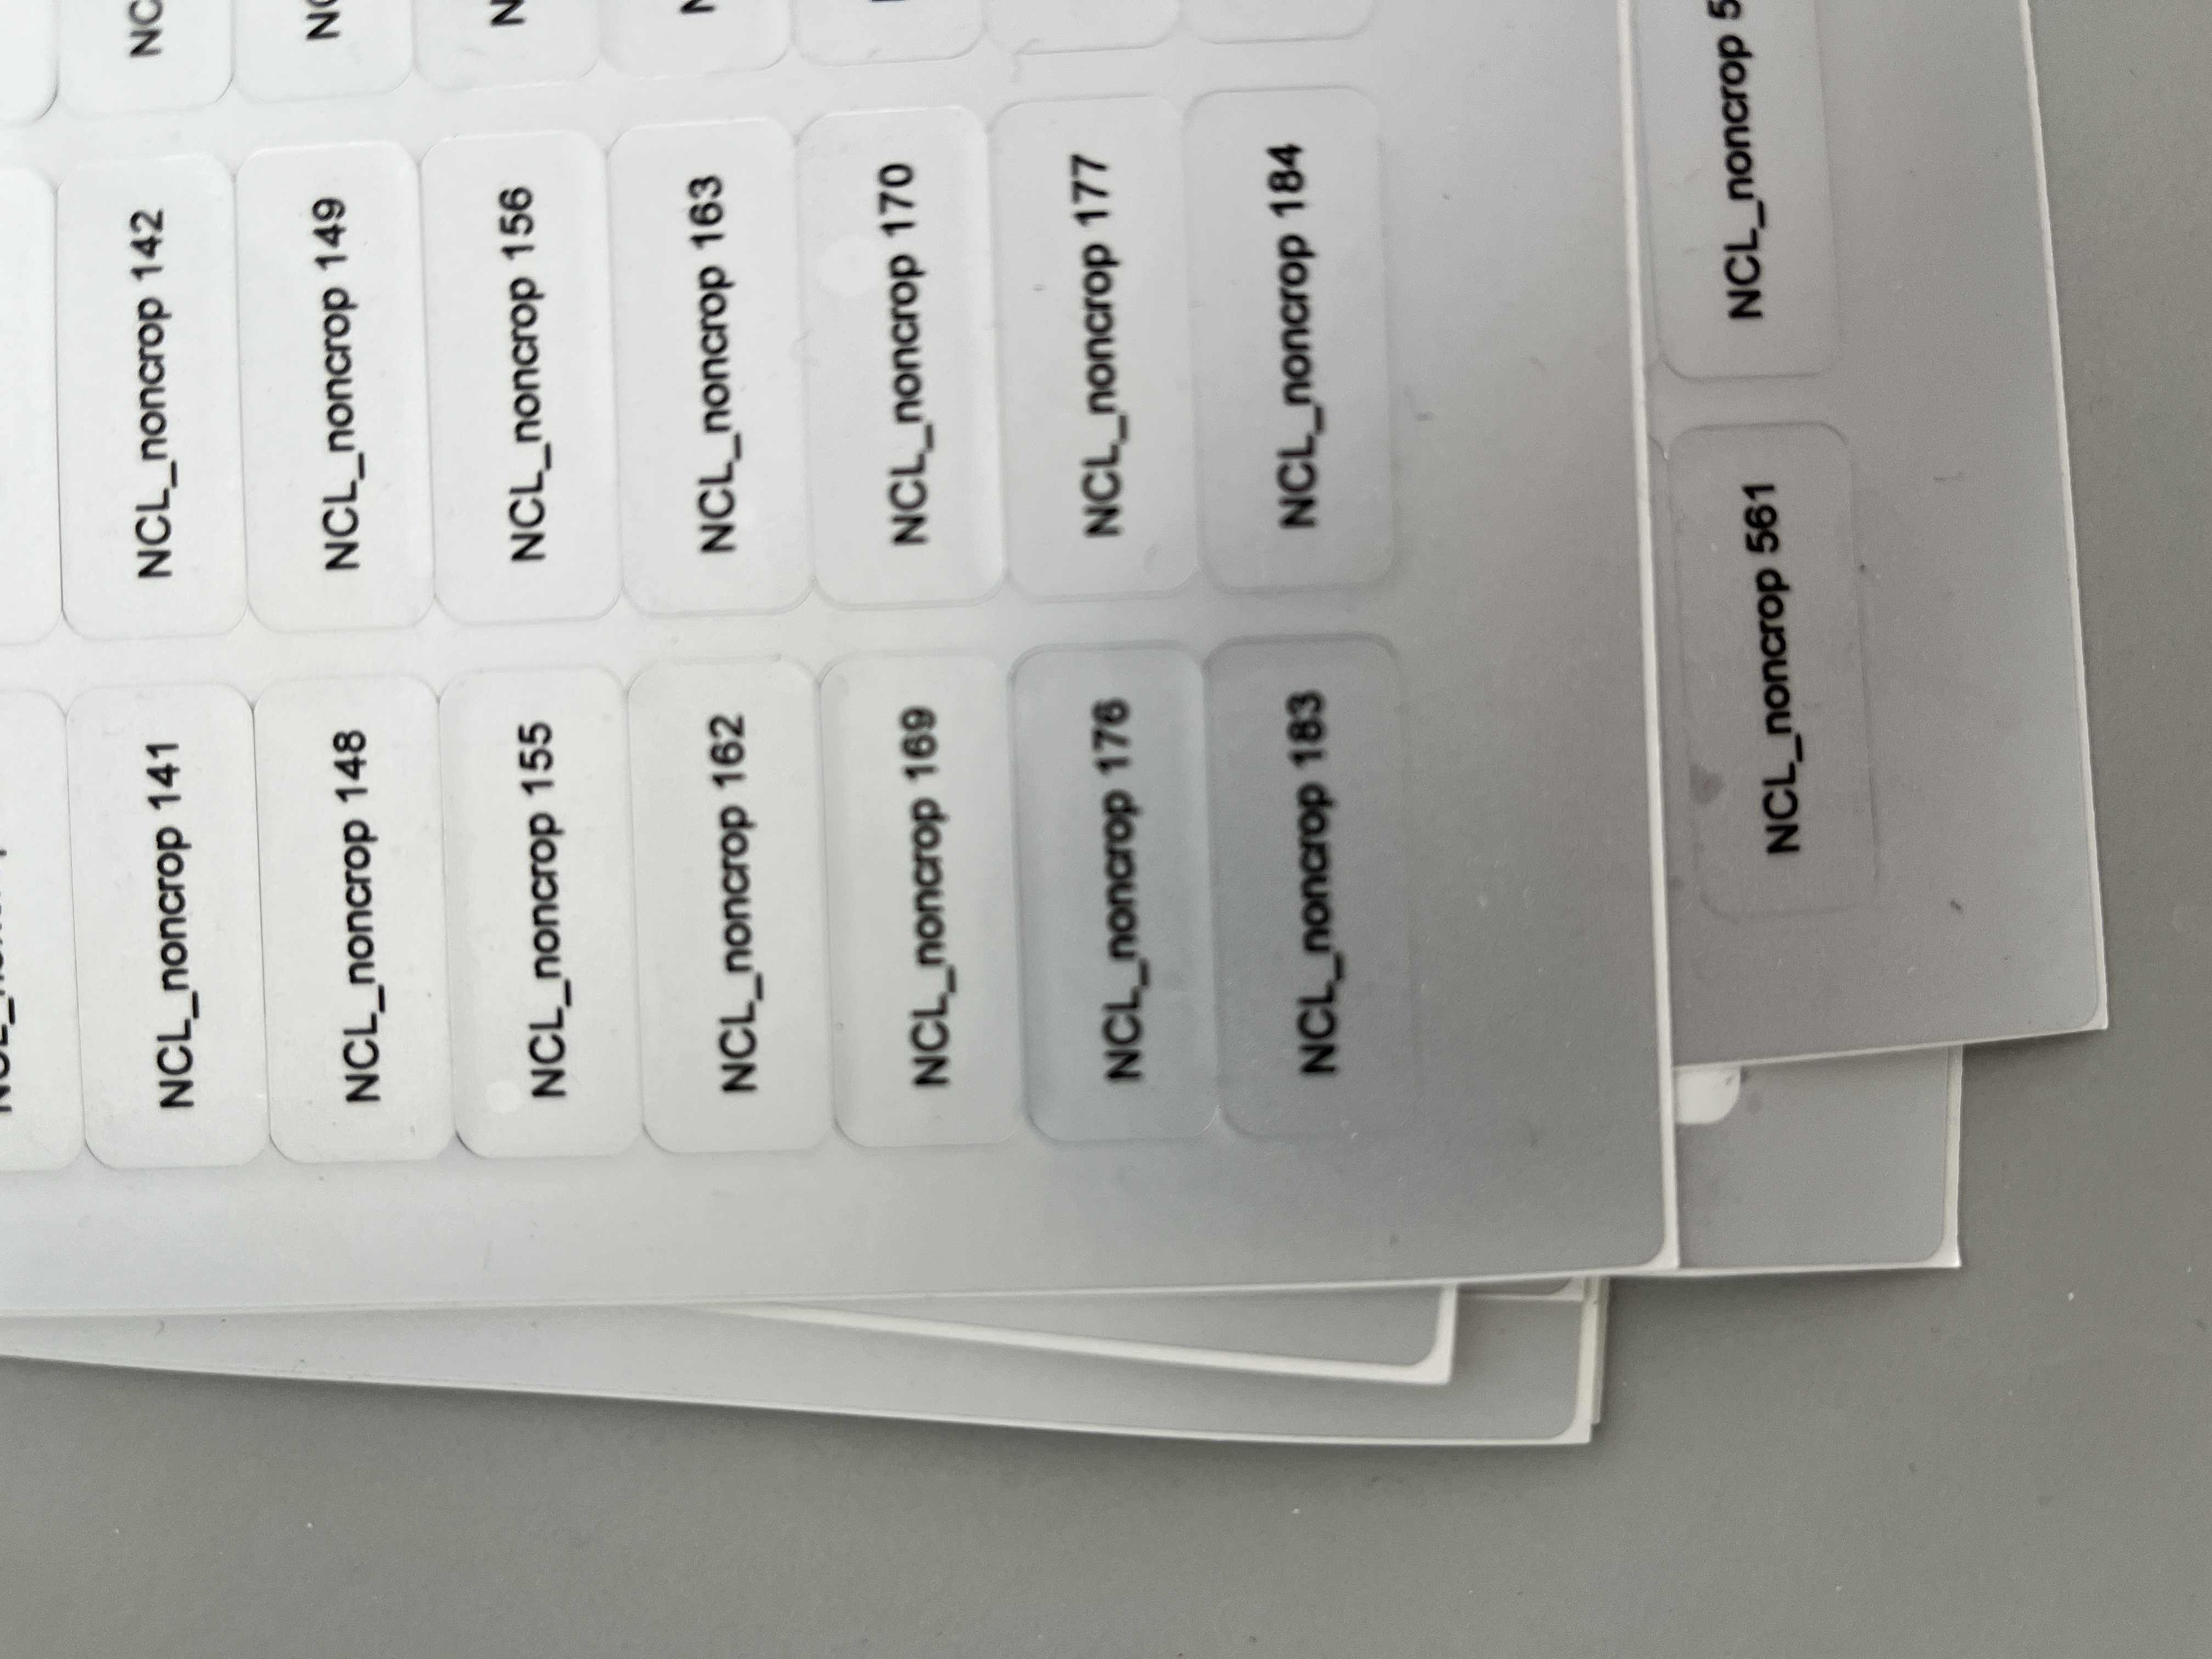
Label the tube with the corresponding tube label.

Figure 4: Insect tube labels.
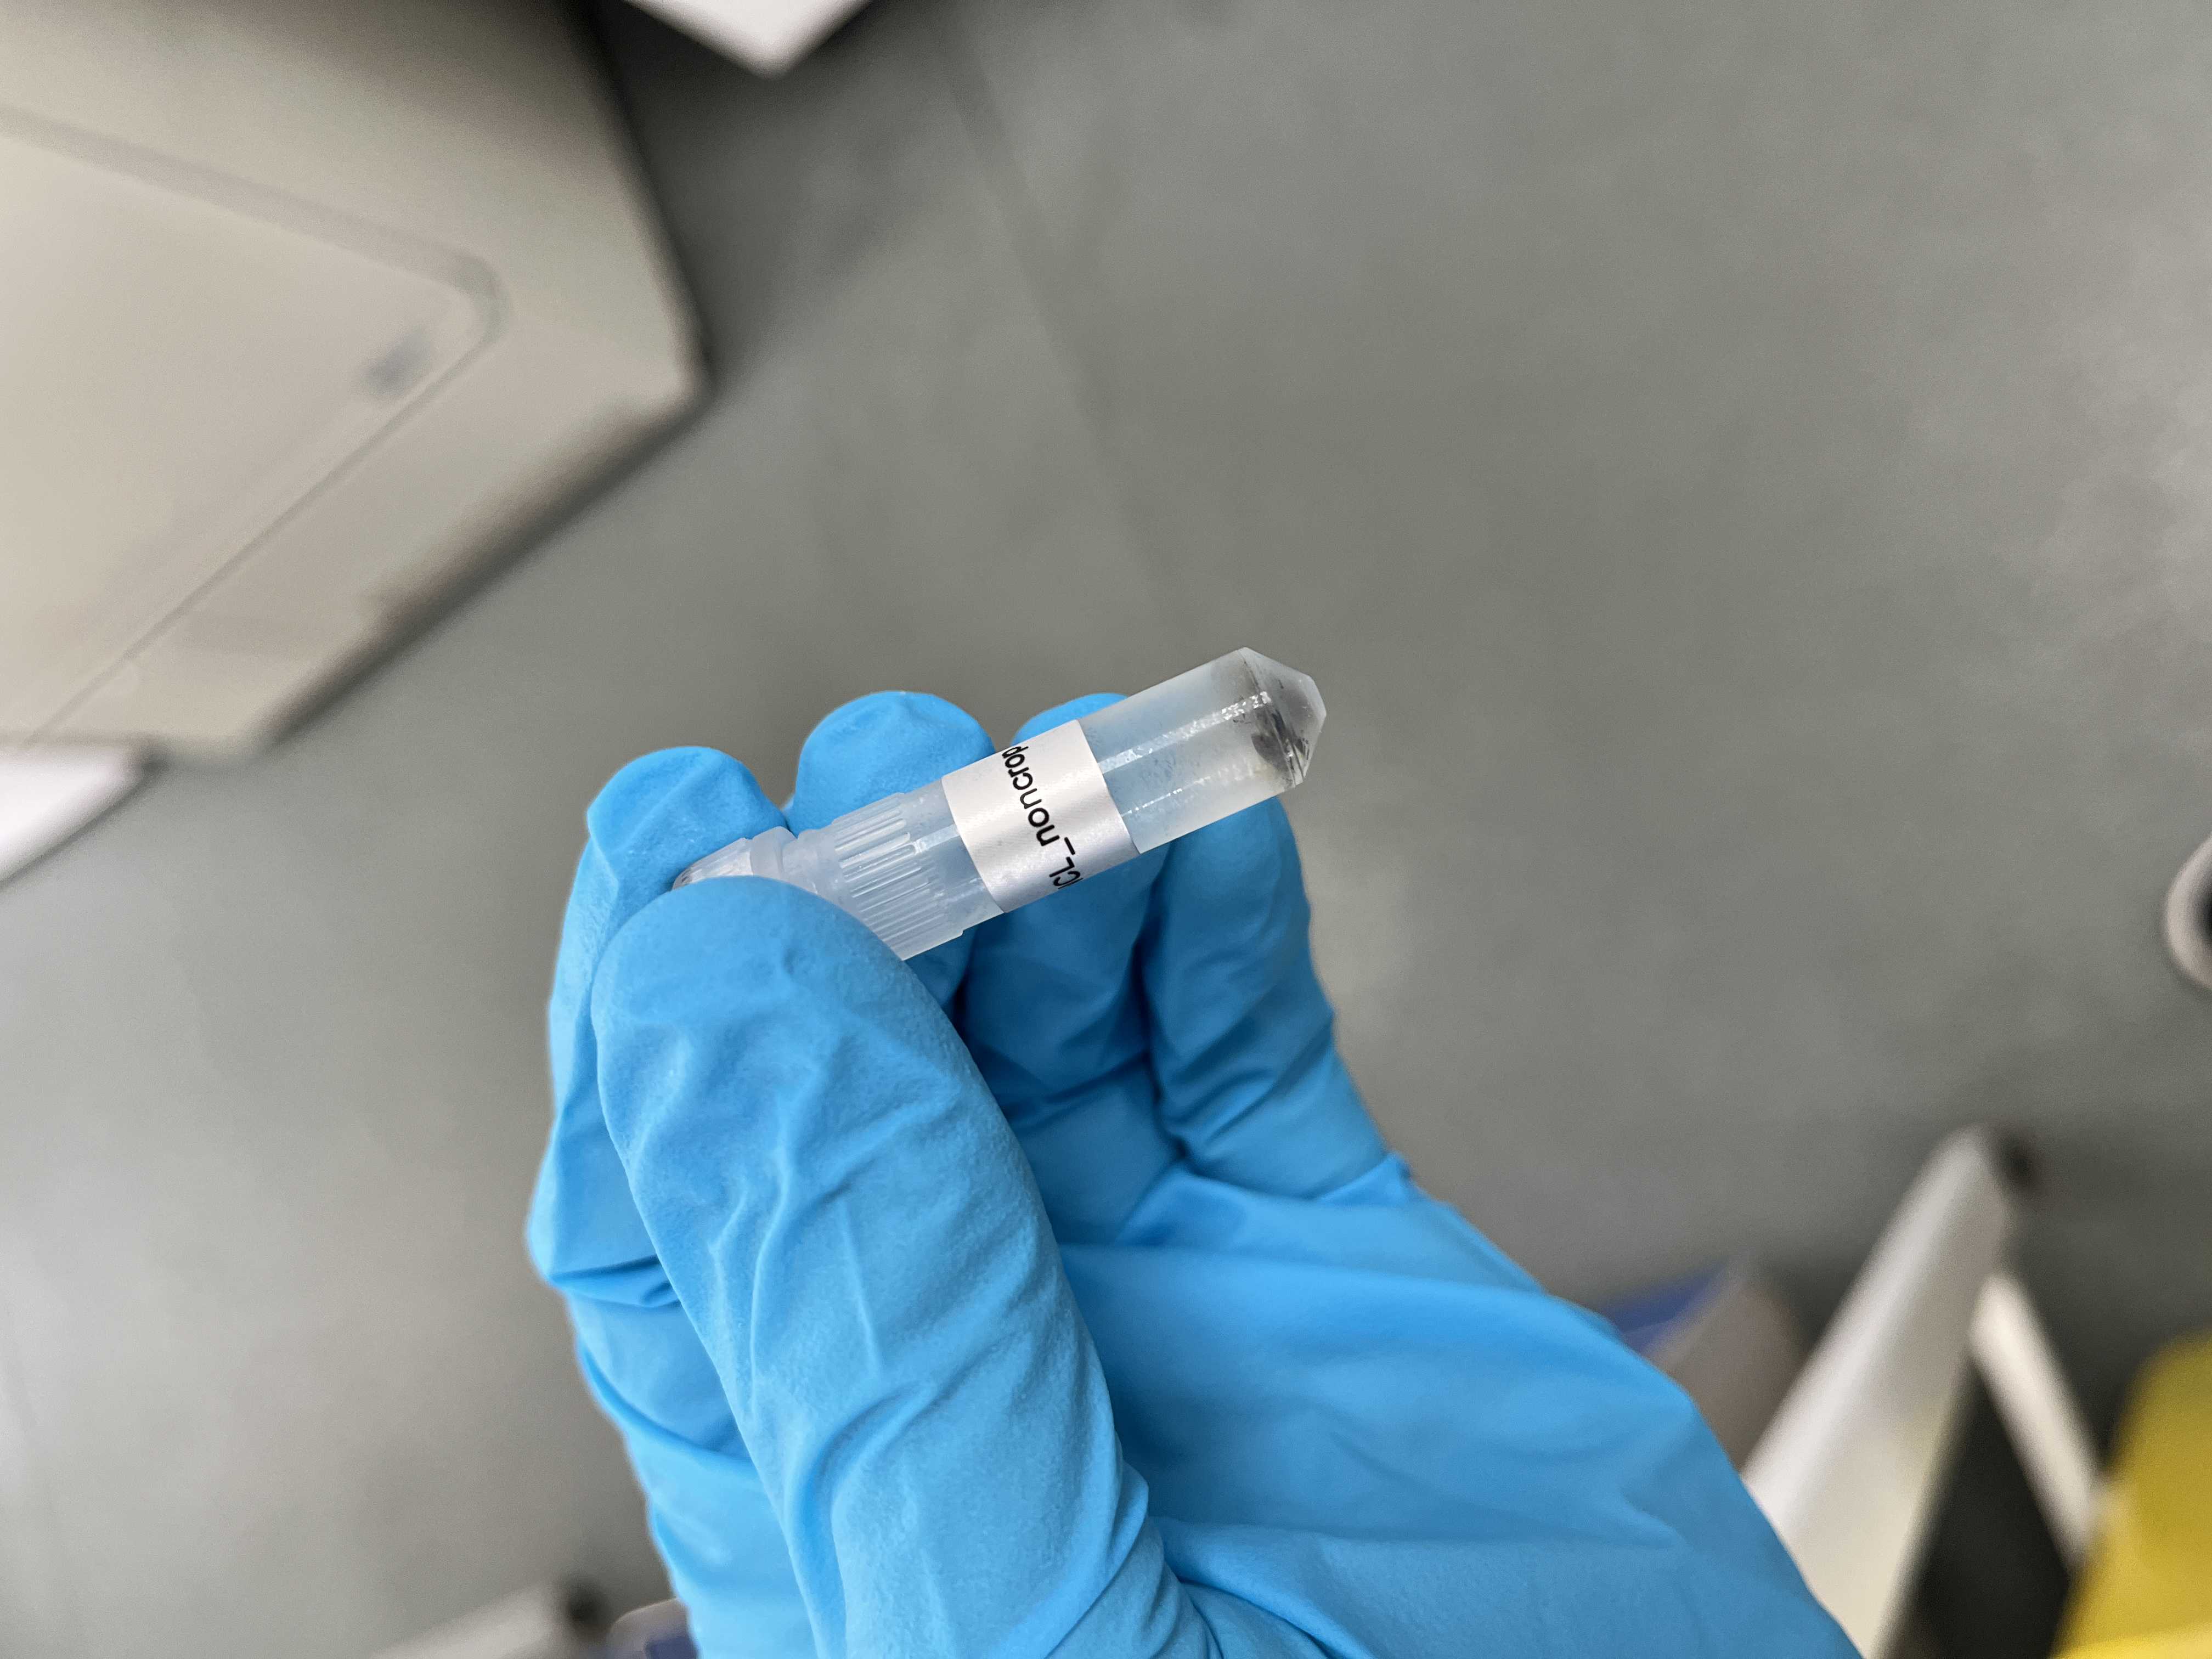
Figure 5: Labelled tube with insects ready for storage.
7.

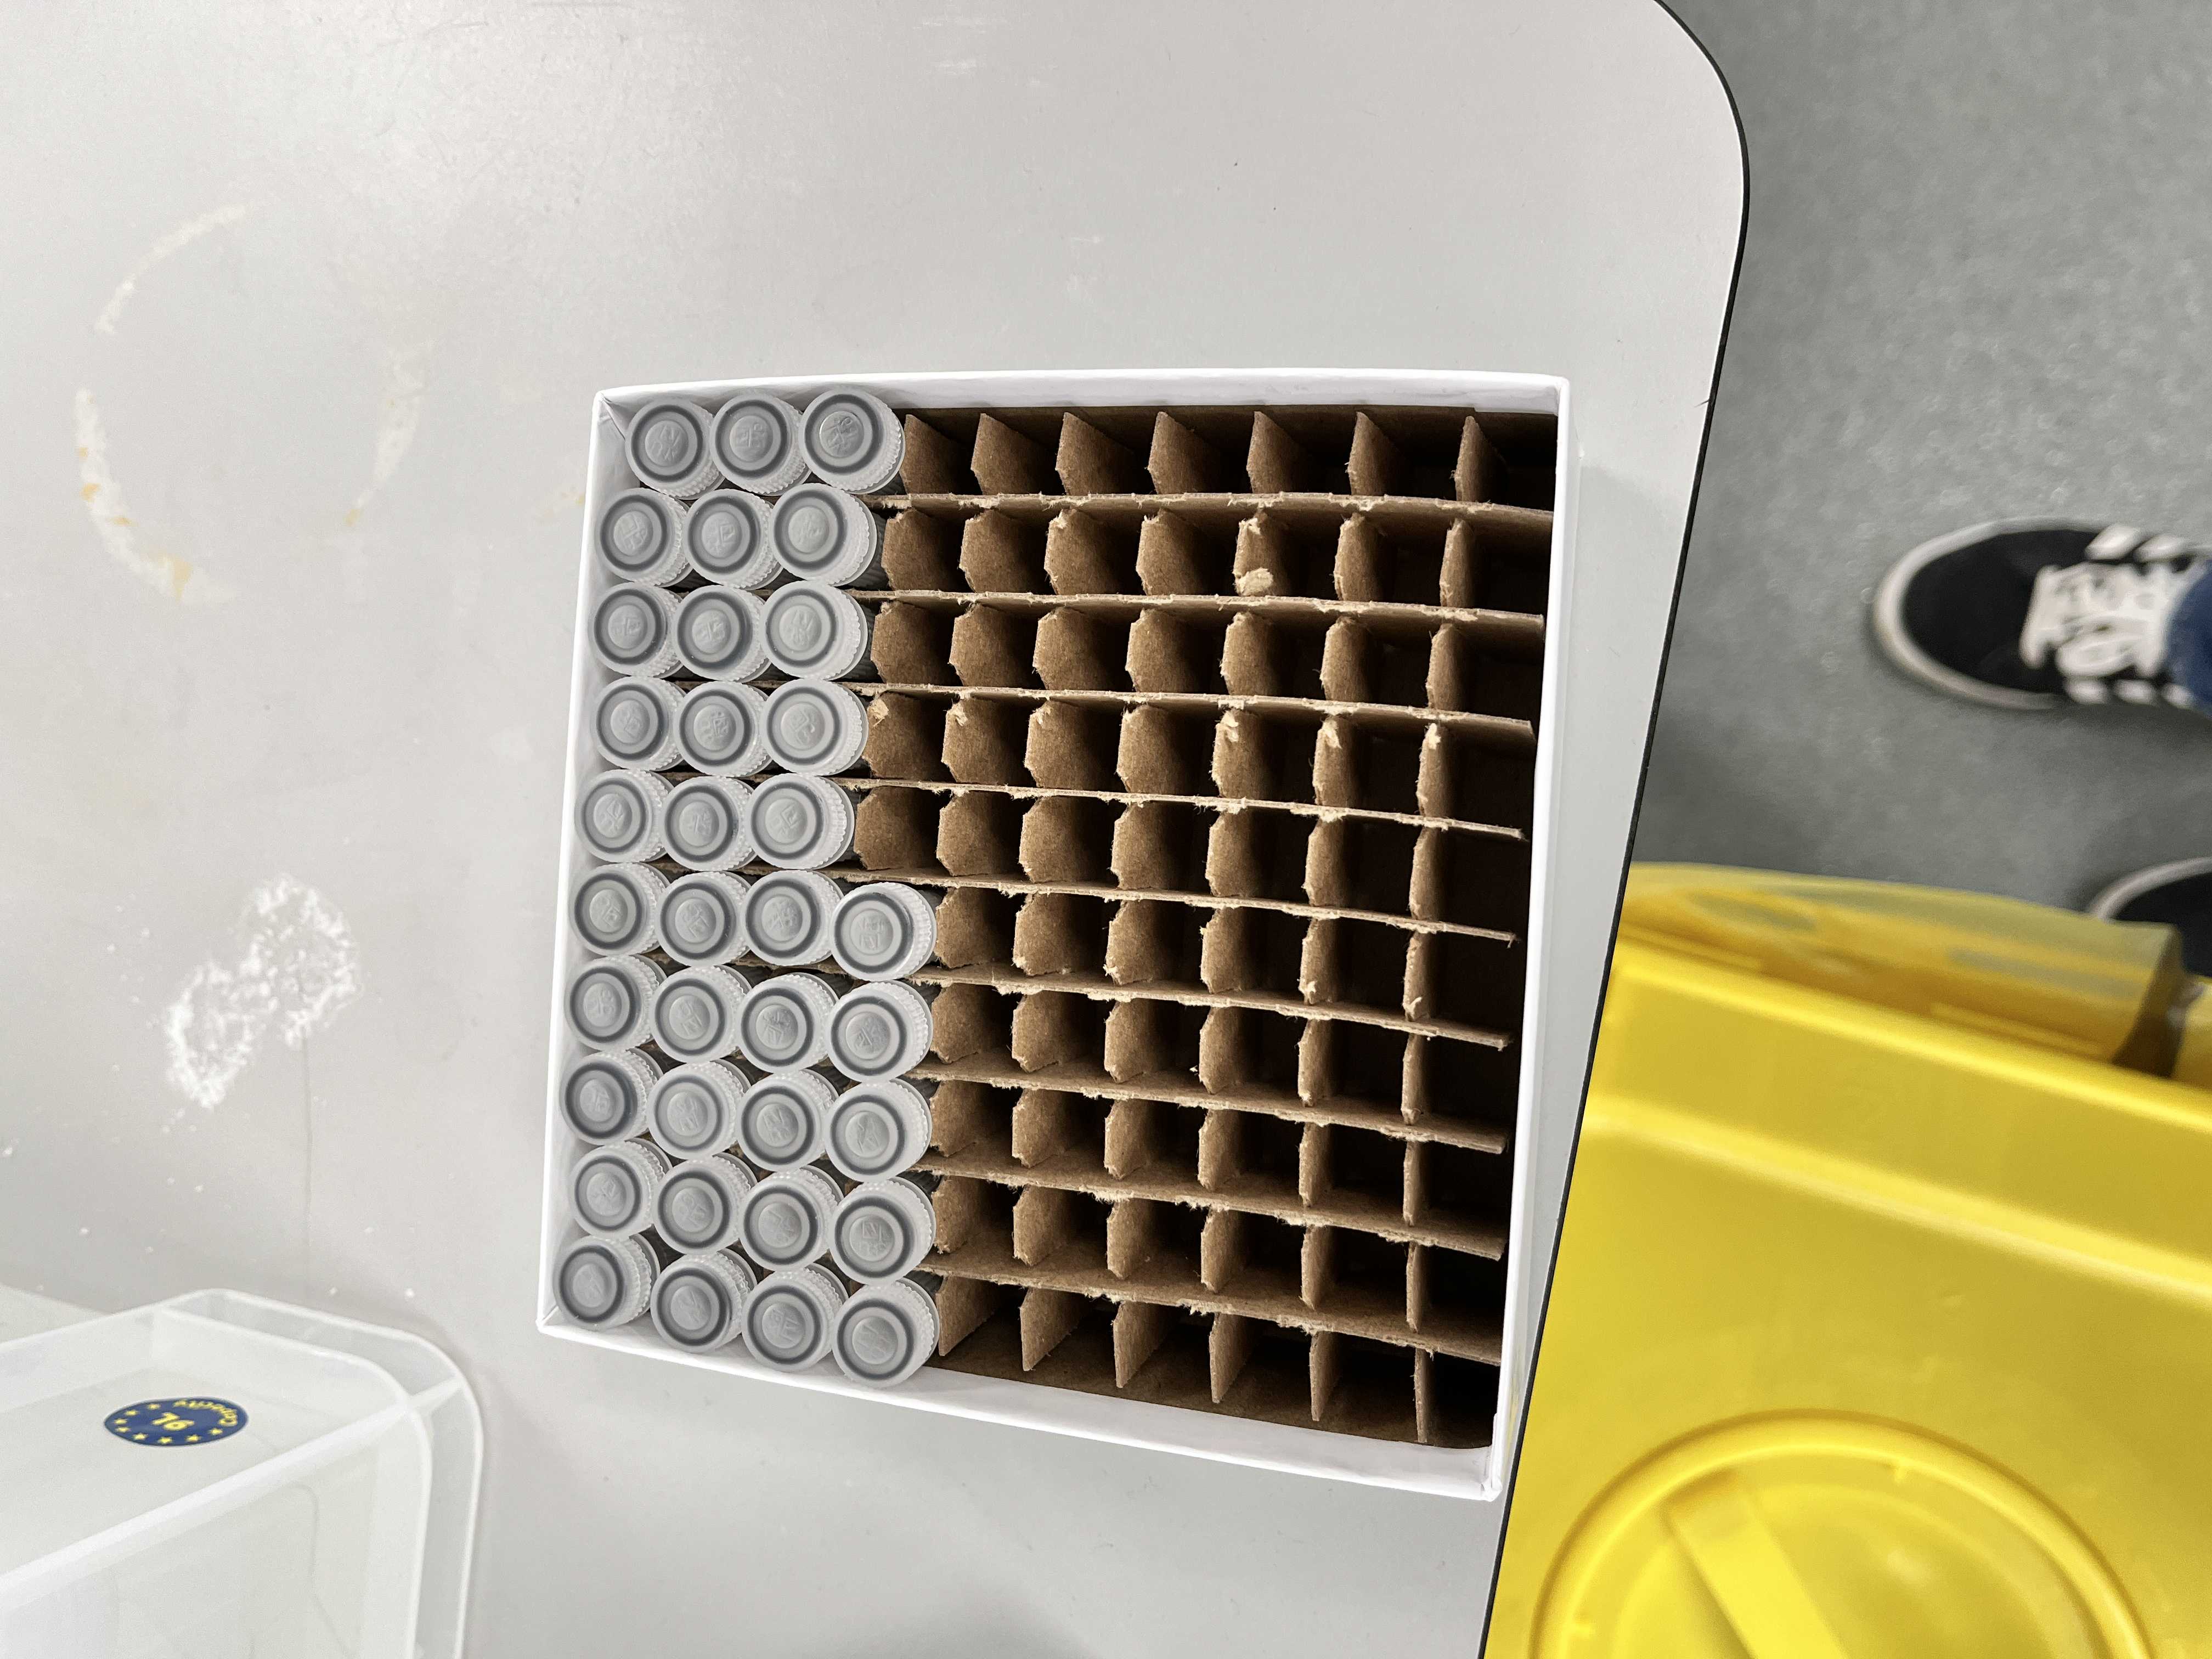
Store at -20 oC until transported to SASA for qPCR analysis.

Figure 6: Box of insect tubes for longer term storage.

Archive plant sample processing

8.

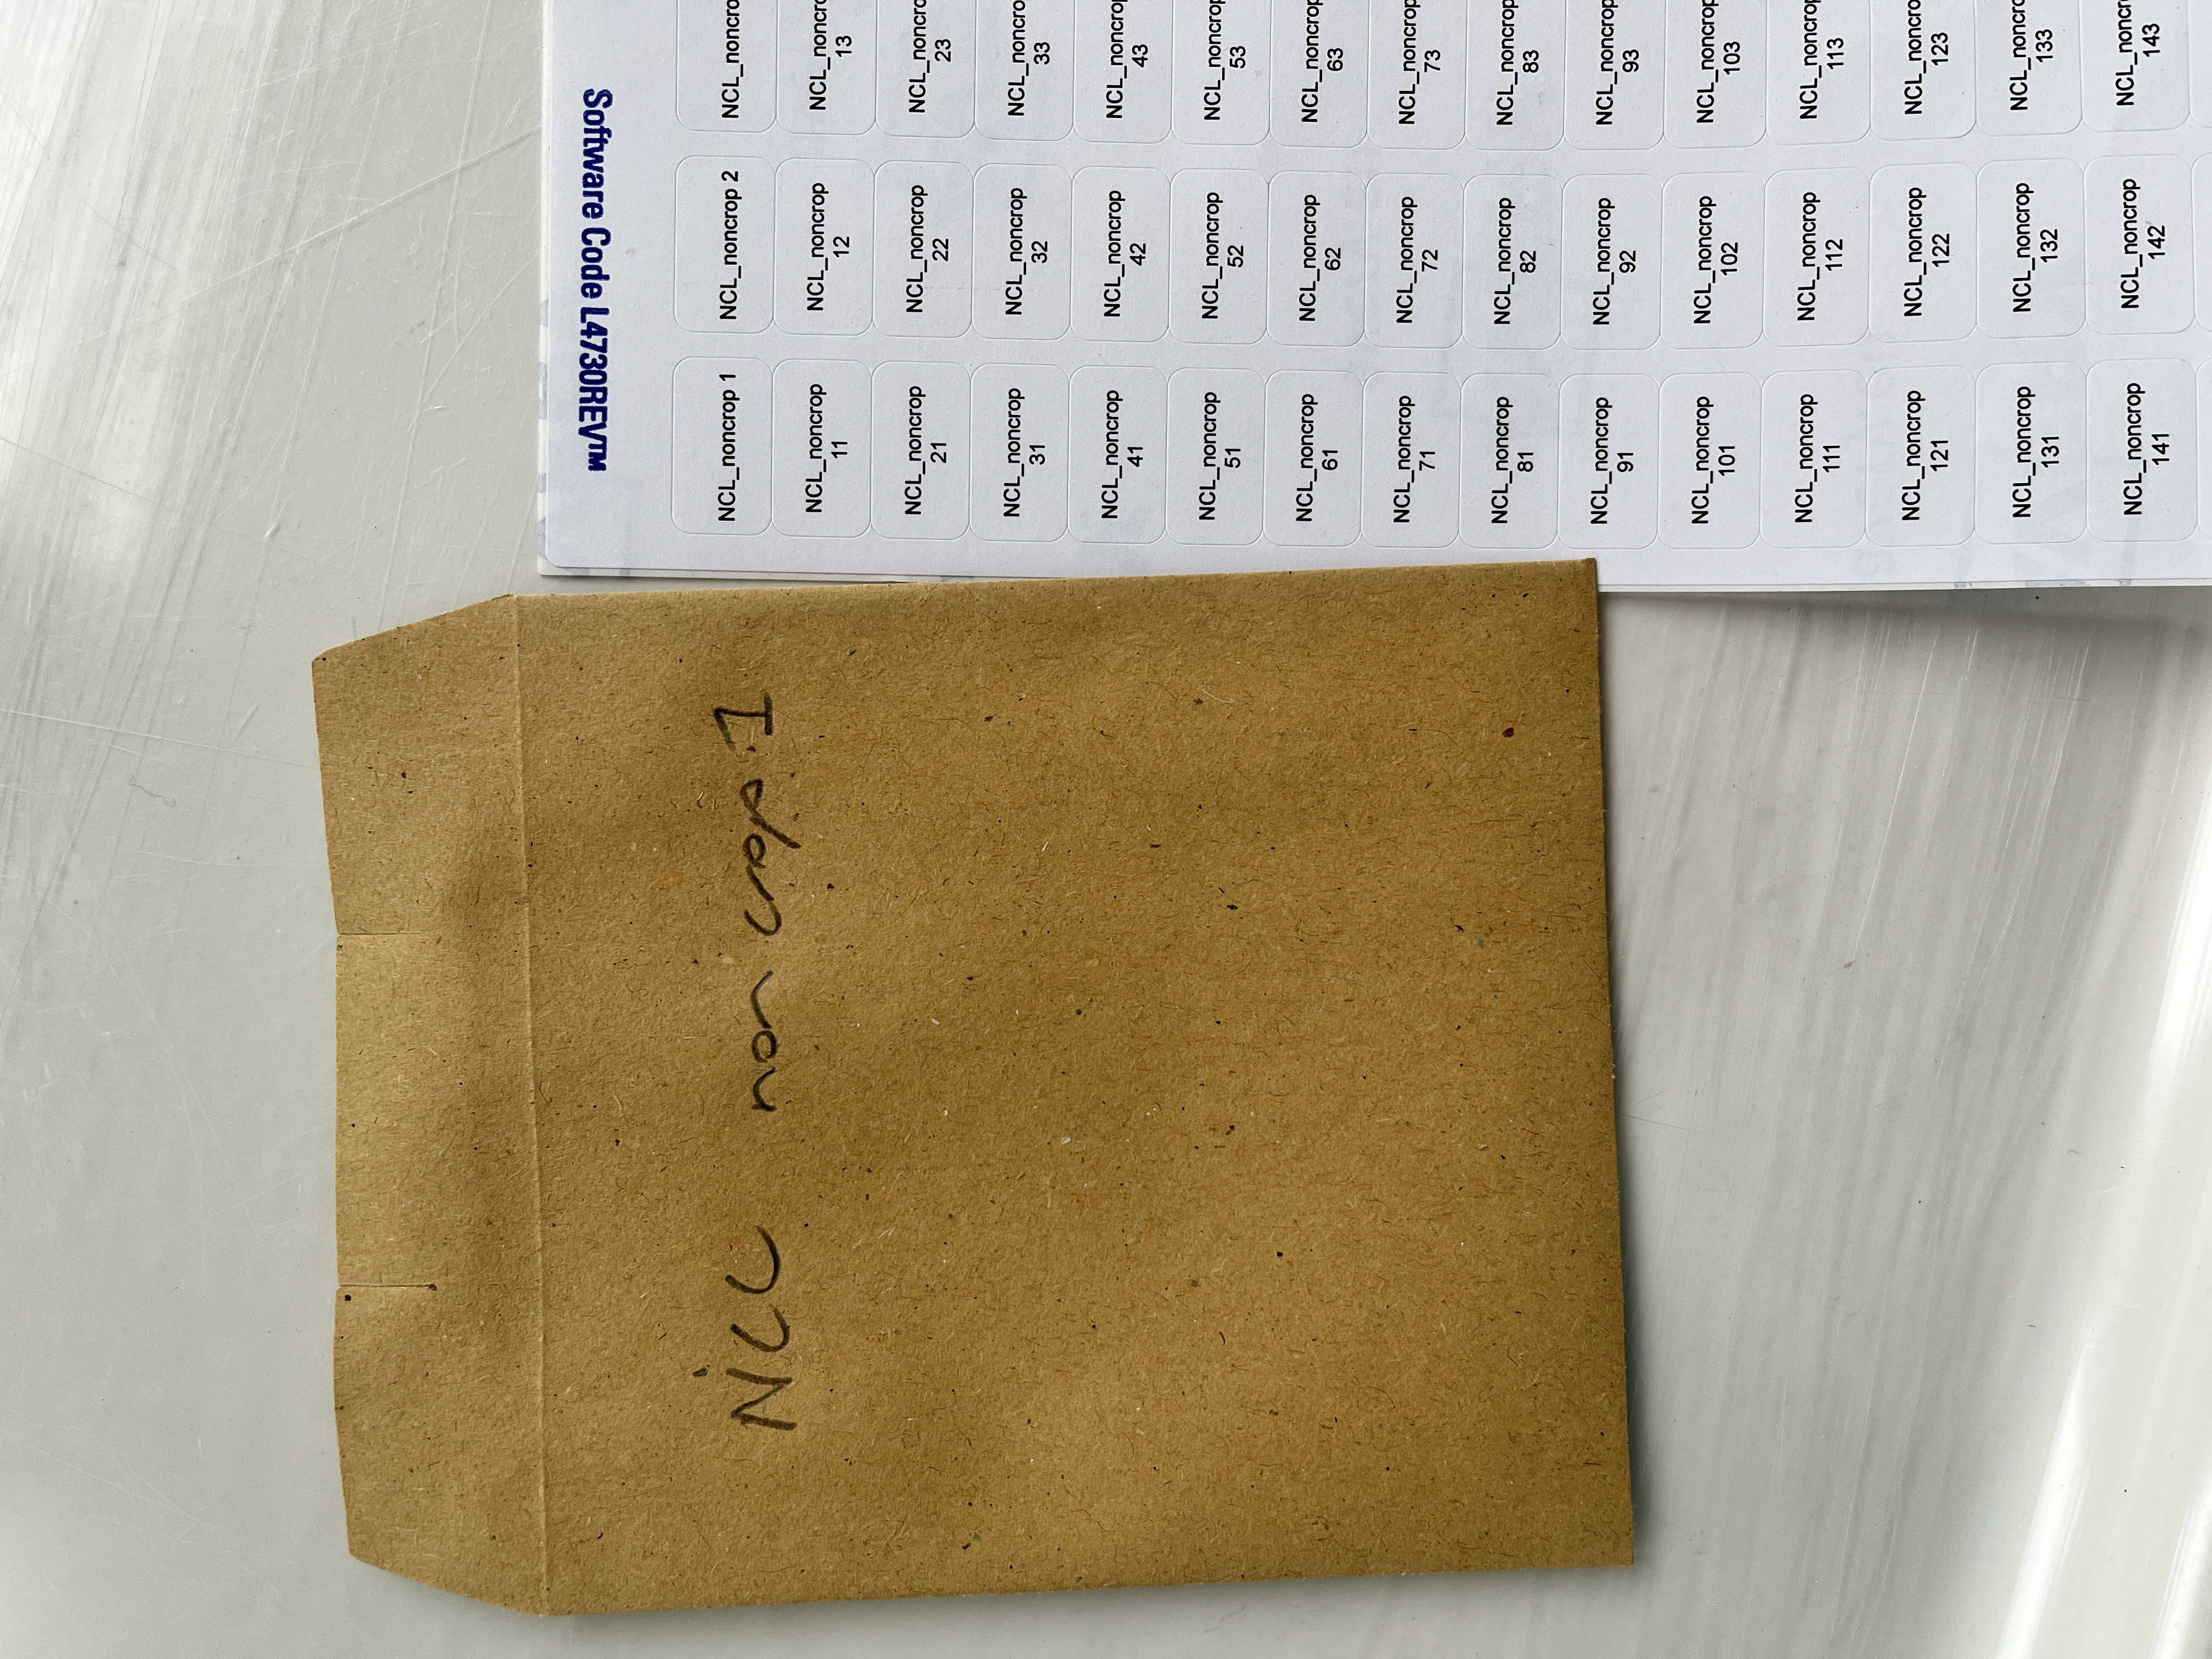
Write the sample name on a manilla sample drying envelope and find the corresponding dried sample label.

Figure 7: plant drying envelope and dried sample labels that are used to seal the flap.
9.

Into this envelope, place approximately 2-5 g of leaf and chopped stem material.

10.

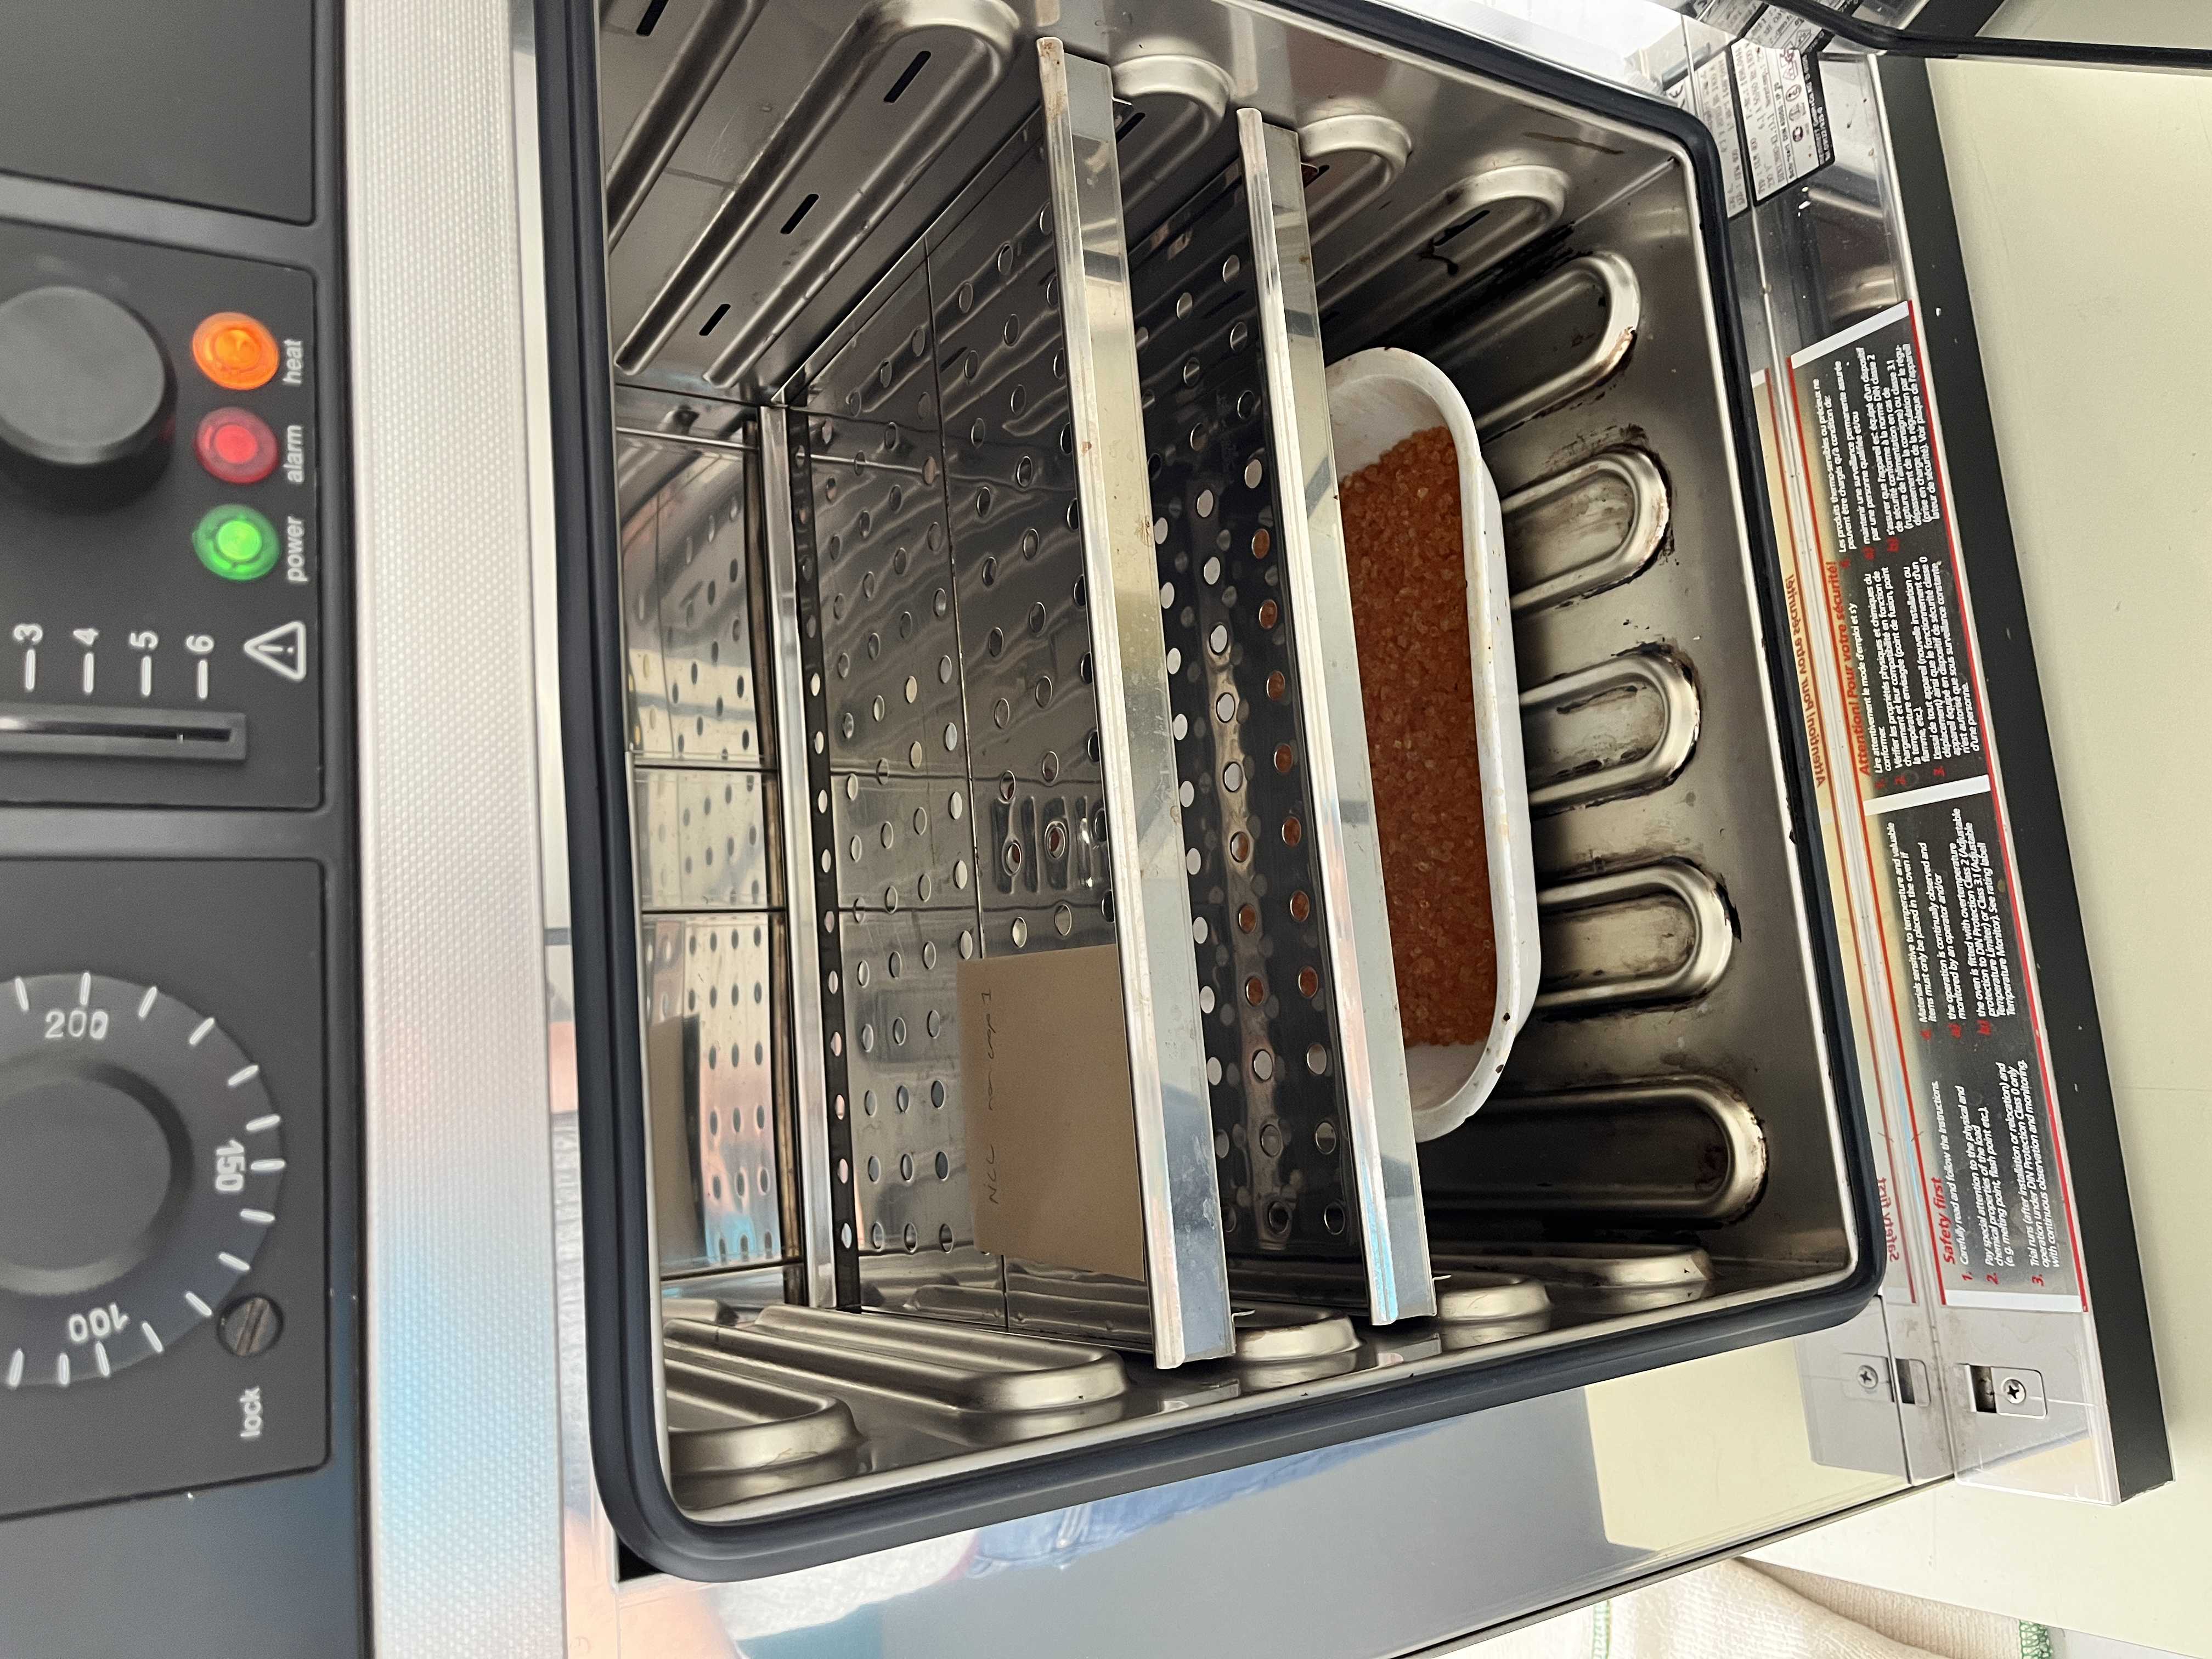
Seal with the dried sample label and place in an oven overnight at 35-40 oC with a tray of silica gel in the bottom.

Figure 8: Plant sample drying over silica in the oven.
11.

The archive sample is ready for long term storage at room temperature.

DNA extraction plant sample processing

12.

Using a clean scalpel, slice and place ~ 50 mg of plant material into the pre-prepared collection tubes containing the hardened steel ball bearings (from step 3).

13.

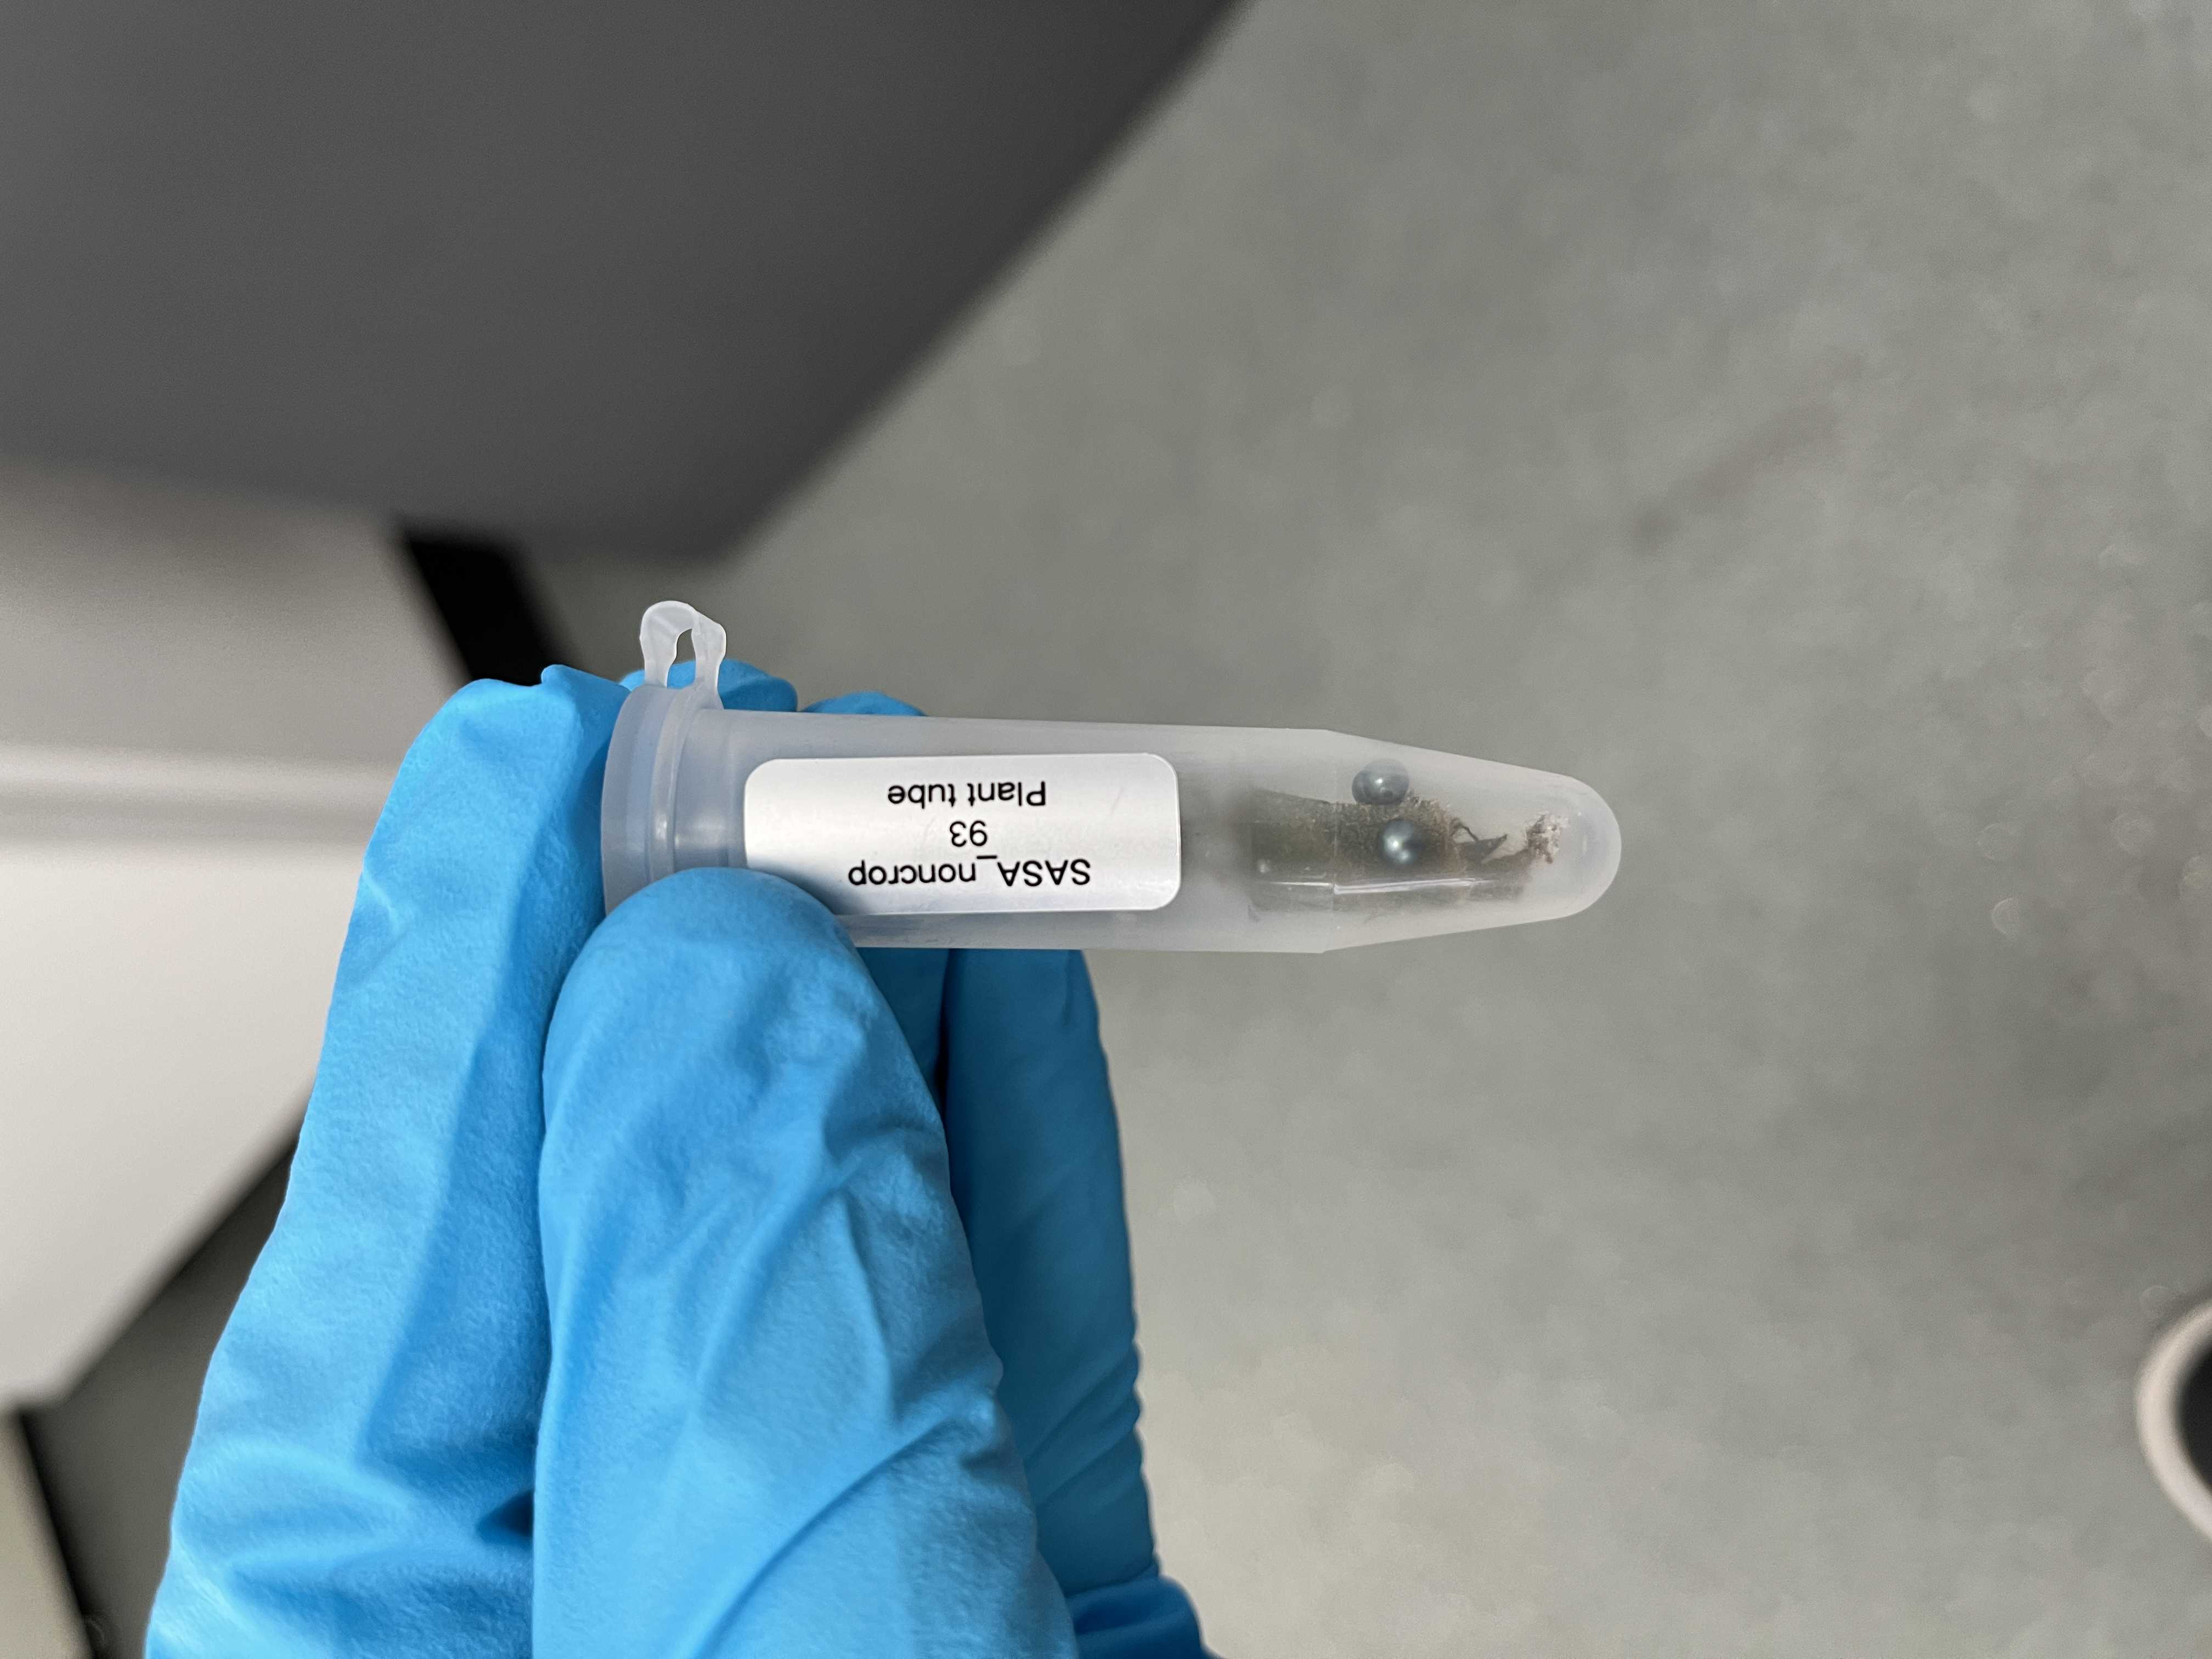
Label the tube with the corresponding tube label.

Figure 9: Plant grinding tube with label, sample and ball bearings ready for storage.
14.

Store at -20 oC until ready to proceed with DNA extraction.

Cleanup and reset

15.

The remaining plant material and packaging can be disposed of in a clinical waste bin.

16.

Wash forceps and scalpel in 1x chemgene.

17.

Rinse forceps and scalpel in molecular grade water.

18.

Rinse forceps in 100% Isopropanol and leave to dry.

19.

Wipe down dissection area with blue roll and 1x chemgene.

20.

Proceed with the next sample.

推荐阅读

Nature Protocols
Protocols IO
Current Protocols
扫码咨询