MIBI staining
Marc Bosse, Sean Bendall, Mike Angelo
Abstract
This protocol is the standard FFPE tissue staining procedure recommended for Multiplex Ion Beam Imaging Time of Flight instrument (MIBI_TOF) developed in the Sean C. Bendall and Michael R. Angelo labs. The protocol has been successfully used for MIBI and is the result of extensive optimization experiments. It is inspired from state-of-the art of immunohistochemistry staining procedures but differs in some very important steps, namely, glutaraldehyde fixation and final washes prior tissue dehydration. Failure to follow exactly all steps described in this procedure may result in inconsistencies in output data after MIBI_TOF acquisition.
Before start
Verify the stocks of all reagents and place an order or prepare solutions, if some reagents are running low.
Steps
Slide for MIBI
FFPE or frozen sections should be deposited on special conductive slides for MIBI
It is recommended to use freshly cut tissue sections. Otherwise tissue section slides should be stored properly using different state of the art methods (vacuum chamber, nitrogen chamber or vacuum sealed bags)
Slide baking and PT module preparation
Bake the sections at 70°C for 0h 20m 0s in a dry incubator
**Optional** : `1h 0m 0s` ; `1h 0m 0s`
Last 10 min place the slide (s) vertically with the label side up to allow drip down the paraffin
Prepare Target retrieval solution
2.5mL of target retrieval solution 10x (3-in-1), DAKO
in 22.5mL of ultrapure (type 1, >18 MOhms) water
| A | B | C |
|---|---|---|
| Total volume (mL) | Volume (mL) Target retrieval | Volume (mL) H2O |
| 25 | 2.5 | 22.5 |
| 50 | 5 | 45 |
| 100 | 10 | 90 |
Put in the containers with the diluted target retrieval solution in the PT Module
Equipment
| Value | Label |
|---|---|
| Thermo ScientificTM Lab VisionTM PT Module | NAME |
| Programmed Water bath | TYPE |
| Thermofisher | BRAND |
| A80400012 | SKU |
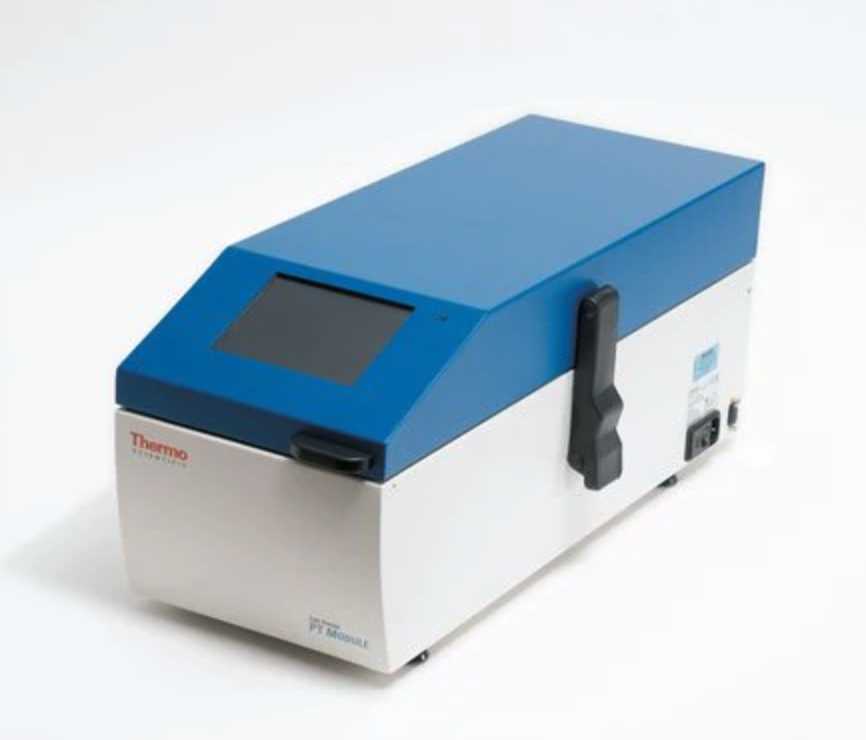
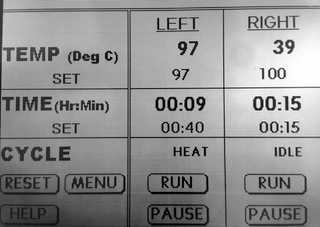
PT Module Preheat
Press RUN on digital screen and check for PREHEAT 75 on display
Slide deparafination
Linear Stainer
Pour out reagent containers and fill with fresh reagents:
Xylene x 3, 100% Ethanol x 2, 95% Ethanol x 2, 80% Ethanol, 70% Ethanol, ddH2O x 2, exit stainless steel tank = ultrapure (type 1, >18 MOhms) water
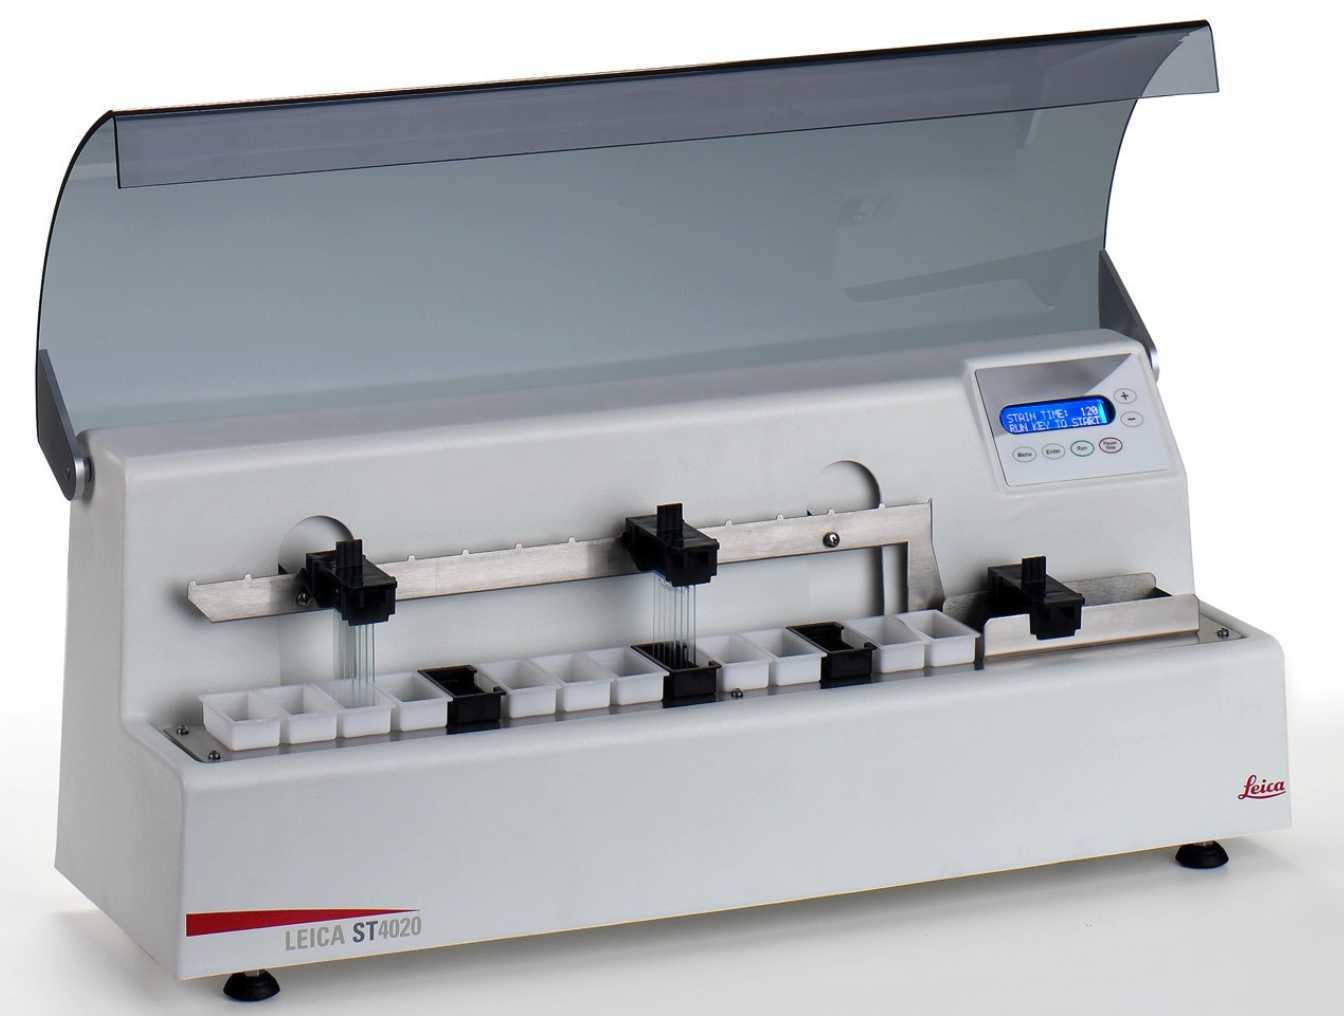
Insert slides into slide carriers
Place the slide carrier into first xylene container
Press on Menu
Check for Processing time = 30 sec, Lift bar = 976, Number of dips = 3
Continue to press Menu until the screen displays Start at: __
Set Start position corresponding to the first slide carrier position
Exemple: If the first slide carrier is at position 4, use Plus ( + ) or Minus ( -) button to increase or decrease to get Start at: 04
Then press Enter
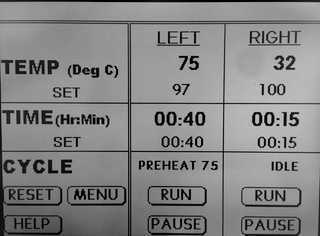
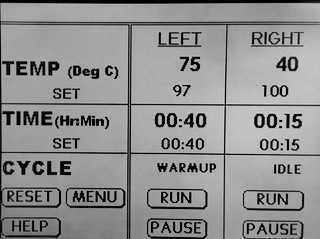
Synchronize when the PT module temperature has reached 75˚C
then Press Run on the Linear Stainer
Allow the rehydration process and wait until the slides have reached the stainless steel tank and stop
Bring the stainless steel tank with the slides in close to the PT module
Antigen Retrieval
Open the PT Module and insert the slides in the warm Target retrieval solution container
Discard water immediately from the stainless steel tank
Press RUN again and check for first WARMUP then HEAT on display, once the temperature has reached 97˚C
Verify stock of 1x PBS wash buffer and prepare accordingly if running low
| A | B |
|---|---|
| Reagents | Qty for 1000 mL |
| PBS IHC Wash Buffer with Tween 20 (mL) | 50 |
| Bovine Albumin (BSA), heat shock treated (g) | 1 |
| Ultrapure (type 1) water (mL) | 949 |
Allow to run for 40 min at97°C and then cool down for approximately 50 min and reach 65°C
When the alarm sounds Stop the PT module
Take out the slides and let cool down at room temperature for at least 0h 5m 0s
Prepare two coplin jars filled with MIBI 1x PBS wash buffer
Transfer the slides in the first MIBI 1x PBS wash buffer and use orbital shaker set for 5 min, 70 rpm
Transfer the slides to the second 1x PBS wash buffer and use orbital shaker set for 5 min, 70 rpm
Hydrophobic barrier pen
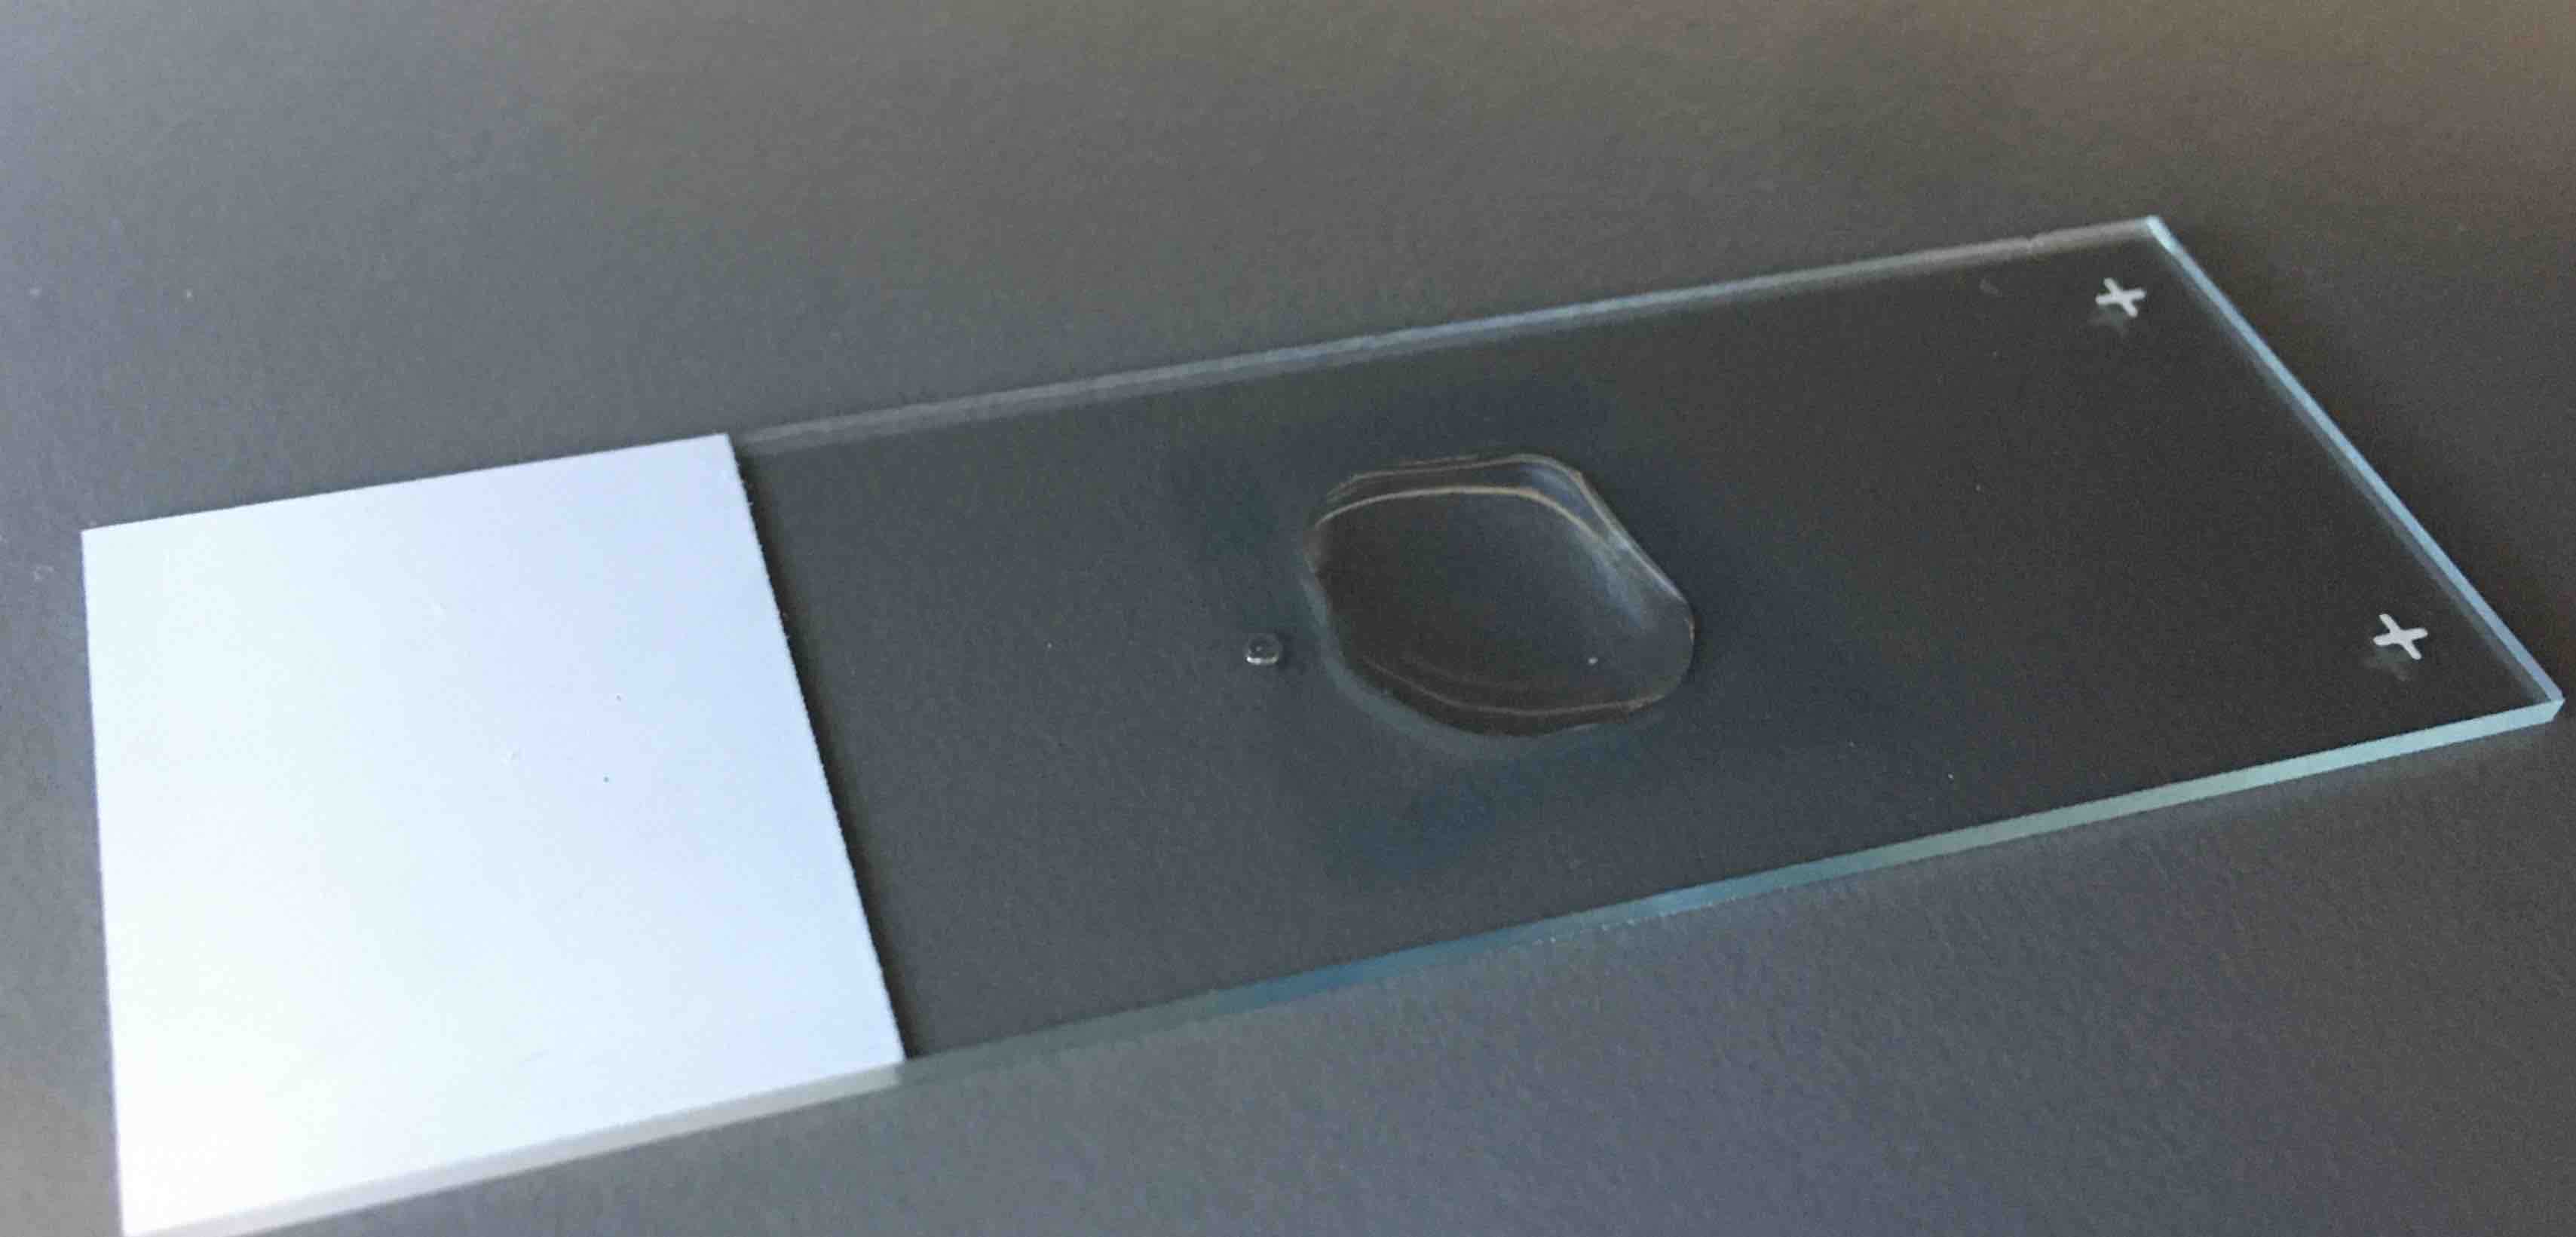
Make sure to dry with a folded-tissue paper the slide, leaving a square of wet surface surrounding of the tissue section
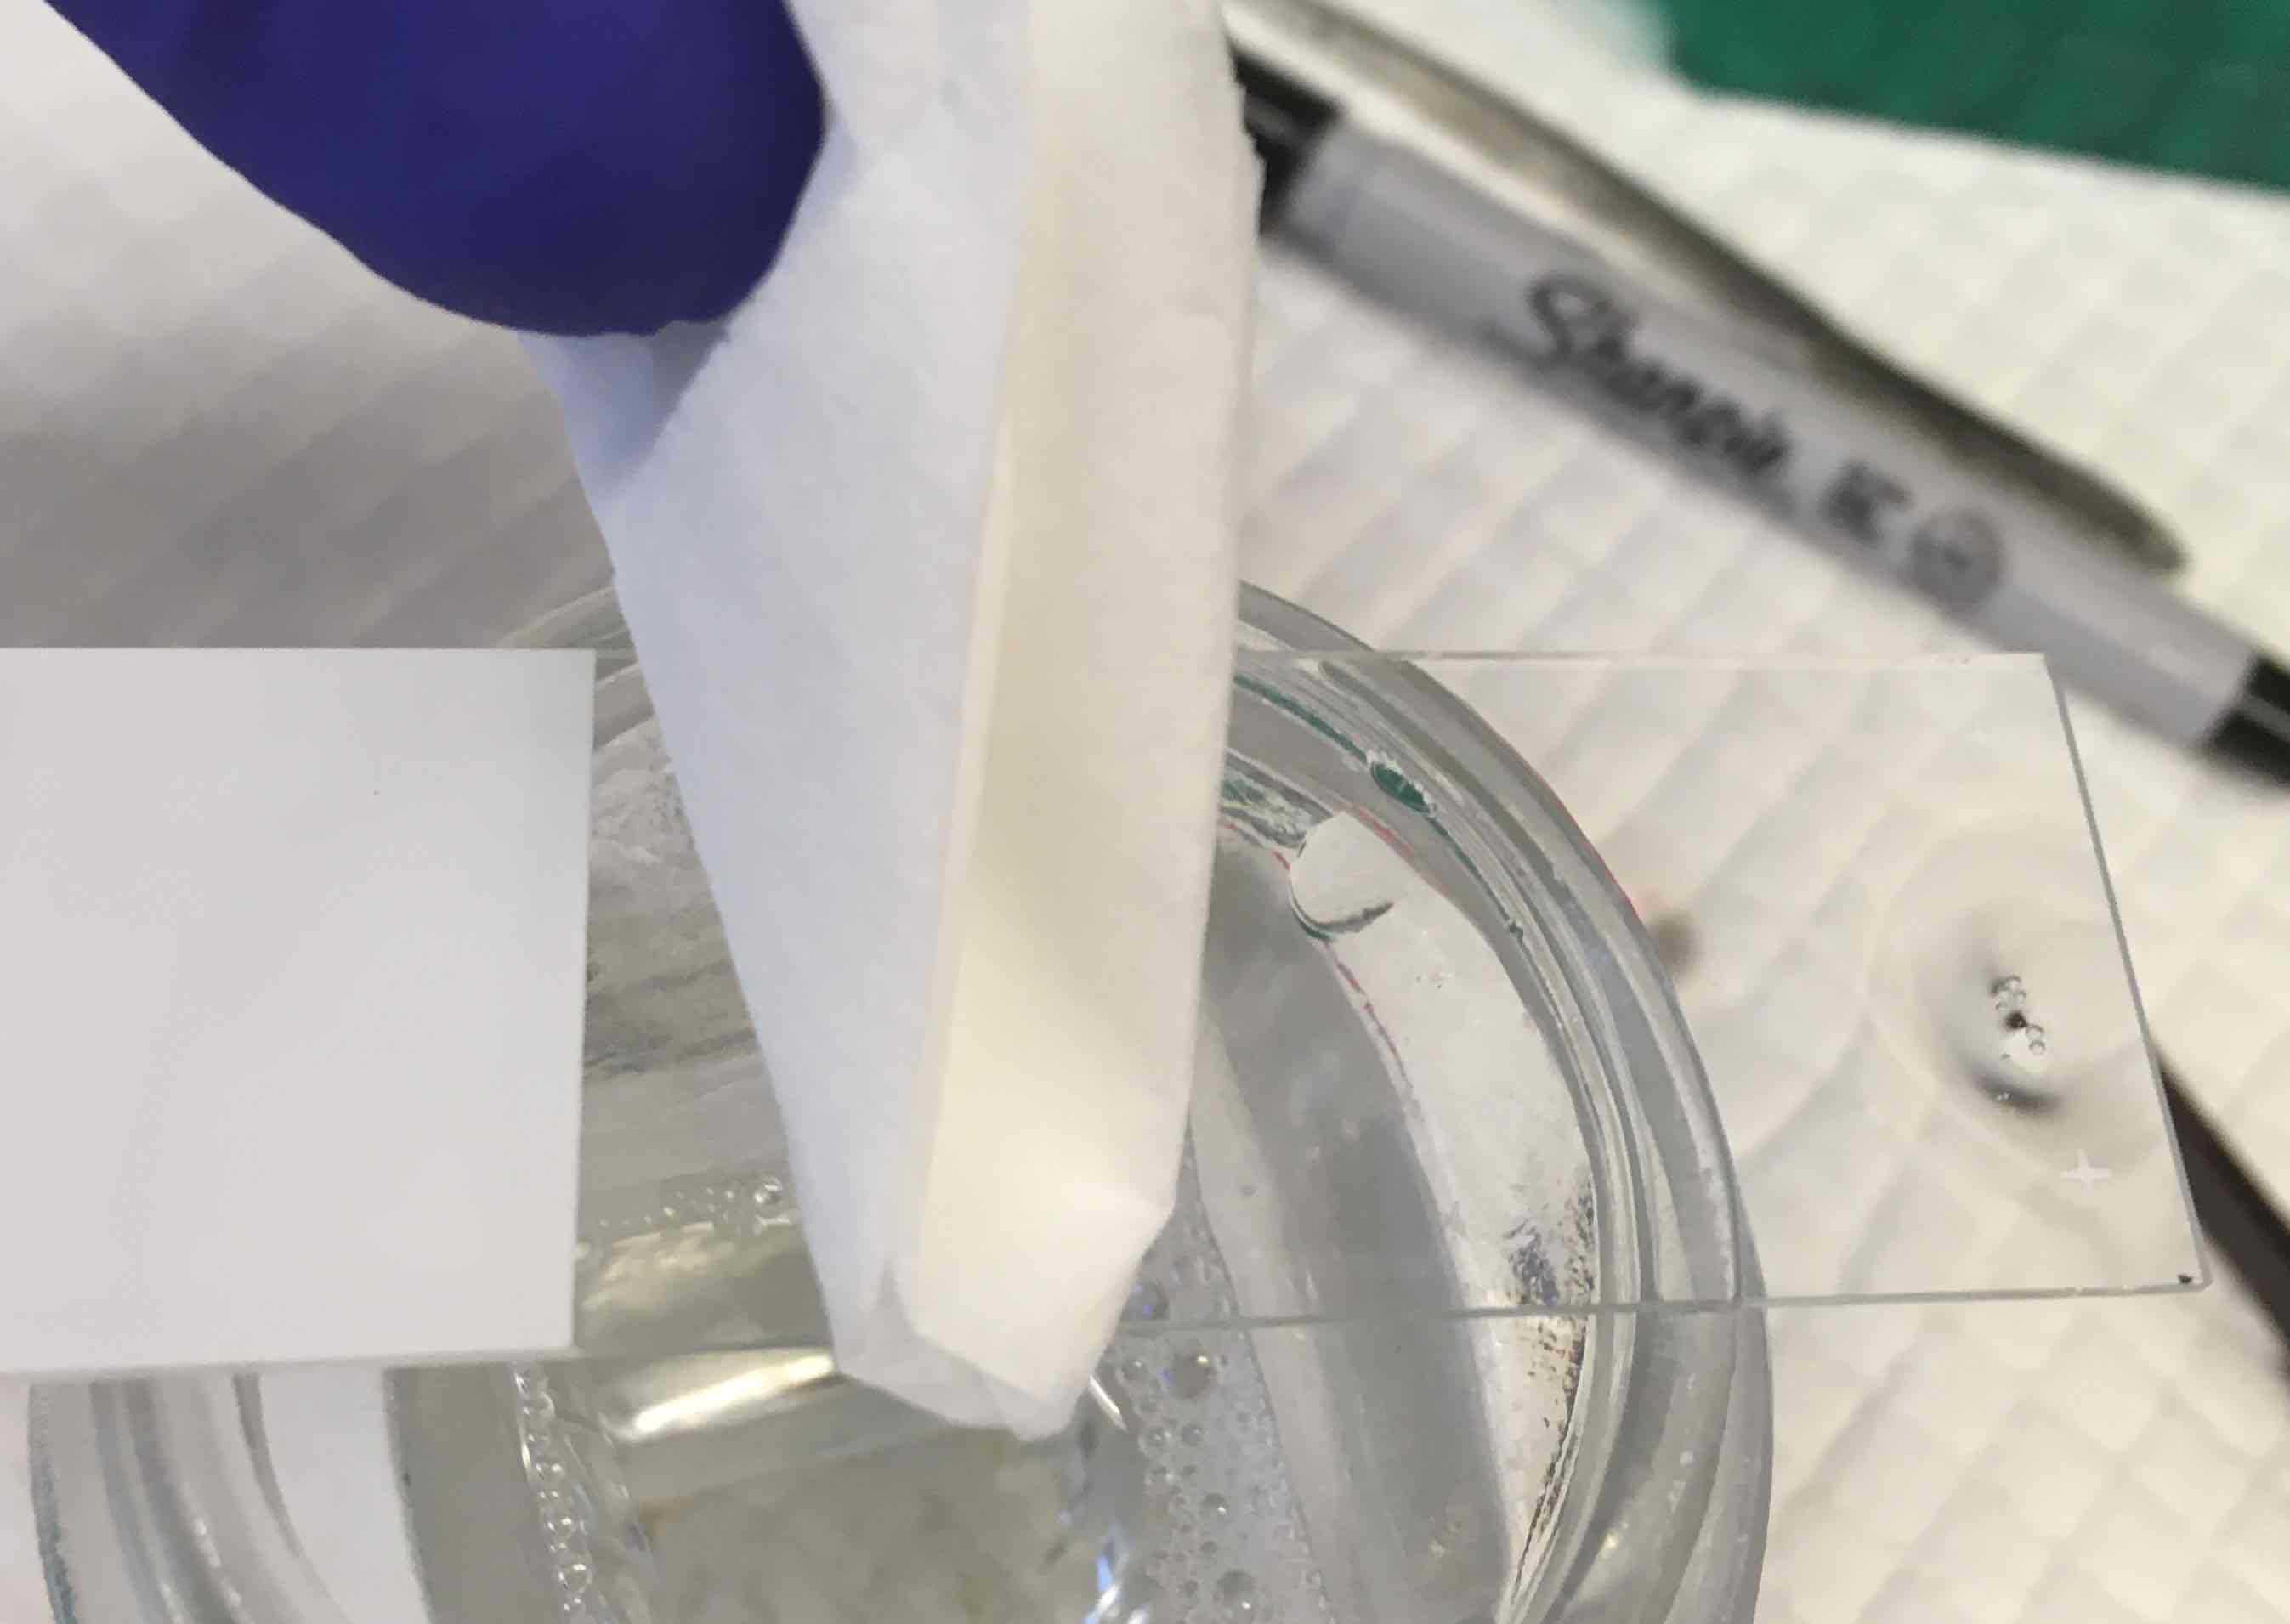
Note: Do not let AIR DRY the tissue section, this will result high background and false positive staining
Draw a square following the outside edges of the wet square with an hydrophobic barrier pen (ImmEdge pen)
Optionnal: blocking endegenous biotin
If a biotinylated antibody or a probe is used, it is recommended to block endogenous biotin
Place the slides in the moist chamber
Add drops of Avidin solution (Avidin/Biotin blocking kit, Biolegend) sufficient to cover the sample and incubate for 0h 10m 0s at Room temperature
Wash in coplin jar with MIBI 1x PBS wash buffer and use orbital shaker set for 5 min, 70 rpm
Add drops of Biotin solution sufficient to cover the sample and incubate for 0h 10m 0s at Room temperature
Wash in coplin jar with MIBI 1x PBS wash buffer and use orbital shaker set for 5 min, 70 rpm
Next day, use anti-biotin metal-labeled antibody (clone 1D4-C5) in Stain 2 panel
Blocking
Add 100 µL of Blocking Buffer for 18 mm2
For blocking solution preparation refer to MIBI and IHC solutions protocols

| A | B | C | D | E | F |
|---|---|---|---|---|---|
| Estimated Surface area (mm) | 10x10 | 15x15 | 18x18 | 20x20 | 20x45 |
| Volume (µL) | 50 | 70 | 100 | 150 | 350 |
Place the slides in a moist chamber at Room temperature and incubate 0h 20m 0s to 1h 0m 0s
Multiplex Antibody mix
Prepare antibody mix based on the putative multiplex antibody panel
Make sure that all the antibodies are ready to use BEFORE starting to build the panel
It is highly recommended to prepare all the antibodies, ready to use, a day before the panel is built
Evaluate the total volume of multiplex antibody mix by counting the number of slides and the surface area per slide
Refer to the chart for the volume of antibody to apply according to the estimated surface area
| A | B | C | D | E | F |
|---|---|---|---|---|---|
| Estimated Surface area (mm) | 10x10 | 15x15 | 18x18 | 20x20 | 20x45 |
| Volume (µL) | 50 | 70 | 100 | 150 | 350 |
Build an antibody mix table information to make the antibody panel as follow:
Conjugation ID, Target name, Channel, Antibody concentration, Titer, Volume
Exemple:
| A | B | C | D | E | F |
|---|---|---|---|---|---|
| ID | Target | Channel | Concentration µg/mL | Titer (µg/mL) | Volume (µL) |
| 1565 | CD45 | 169 | 50 | 0.25 | = |
| 1516 | CD8 | 158 | 50 | 0.5 | = |
| ... | ... | ... | ... | ... | ... |
| Total | 500 | ||||
| Antibody mix | =F5-F7 | ||||
| Antibody diluent (NHS 3%) | =F5-SUM(F2,F3) |
For Antibody Diluent (NHS 3%) solution preparation refer to MIBI and IHC solutions protocols
Add 400µL of antibody diluent (NHS 3%) to a Centrifugal 0.1 µm filter unit (Millipore, UFC30VV00)
10000rcf
Discard flow through
Add antibody mix to the filter unit
10000rcf
Stain 1 (Overnight)
Remove the blocking solution by tapping the slide on a side
Immediately add the filtered multiplex antibody mix
Place the moist chamber at 4˚C , preferably in a place with low disturbance (e.g. a designated area in a cold room)
Wash buffer
Prepare two Coplin jars filled with 1x PBS wash buffer
Transfer the slides into the first Coplin jar and use orbital shaker set for 5 min, 70 rpm
Transfer the slides into the second Coplin jar and use orbital shaker set for 5 min, 70 rpm
Stain 2 (1h)
Add adequate volume of the selected sub-panel of antibody mix
Refer to the chart for the volume of antibody to apply
| A | B | C | D | E | F |
|---|---|---|---|---|---|
| Estimated Surface area (mm) | 10x10 | 15x15 | 18x18 | 20x20 | 20x45 |
| Volume (µL) | 50 | 70 | 100 | 150 | 350 |
| Estimated # of drops | 1 | 2 | 3 | 4 | 8-9 |
Place sample in a sealed humidity chamber, transfer to 4oC refrigerator, and incubate 1h 0m 0s
After 1h incubation
than go to step 33
Prepare solutions
Prepare fresh glutaraldehyde fixing solution
Glutaraldehyde fixing solution
- Add
30mLof 1x PBS low barium in a 50 mL tube - Break the glass glutaraldehyde 8% (amber vial)
- Add the content of the glutaraldehyde (10 mL) by inverting it and tapping the bottom of the vial in the 50 mL tube
- Transfer the content in a linear stainer container
Set the linear stainer containers
Fill containers with the following solution and order
Glutaraldehyde x 1, PBS low barium x 1, TRIS 100 mm pH 8.5 x 3, ddH2O x 2, 70% Ethanol x1, 80% Ethanol x1, 95% Ethanol x 2, 100% Ethanol x 2, exit stainless steel tank = empty
Glutaraldehyde fixation
Mount the slides on the linear slide holder
Fix for 0h 5m 0s
Rinse briefly with 1x PBS low barium
Dehydration and Storage
Press on Menu
Check for Processing time = 30 sec, Lift bar = 976, Number of dips = 3
Continue to press Menu until the screen displays Start at: __
Set Start position corresponding to the first slide carrier position
Exemple: If the first slide carrier is at position 3, use Plus ( + ) or Minus ( -) button to increase or decrease to get Start at: 03
Then press Enter
Press Run on the Linear Stainer
Allow the dehydration process and wait until the slides reached the empty stainless steel tank and stop
Store the slides immediately under vacuum until MIBI acquisition
Alternatively, the stained slides can be stored in a vacuum sealed bag for longterm storage pre and post MIBI acquisition
