Step by Step from Environmental Samples to Preservation Vials
Guan Jie Phang
Abstract
This protocol shows how to generate a MICROBES ISOLATION FROM ENVIRONMENTAL SAMPLES into LAB COLLECTION. Please follow the instructions and do not modify the protocols by yourself. If any changes are needed please inform the lab manager or admin.
Steps
Isolate Primary Culture from Environmental Samples
Once you received your environmental samples.
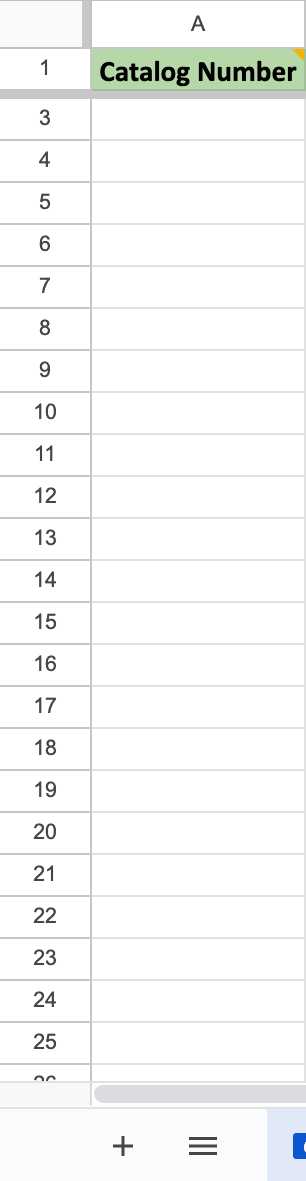
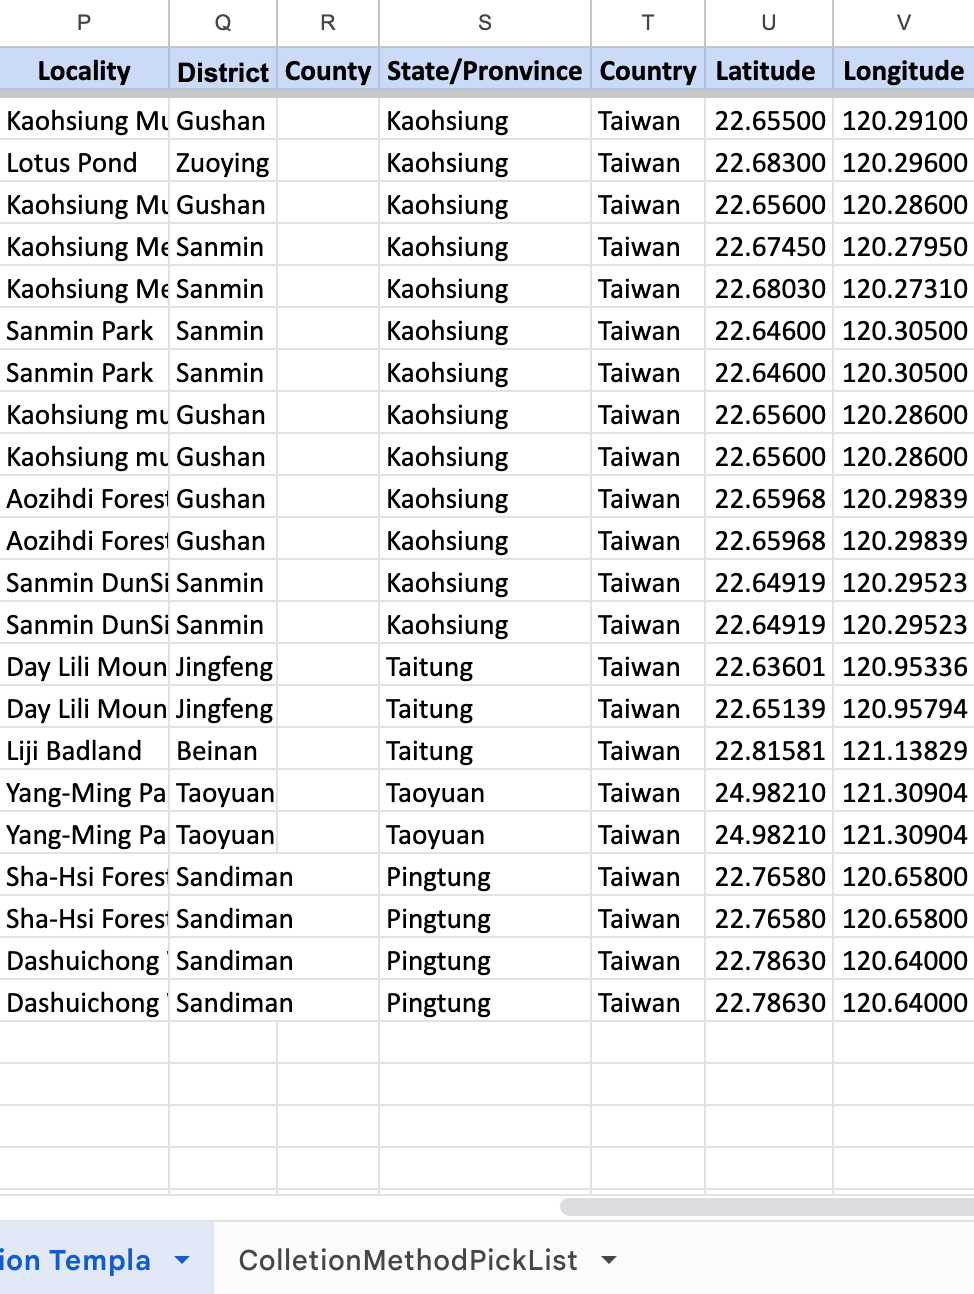
Please catalog them in your Environmental Samples spreadsheet.
<img src="https://static.yanyin.tech/literature_test/protocol_io_true/protocols.io.n2bvj8mk5gk5/Screen%20Shot%202023-04-15%20at%205.08.41%20PM-min.jpg" alt="Make a copy of the template for yourself. The template "1 EnvironmentalSamples Template" marked with blue box is available in HuangLab Collection." loading="lazy" title="Make a copy of the template for yourself. The template "1 EnvironmentalSamples Template" marked with blue box is available in HuangLab Collection."/>
Fill in the columns of the spreadsheet step by step (As shown in the following steps 2.1-2.15)
*In the template, some template data are there for your reference, please delete them in your copy and fill in only your data.
- Remember to scroll to the right and fill in as much as information you can.


Leave the Catalog Number (Column A) blank. The Catalog Number will be generated automatically from Specify. Copy and paste it directly after the upload.
The values of these columns were set using a formula. You only need to choose the Prep Type (Column W), which is the way you preserve your samples.
*Inform admin when other Prep Type is needed.

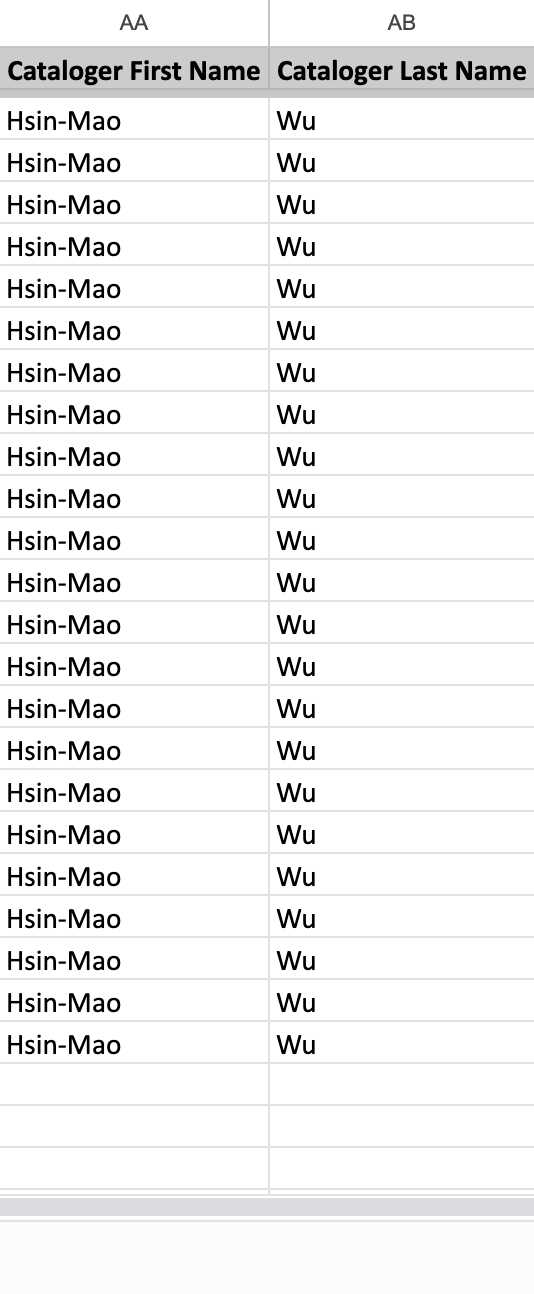
Fill in the name (Column AA and AB) of who uploaded the data to Specify.
You can leave any informative notes of your samples. If not, leave it blank.

Done!! Download the spreadsheet as .csv format.
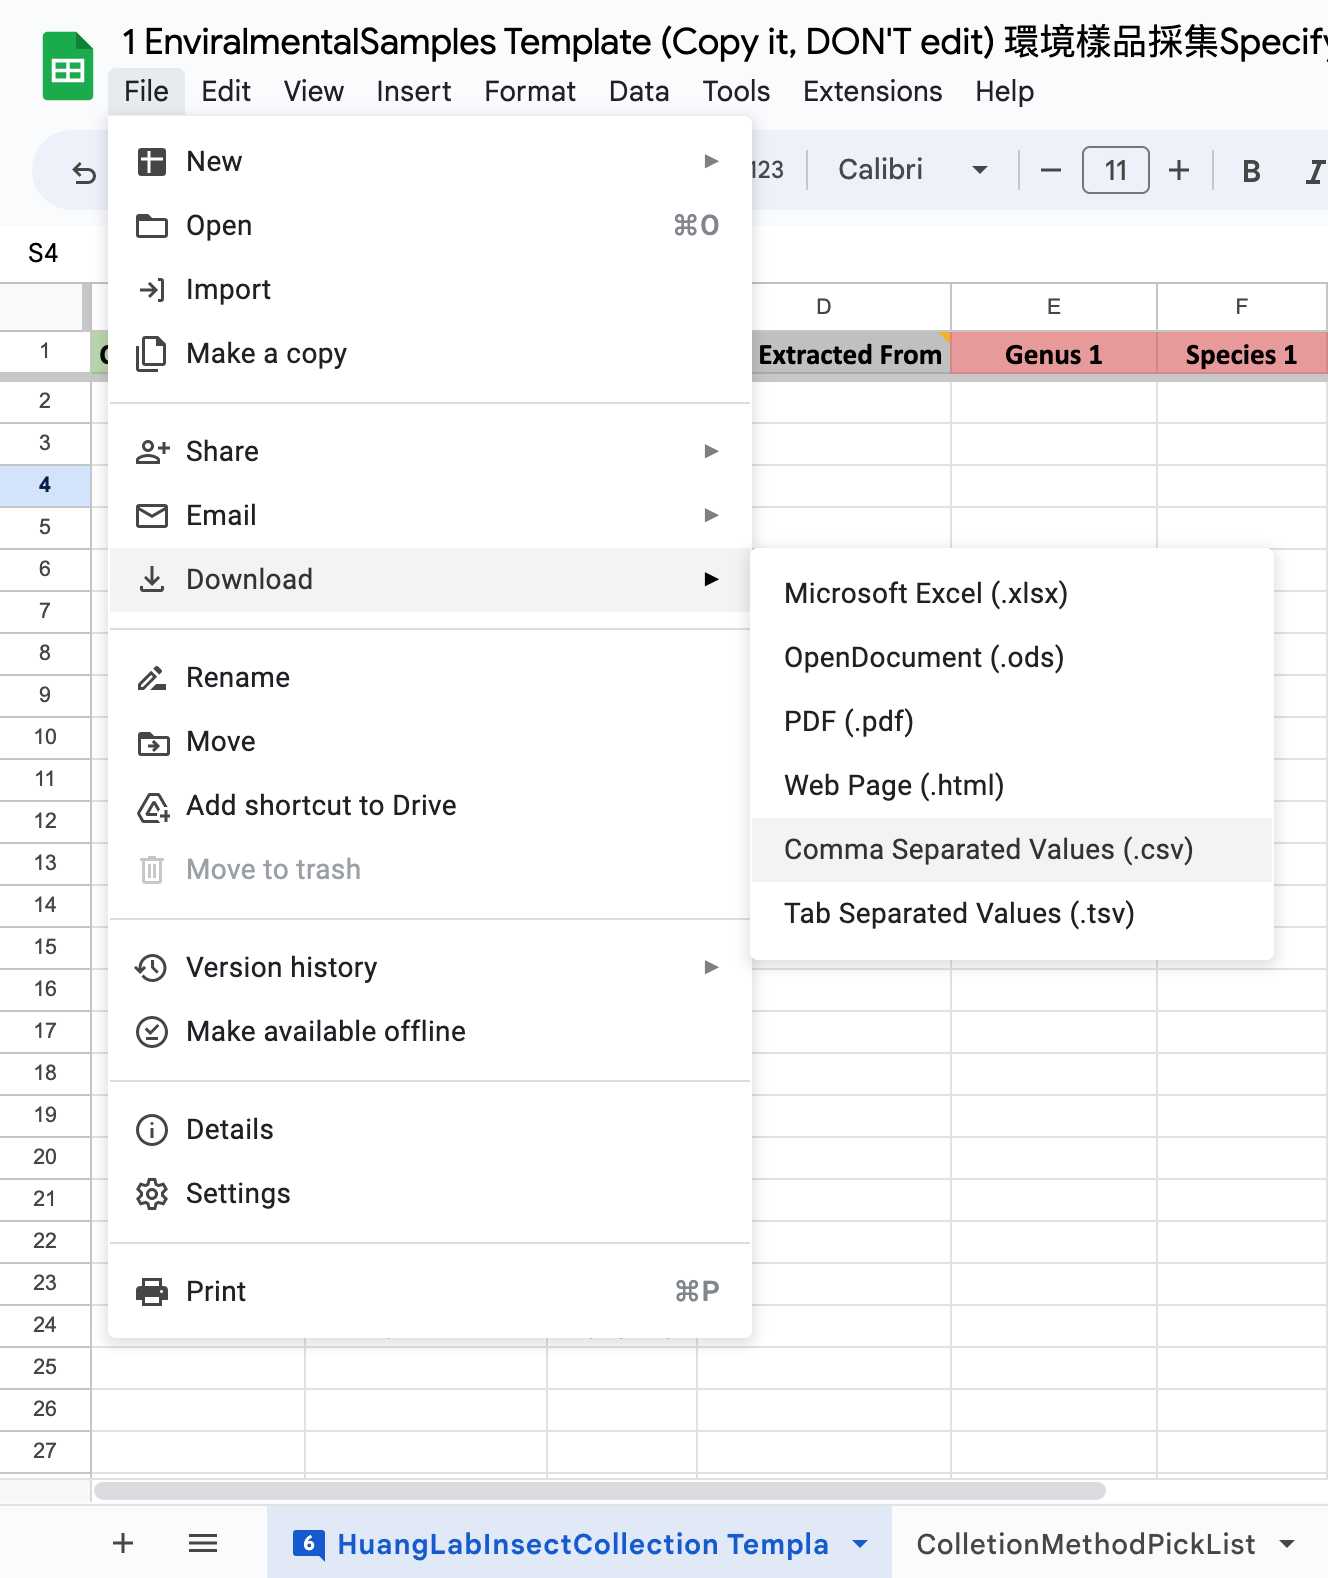
Delete the row with existed Catalog Number if any.
**Leave the not-uploaded rows only.

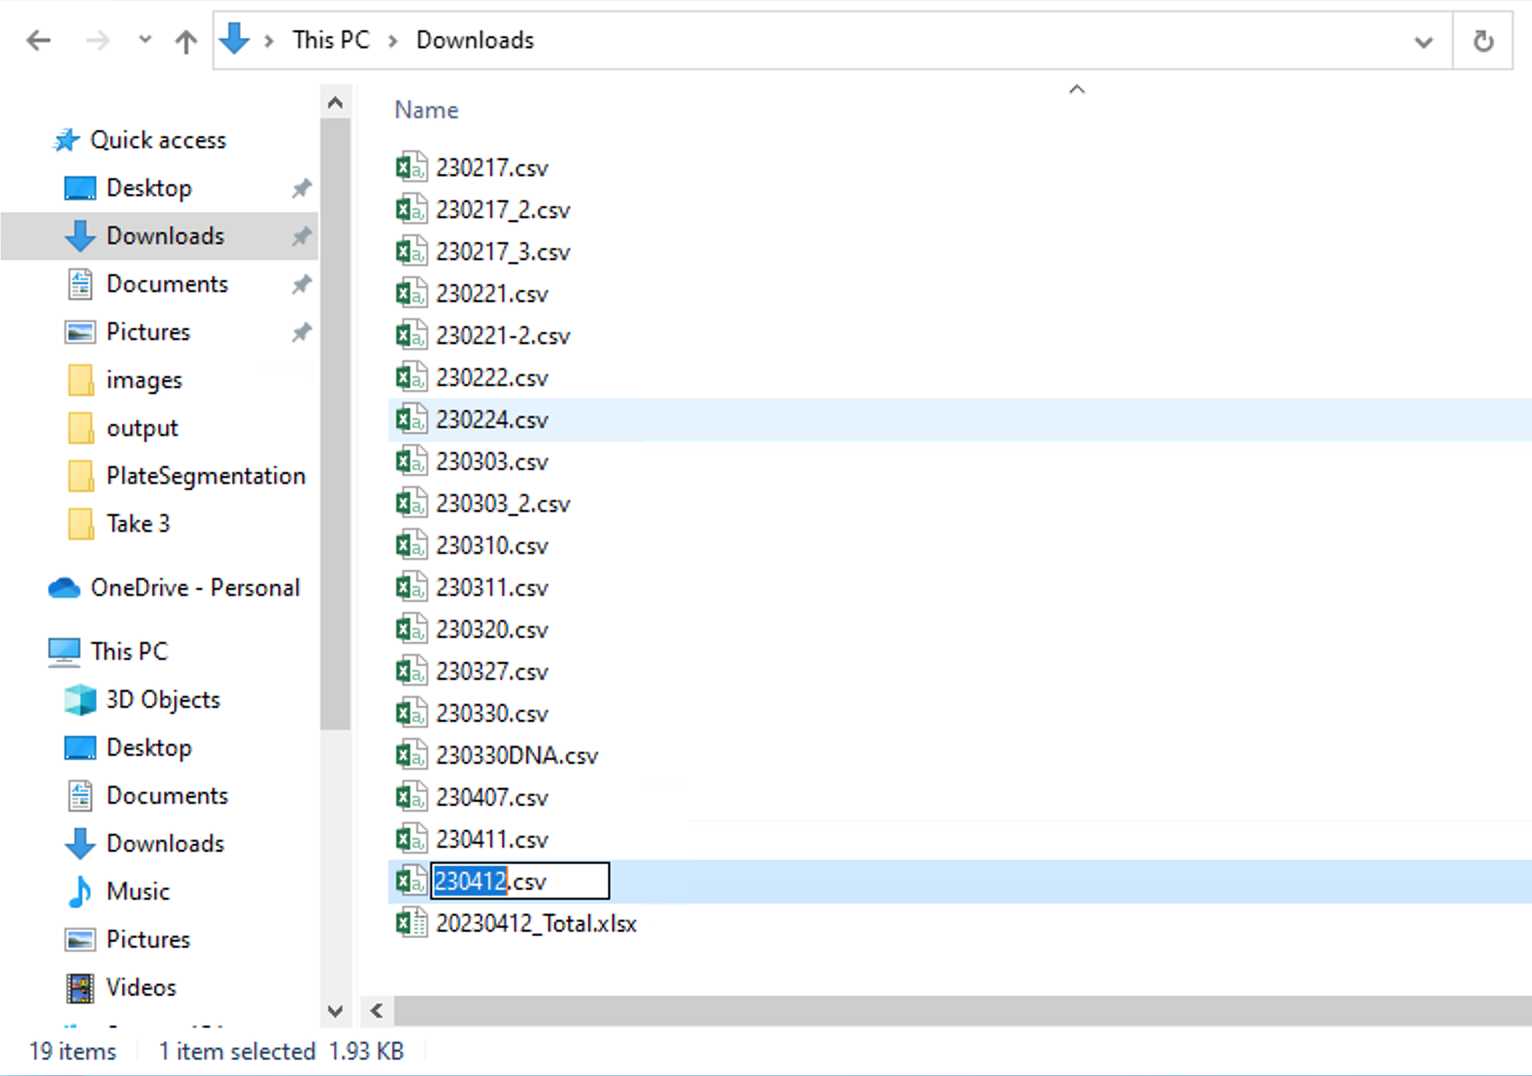
Rename the file with the date you are going to upload the datasheet to Specify.
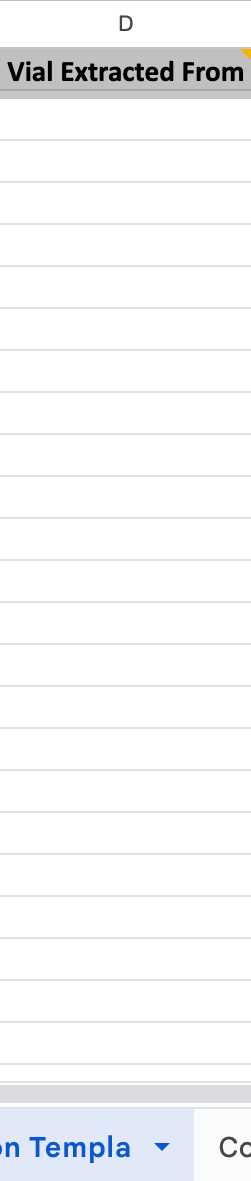
Accession Number (Column B) is for your own reference, you can name your sample as you want, there is no specific format for this.
Field Vial (Column C) is the iNaturalist code. You only need to fill this column when you got the samples from citizen scientists.

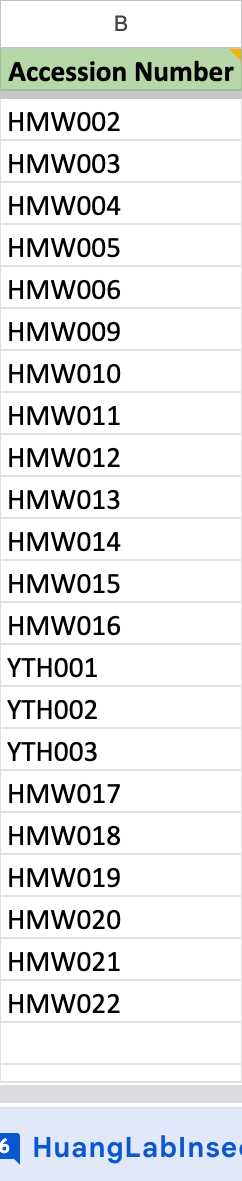
Leave the Vial Extracted From (Column D) blank.
For Column E, F, G, G:
If your samples are SOIL SAMPLES , please follow this example.
.")
If your samples are ENVIRONMENTAL SAMPLES , please follow this example.
.Genus 1 & Species 1: Fill in the scientific name of your samples (unable to identify just leave it blank). Habitat/Substrate: What is the environment you collected your samples (e.g., the host plant for the ambrosia & bark beetles).Isolation: How you isolate your samples (the default is Direct).")
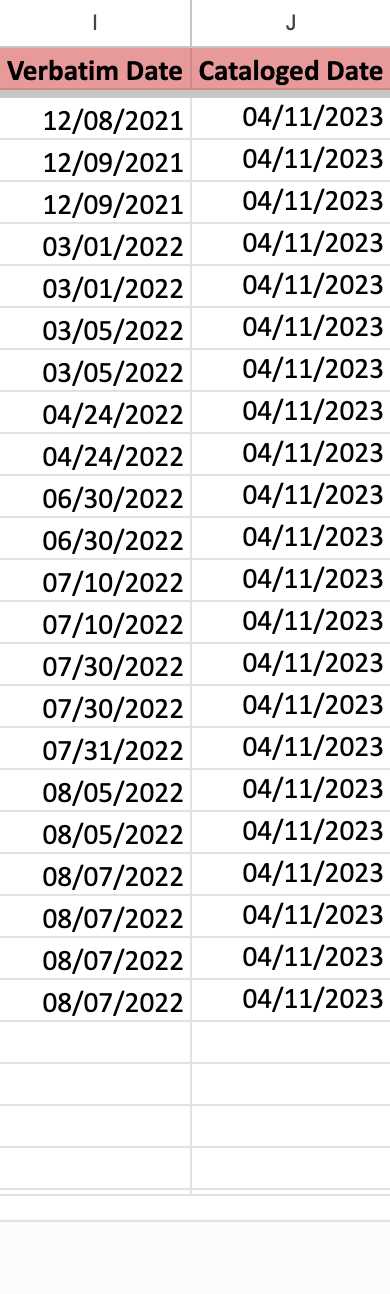
Fill in the Verbatim Date (Column I) with the date you COLLECTED the samples .
Fill in the Cataloged Date (Column J) with the date you UPLOADED the data to Specify .
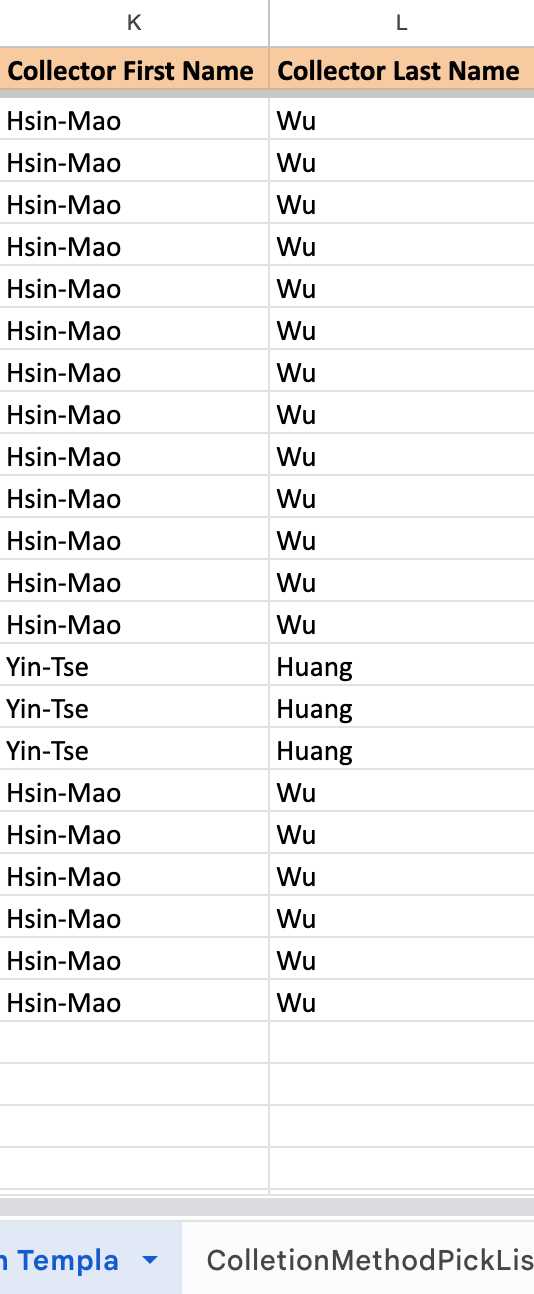
Collector First Name (Column K) and Collector Last Name (Column L)
Fill in the name of the collector.
Fill in these columns when the sample is identified with a scientific name, remember to fill Column E and F (Genus and Species names) as well. If not, leave it blank.
Fill in the date you did the determination (identification).

Fill in these columns with the geographical information of your samples.
Leave it blank, when you don't have the information or the materials is outsourced lacking this info.
Upload your datasheet to Specify database
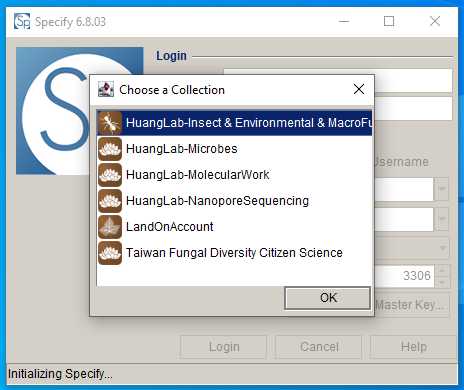
The account setup is skipped
Login to the Specify database. Choose the first collection (HuangLab-Insect & Environmental & MacroFungi) .
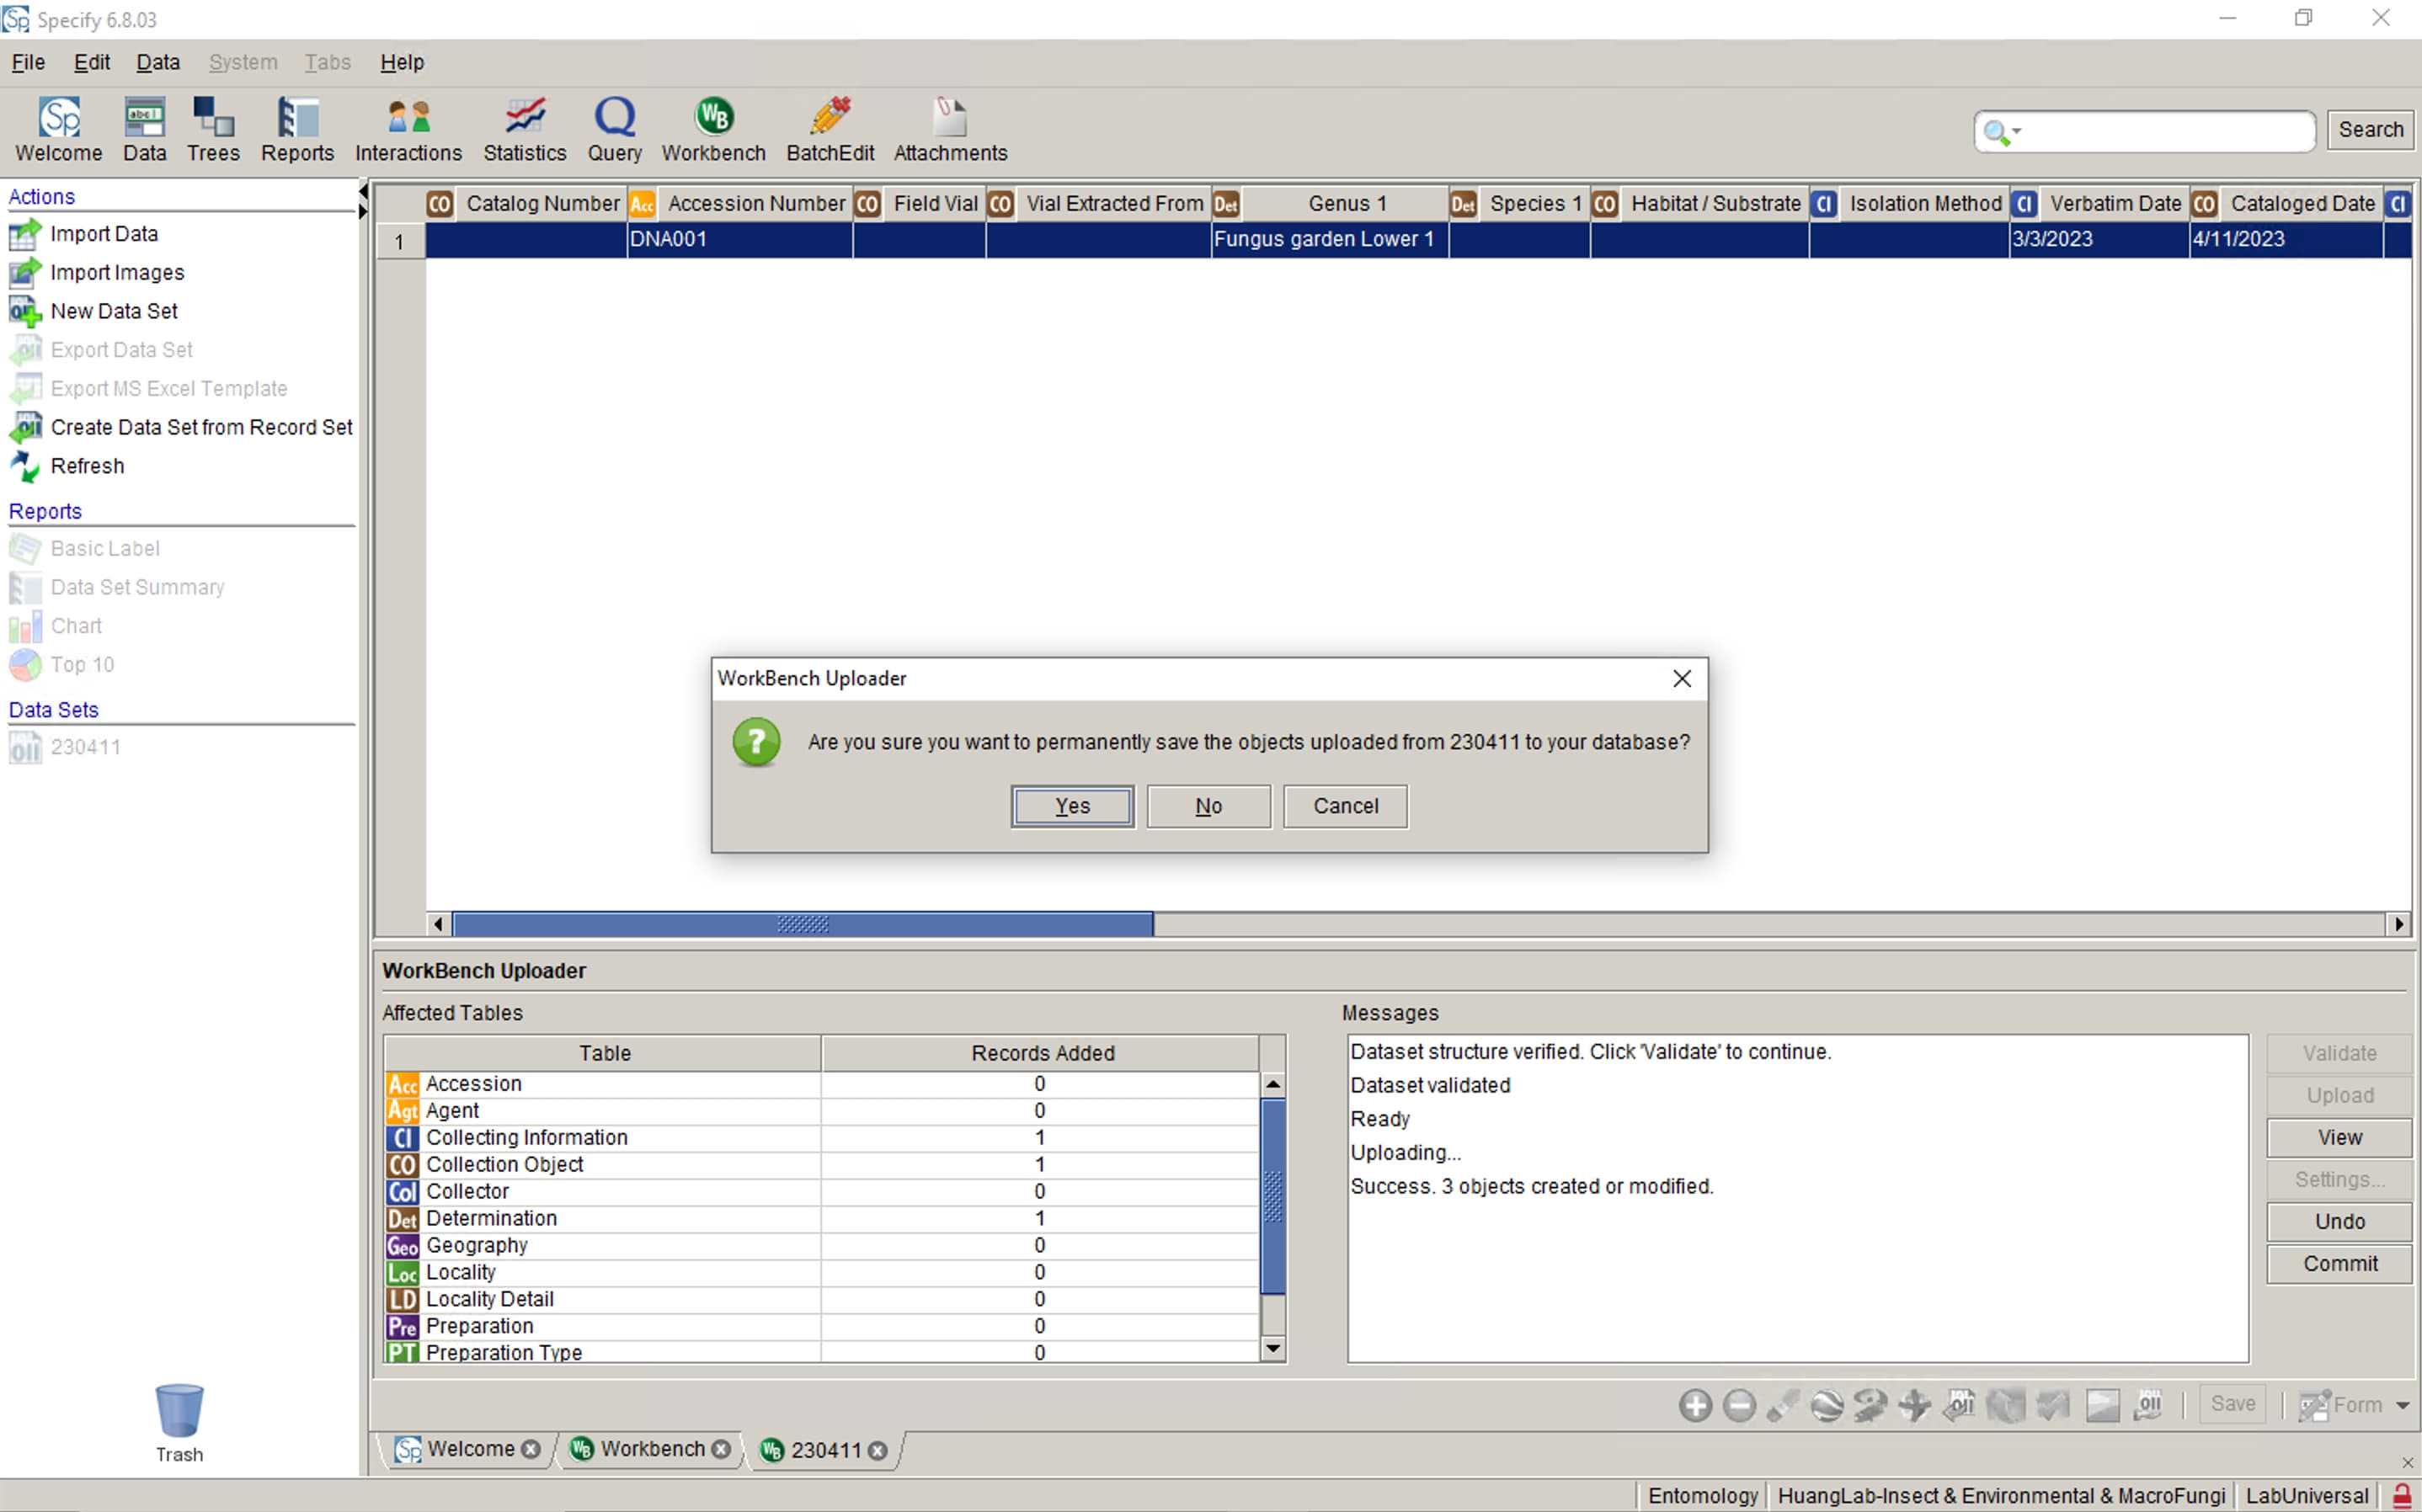
Go to the Workbench tab.

Click Yes to finish the upload progress.
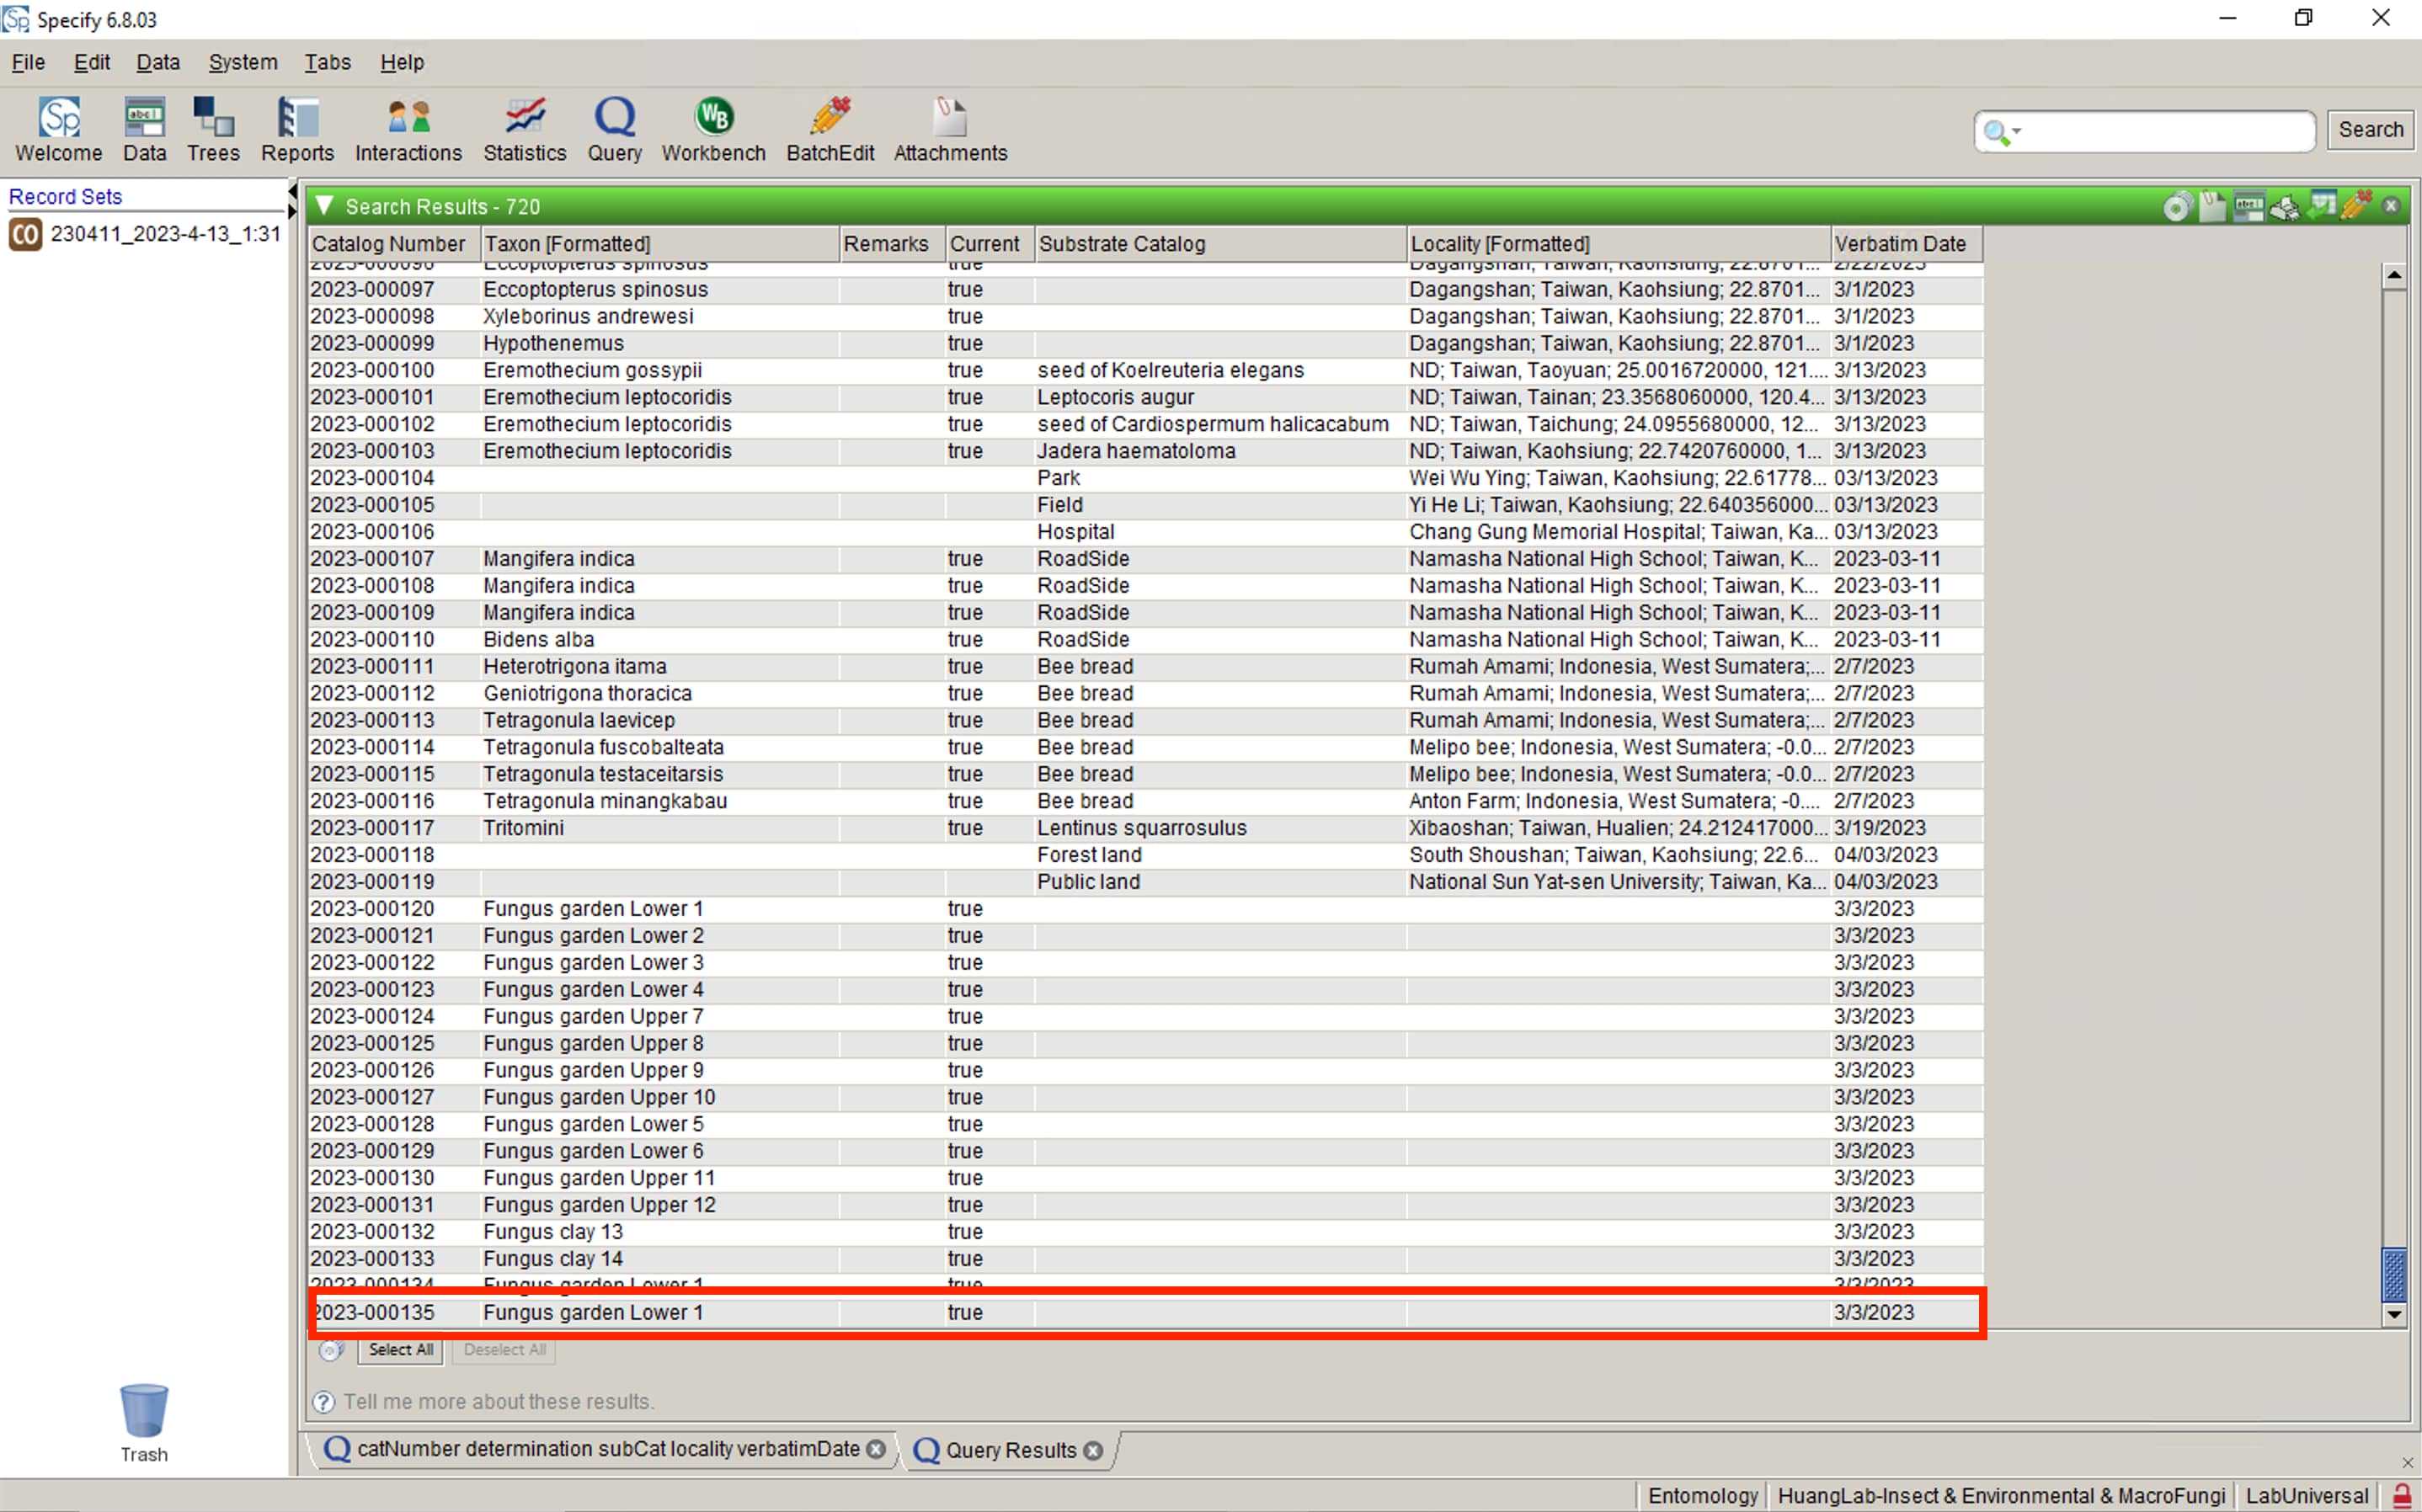
Now you can go to Query -> catNumber determination... (under the Saved Queries in left panel) to check if the upload succeeded.
Click Search to start querying.
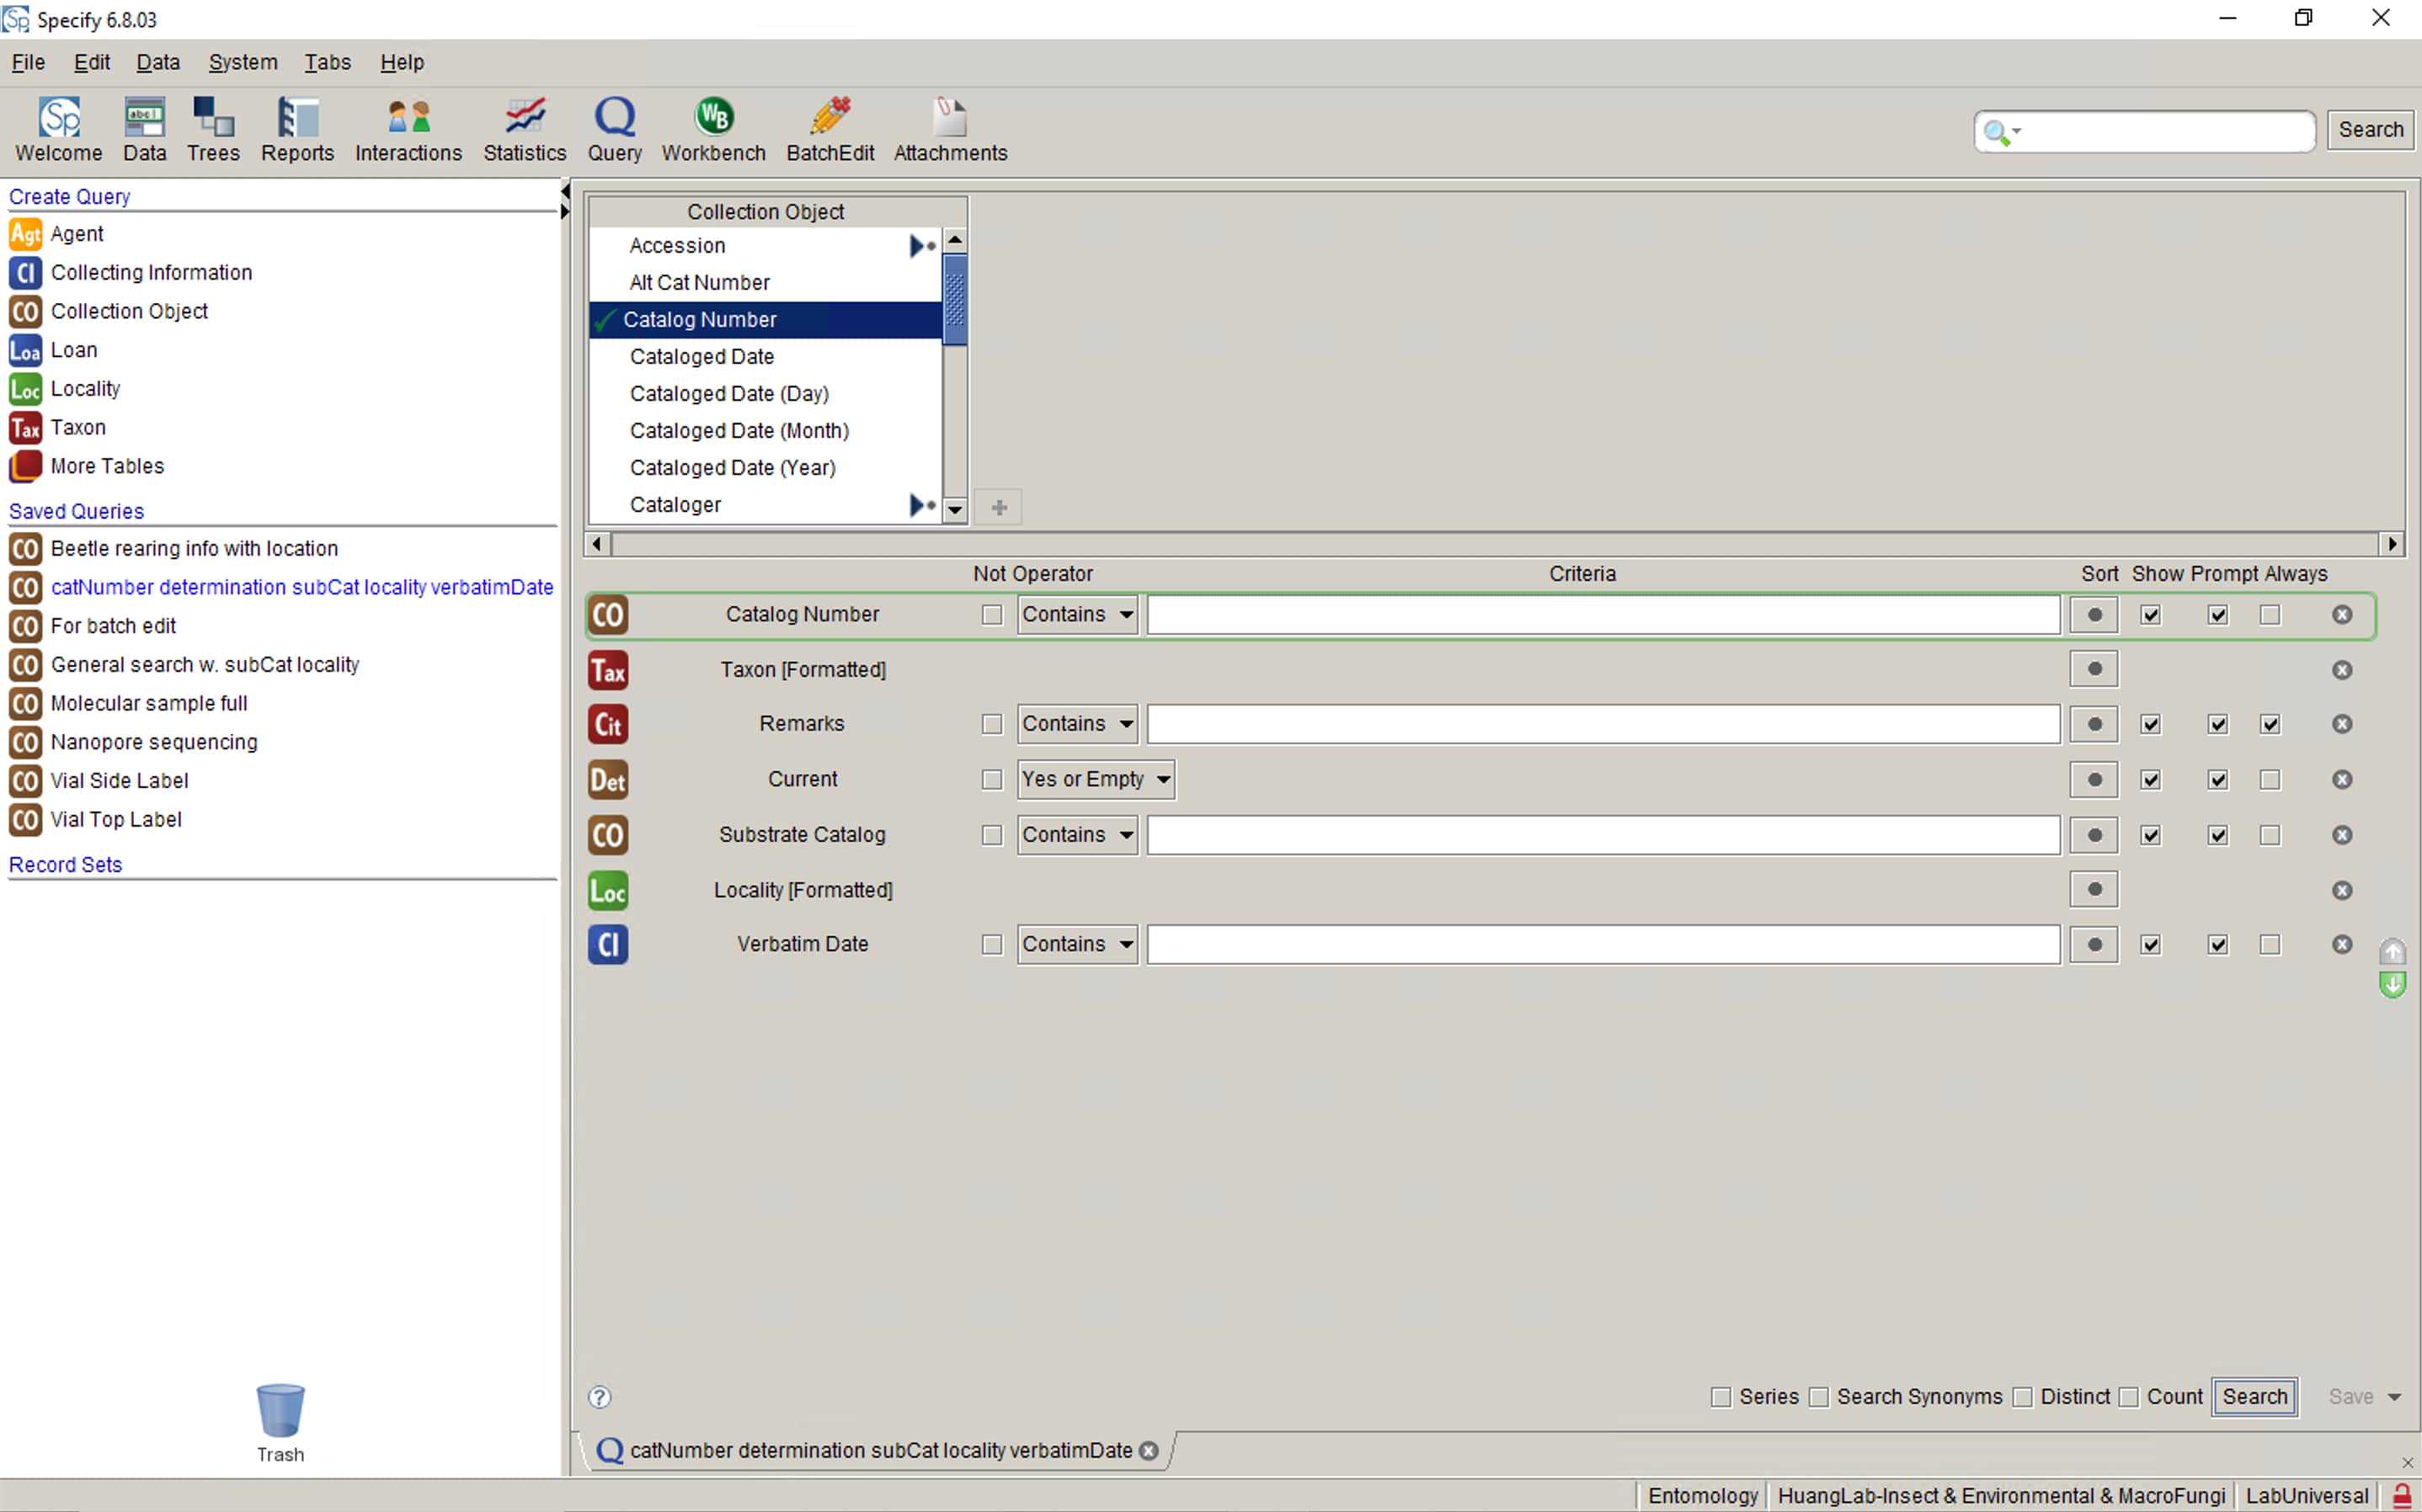
Ta-Da!! The upload was succesful.
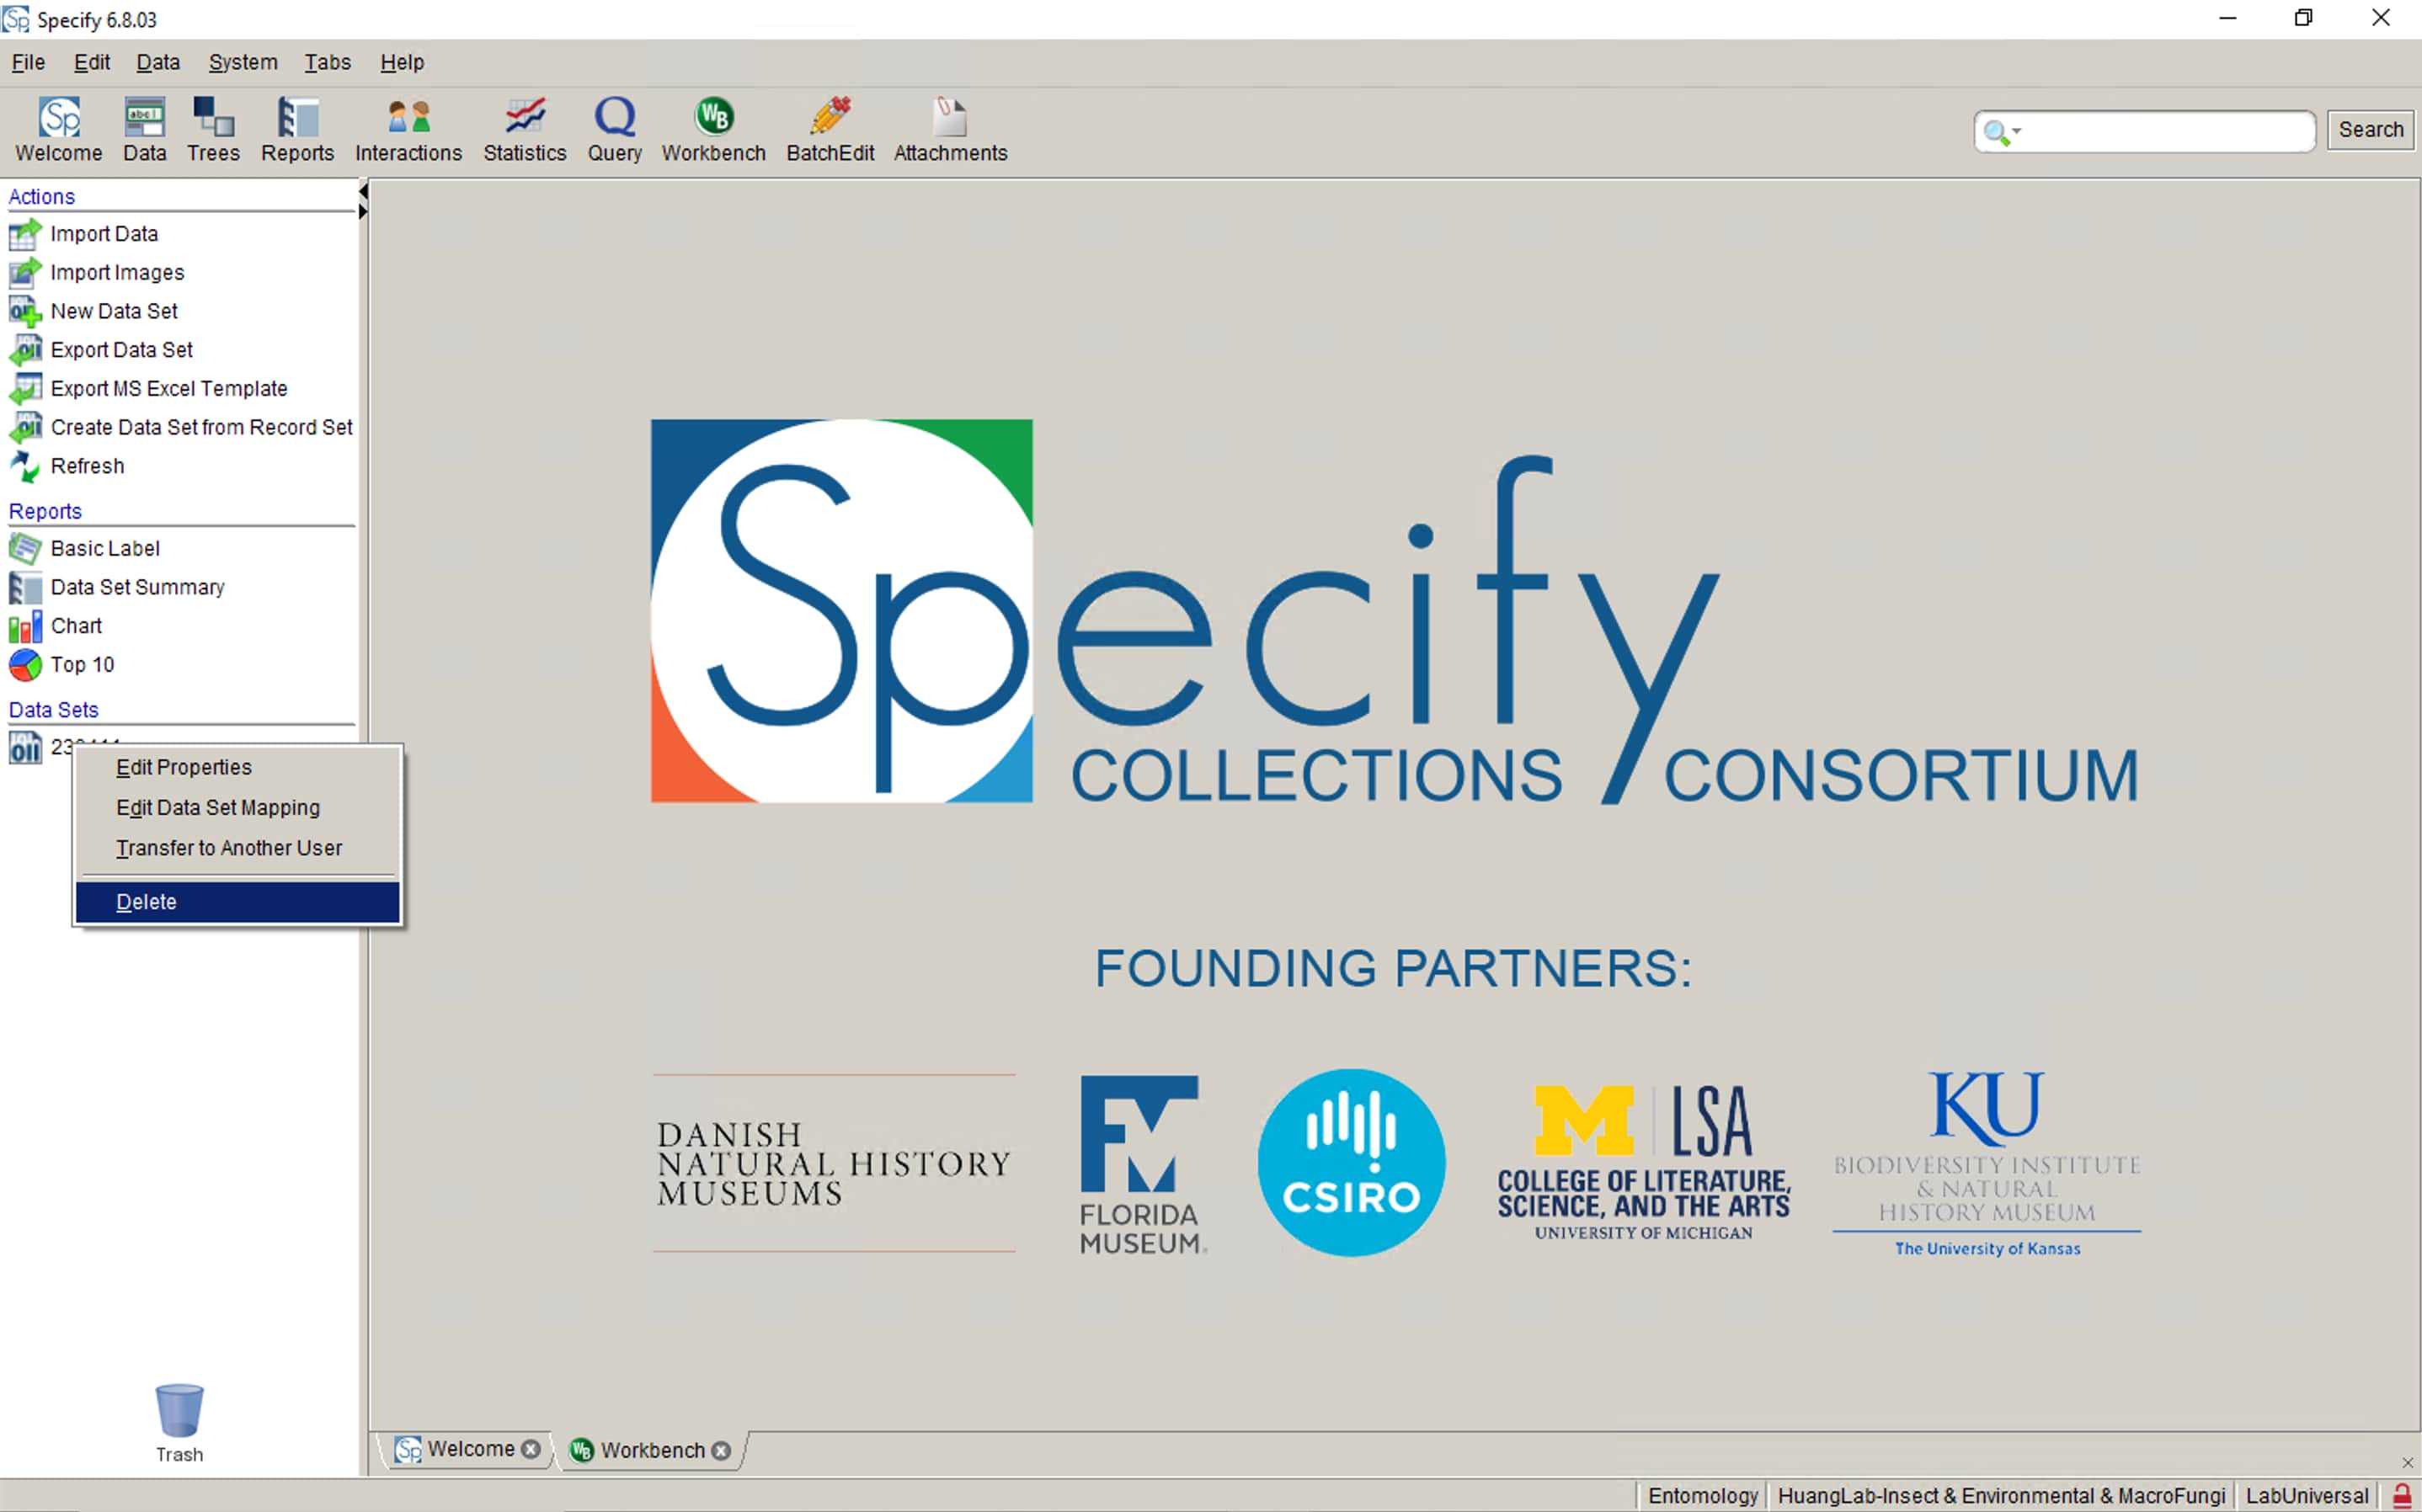
**Remember to delete the Data Sets & Record Sets before closing the Specify.
Paste the Catalog Number of uploaded data back to your spreadsheet.
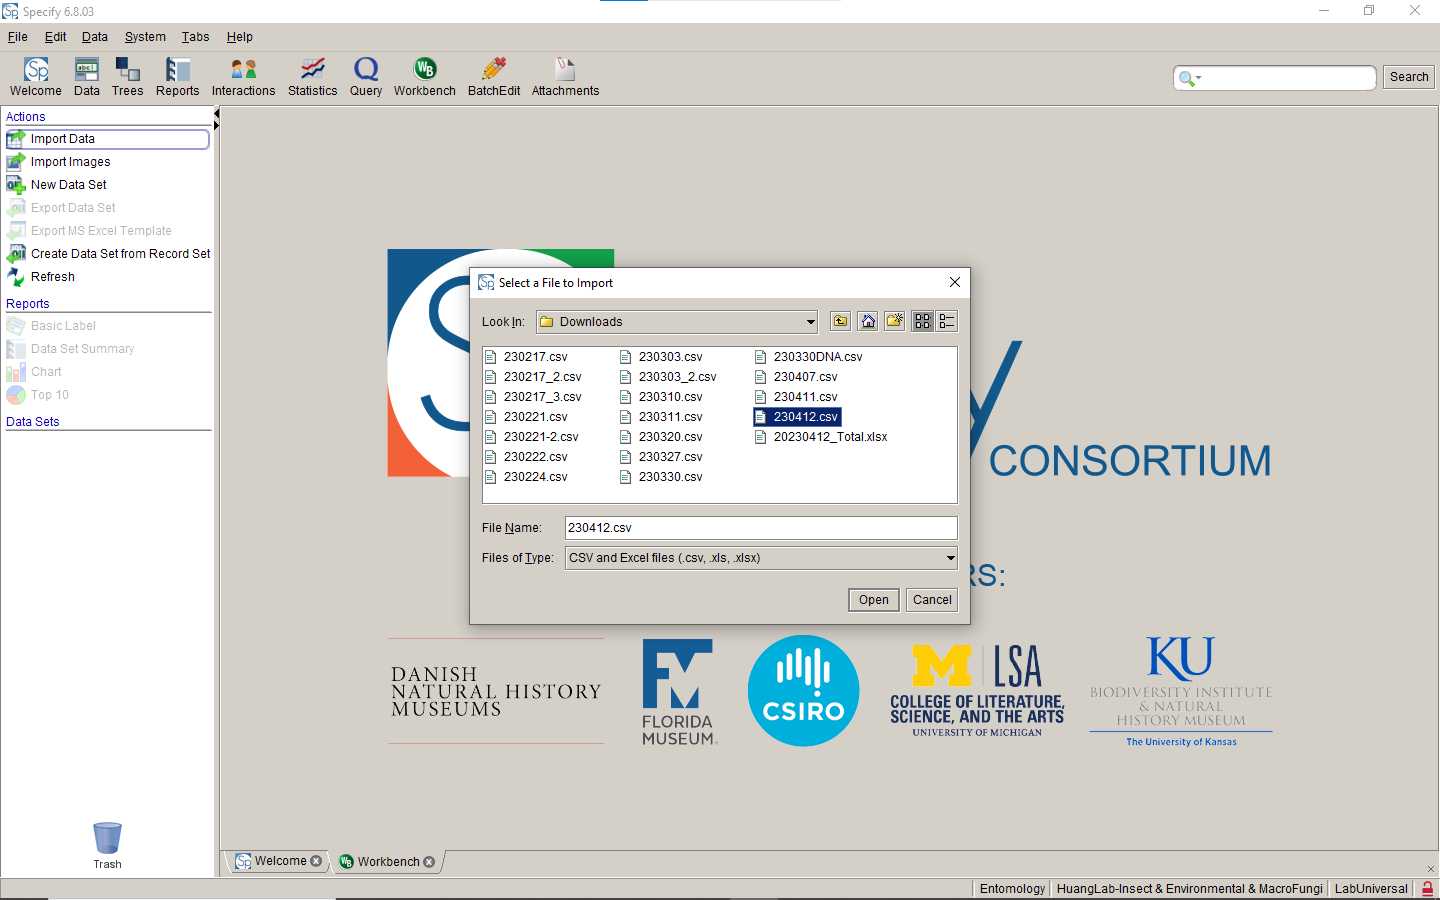
Click Import Data .

Choose the file you wanted to import (upload), and click Open .
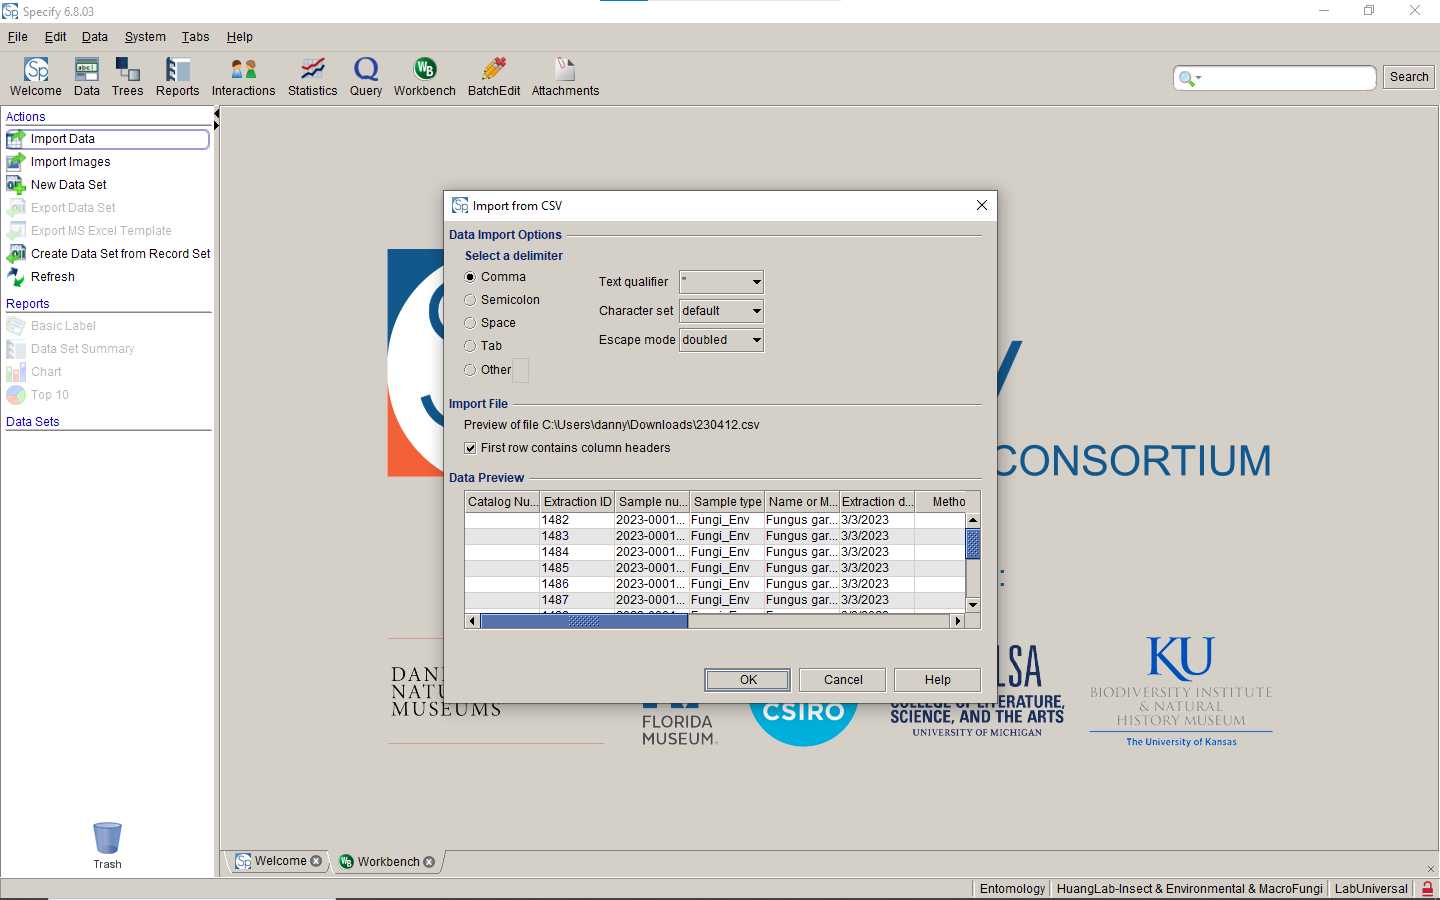
Let everything as default. Then, click OK .
Select the second option: Use an existing Data Set mapping .

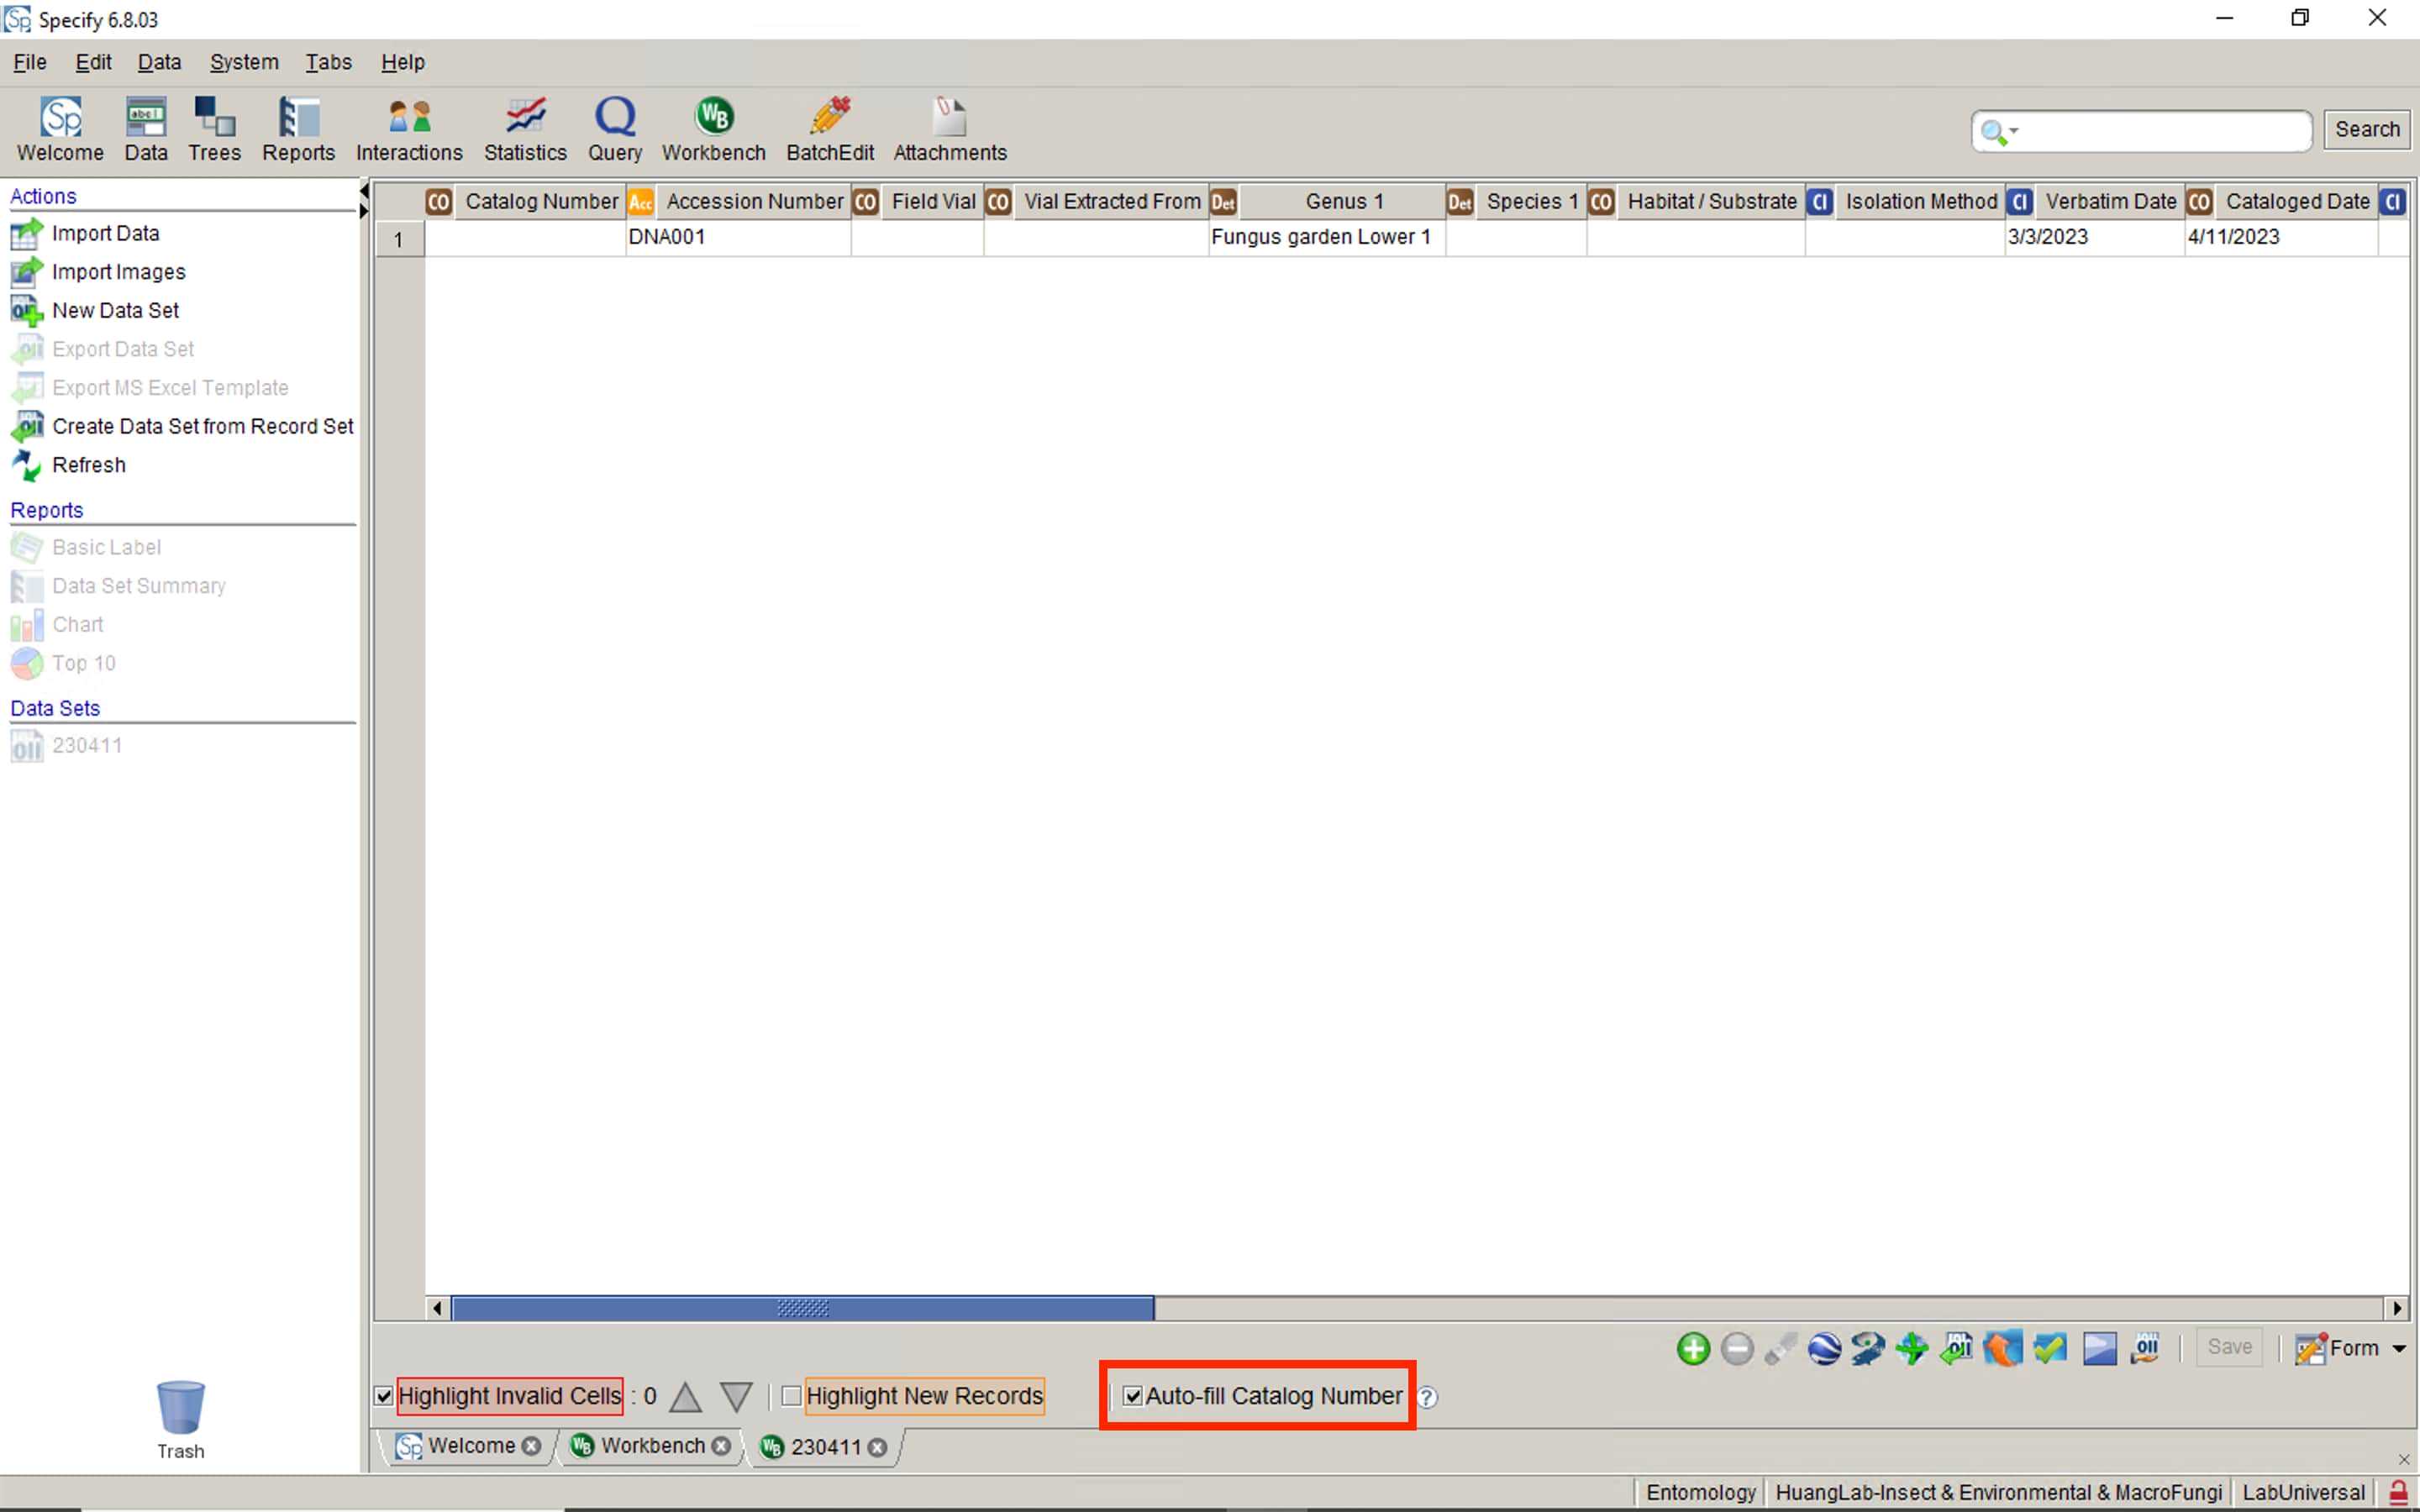
Check for any invalid cells (red highlighted cells).
Remember to tick Auto-fill Catalog Number (marked with red box).
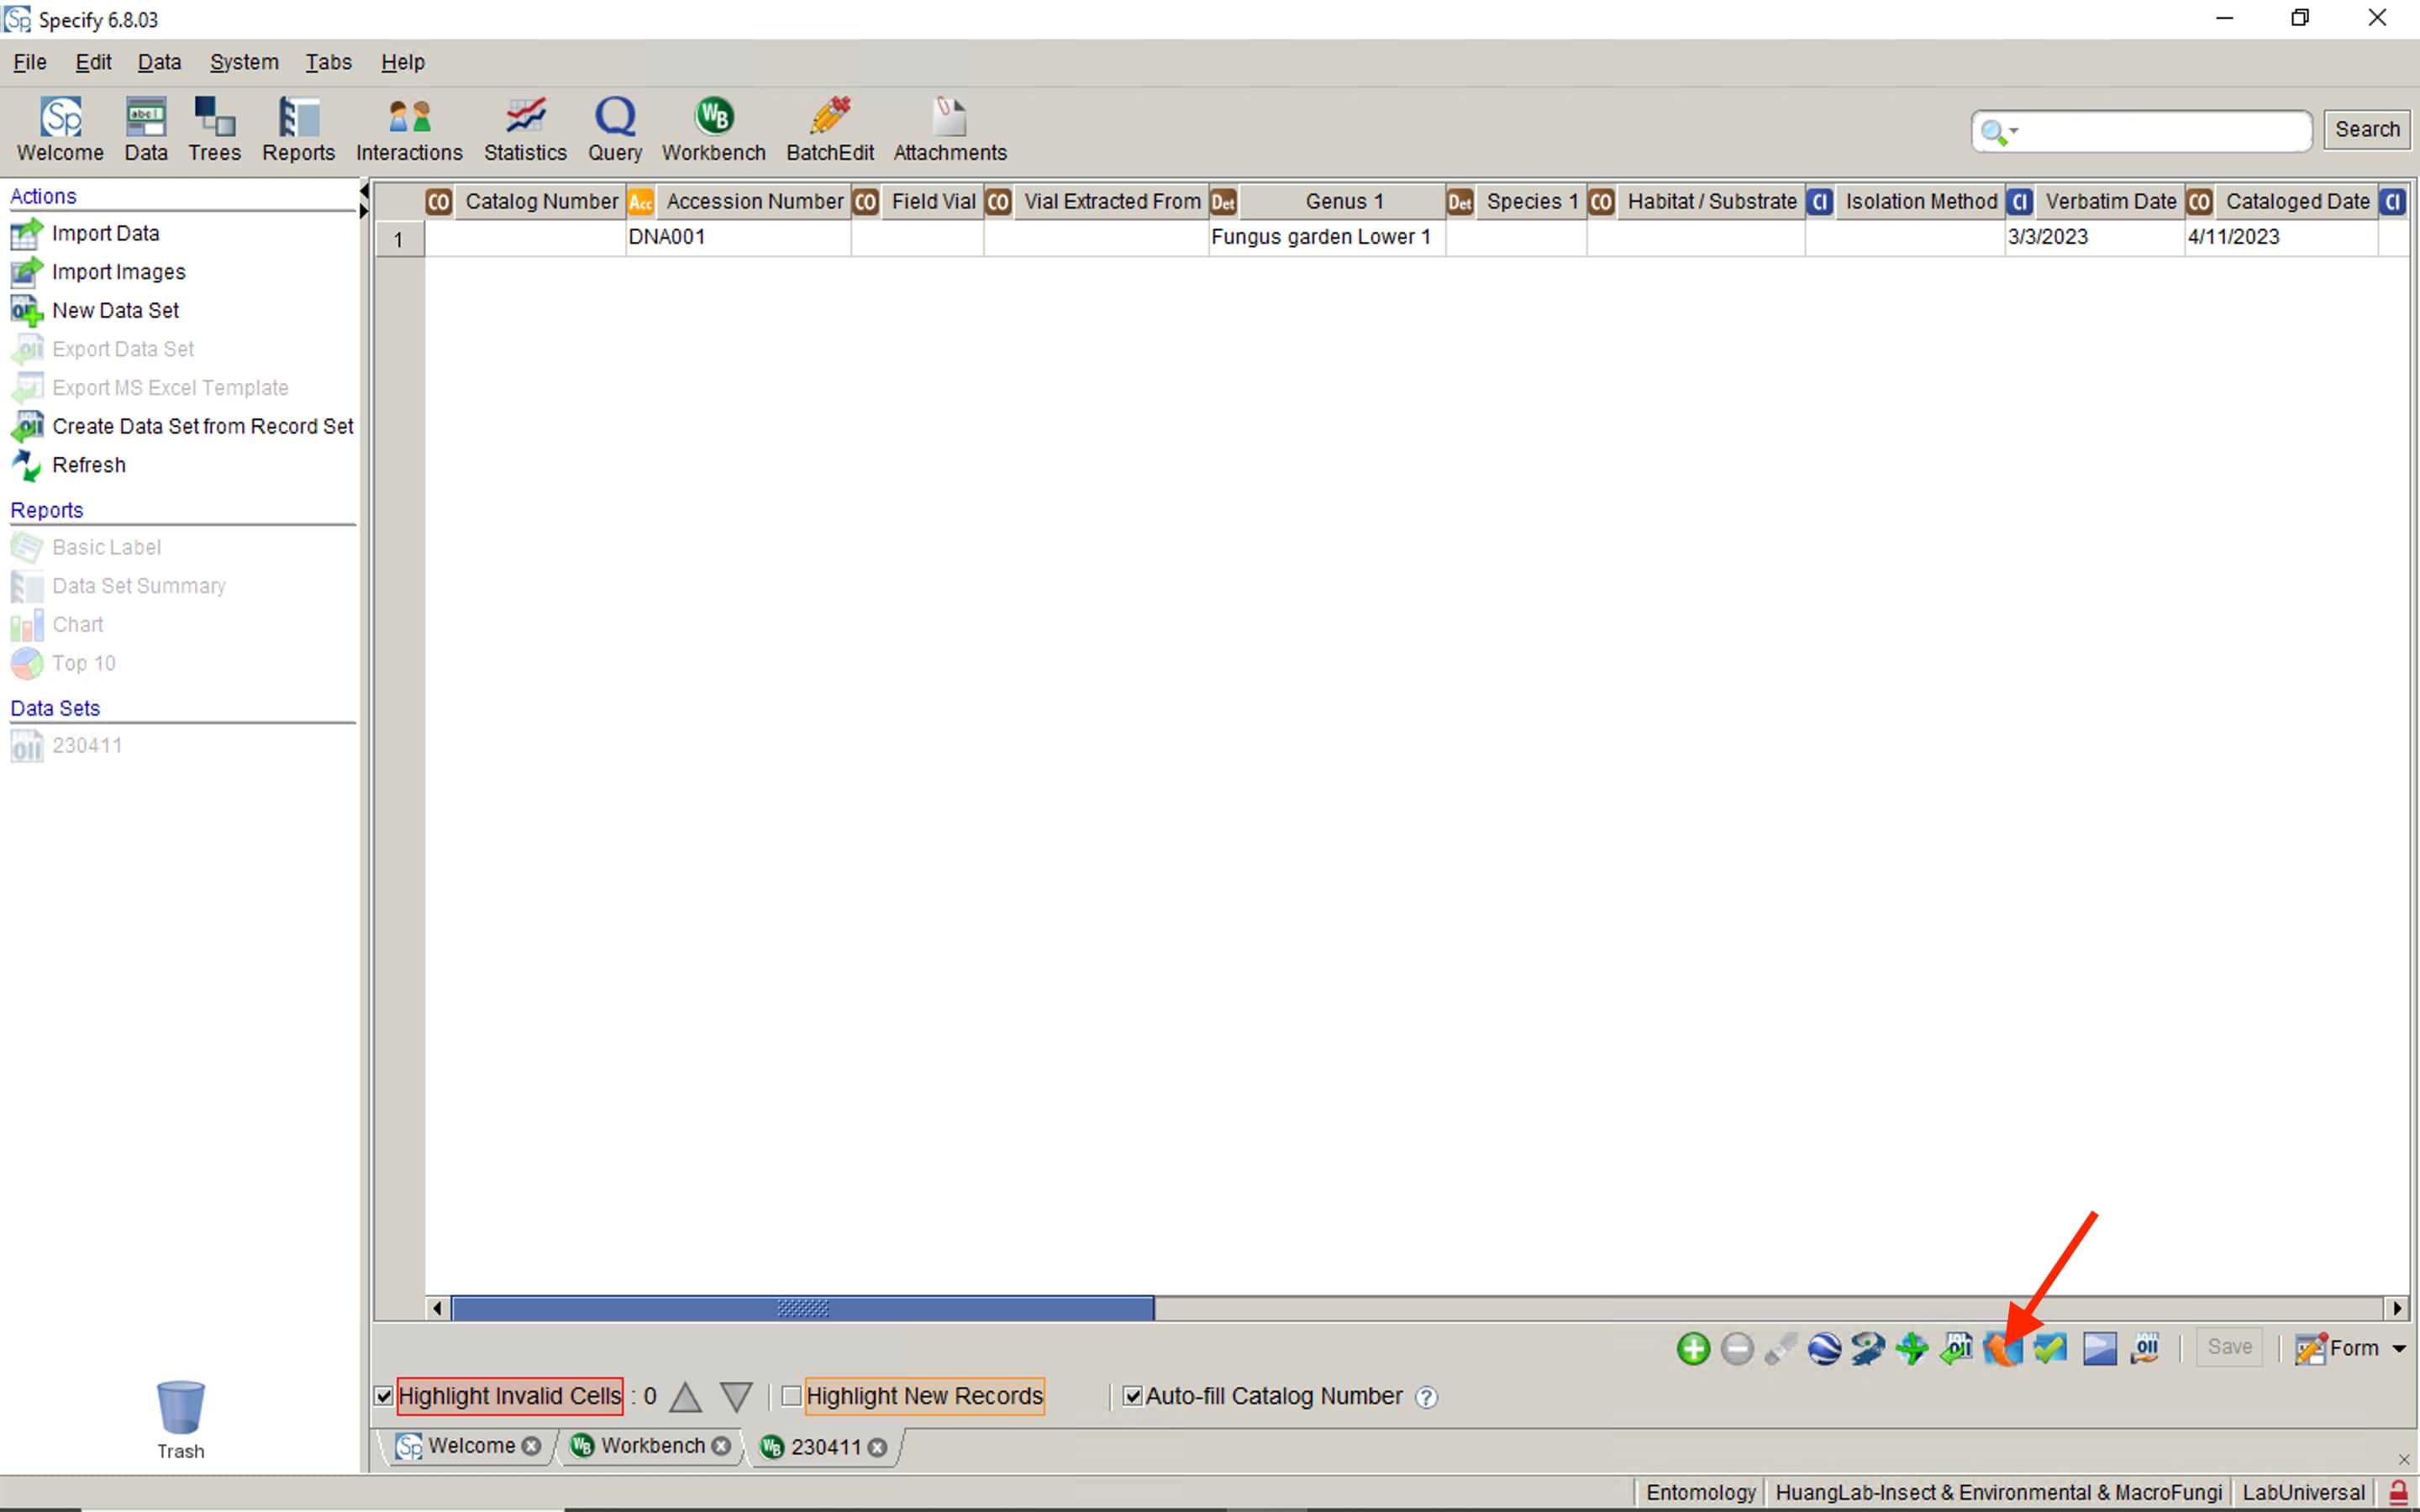
Click Upload (pointed with red arrow).
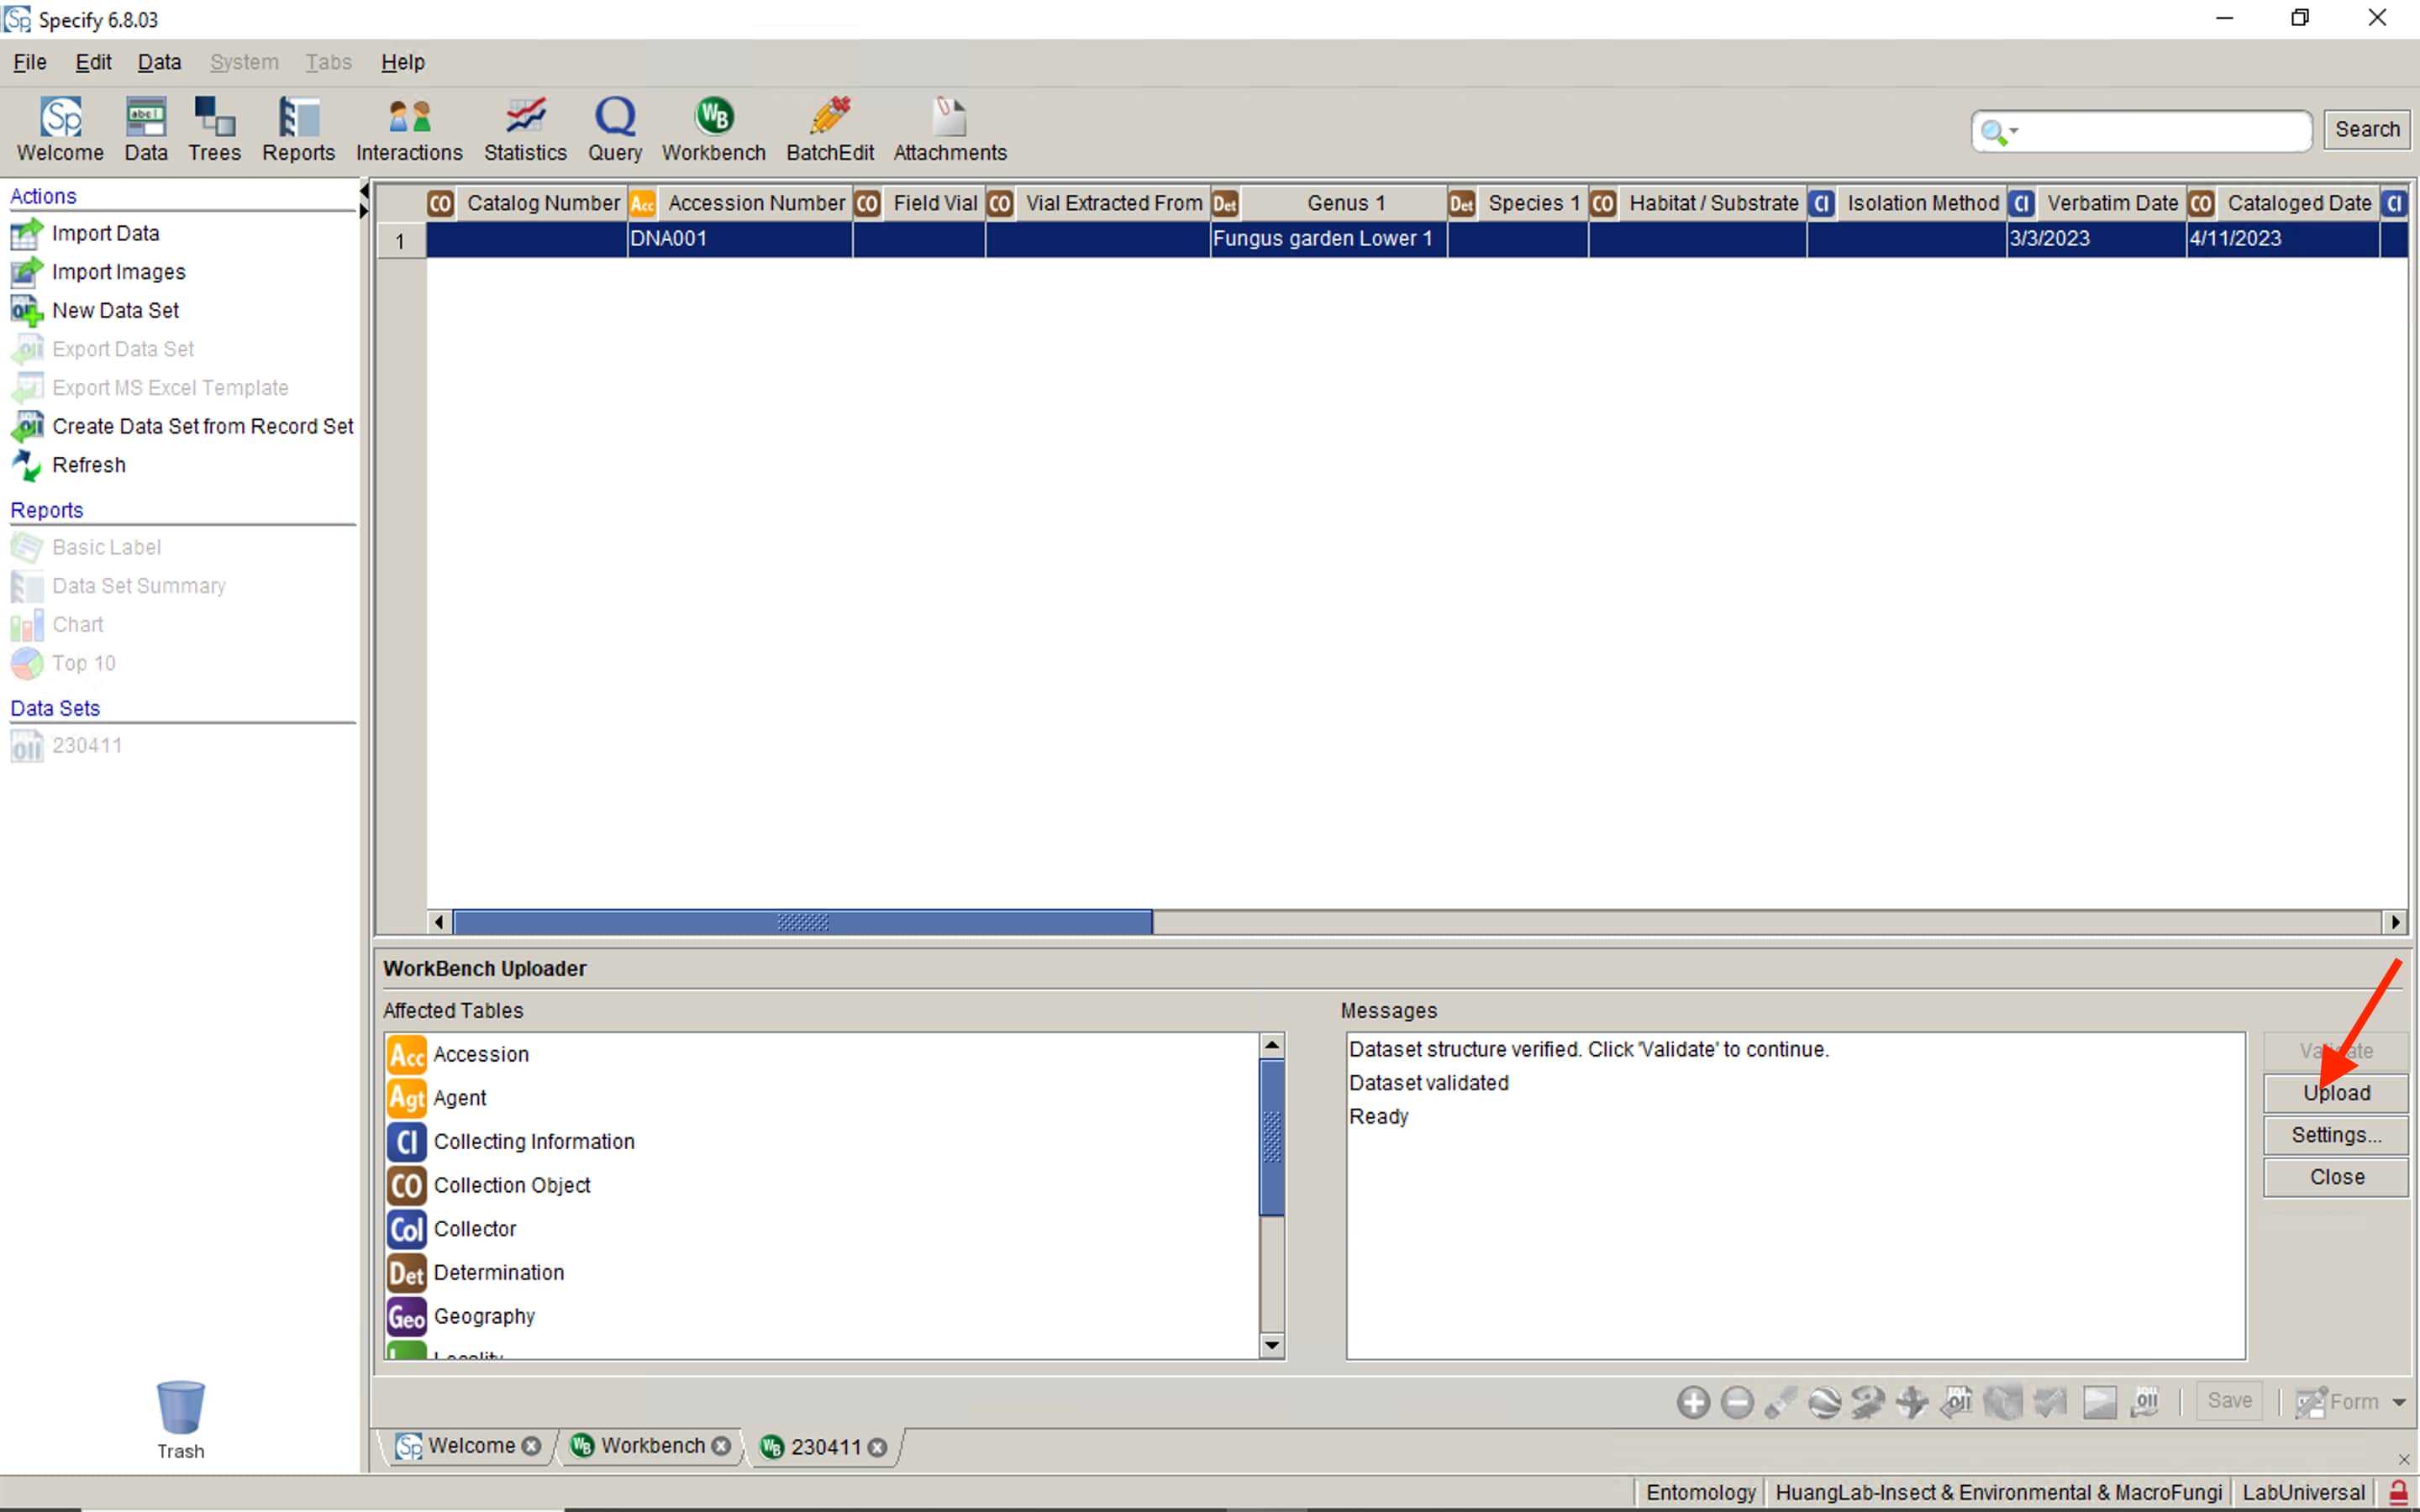
Click Upload again (pointed with red arrow).
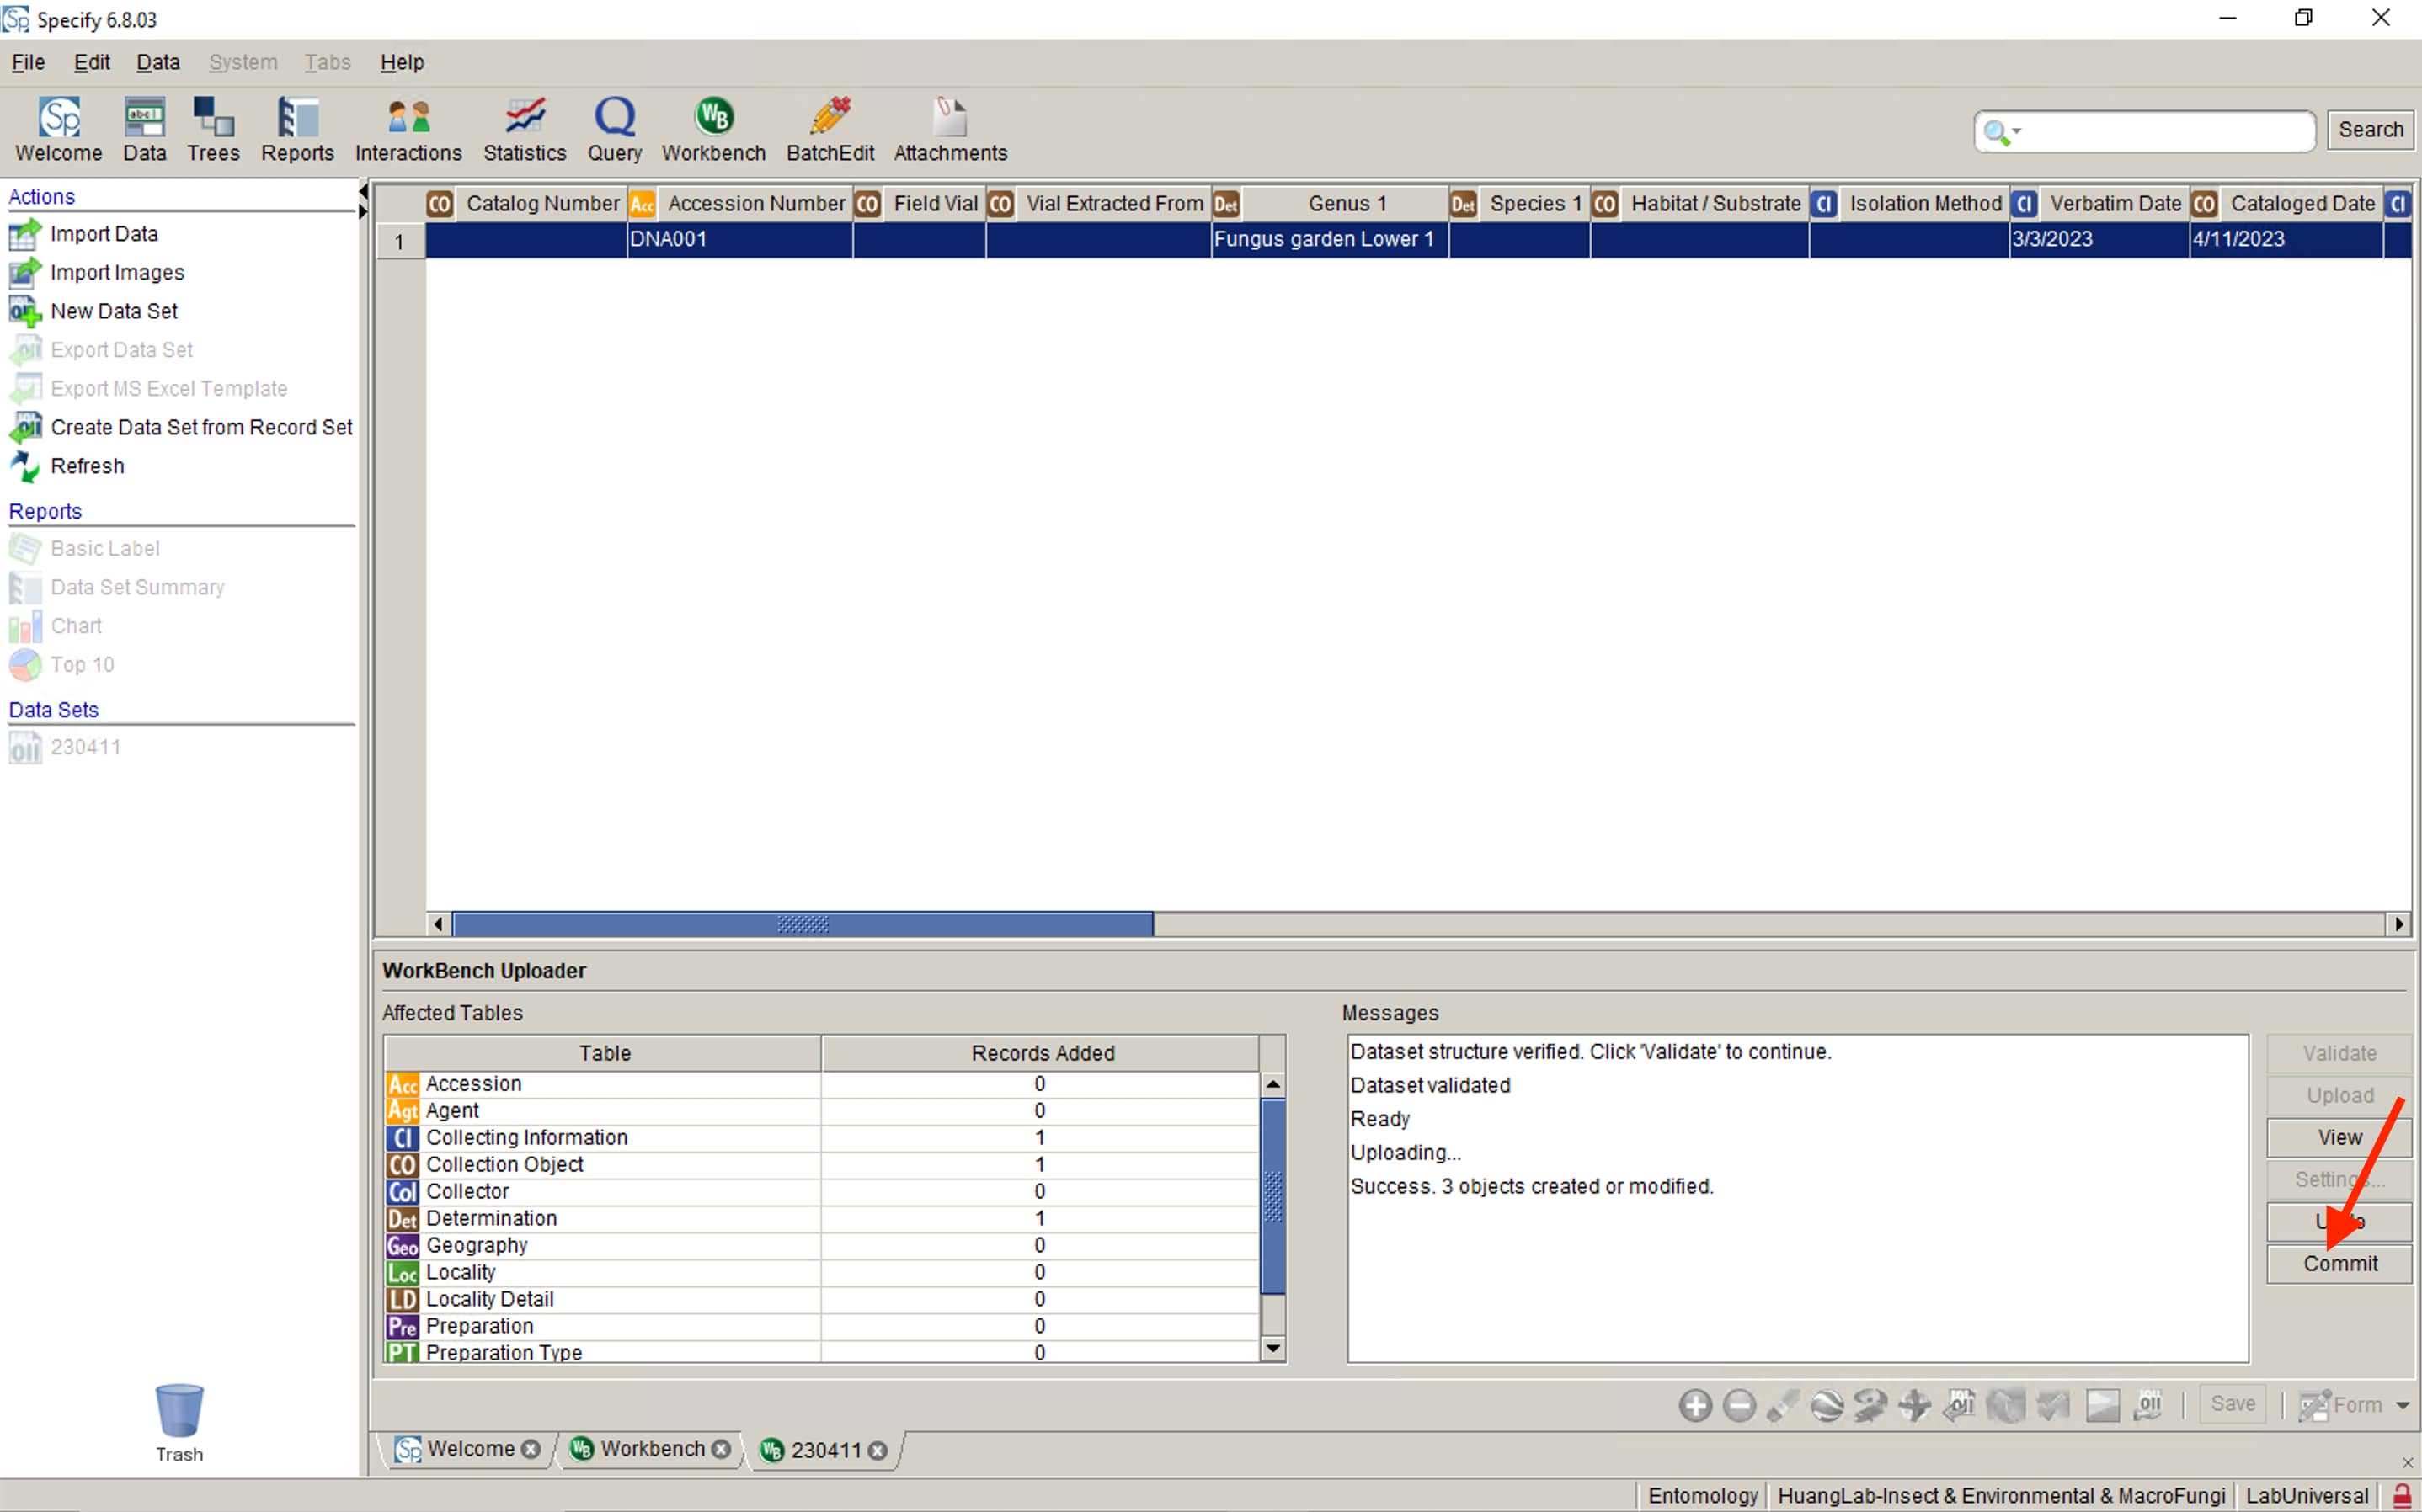
Then Click Commit (marked with red arrow).
Isolate the microbes from your environmental samples
Prepare the equipment and materials first for sample isolation. Put them on another bench first.
4. Tweezers5. Scalpel with blade6. Separator7. Grafting tube8. Lighter9. Marker pen10. Media")
Sterilize the microbes isolation area (air and bench) using a 75% ethanol sprayer.
Make sure the mist is emitted.


Now, move the equipment and materials for microbes isolation back to the sterilized area.
Before isolation, key the information about your isolation (how many plates you are going to isolate, what kind of media you will use, etc) into the 1 Fungi Isolation Plates (Direct edit) 菌株分離培養基編號 (直接編輯) spreadsheet first
.Cataloger First Name & Cataloger Last Name: The name of who uploads the data.Cataloged Date: The date on which the data is uploaded.Notes: Any information you wanted to remark on the certain plate. Leave it when you didn't have any notes.")
Write the plate information on the downside of the plate following the example photo shown below.

Make sure that you sterilize every tool before using them for each isolation:
-
Dip the scalpel, tweezer, or spreader into 95% ethanol cooling bottle, and flame it immediately.
-
Repeat the step(dip and flame) THREE times for sterilization of equipment.
Now, you can start to isolate microbes from your environmental samples. We called them primary cultures.
Isolation method varied depend on the type of sample, check published papers or consult with seniors if needed
After finishing all the isolation, seal the plates with grafting tape for 2 rounds.
Pack all the plates using a PP bag (no. 8, 10, or 12 depending on how many plates you have). Incubate the plates in your slot in the incubator for 7~21 days (depending on the growth rate of the microbes).
no. 8: 8 plates
no. 10: 24 or 32 plates
no. 12: 48 or 56 plates

Check the growth condition of the primary cultures every day. Make sure they are not overgrown.
Once they are matured, you can start to subculture them.
Record and upload the data of primary cultures
-
Examine the microbes colonies under a dissecting microscope.
-
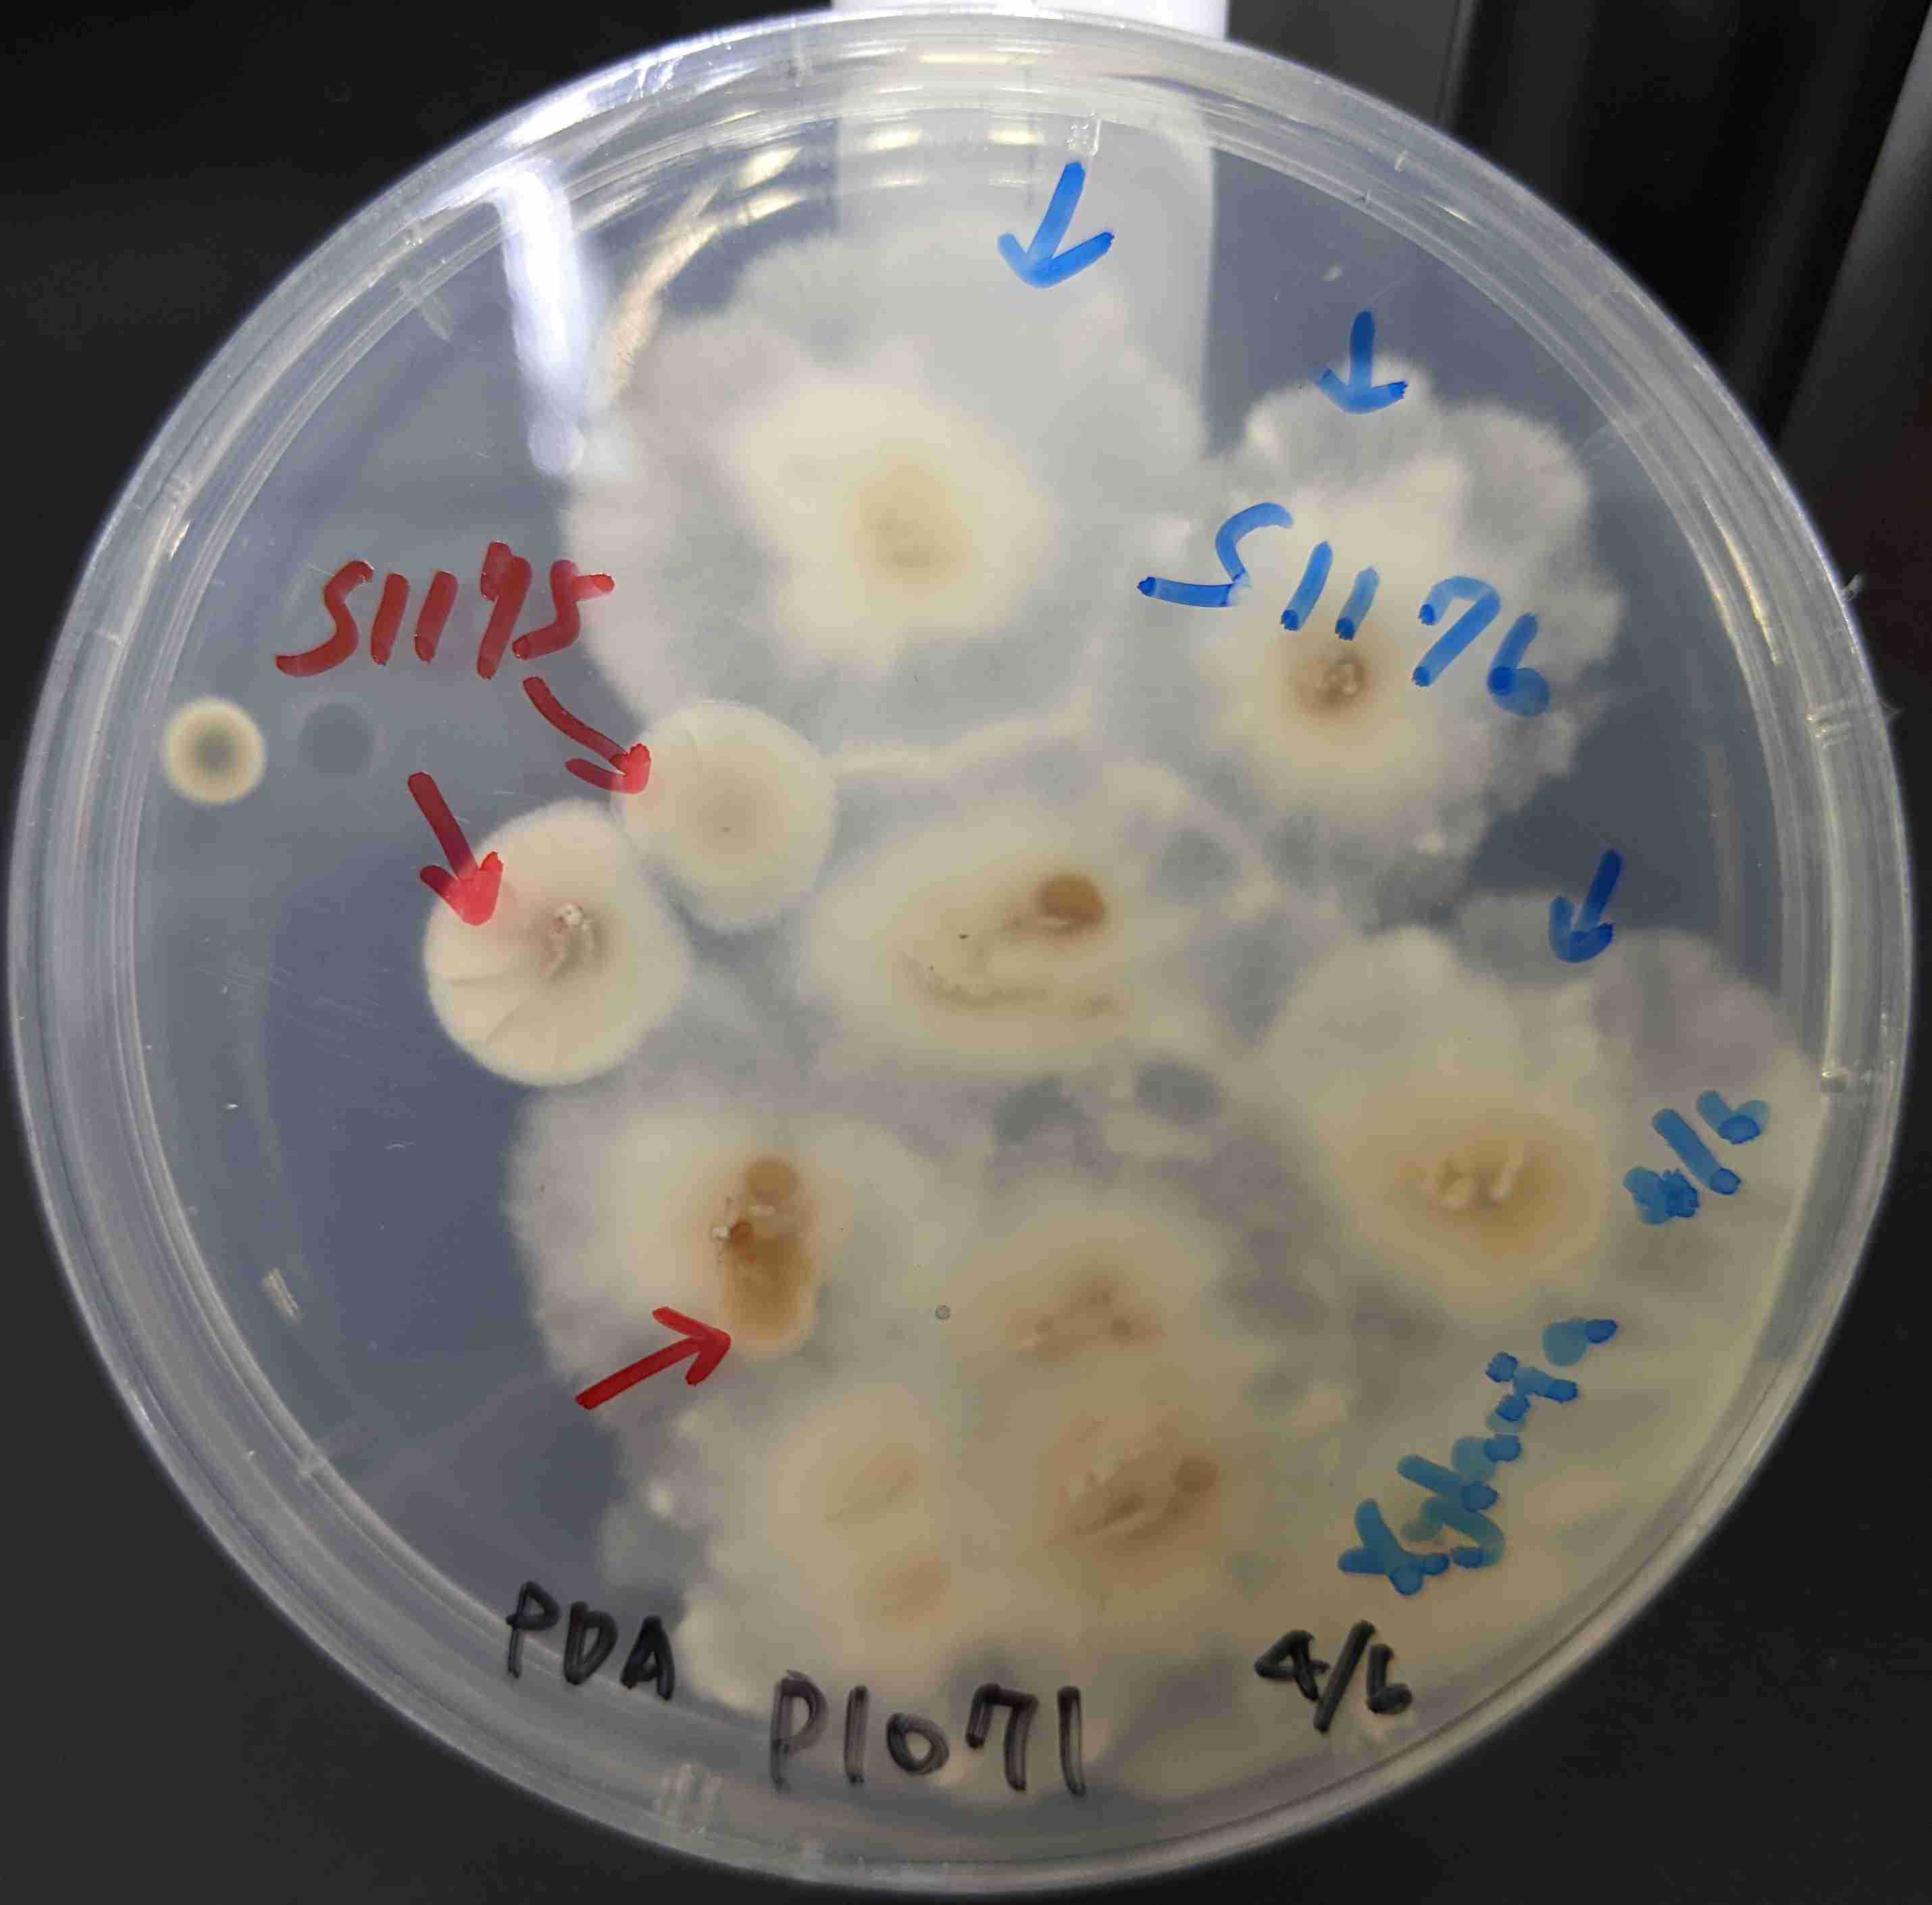
Choose your desired colonies, which are your targeted colonies.
-
Mark the targeted colonies with their later corresponding secondary plate number.
-
If there is more than one morphotype targeted colony in a certain plate, you need to record them into a distinct plate number, e.g., TWO morphotypes will have TWO distinct secondary plate numbers from the same primary plate number.
Record all the data of primary cultures to the second worksheet: Secondary Isolate PDA (in 1 Fungi Isolation Plates (Direct edit) 菌株分離培養基編號 (直接編輯)).
Fill in all the columns following the photos and instructions shown below.
")
.Cataloged Date: The date you do the subculture and upload the data.Notes: Any information you think is important to record. If you have contaminated in Morph description, please type discard here.")
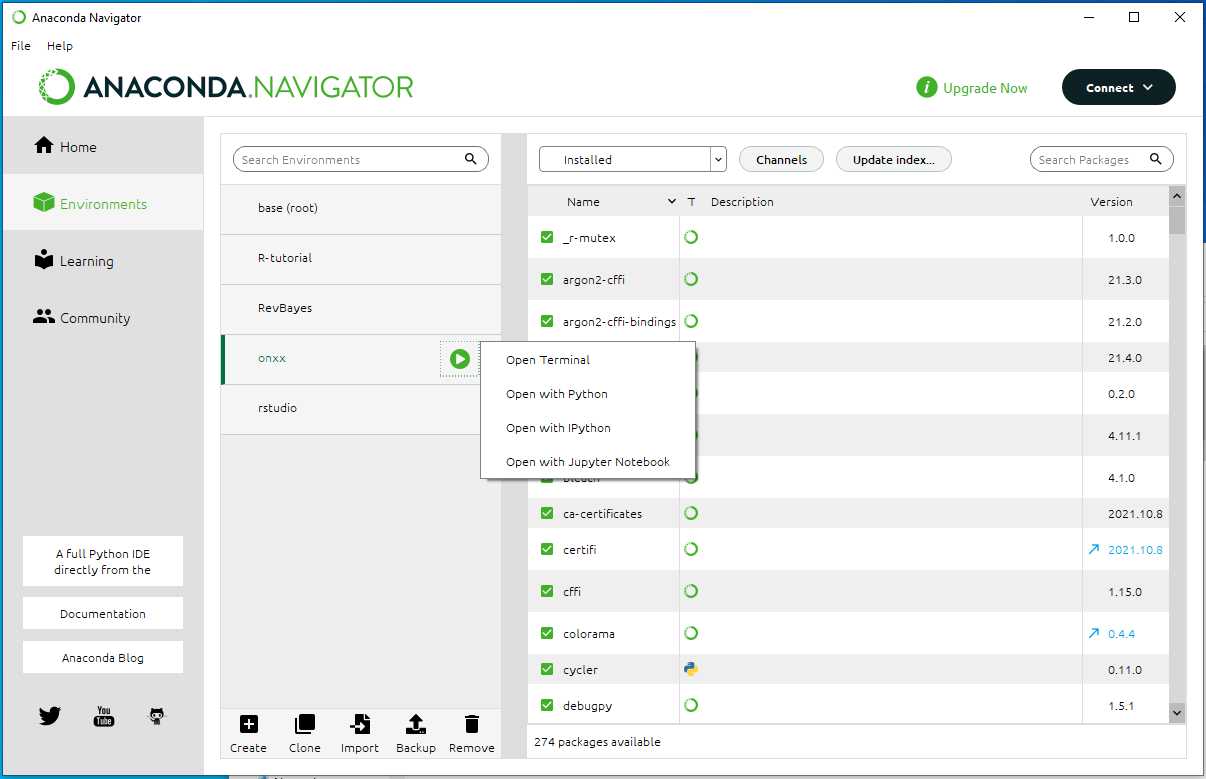
Select onxx under Environments tab (as the photo shown below).
Left click the play button . Select Open Terminal .
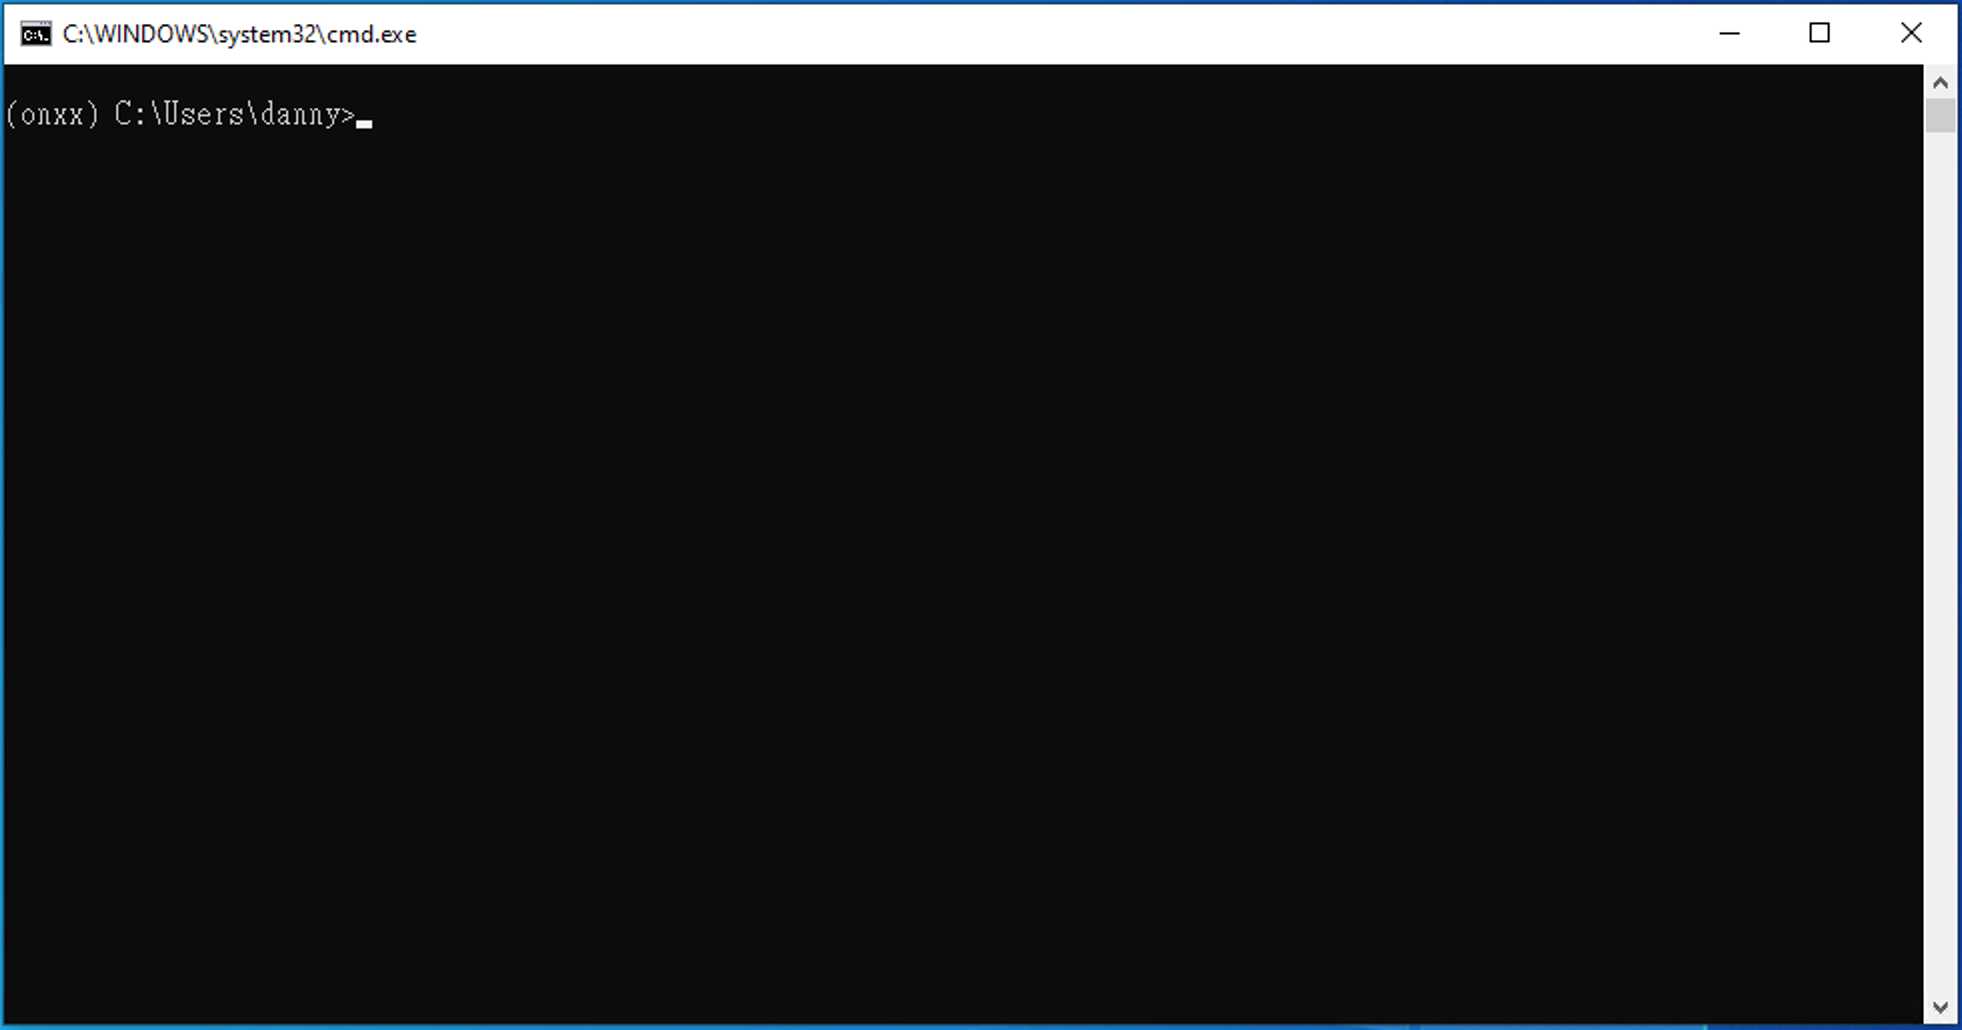
Follow the commands, and you will have the similar output as the photos shown below.
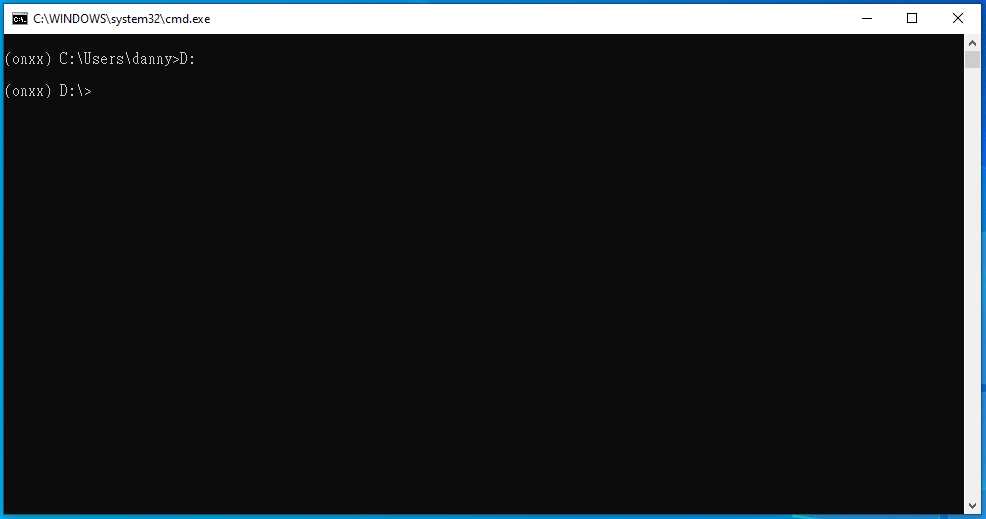
Type D: , then press enter
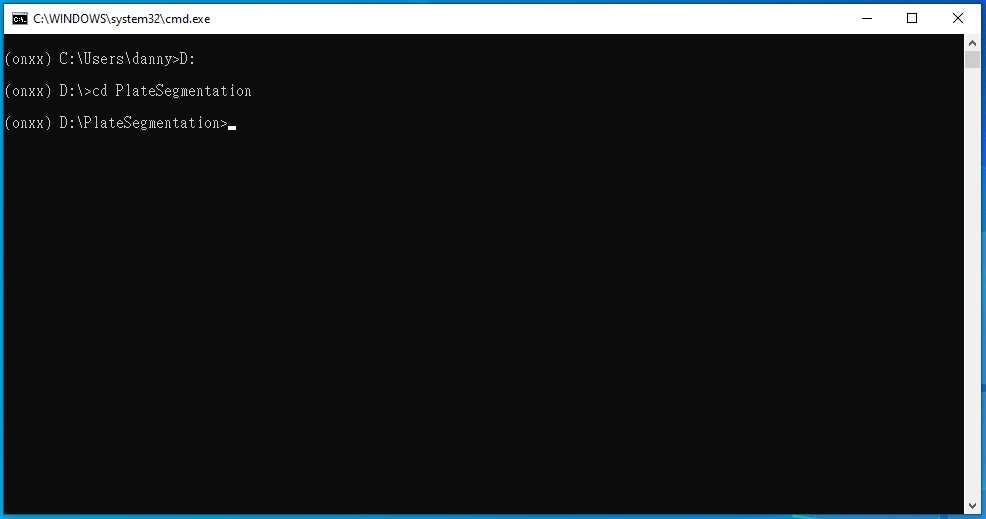
Type cd PlateSegmentation , then press enter
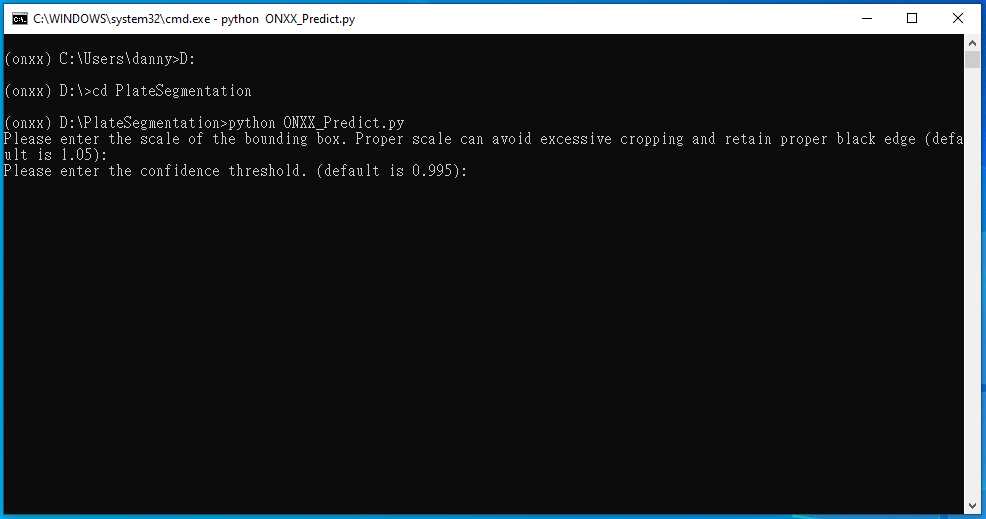
Type python ONXX_predict.py , then press enter

Press enter again and again. You will see a _ flashing.

Then, a new command line comes out, which represent the program execution was complete.
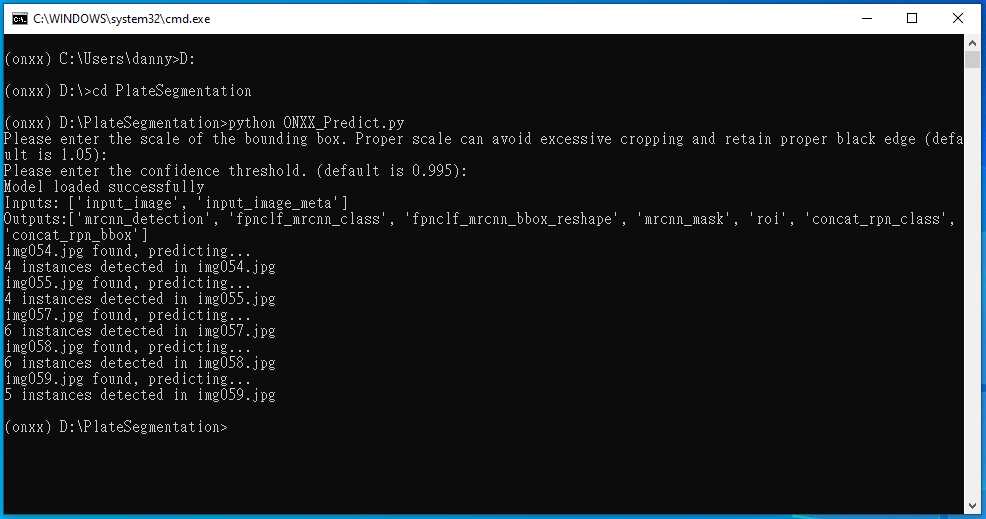
The output files are in the D:\PlateSegmentation\output .
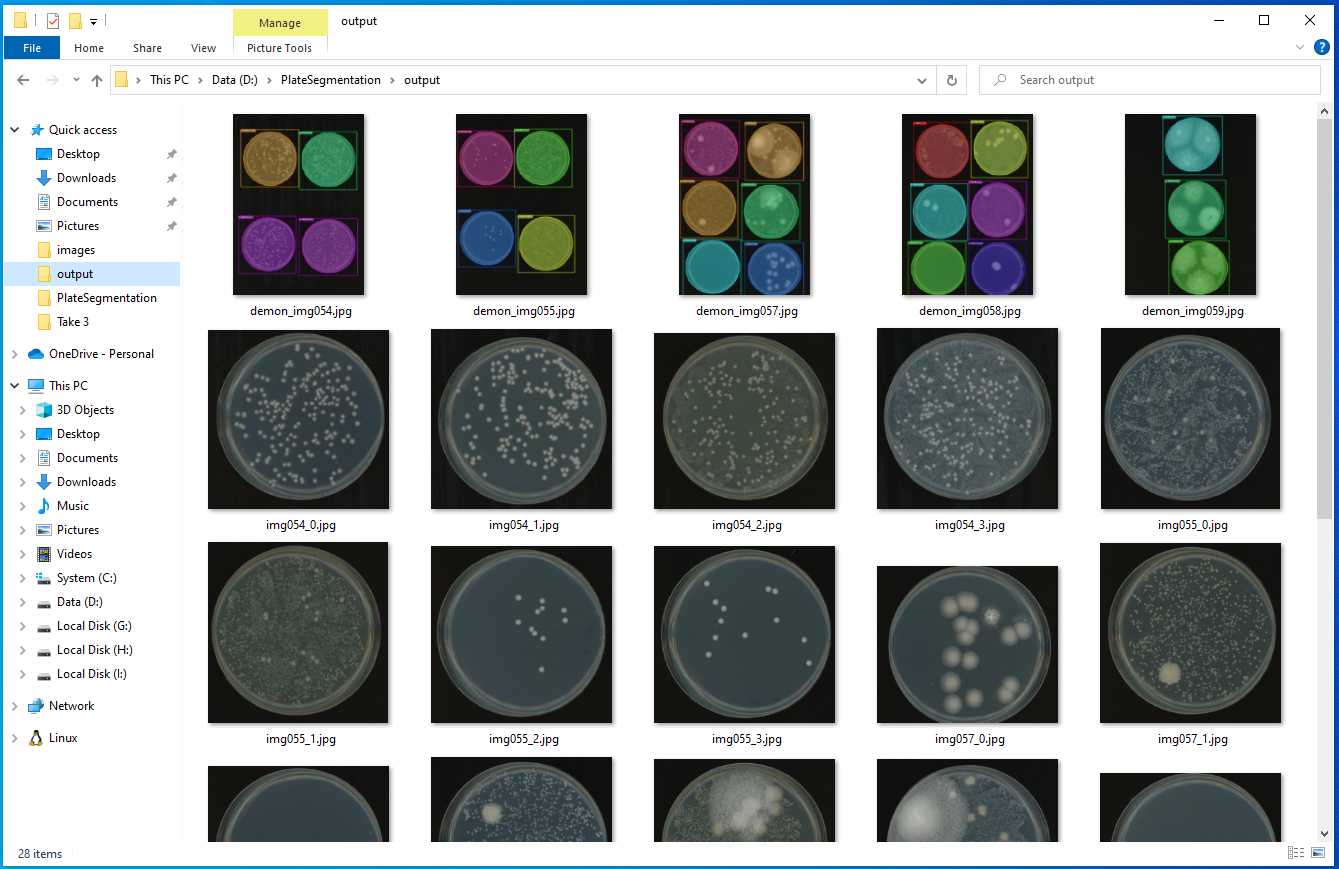
Rename the output files with their corresponding plate number .
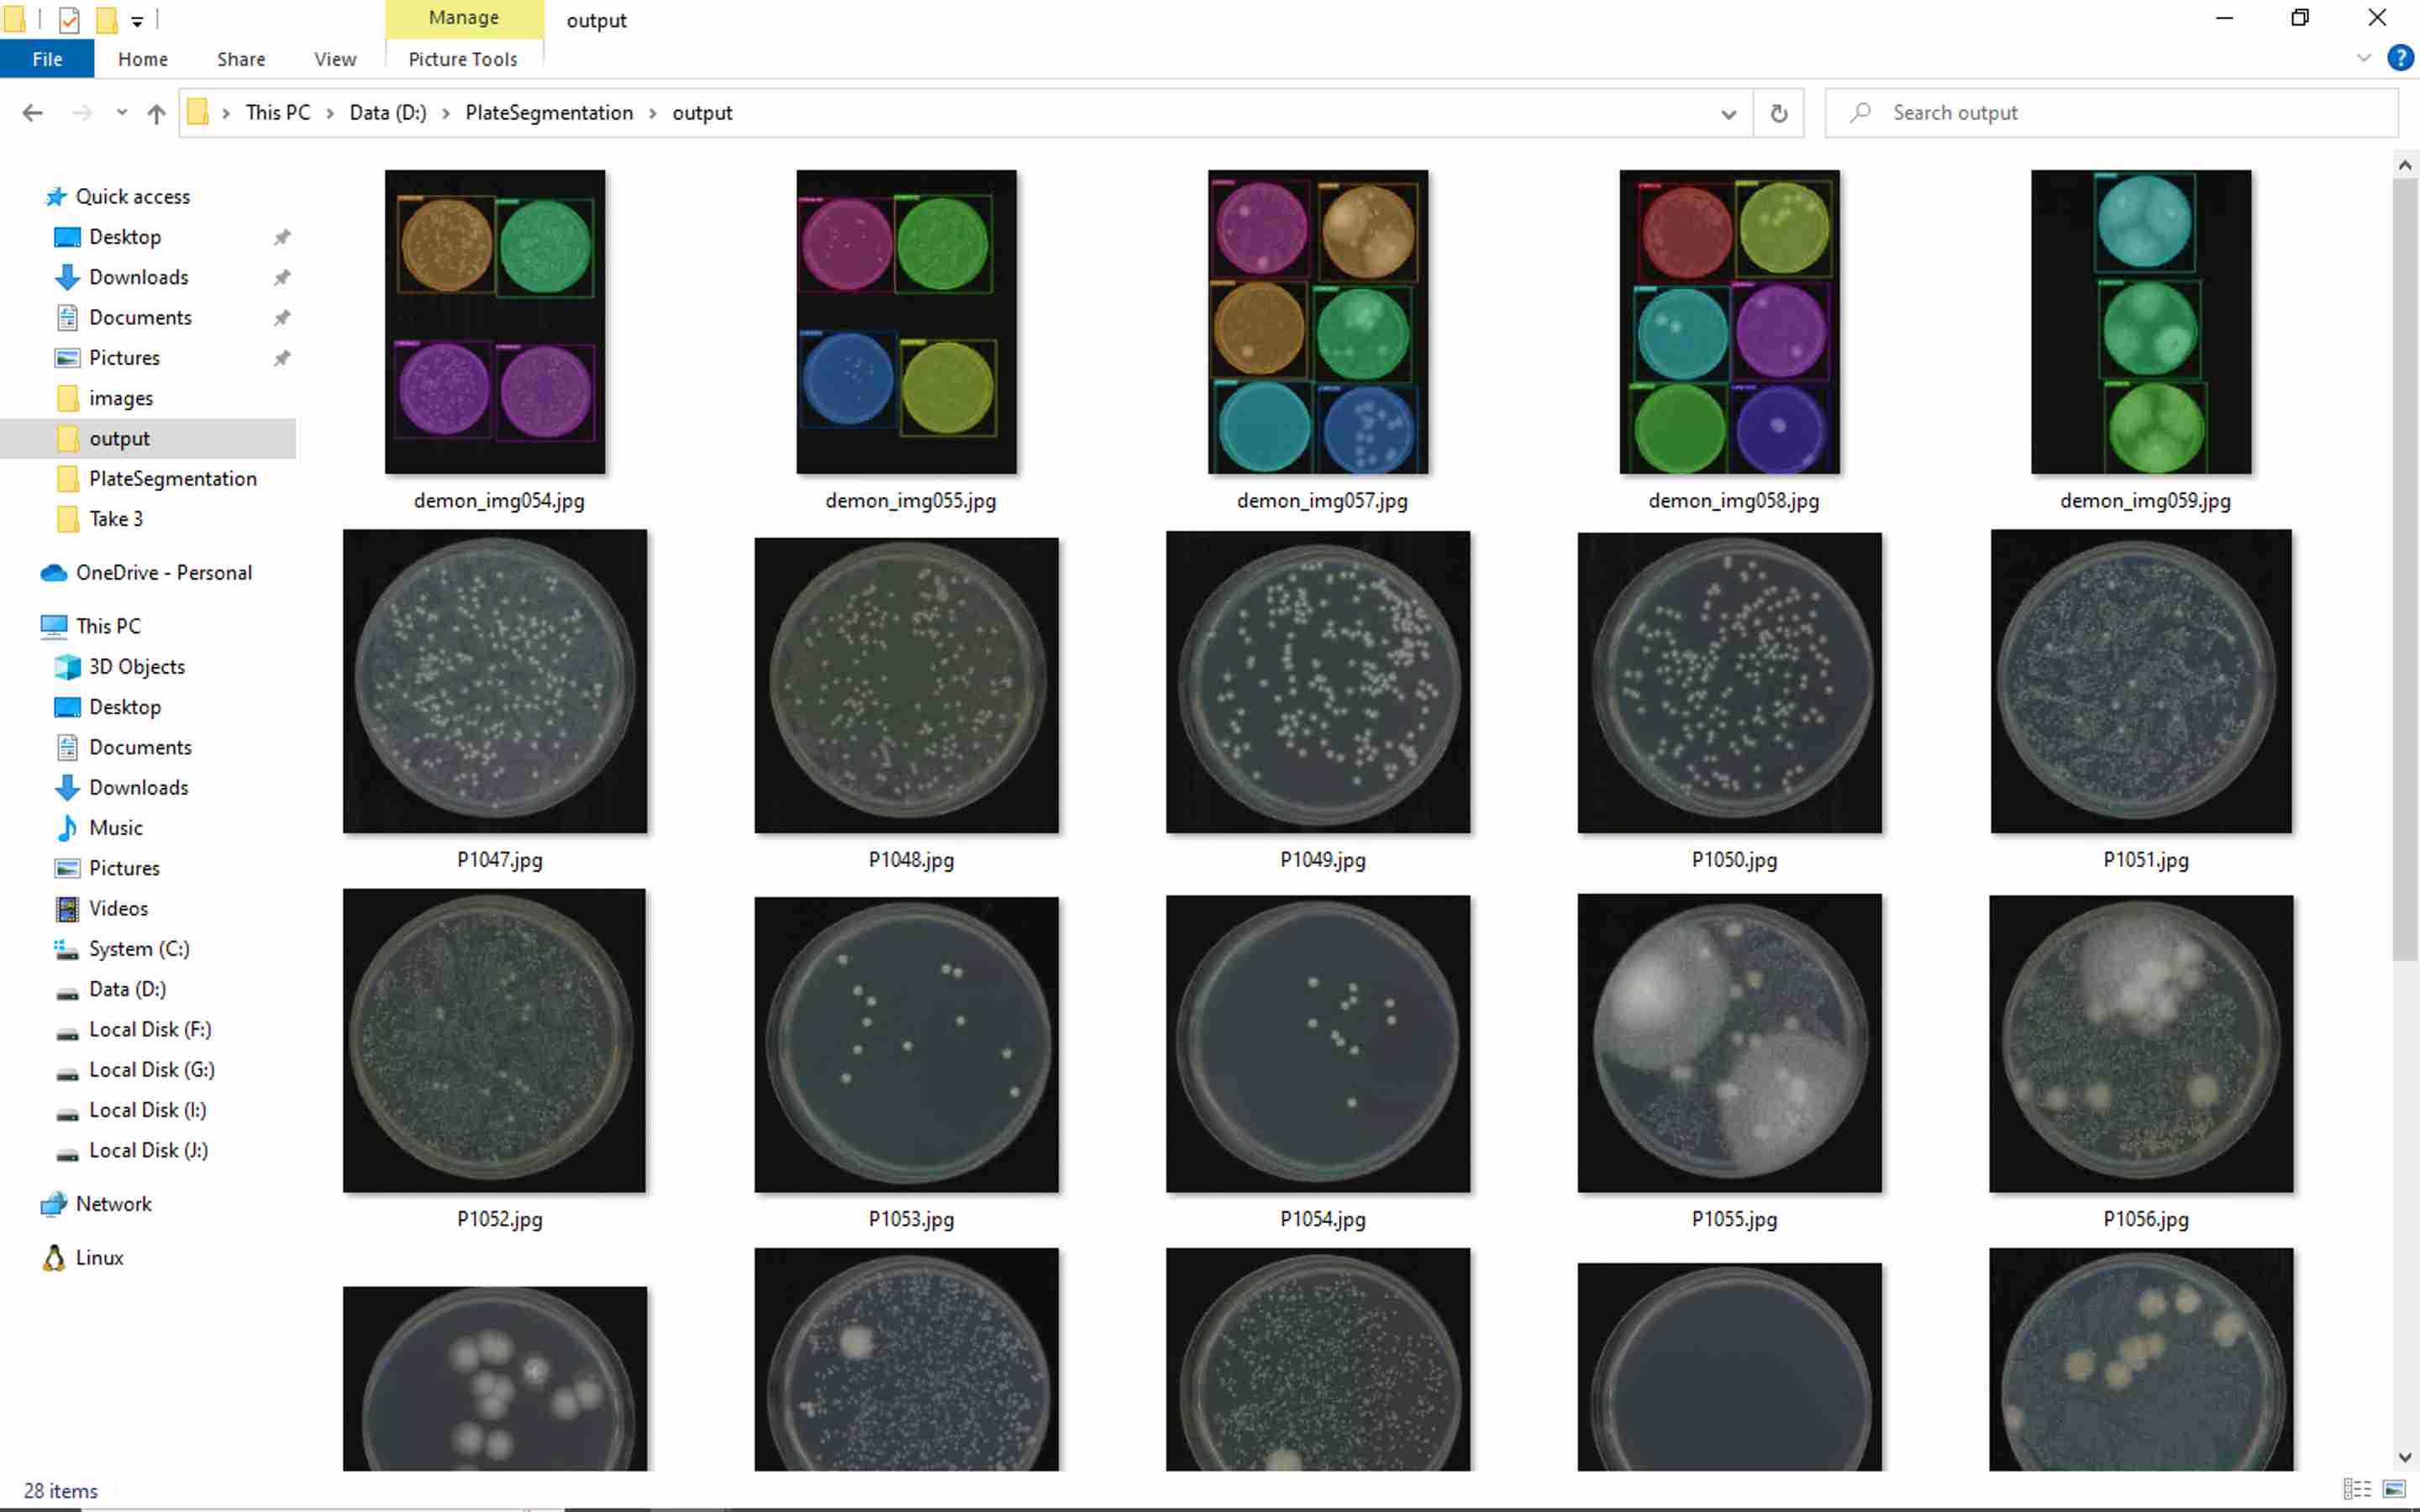
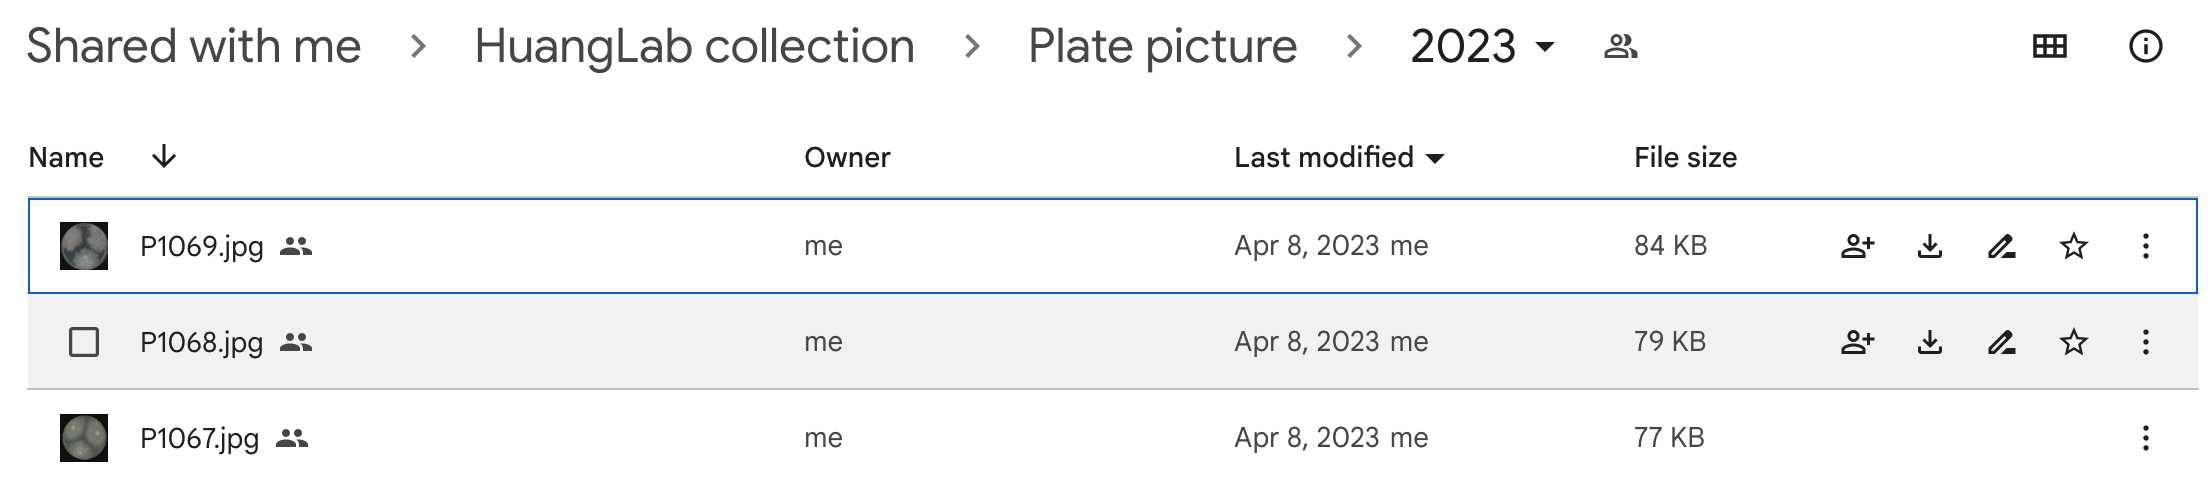
Upload them to the HuangLab Collection/Plate picture/20XX
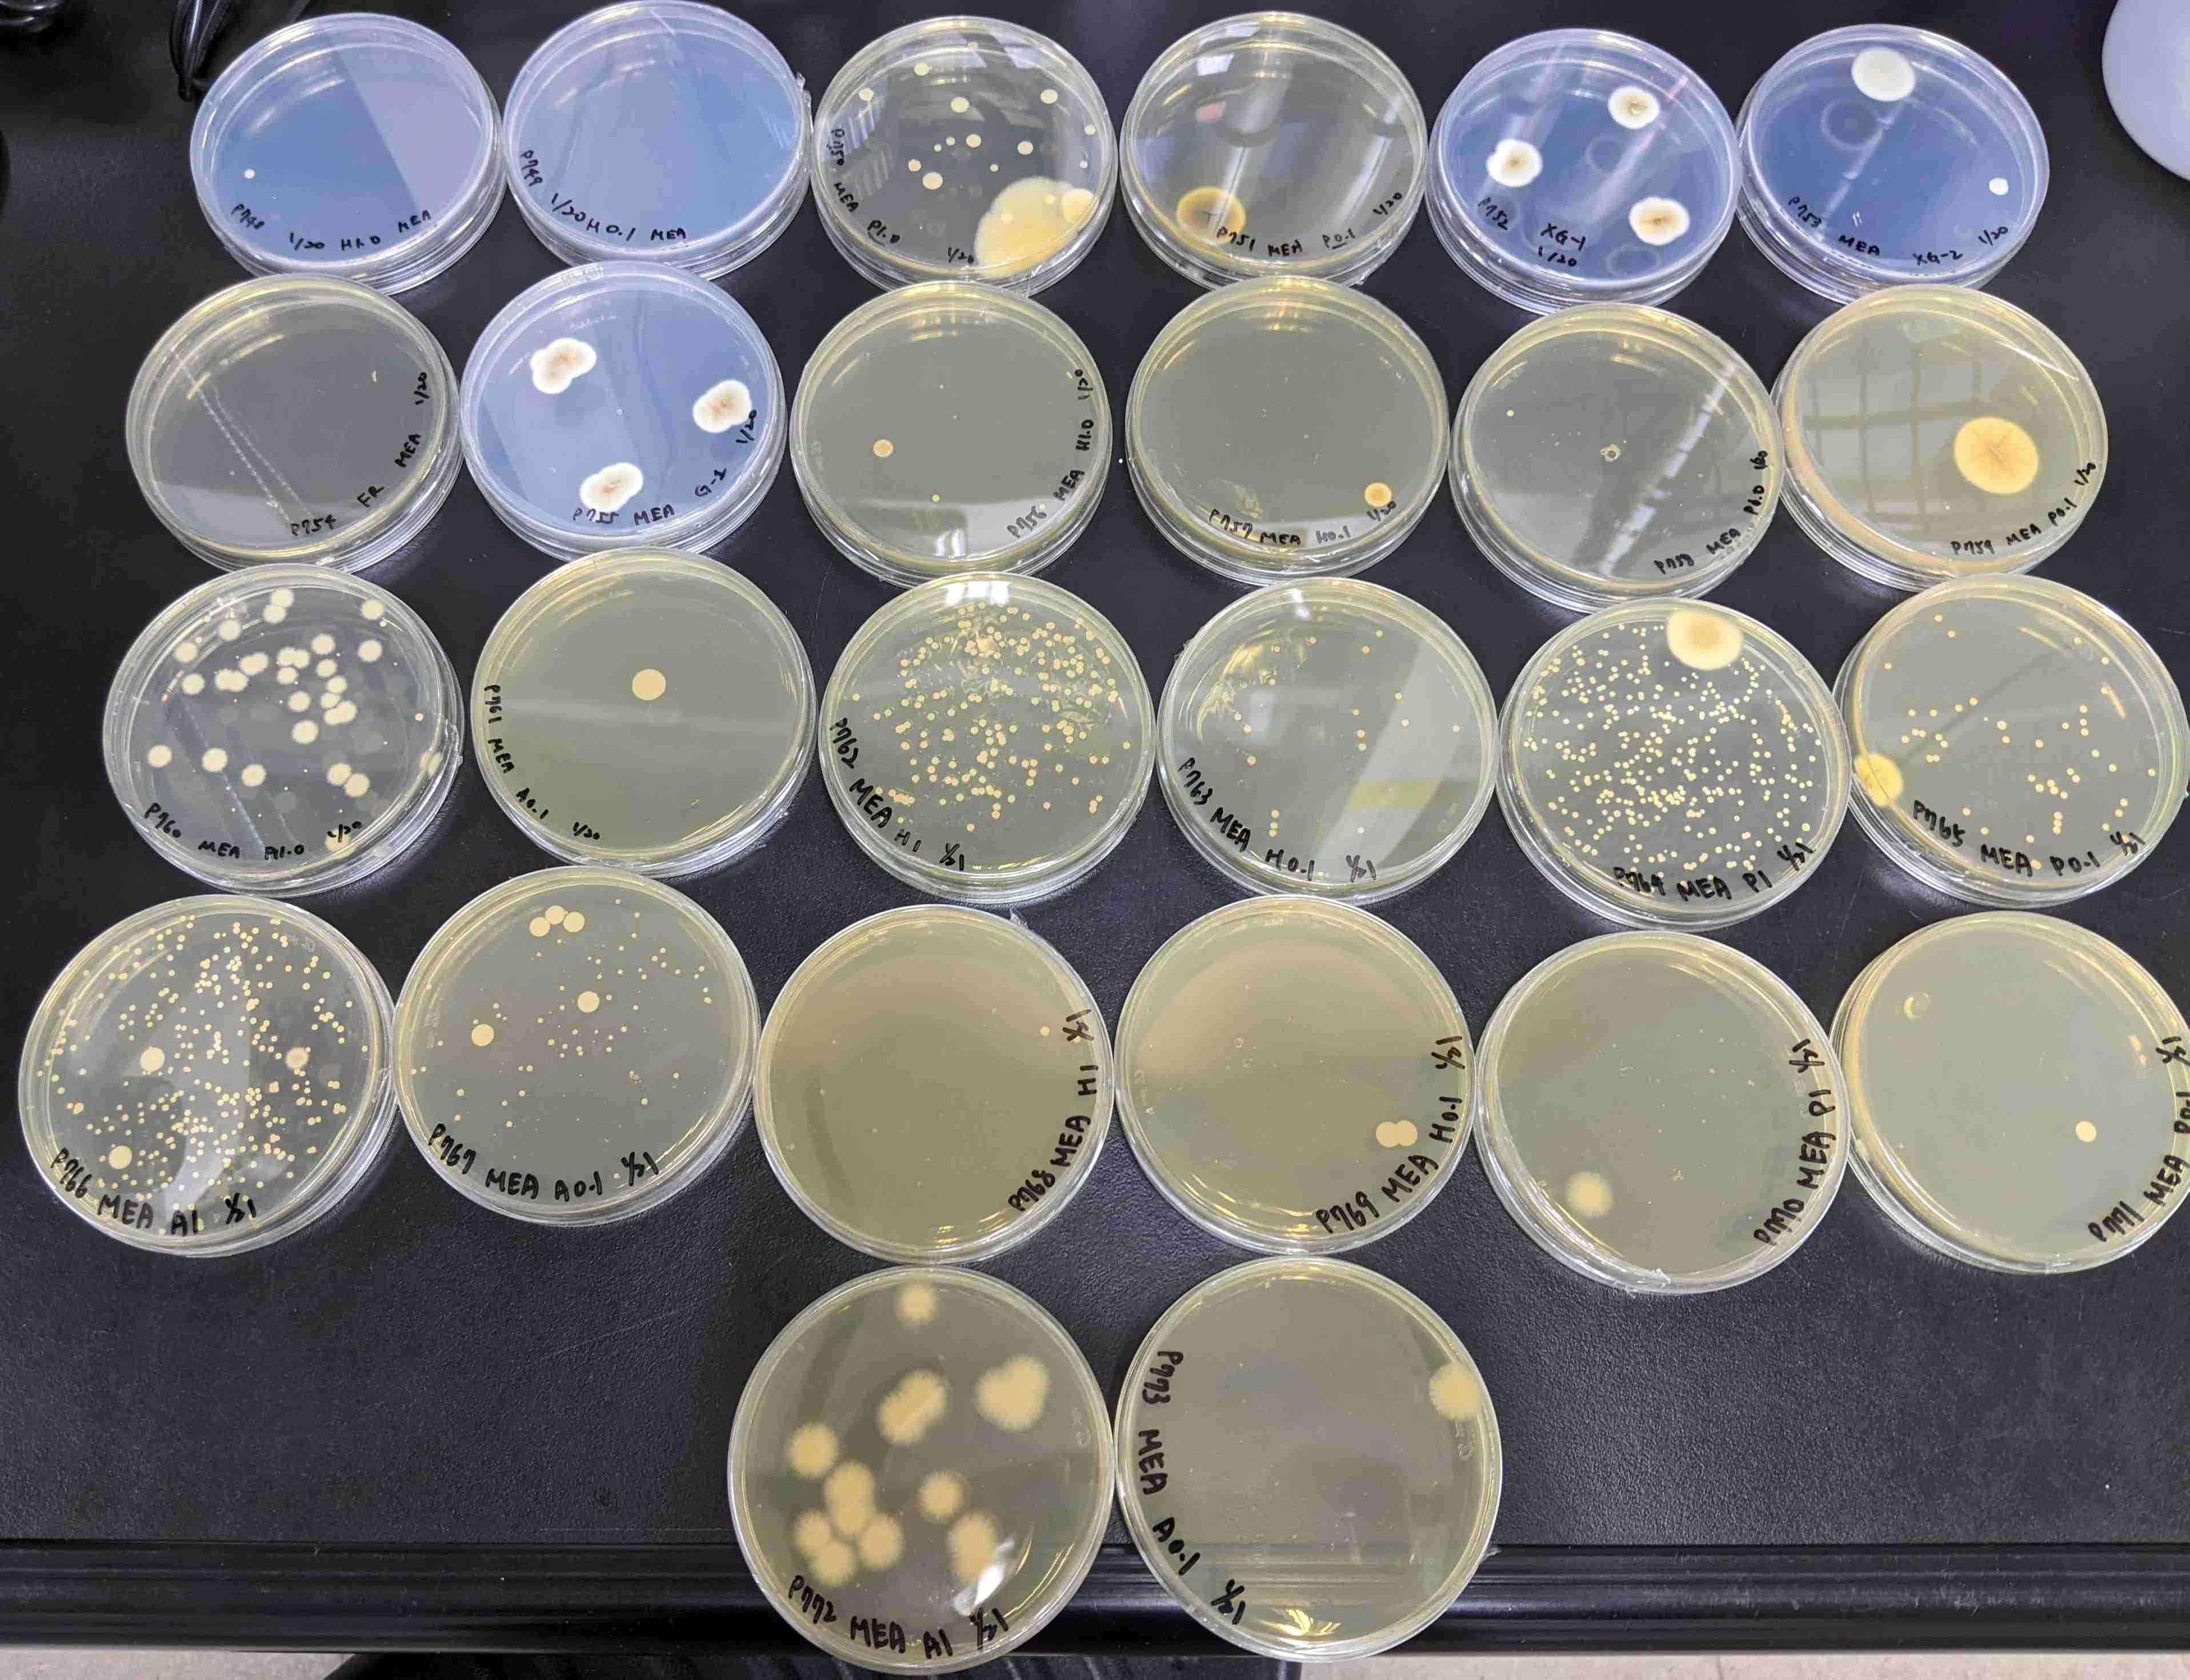
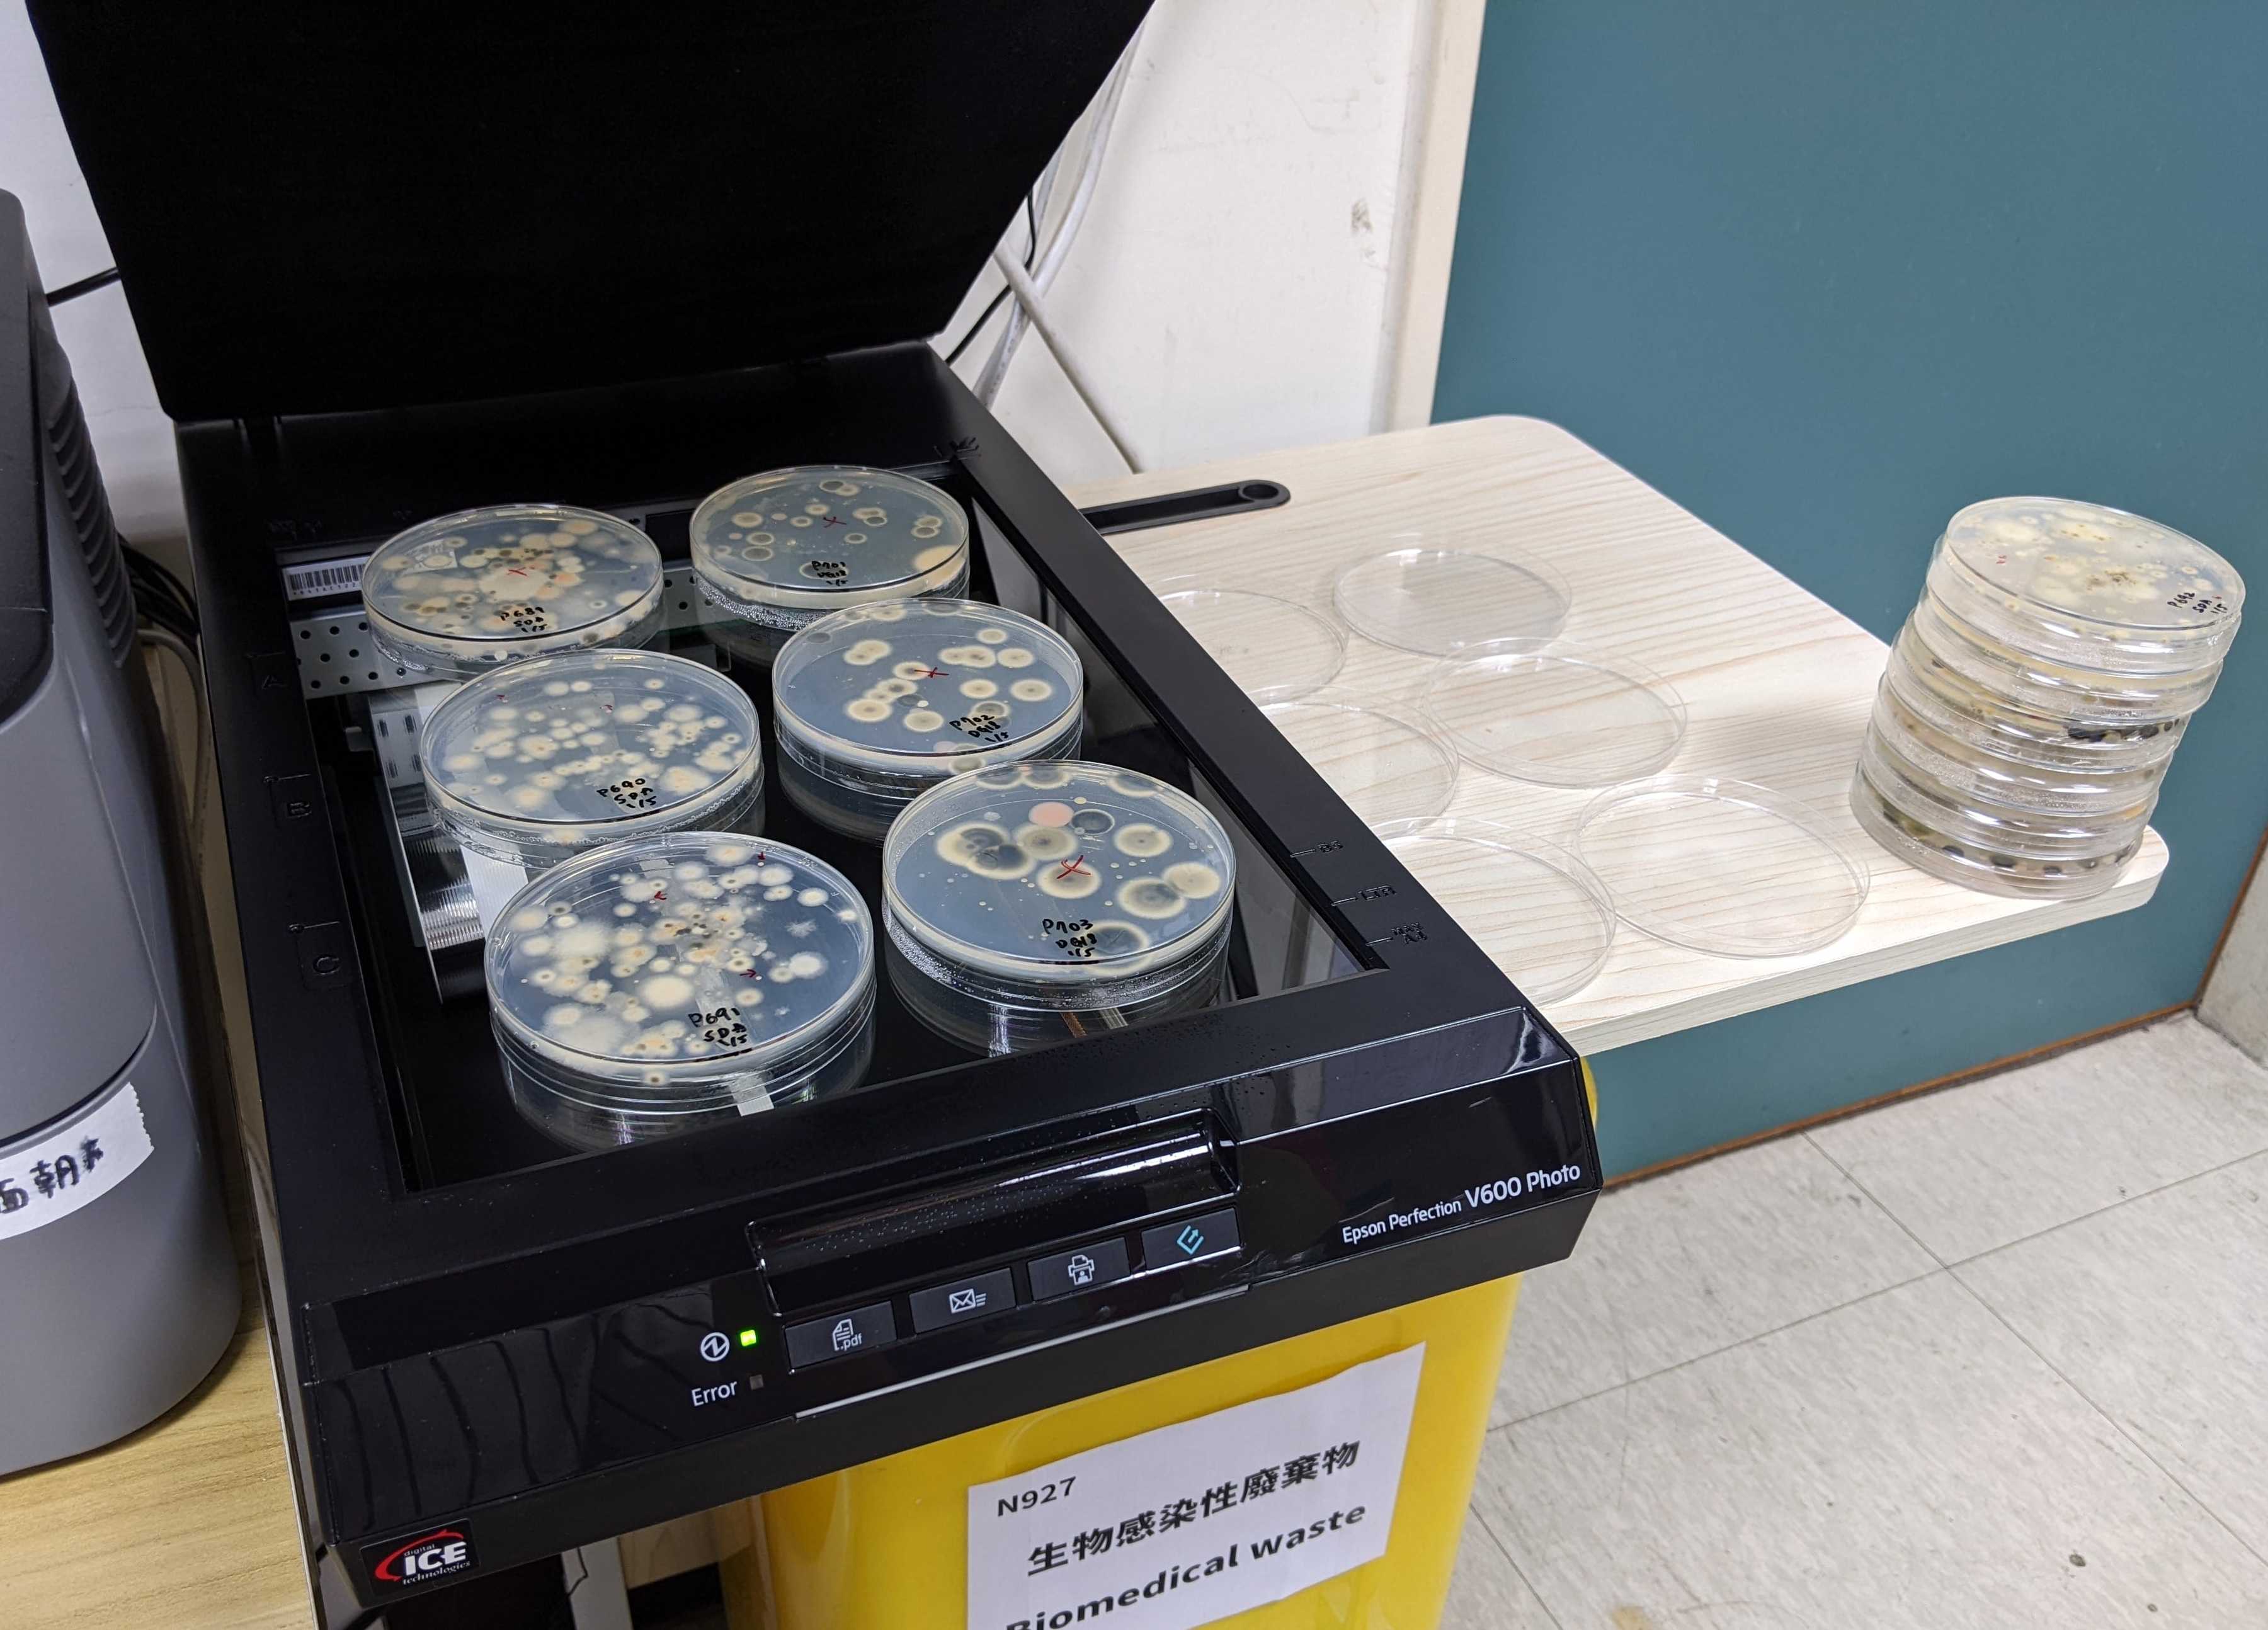
Record or take a photo of the order of your plates that are ready for scanning. 6 plates as a group, so you can refer back during the photo editing.
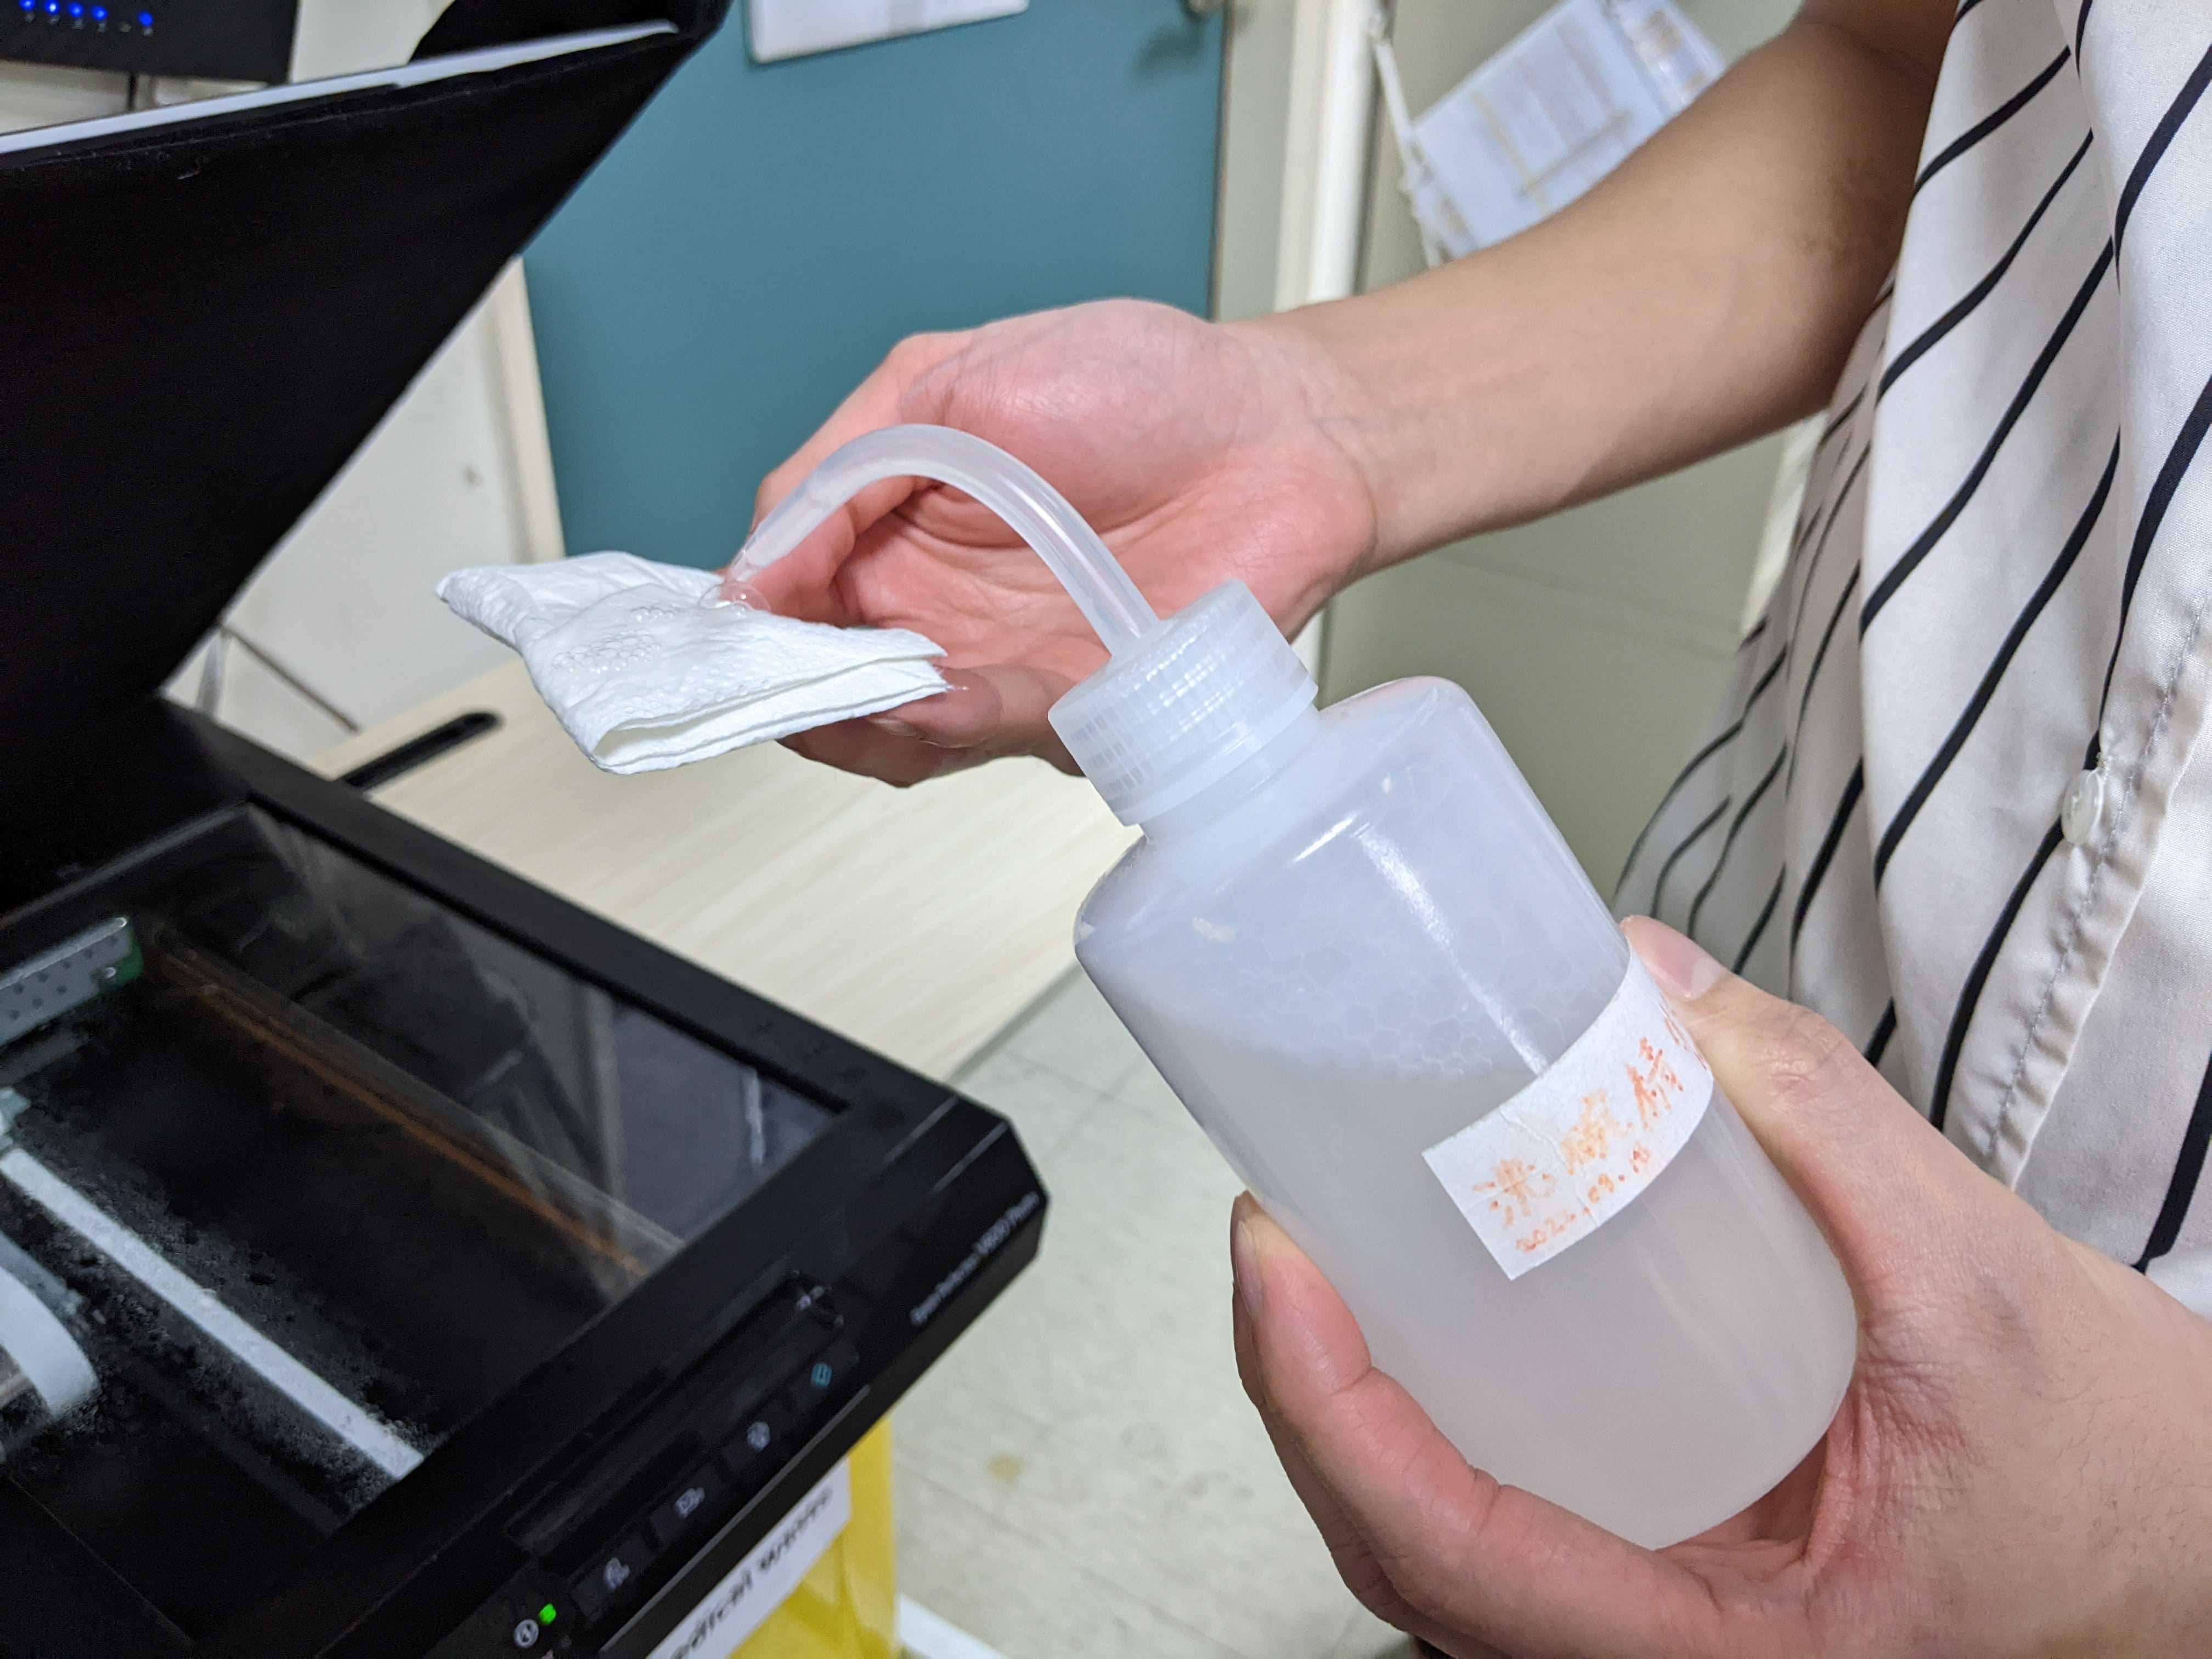
Before scanning plate, you need to sterilize the environment and scanner glass using paper towels with 75% ethanol.

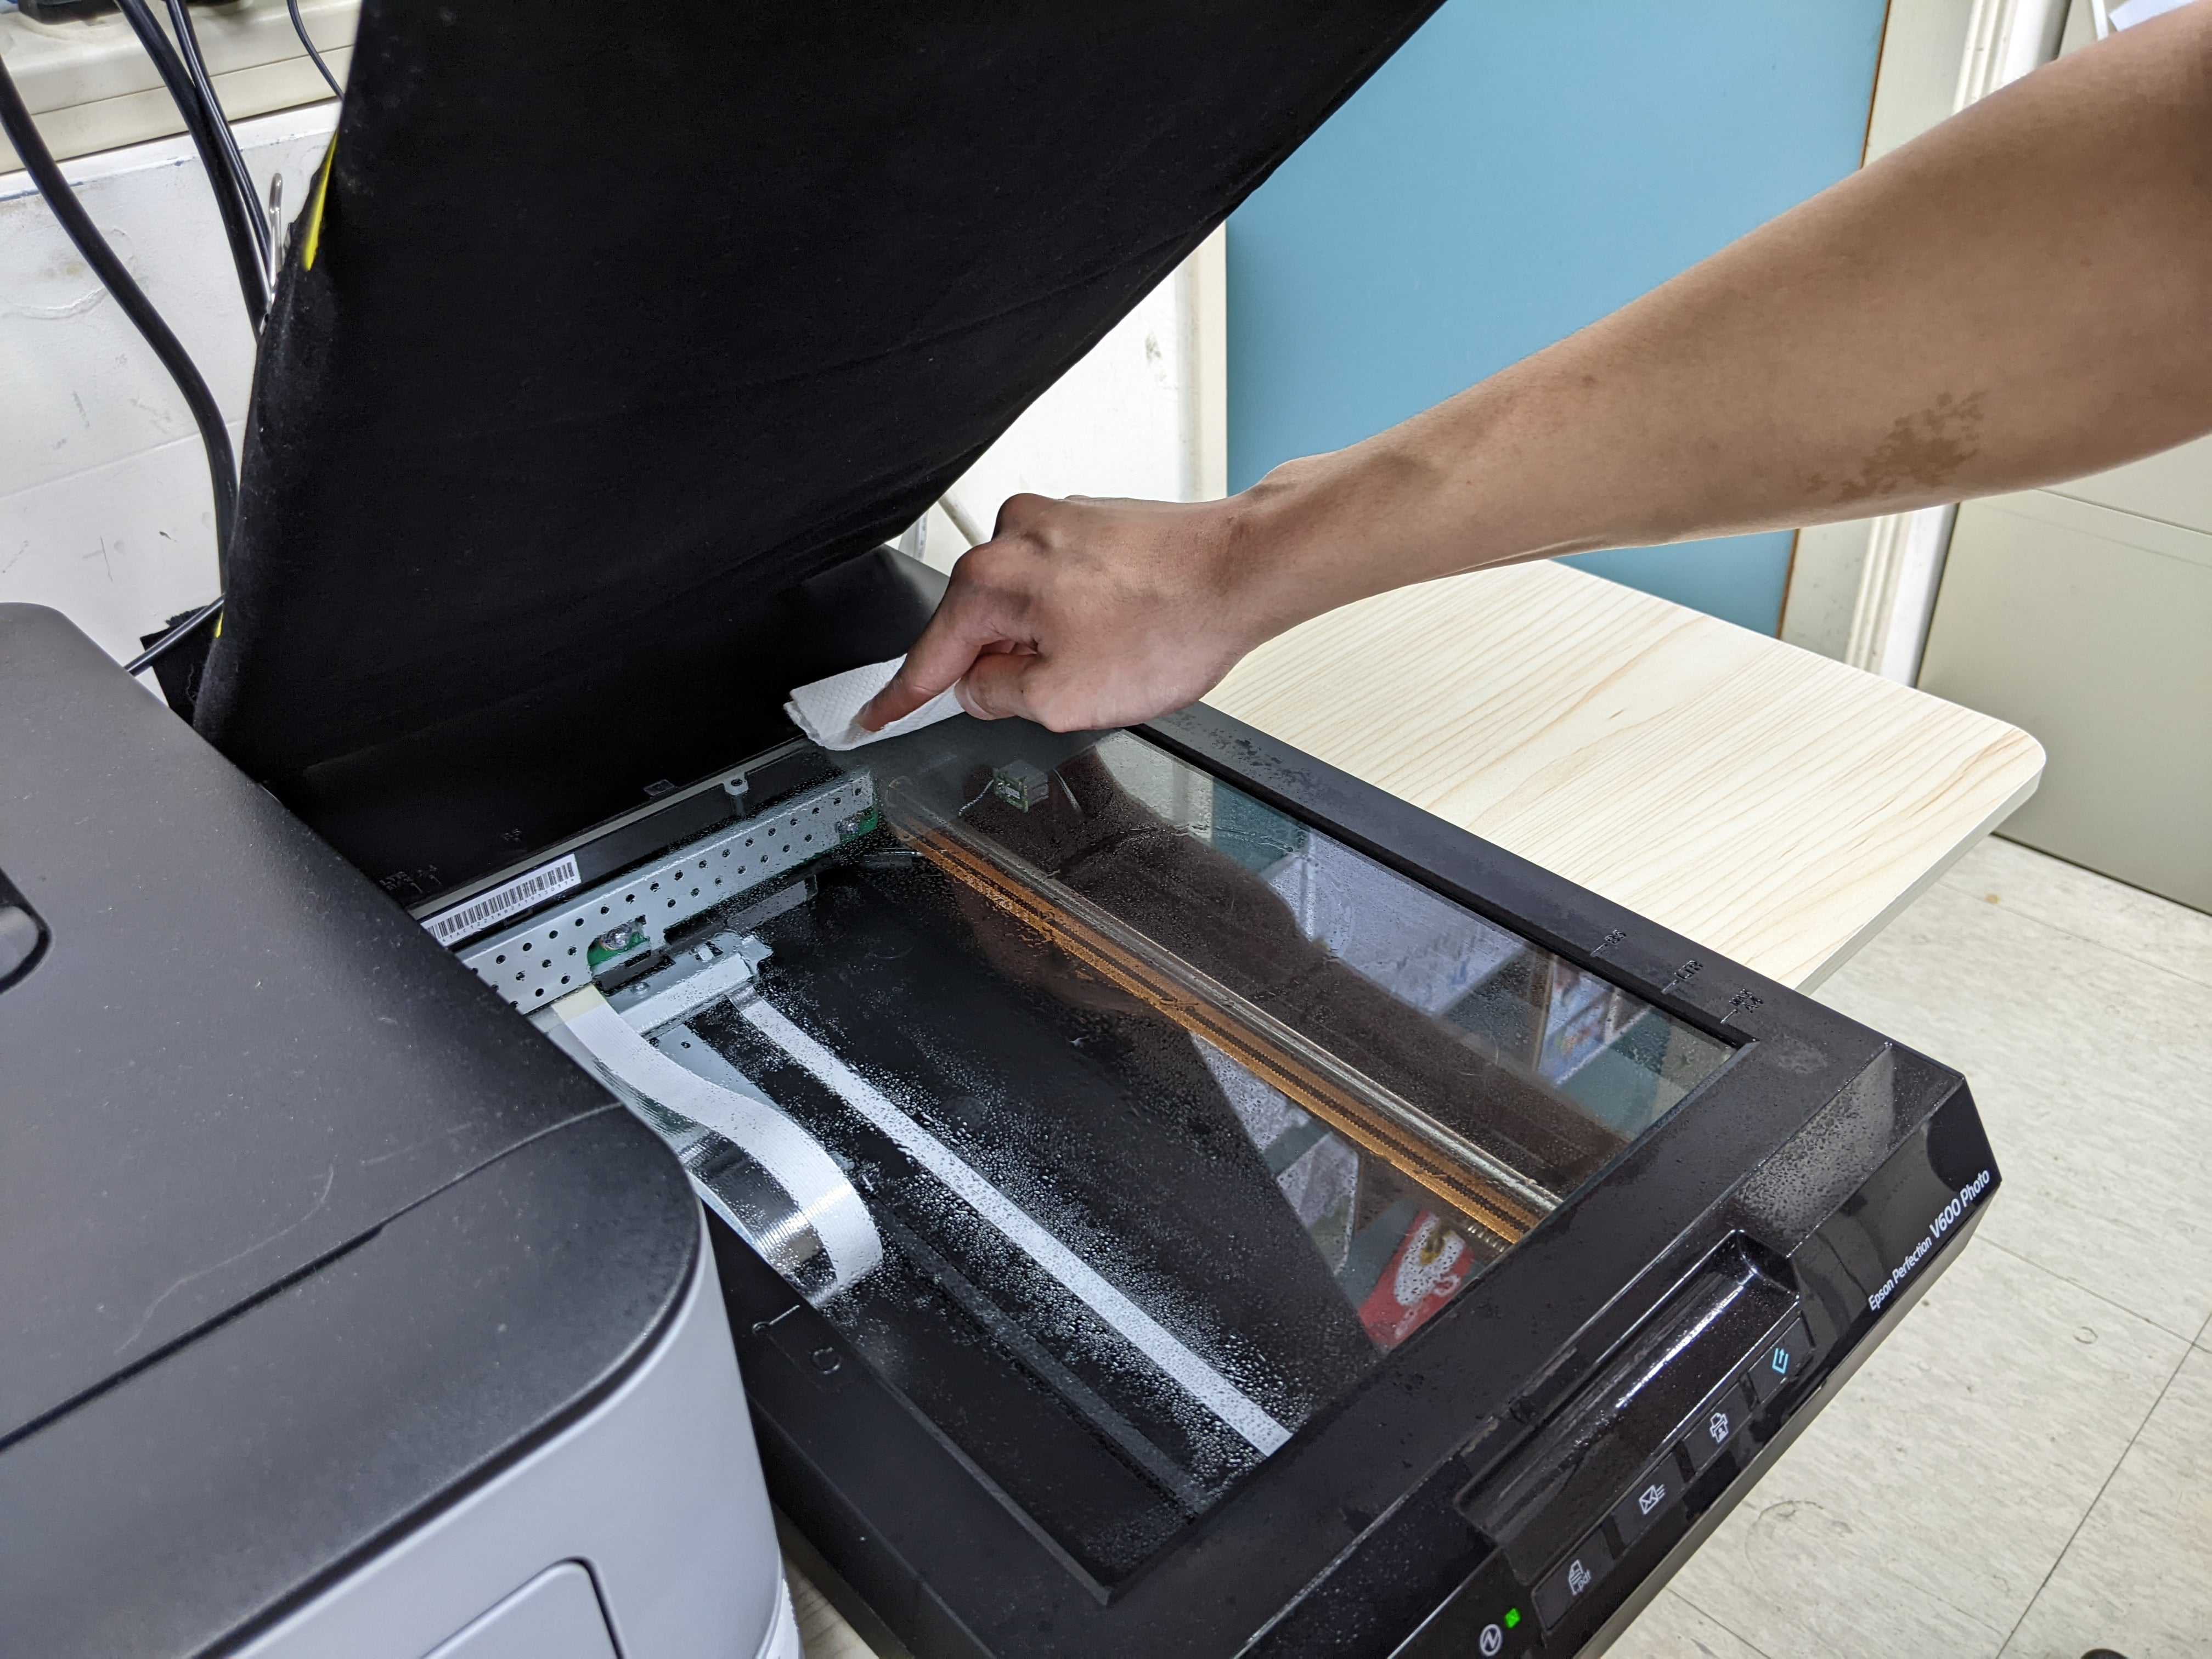
Wipe the scanner glass using paper towels with dishwashing detergent (this prevents water condensation on the glass).
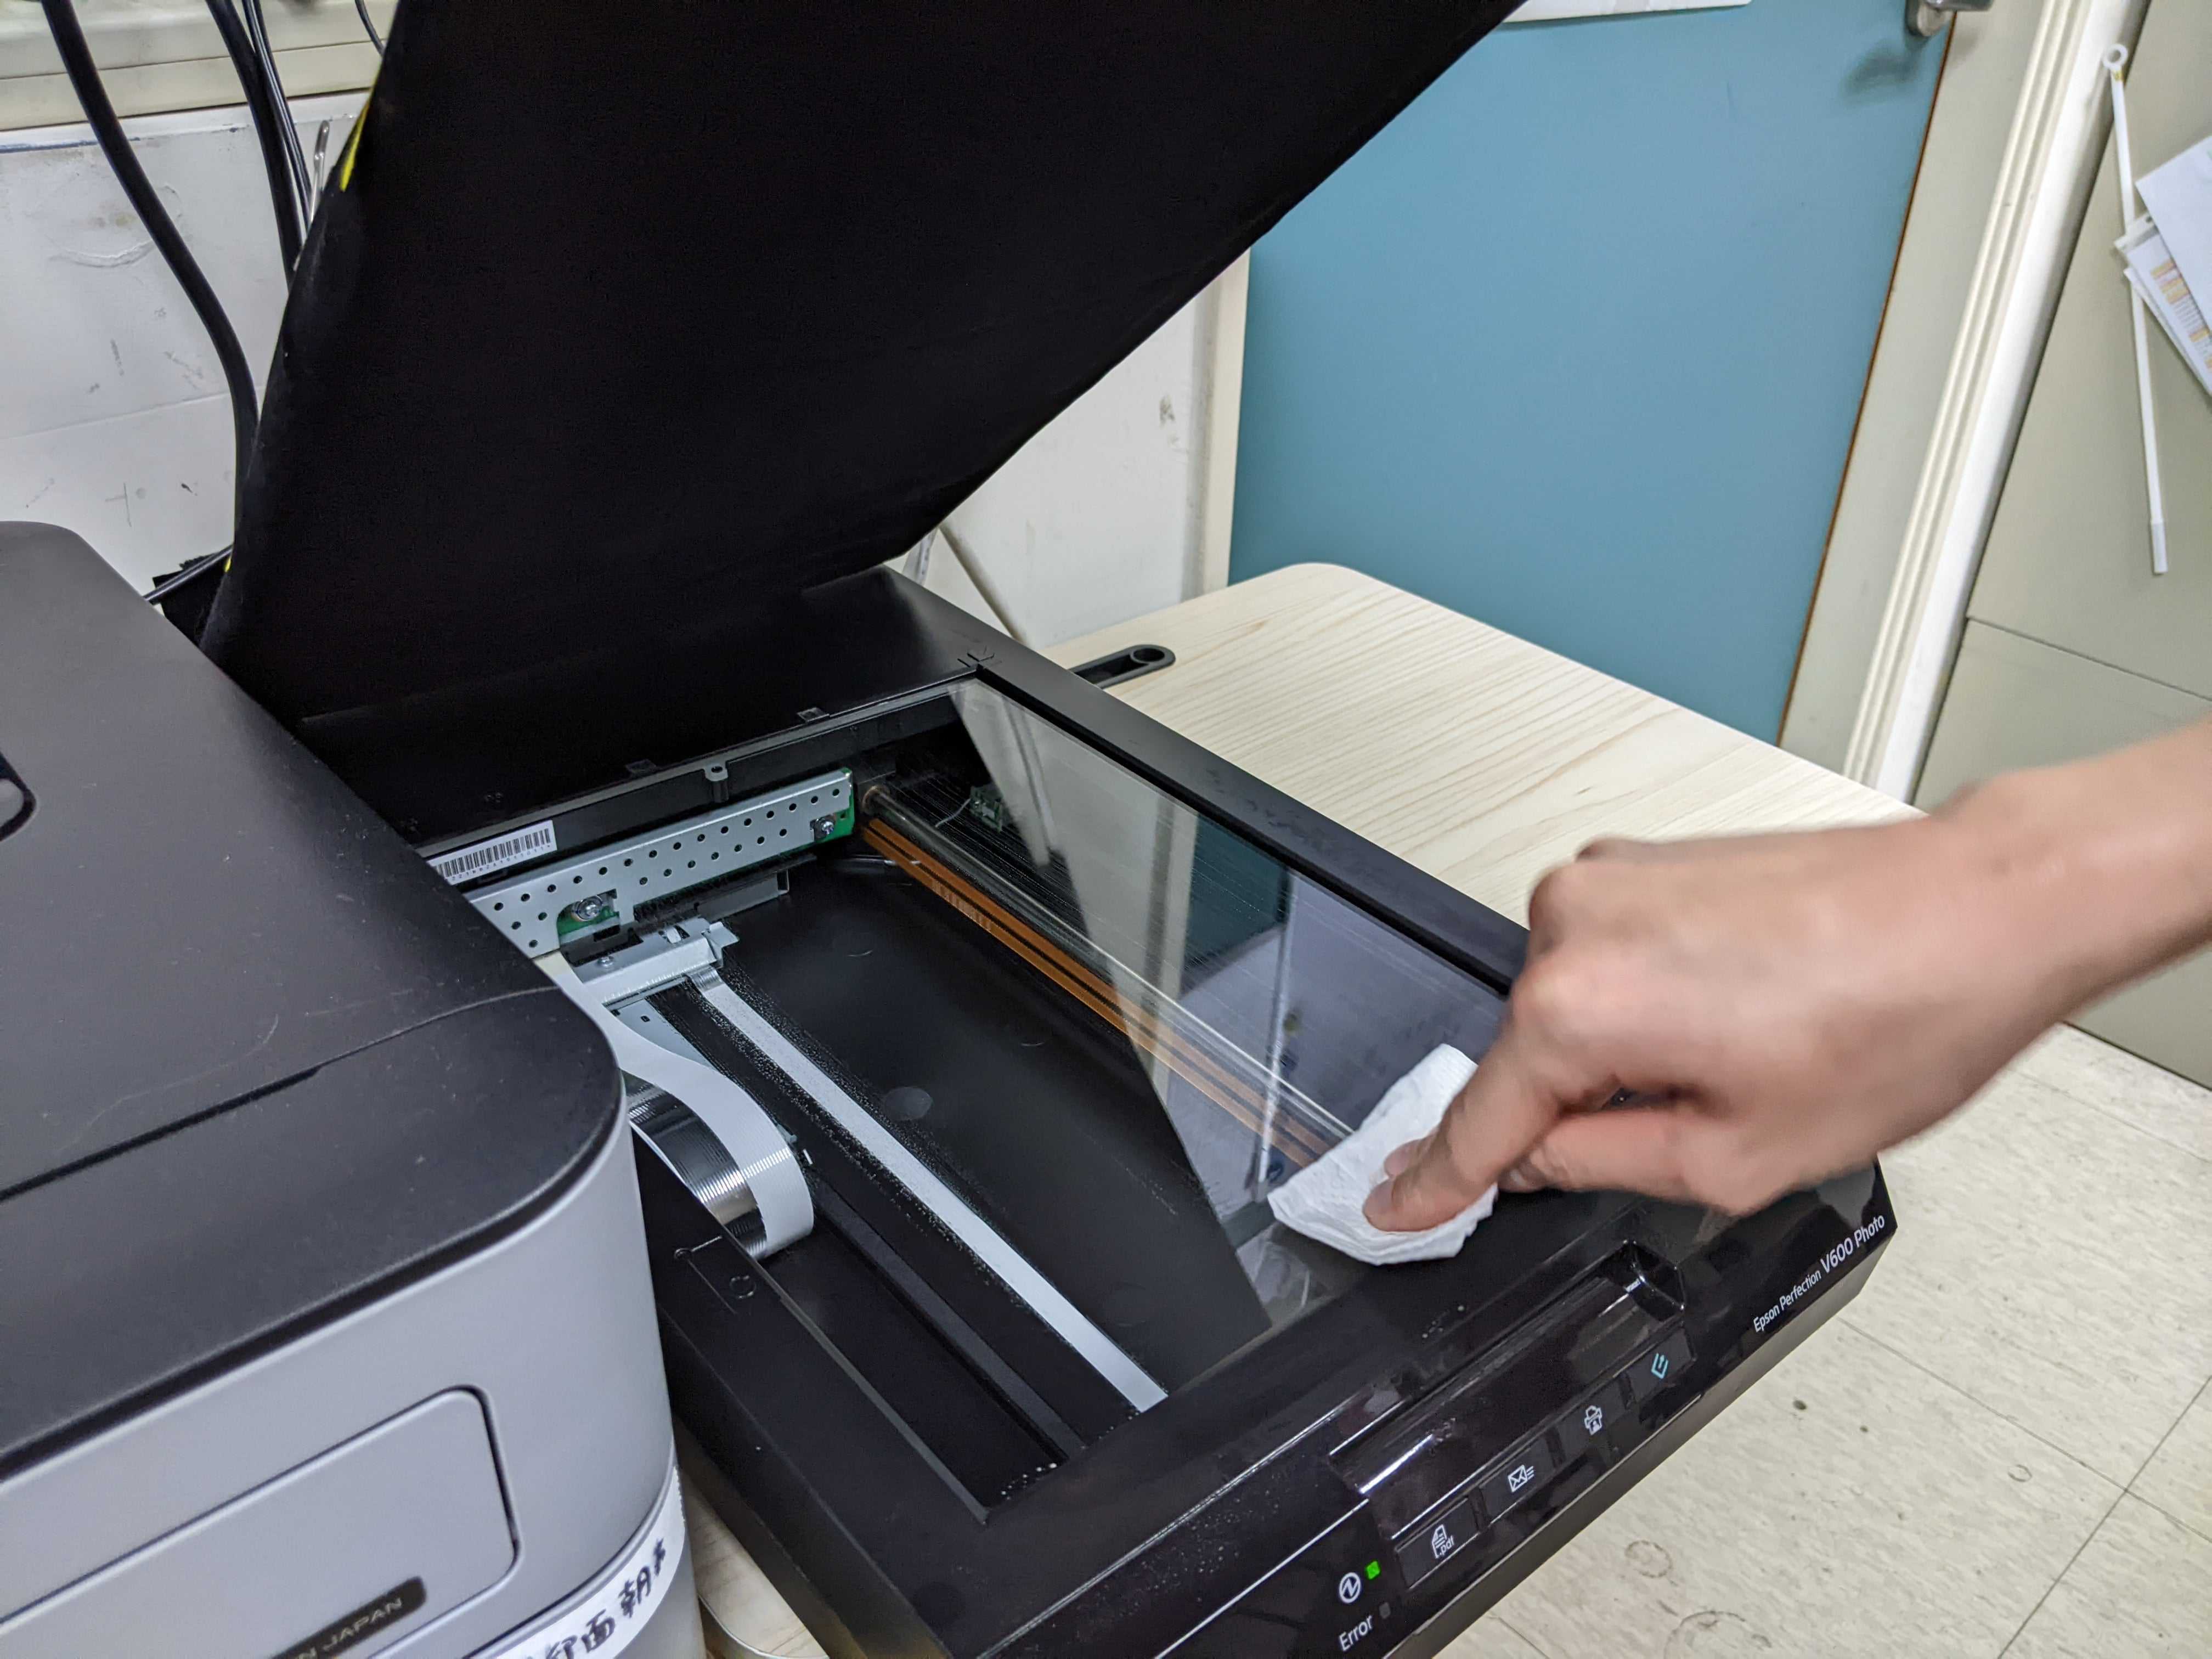
Keep the order of the plates, remove the plates cover, and put the plates upside down onto the scanner glass.
Do not change the order before and after scanning
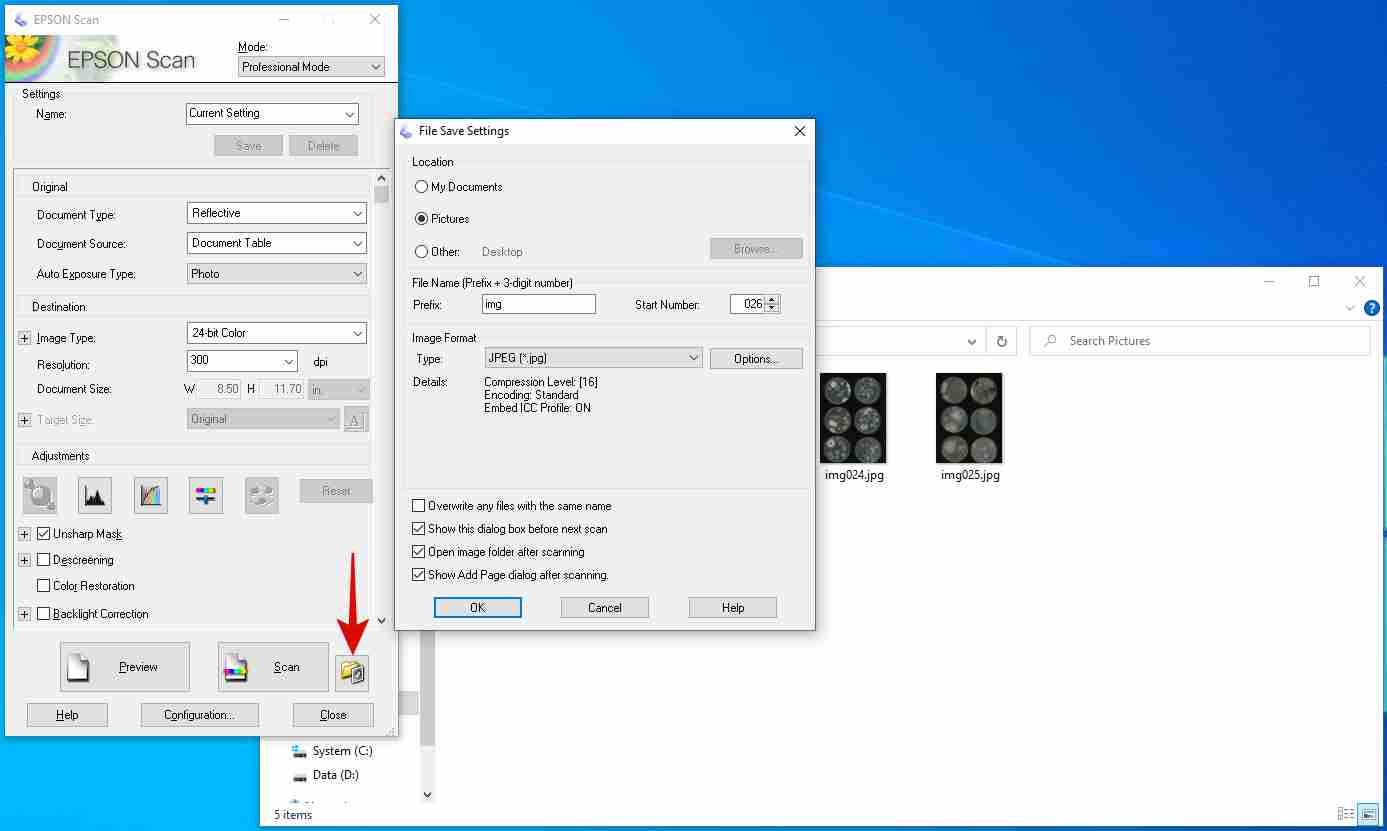
Search and open EPSON Scan software. Choose Professional mode . Go to the File Save Settings (red arrow), and make sure the image format is .jpg (follow all the settings as the photo below shown).
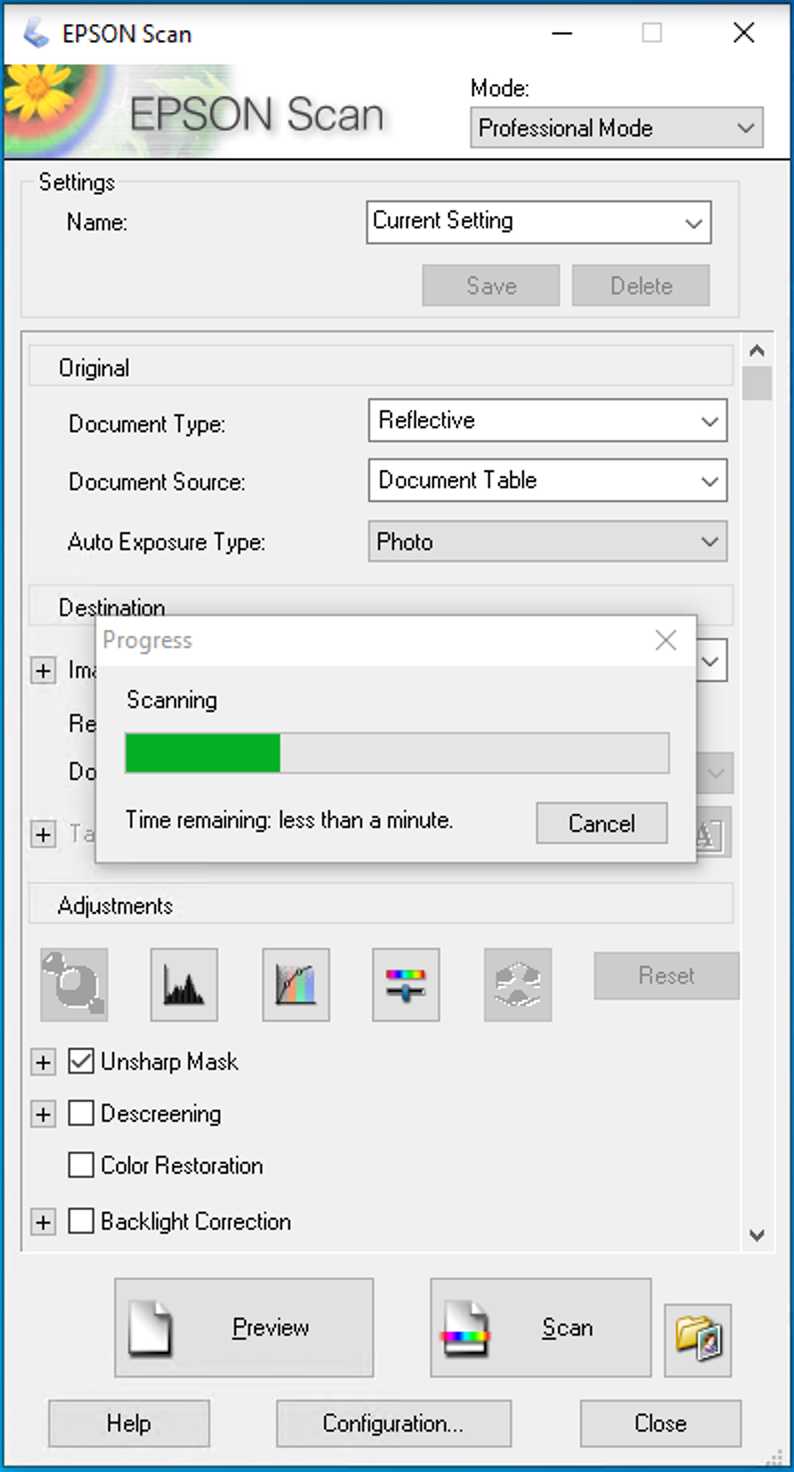
Then, click OK . (It will start scanning like the photo shown below).
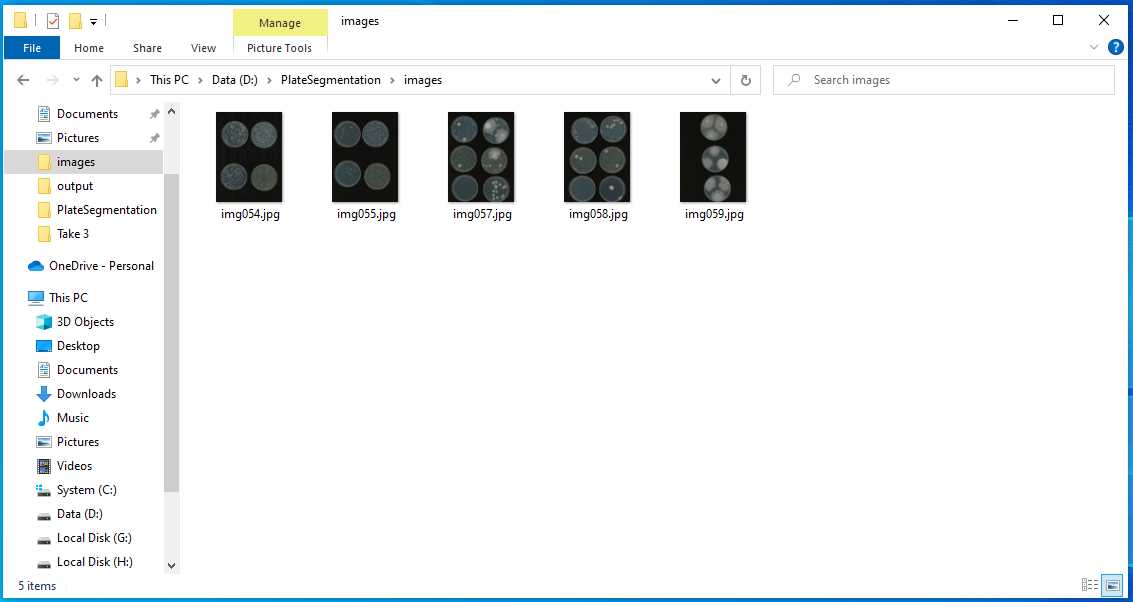
Move the files from your Pictures folder to the D:\PlateSegmentation\images
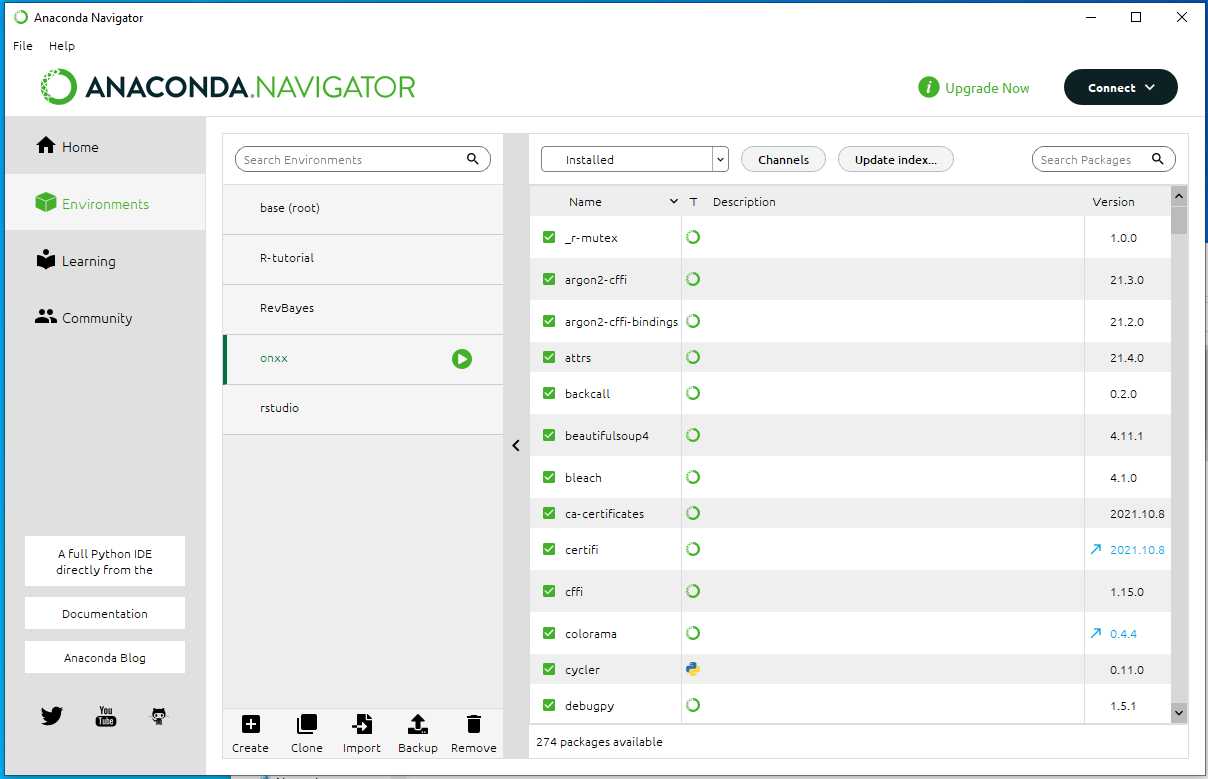
Search and open Anaconda Navigator software.
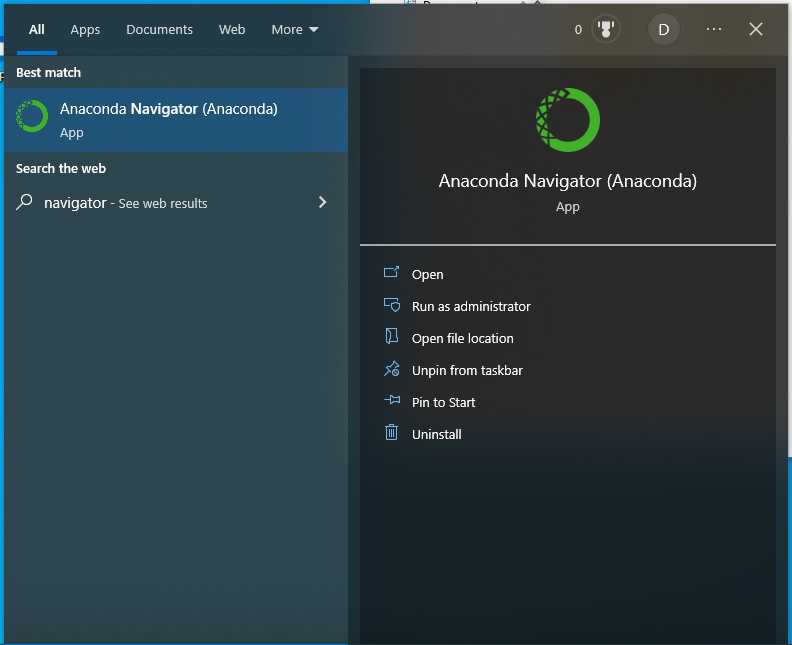
You will see the interface as the photo shown below.
Subculture the primary cultures
Follow to for the subculture of primary cultures. Now, we called them secondary cultures .
You may need to keep the primary cultures for a while before the secondary plate are all secured.
Ready for preservation
After 7-21 days (depending on the growth rate of your targeted microbes), the secondary cultures are ready to be preserved. If the secondary cultures were contaminated, please redo the subculture from the primary cultures.
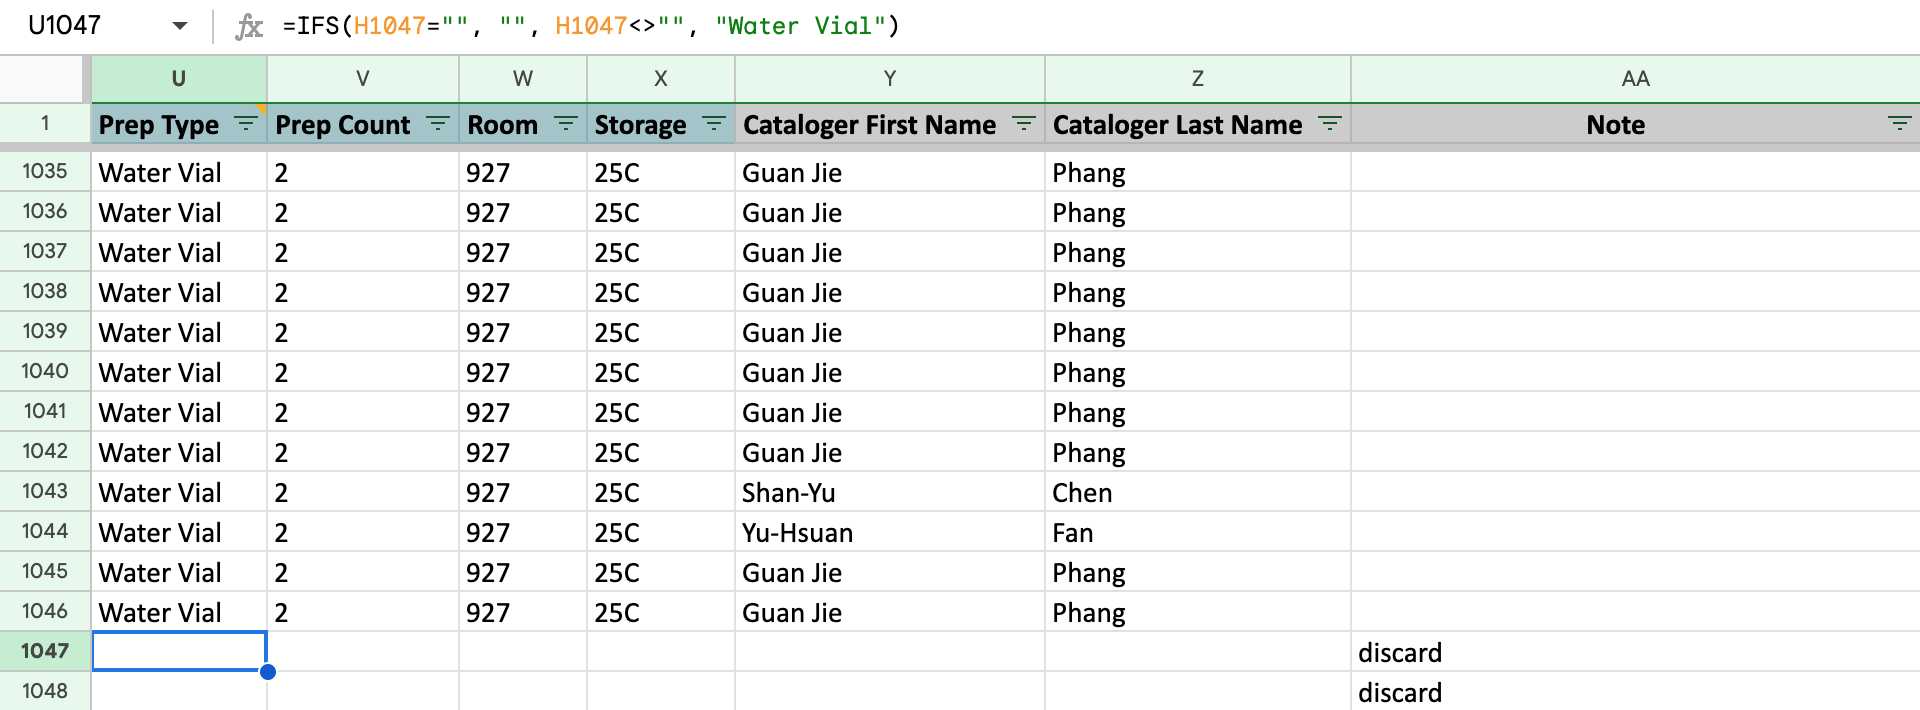
Before prepare preservation vials, the For Specify cateloging COPY to MODIFY!!! worksheet need to be filled.


There is 2 part for all the locality information, you need to replace the each information: spreadsheet code (red arrow pointed), worksheet name (purple arrow pointed) with your own spreadsheet information.
.Part 2: Replace the purple arrow pointed region of the written formula with your own worksheet name (blue shaded region).")
If the Cataloged Date is filled, the Column U to Column Z is auto-filled with the written formula. Do not change it unless it needed. The Column AA is synchronized with the Column O of the Secondary Isolate PDA worksheet.
Once the spreadsheet is filled, download the data with .csv format.
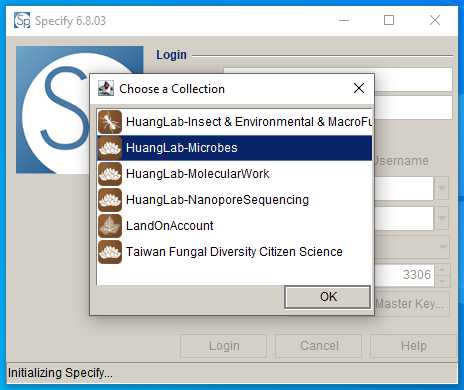
Open Specify , go to HuangLab-Microbes collection.
Follow to for preservation vials data upload.
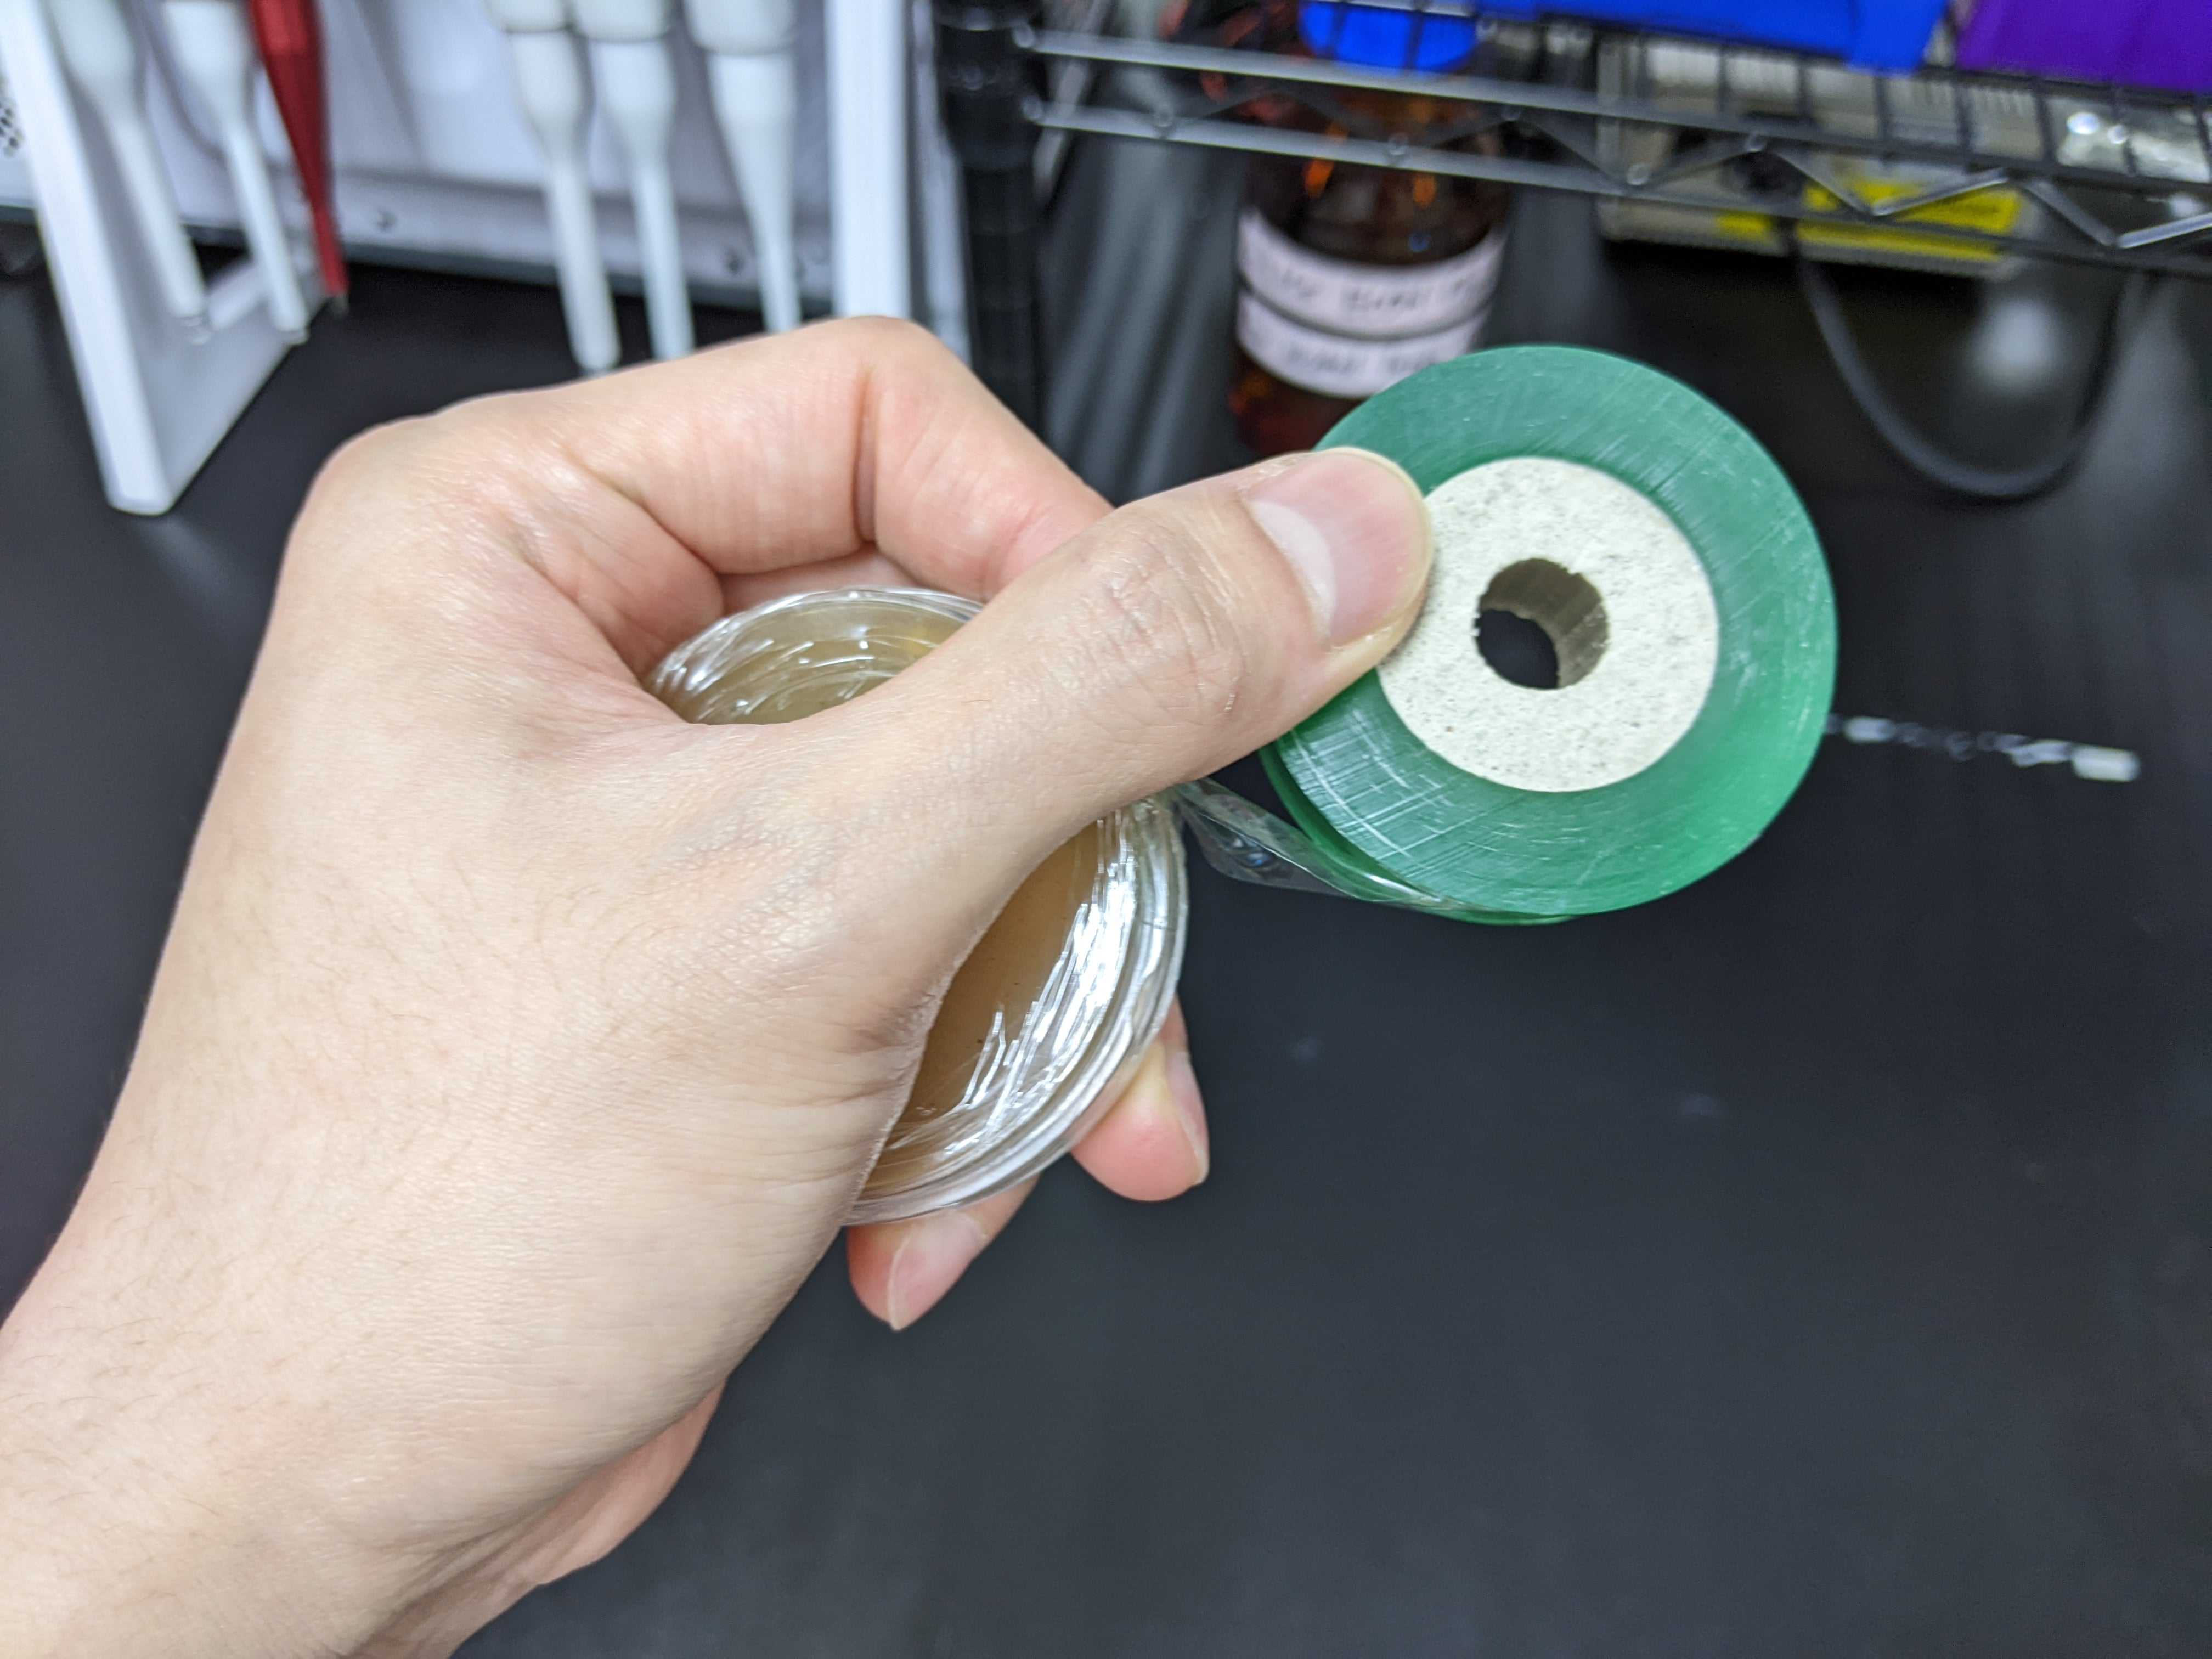
For each Catalog Number , you must prepare 2 water vials and 2 glycerol vials. You also need a 2 ml microtube with lysis mixture and beads (for details, check DNA extraction protocols ).
Each tube needed a sticker with its corresponding Catalog Number on top of the cap. The label should be written with a black color marker pen or a technical pen alternative.
Please follow the example in the photo shown below.

The lysis mixture microtubes that are ready for use will look like this.

Operate UV sterilization of the laminar flow for 15 minutes. After UV sterilization, you need to ethanol-sterilize the materials that are going into the laminar flow.
Light up the alcohol lamp and flame the material.
The materials you need are the same as , but you only need , but you only need a scalpel instead of a tweezer and a spreader.
Culture preservation
Preserve the plates with one water and one glycerol vial for one colony. The rest is for DNA extraction. Make sure you flame-sterilize the scalpel every time before slicing the agar.
The details of culture preservation are not provided here.
Store the preservation vials in their corresponding freezing box.
For water vials, you can keep them directly.
For glycerol vials, you need to keep them in a freezing container and then freeze them inside a -20ºC fridge for 1 day before keeping them in the -80ºC fridge collection.
The freezing boxes of water vials are kept in the steel cabinet in front of Prof. Huang's office; the freezing boxes of glycerol vials are kept in the -80ºC fridge outside N927

