SmartSPIM setup and alignment
John Rohde
Abstract
Setting-up and aligning the SmartSPIM light sheet microscope is required before acquiring each dataset. The instrument is capable of imaging whole, cleared, delipidated mouse brains. It utilizes two illumination paths, corresponding to each hemisphere of the brain, can utilize a broad range of objective lenses, from 1.625x to 22.5x, as well as a range of immersion bath solutions, including aqueous, oil-based, and ethyl cinnamate. The microscope utilizes an axially swept light sheet and rolling-shutter camera acquisition to acquire near-isotropic imaging volumes.
This protocol provides instructions to prepare the microscope, to load samples, and to acquire data.
Before start
If using a chiller, allow it to equilibrate to its Set Temperature before starting the SmartSPIM acquisition software.
Steps
Hardware set-up
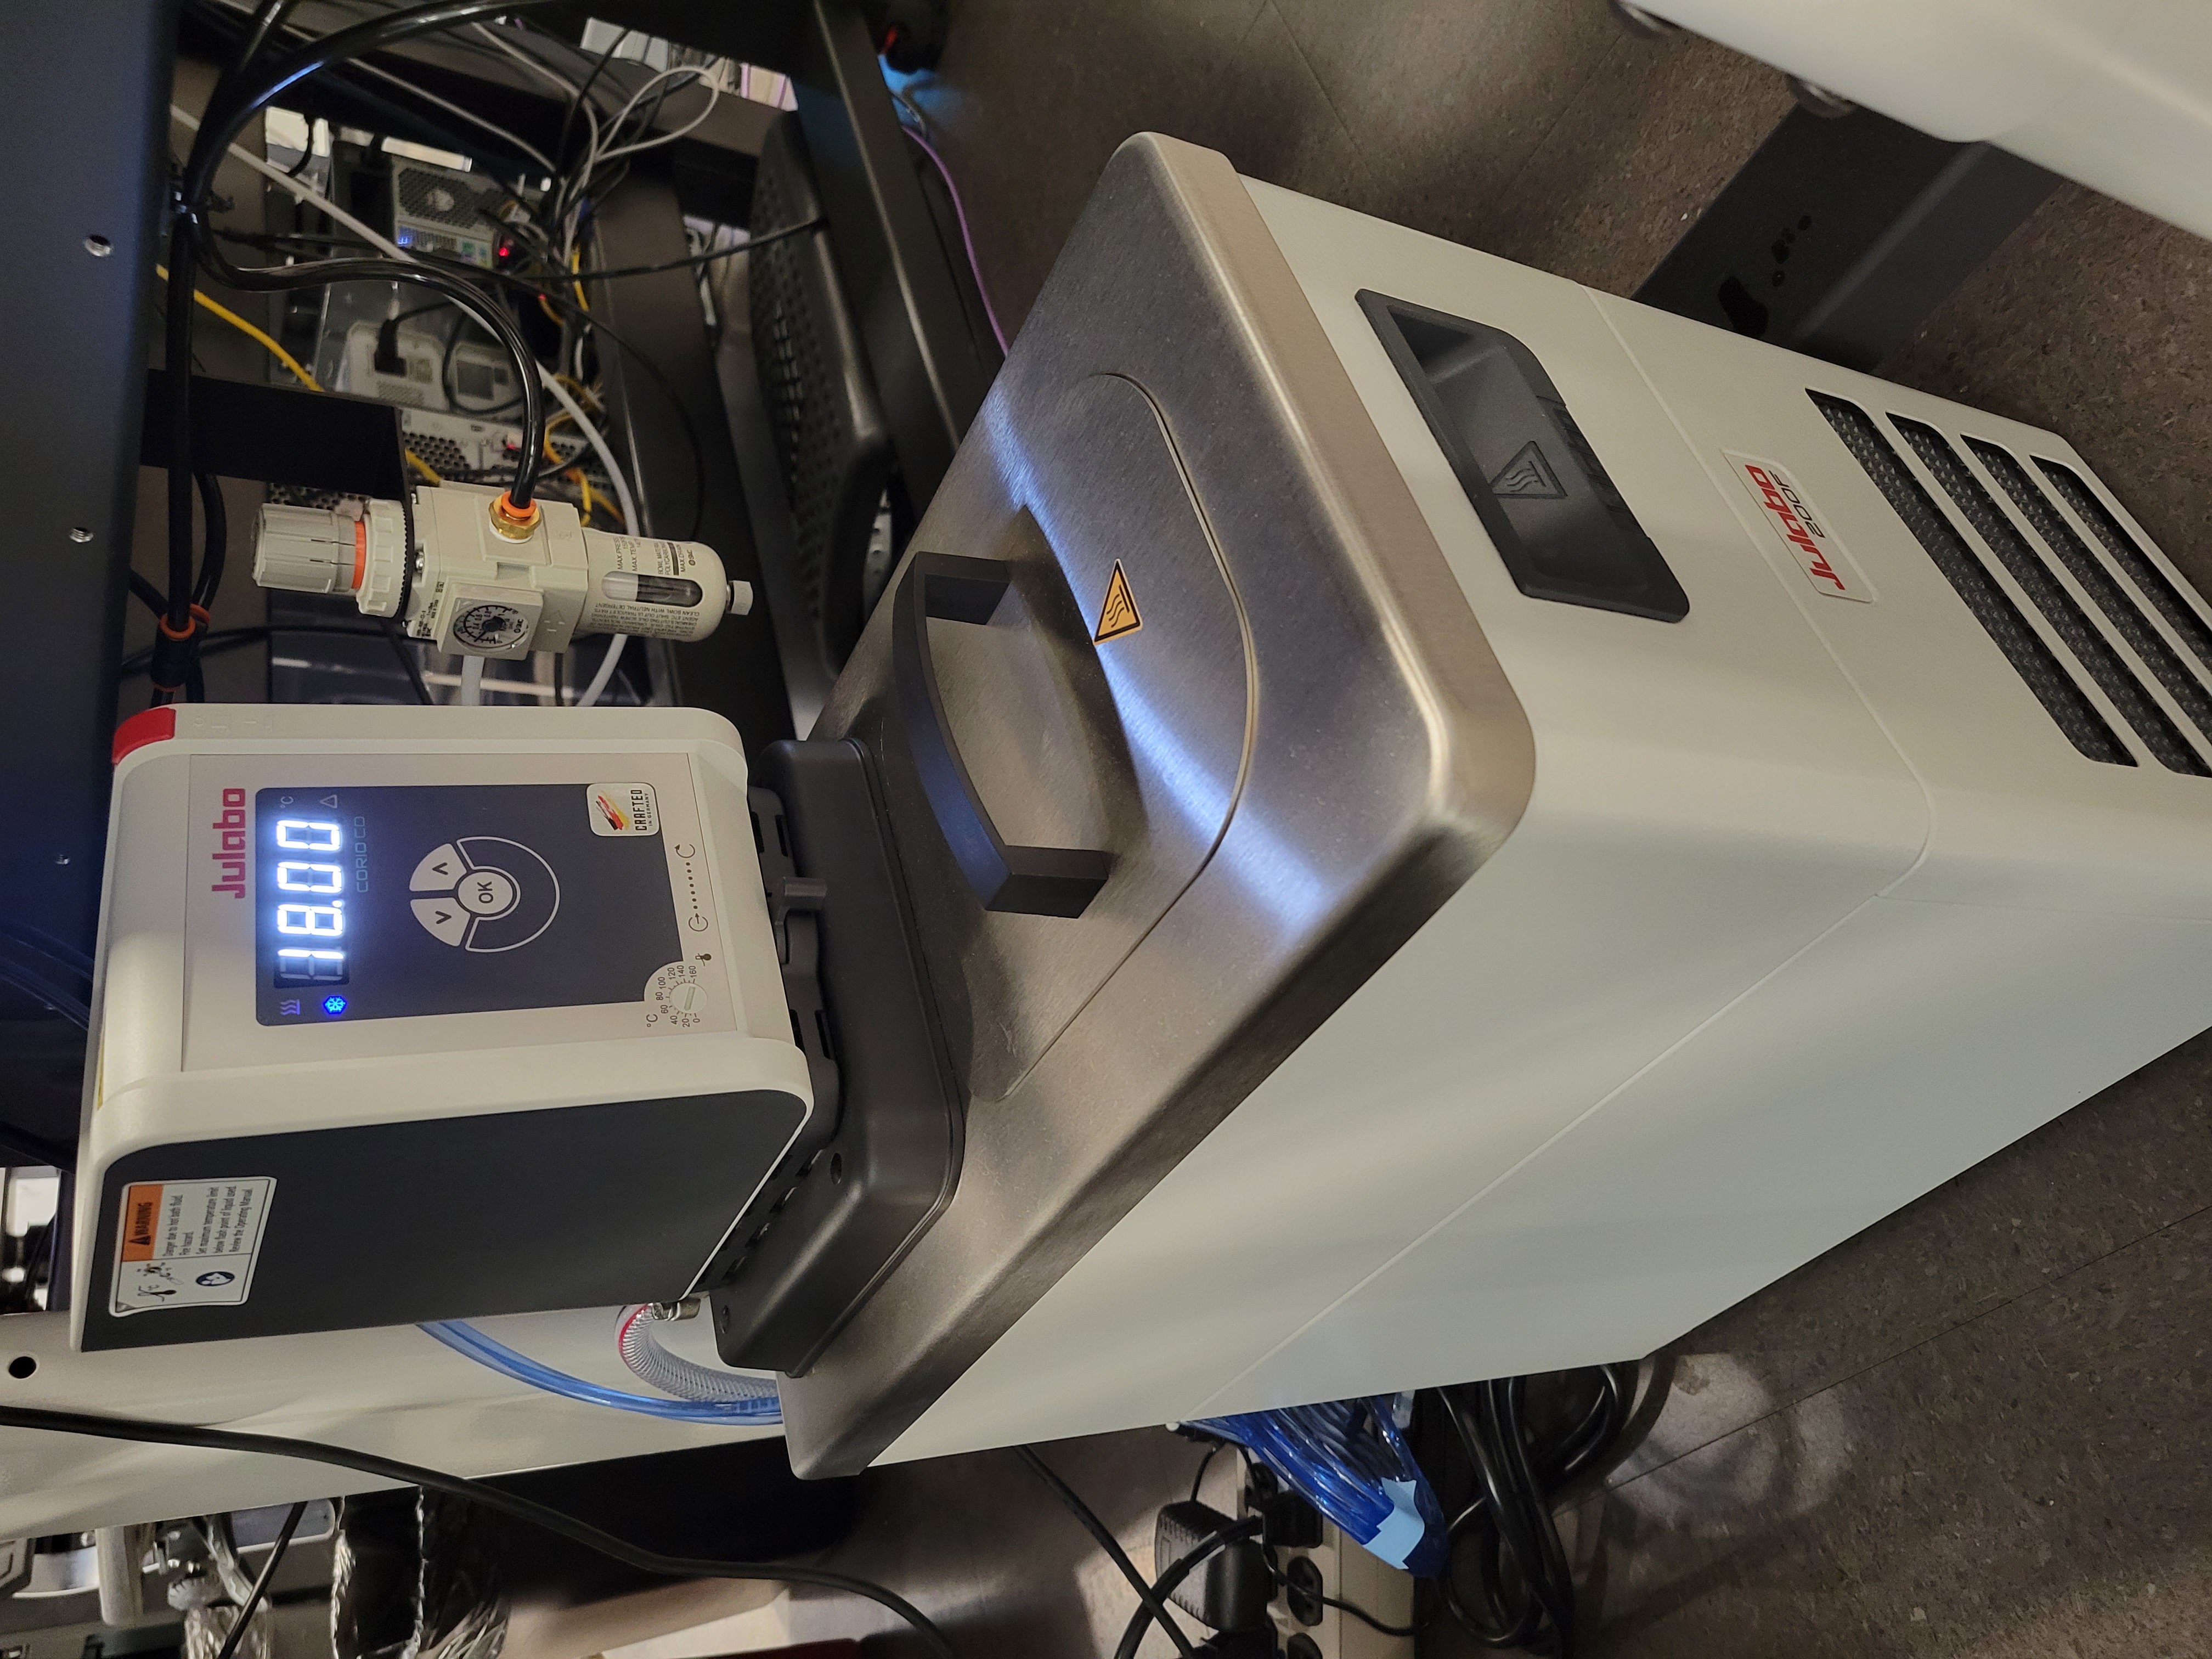
If a water chiller is installed, run the chiller until it is settled at its set temperature of 18°C . Operate the chiller 24/7 when the instrument is being used, and maintain a temperature of at least 25°C . The chiller must be running at its chilled temperature before the acquisition software--controlling the camera--is run. Once the surge protector is powered on, press OK to turn it on. The camera may not require a non-pulsatile chiller, but one is installed here to reduce camera vibration for a rotary fan.
Removing and attaching objective lenses: note that the magnetic base has a white line, corresponding to the front of the instrument (facing the user). When the objective is inserted into the immersion chamber, visually check for air bubbles underneath the objective.
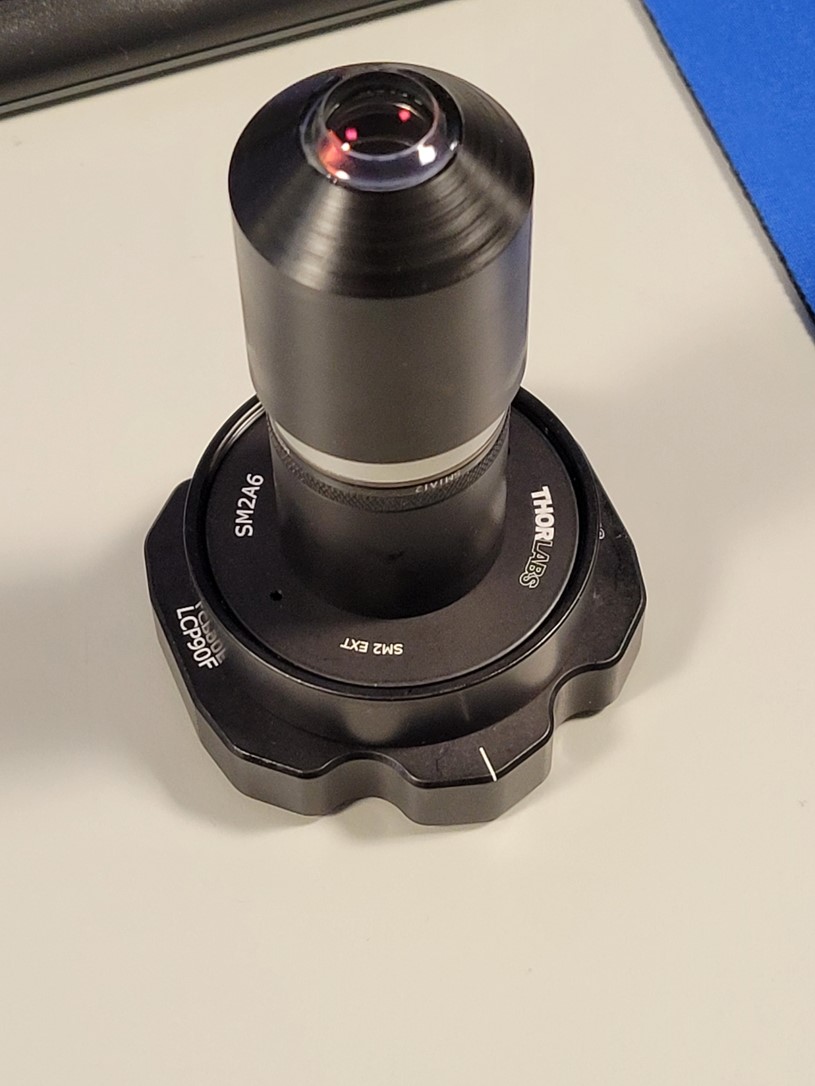
Cleaning objectives, before attaching to the instrument:
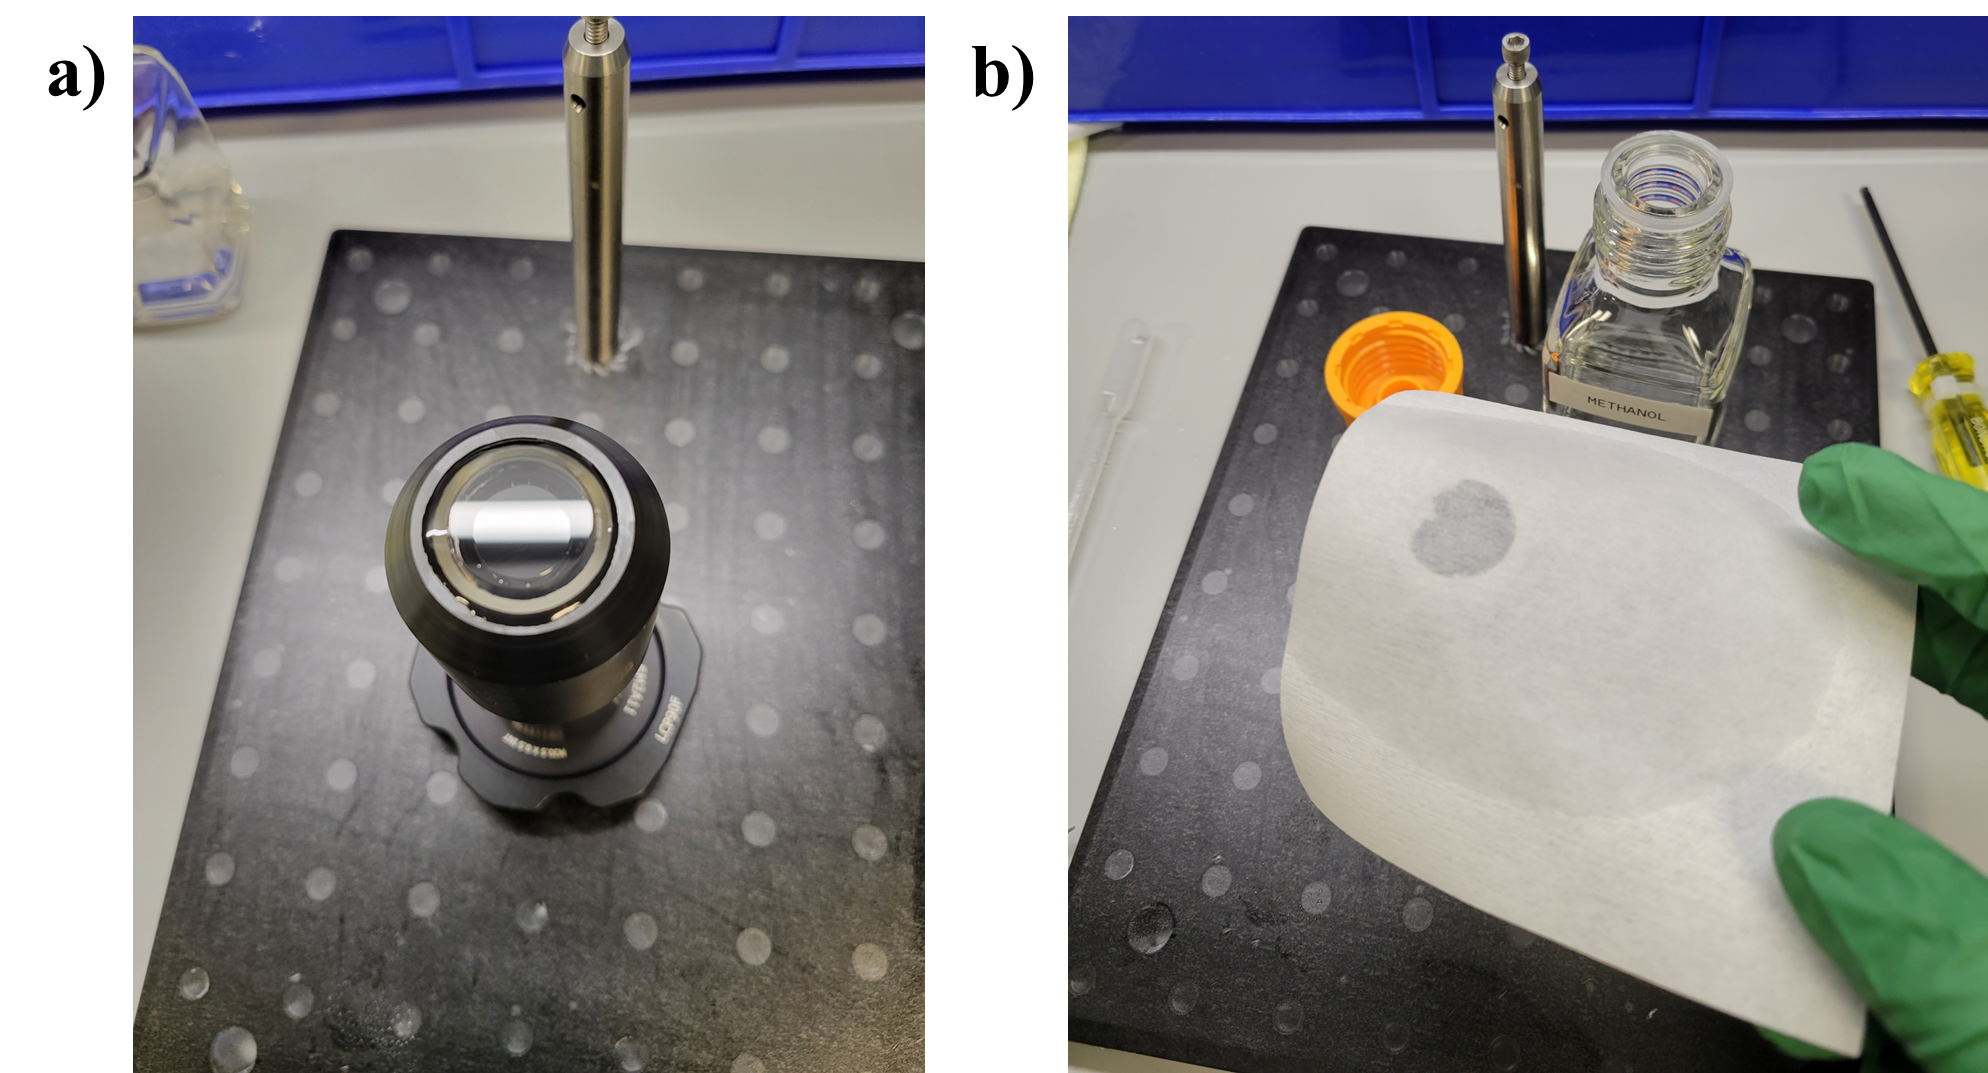
If the objective is dirty, clean the objective: First use a blower bulb to attempt to remove the dust. If that method is insufficient, place a piece of lens paper on top of the objective (b). Use a clean transfer pipette to drop 100% methanol onto the lens paper, then gently pull the lens paper horizontally, moving any dissolved contaminants and dust away from the center of the len's surface. Avoid rubbing back-and-forth or in circles.
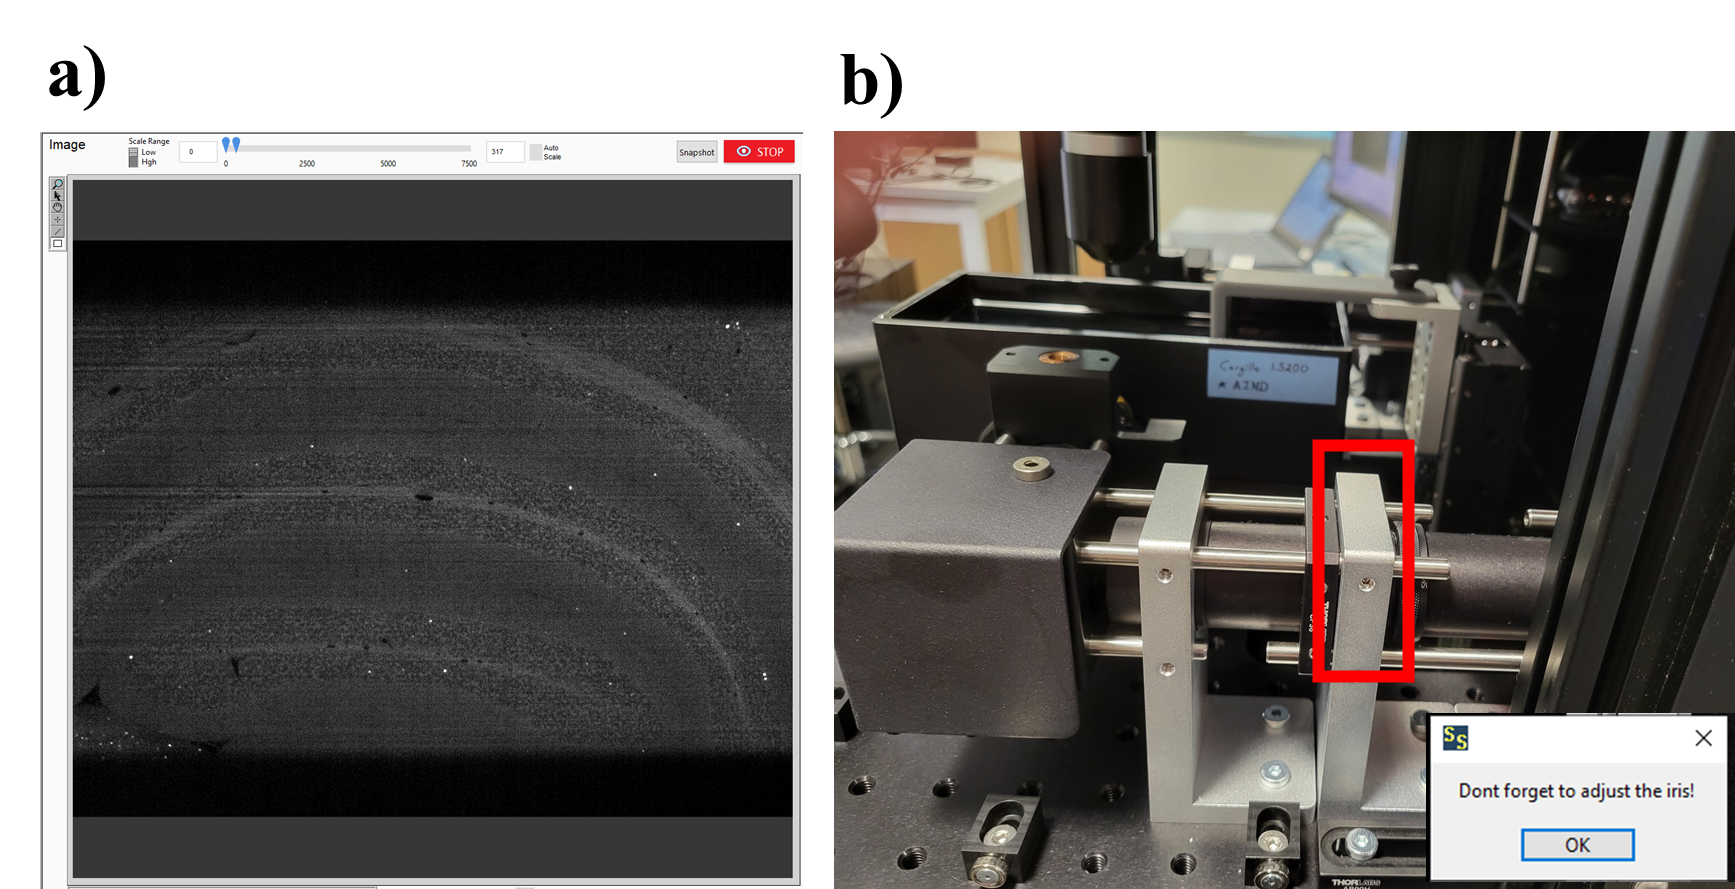
Adjusting the iris: both arms of the microscope have an iris that will need to be adjusted. To adjust the iris, rotate it clockwise or counterclockwise until the black bars (a) are gone and the sample fills the entire field of view. The black bars in (a) shows the iris closed too narrow, preventing the sample for being fully illuminated. If the iris is opened unnecessarily wide then sample bleaching may occur in unimaged areas of the sample. Adjusting the iris until the black bars appear, then backing off slightly until they disappear is required to ensure the iris is not open too wide.
Immersion bath set-up:
Acquire refractive indicies for both the sample and immersion bath to ensure close refractive index (RI) matching. The baths have fixed RIs, but the sample may be adjusted. Immersion bath RIs used include 1.52, 1.53, and 1.56.
Software set-up
Restarting or starting the software: if the software is open from a previous acquisition, close the software and reopen it to begin an acquisition. In rare cases, the software may be frozen, and you may need to use Ctrl-Alt-Delete to restart the software.
<img src="https://static.yanyin.tech/literature_test/protocol_io_true/protocols.io.5jyl8jyb7g2w/restart.png" alt="In rare cases, if the software is unresponsive, select "SmartSPIM" and "End Task"." loading="lazy" title="In rare cases, if the software is unresponsive, select "SmartSPIM" and "End Task"."/>

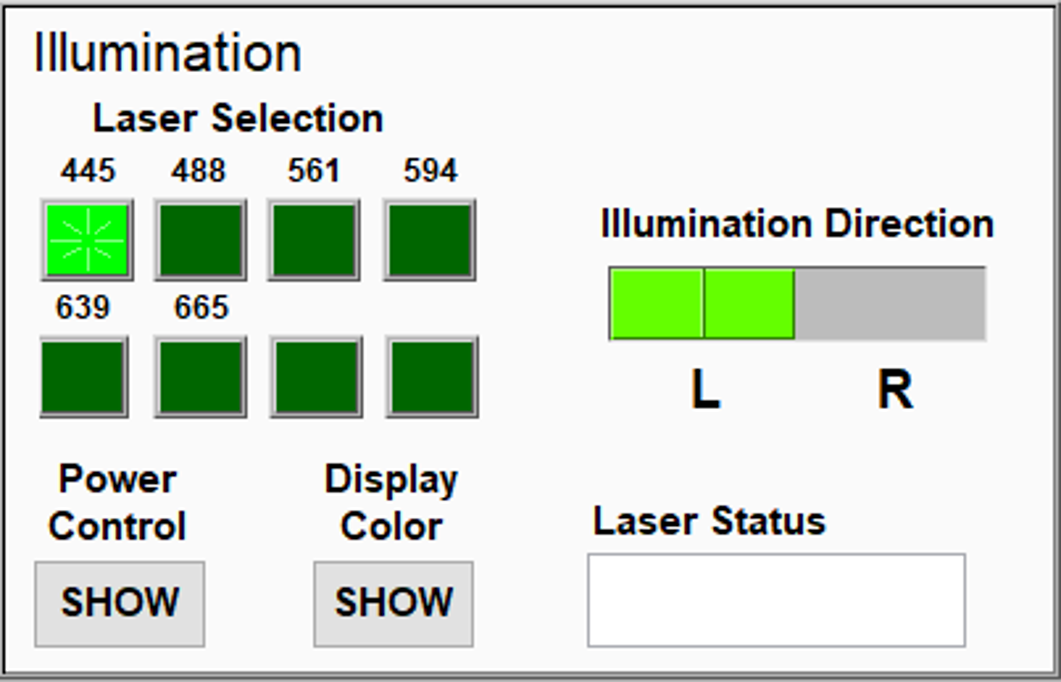
Turning ON/OFF lasers: Click "Preview" to turn ON the laser at the wavelength selected. Click "STOP" to turn OFF the laser.
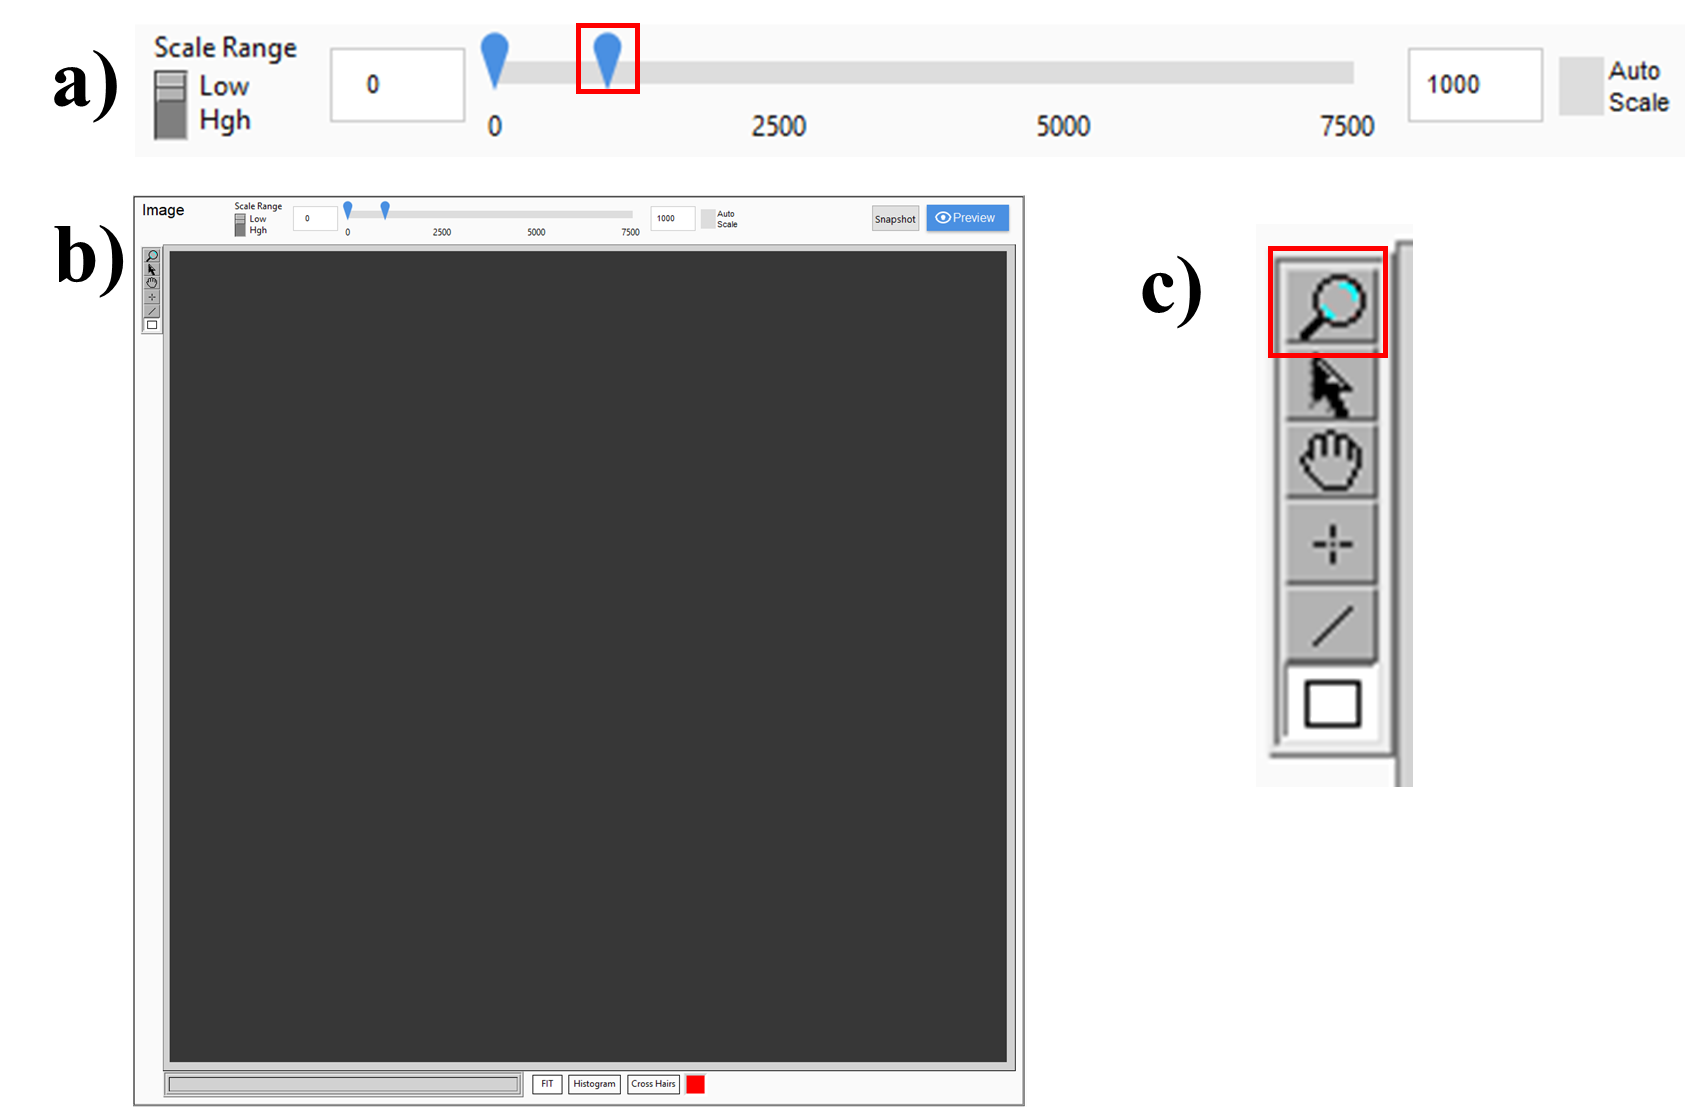
Adjust the image field-of-view options. The dynamic range of the camera is 16-bit, or approximately 1-65,535, so a scale of approximately 0-to-650 --or 1% of the camera's dynamic range--is plenty for setting-up the instrument and focusing on auto-fluorescence and background. Signal from fluorophores should not saturate the detector, 65,535. Lower the laser power if the detector is saturated. Zoom-in to ensure the sample is in focus at the highest possible resolution.
Detection menu options:
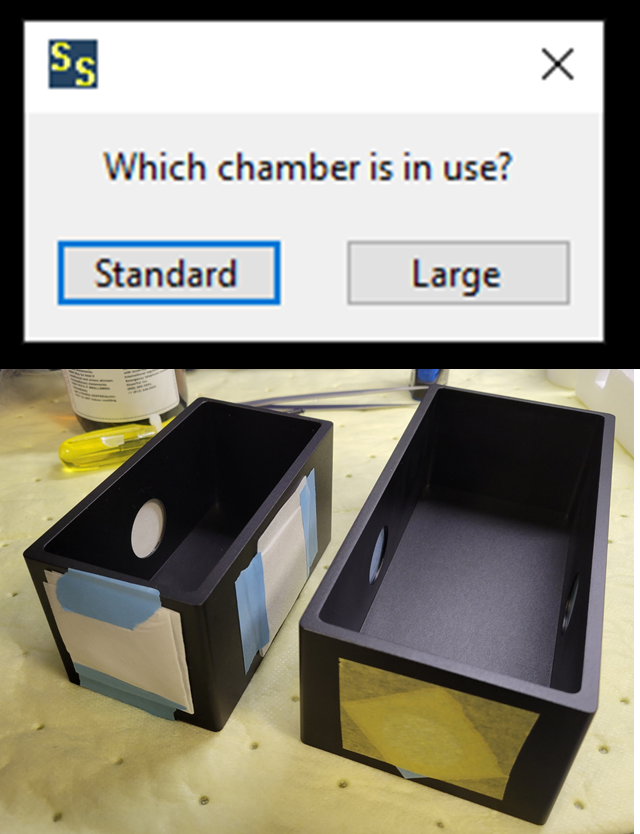
<img src="https://static.yanyin.tech/literature_test/protocol_io_true/protocols.io.5jyl8jyb7g2w/detectionOptions.png" alt="a) Objective lens options. Standard settings are all shown. The objective position ranges from 0 when imaging, to 38,000 when the imaging objective is raised from the immersion bath. Raising and lowering the imaging objective is performed with "Remove" and "Insert." b) Imaging rate options. Note that “Fast” is the typical selection, 2 ms exposure times per image, and “slow” is for high-magnification objectives and has a 10 ms exposure time. c) Sampling, default is 1x, d) Emission filter selection, including the option for no filter in the detection path for alignment steps. e) Chamber options. In the photograph, the right chamber is the Standard size (12.5 x 6.5 x 6.5 cm), the left is the Large size (18 x 9 x 6.5 cm)." loading="lazy" title="a) Objective lens options. Standard settings are all shown. The objective position ranges from 0 when imaging, to 38,000 when the imaging objective is raised from the immersion bath. Raising and lowering the imaging objective is performed with "Remove" and "Insert." b) Imaging rate options. Note that “Fast” is the typical selection, 2 ms exposure times per image, and “slow” is for high-magnification objectives and has a 10 ms exposure time. c) Sampling, default is 1x, d) Emission filter selection, including the option for no filter in the detection path for alignment steps. e) Chamber options. In the photograph, the right chamber is the Standard size (12.5 x 6.5 x 6.5 cm), the left is the Large size (18 x 9 x 6.5 cm)."/>
Alignment
Introduction and overview:
The alignment steps that the user is responsible for are all contained within structured software steps built into the acquisition software provided by LifeCanvas Technologies. Complete Procedure step #1, and the 6-parts within that step.

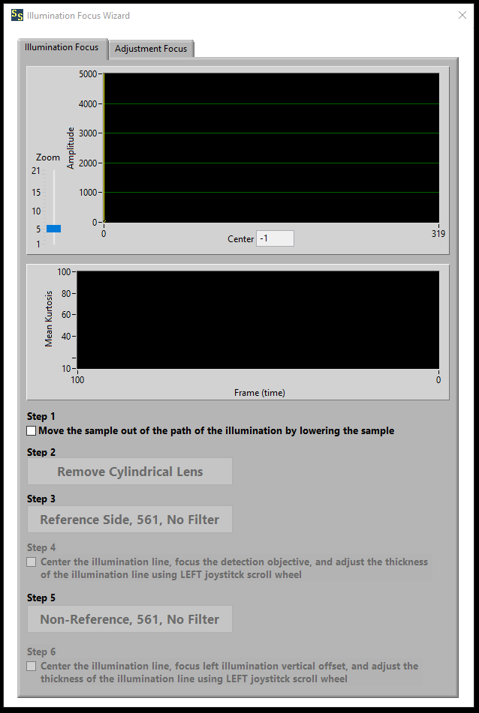
Microscope controls:
Align both the L and R illumination paths using the six Steps outlined below. Note that the imaging objective must be inserted into the imaging bath to obtain in-focus images.
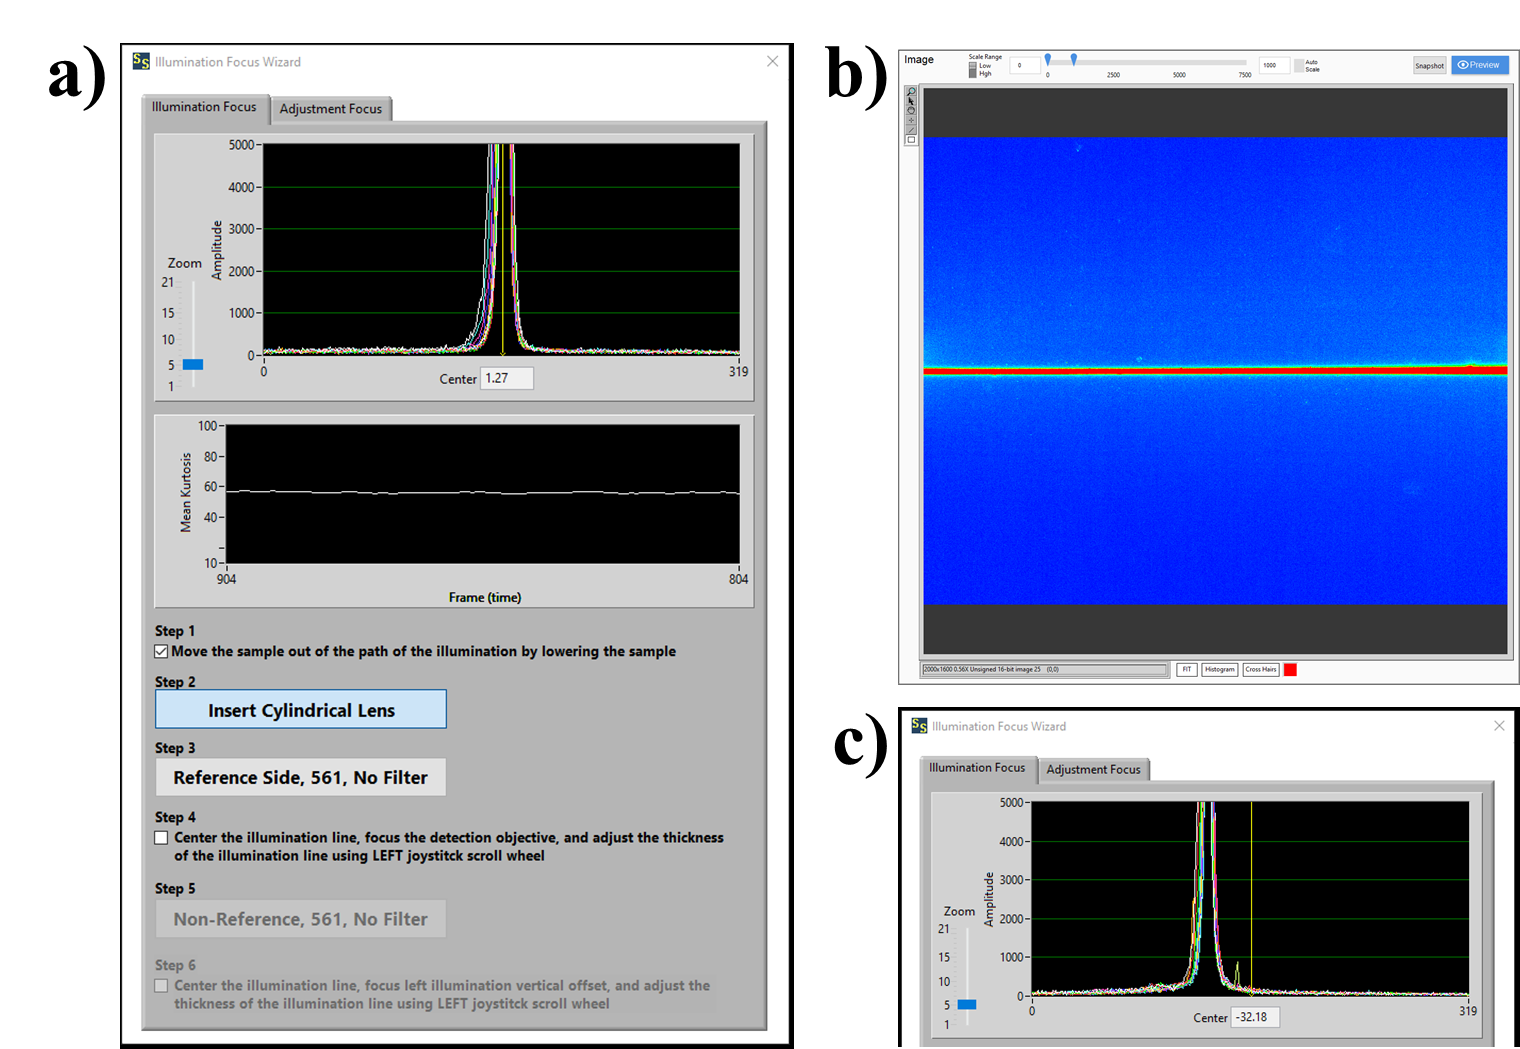
Step 1: Ensure that a sample is not in the excitation path and click the check box.
Step 2: Click the button to remove the cylindrical lens. Two audible stage movements should occur.
Step 3: Click the "Reference Side, 561, No Filter" button to turn on the 561 laser and start a live view of the right-side excitation.
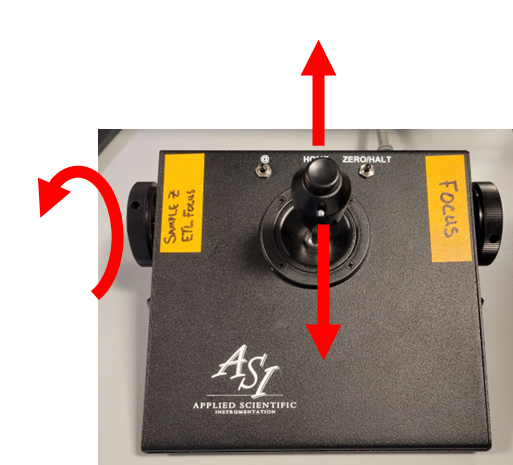
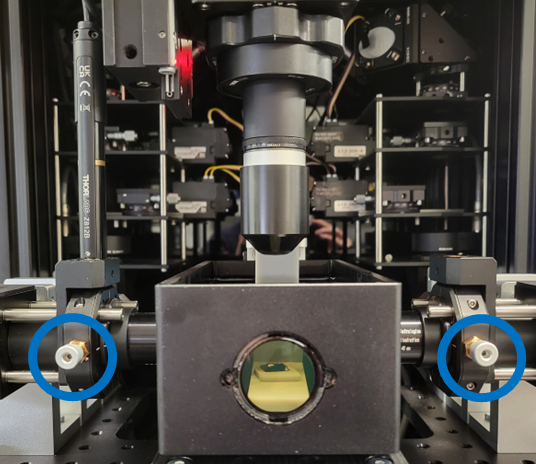
Step 4: Using the left and right wheels on the joystick, iteratively make adjustments until the laser (as viewed in the live image in figure (b) and/or the profile plot in (a, top)) is at its narrowest and the kurtosis plot in (a, middle) is maximized. Turn the Right mechanical position screw until the plot in (a, top) is centered on 0.
Step 5: Click the "Non-reference Side, 561, No Filter" button to turn on the 561 laser and start a live view of the right-side excitation.
Step 6: Using the left and right wheels on the joystick, iteratively make adjustments until the laser (as viewed in the live image in figure (b) and/or the profile plot in (a, top)) is at its narrowest and the kurtosis plot in (a, middle) is maximized. Turn the Right mechanical position screw until the plot in (a, top) is centered on 0.
Finally: Close the Illumination Focus Wizard. Two audible stage movements indicate that the cylindrical lenses have been re-inserted.
Close-up the microscope box:
Close the microscope box to minimize laser exposure to the user and improve imaging. The enclosure must be opened for the adjustments in the previous step and for loading and unloading samples, but otherwise should remained closed.
