Pipetting
Carlos Carlos Goller, Carly Sjogren
Abstract
Overview and Goals
Lab micropipettes allow us to accurately transfer small volumes of liquids. Units to measure small volumes with micropipettes are: microliter (uL) and milliliter (mL). There are 1000 uL in 1 mL). Effectively using lab micropipettes is a valuable skill that takes practice! We will work together to learn and improve our pipetting to improve accuracy.
After completing this lab you will gain the following lab skills:
- Lab safety and proper personal protective equipment (PPE)
- Pipetting with micropipettes
Before start
How to use a micropipette - We will practice pipetting small volumes of colorful liquids using micropipettes. We will work together practicing this new skill to improve our technique. Before coming to the lab watch this 5-minute video, How to Micropipette, that demonstrates 3 key pipetting skills:
- How to hold a micropipette
- How to set a micropipette to a desired volume
- How to use the plunger and ejector of the micropipette to measure a desired volume of a reagent
#尊敬的用户,由于网络监管政策的限制,部分内容暂时无法在本网站直接浏览。我们已经为您准备了相关原始数据和链接,感谢您的理解与支持。
https://lh4.googleusercontent.com/FcNW2KBTVgJa-e23rPHmJm7g-e7kaRJeeU1nnzYvi8rZYVRPstEU9_2fWDy9uCvohJmXUon_6OZ4tS9WgKqLx7p2fyufiNr72MNYTWPTJqz2BNOrVeP_vdQ5jzIi9REf3sjOC2_GHgXHVhSyqtM48kPXOQnYyrlD5axPOZEwPYQhJg9qr_IMyHf_yw
Steps
Using a pipette
To draw up liquid
Set volume using the volume adjustment wheel
Press a new tip onto the shaft
Press plunger TO the FIRST STOP
Dip tip into liquid
Slowly release the plunger to collect liquid into the tip.
To dispense sample
Touch tip to dispensing container
Press plunger THROUGH to the SECOND STOP
Remove tip from liquid then release plunger
Dispose of tip using the tip ejector
Activity 1
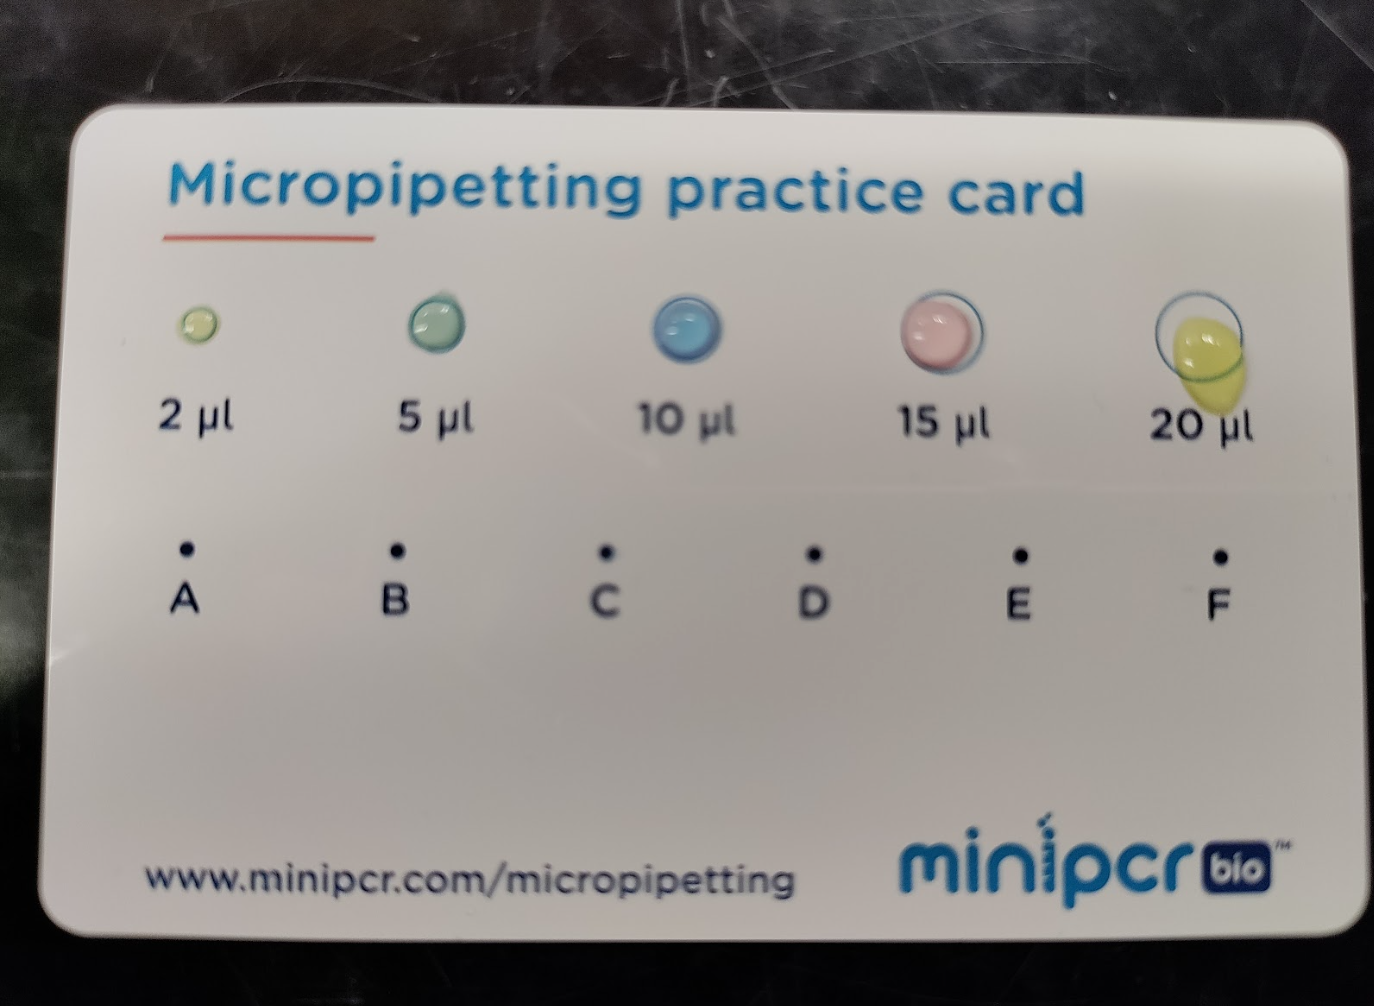
Read the volumes specified on the Micropipetting Practice Card and use your micropipette to add the correct amount of liquid to each circle.
Try to pick up all of the liquid without leaving any behind.
In the blank space at the bottom of the card, pipette 5µL of water three times.
On a dry place on your card place 4µL water. Add 4µL to the same place three more times.
This is what your card should look like:
Activity 2
Preparation of cards and dyes
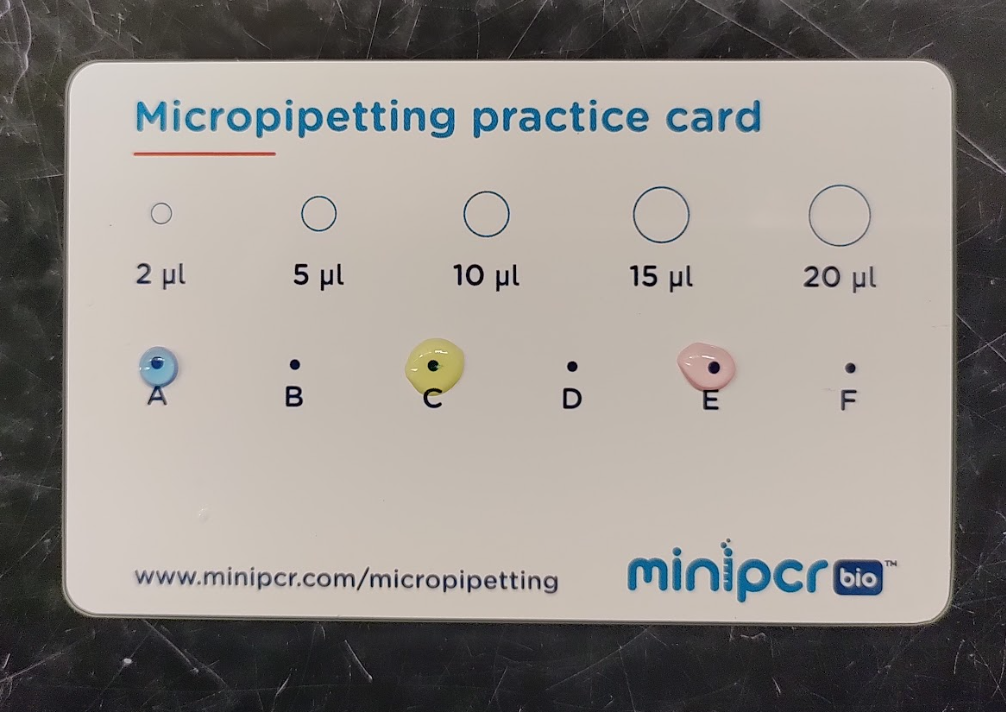
Add 13.5µL of blue dye to dot A
Add 17.5µL of yellow dye to dot C
Add 17.5µL of red dye to dot E
After this step, this is what your card should look like:
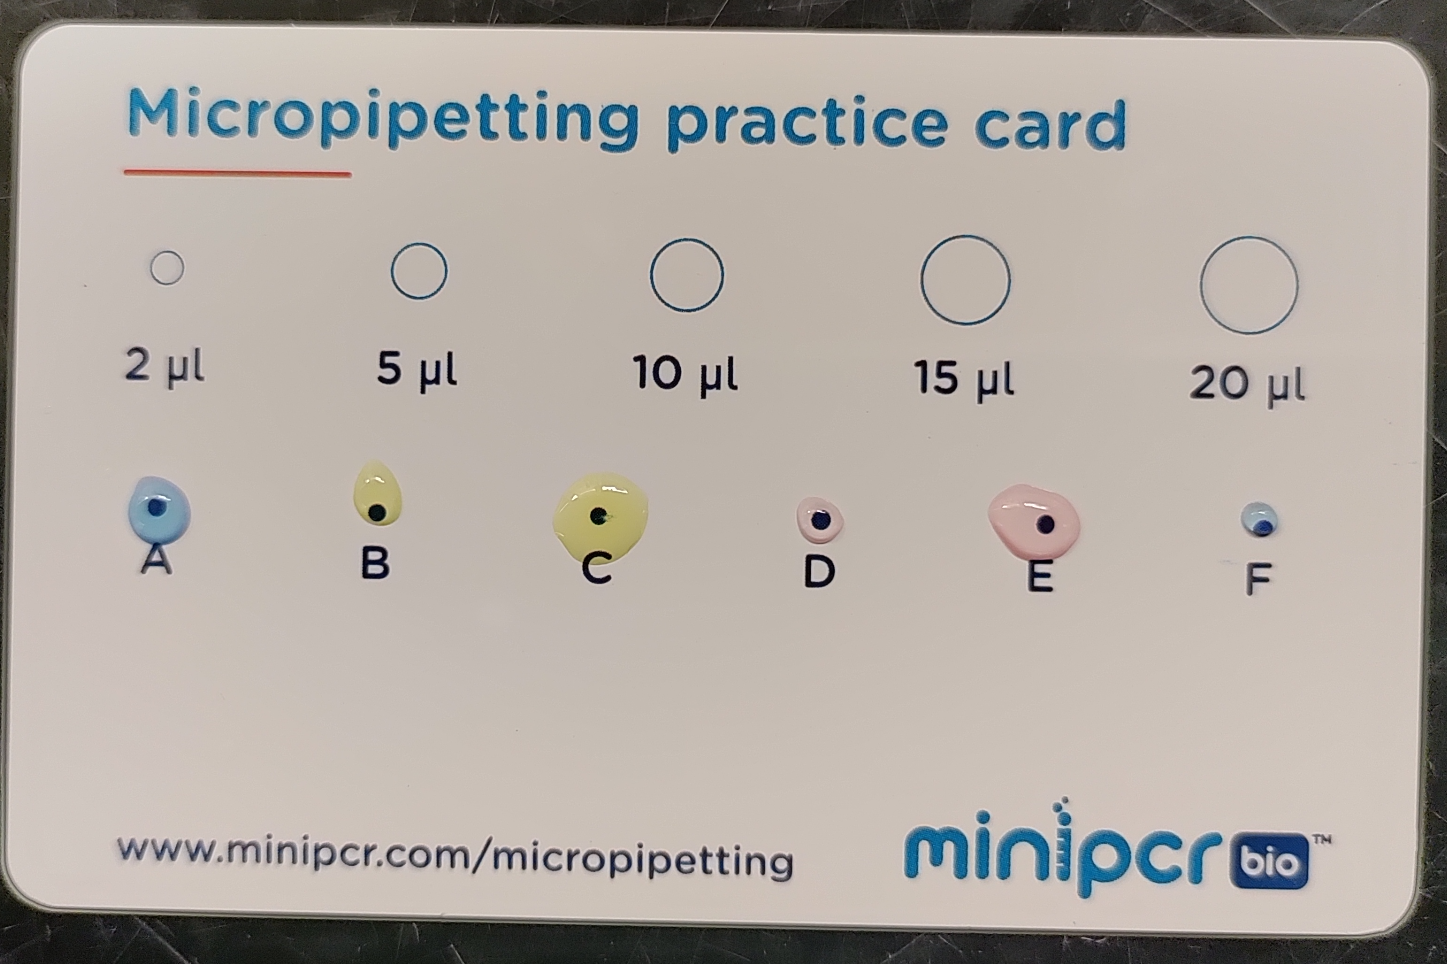
From dot A, pick up 2µL and place it on dot F
From dot C, pick up 4.5µL and place it on dot B
From dot E, pick up 3µL and place it on dot D
After this step, this is what your card should look like:
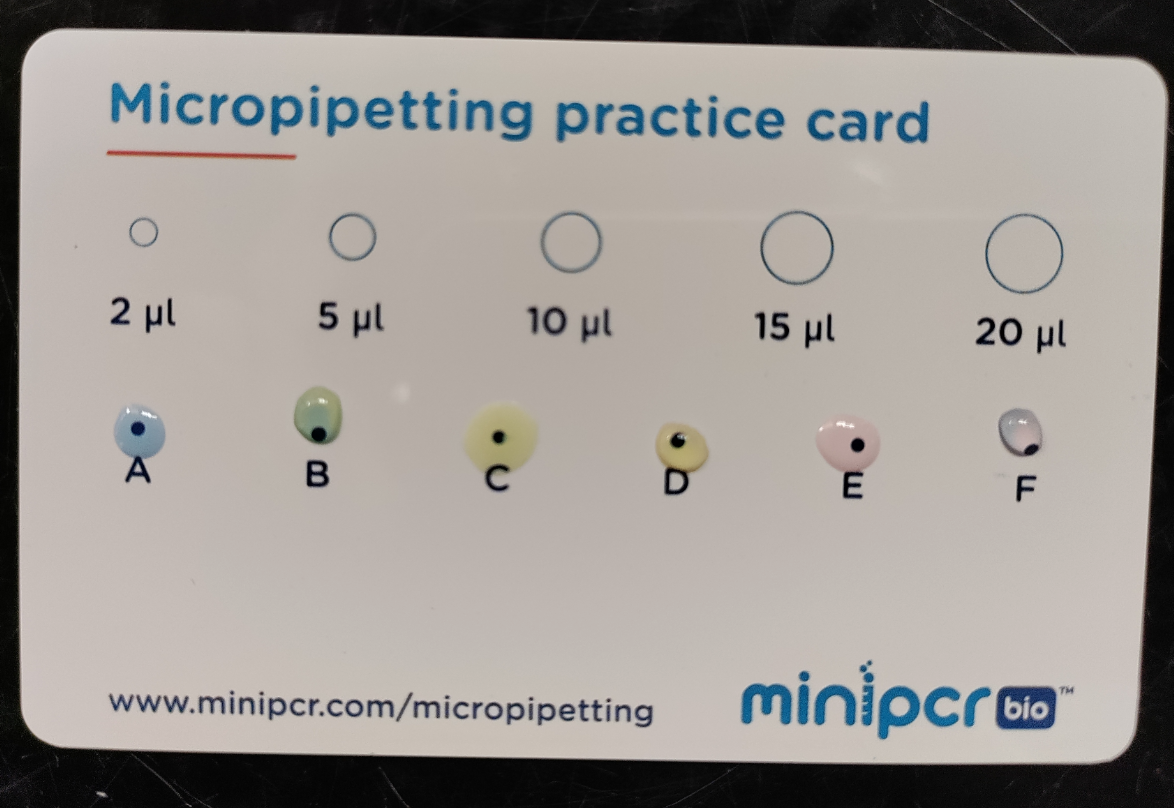
From dot E, pick up 6µL and mix it with the volume already present on dot F
From dot A, pick up3.5µL and mix this volume onto dot B
From dot C, pick up 5µL and mix this volume onto dot D
After this step, this is how your card should look like:
Calculate how much volume (in units of microliters) should now be on each dot:
| A | B | C | D | E | F | G |
|---|---|---|---|---|---|---|
| Volume (in microliters) | ||||||
| Notes |
Set your micropipette to that volume and pick up each drop one by one and move to the open space at the bottom of your card. Each time you pick up a drop, note if liquid was left behind (code: LB), or if there is any space at the end of your pipette tip (code: S).
