LIFEPLAN soil sampling
Arielle M Farrell, Gaia Giedre Banelyte, Hanna M.K. Rogers, Deirdre Kerdraon, Bess Hardwick
Abstract
Lifeplan is a global biodiversity monitoring project with the aim of assessing the current state of biodiversity worldwide, and using this knowledge to generate predictions of how biodiversity might look in the future.
In this protocol, we describe the method used within the Lifeplan project for collecting soil samples on a global scale in a wide variety of environmental conditions and habitats. The aim is to use this data to identify species of fungi and create species lists for the different locations across the globe. This protocol contains a detailed description on the materials needed to take soil samples, the steps for preparing the samples for further analysis (e.g. DNA sequencing), as well as necessary information to help in species identification.
We identify the equipment used in Lifeplan, but also give technical specifications of that equipment so that other users of this protocol can find equivalent alternative equipment. We also specify which metadata should be collected along with the soil samples. The technical solution we use to collect metadata in the Lifeplan project is described in detail in the full Lifeplan protocol.
The expected outcome of this method is soil samples with associated metadata. The soil fungal species identification process in LIFEPLAN is based on metabarcoding and is outside the scope of this protocol. DNA sequencing and species identification will be described elsewhere.
Before start
Ensure that all proper specimen permissions are obtained (i.e. from local authorities, property owners, etc.). Consider possibilities of wildlife disturbance and/or human vandalism.
Steps
Site Selection
Site design
The Lifeplan sampling takes place within a 1 hectare plot. We aim for an accuracy of 10 m for the selection of each point. There are two design options to choose from depending on budget and site access. In Lifeplan, we started with Option 1 in 2021, and reduced to Option 2 in 2023 by removing two of the corners.
Option 1: Four points (e.g. trees) are set at the four corners of the 1 hectare square, with a fifth point in the centre.
Option 2: Three points are selected diagonally within the plot, with about 70 metres between each point and 140 metres between the farthest points.
In Lifeplan the corner/outer points are given individual numbers from 1-4, whereas 5 is assigned to the centre.
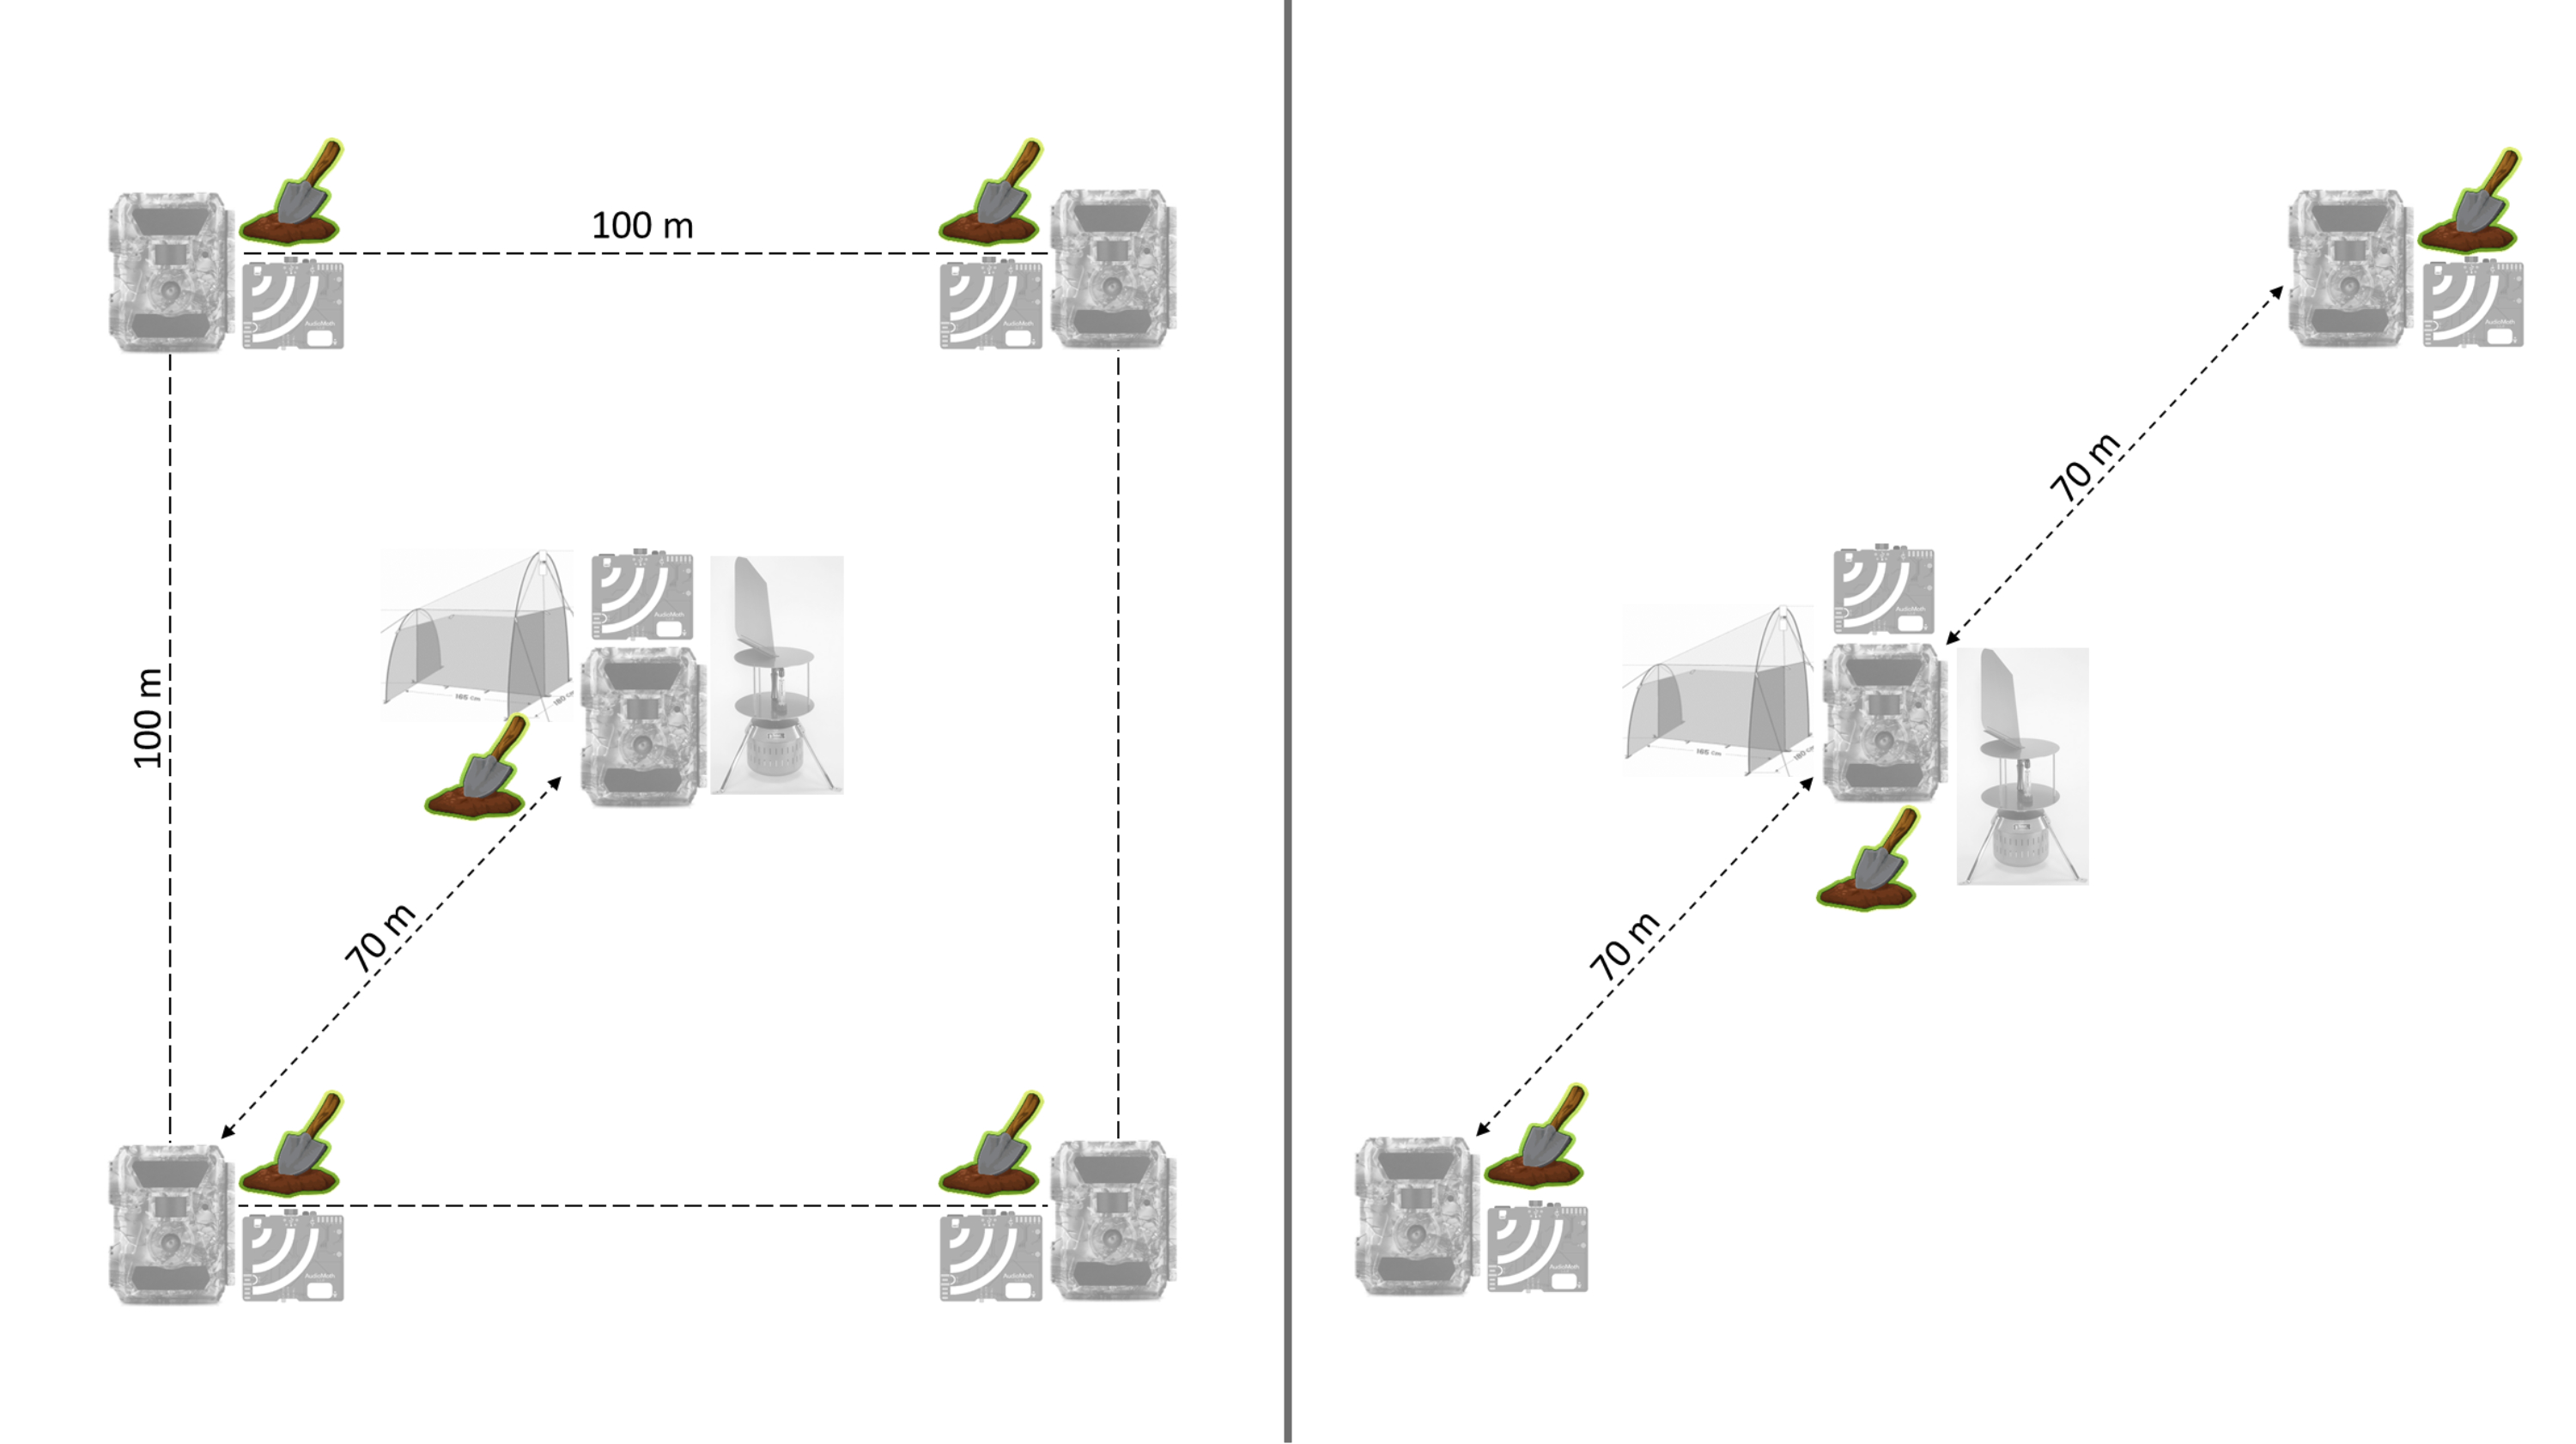
The soil samples should be collected within a 5 m radius around the tree or post on which the LIFEPLAN camera and audio recorders have been installed.
Soil sampling
Prepare the sampling materials: put on rubber gloves and note the sample ID and the sampling date on the clear plastic bag with a permanent marker.
Squirt some ethanol on the spade, spoon, or knife and thoroughly clean it with a paper tissue. Alternatively, use a flame.
Remove any layer of live cryptogams (including moss, lichen or algae) and loose debris from the sampling area (such as dry or uncompacted leaves, branches, twigs, loose needles, etc.). Keep the litter layer, i.e. any layers which remain stuck to the ground. In habitats that have a lot of litter (such as tropical rainforests), collect the sample when there is 2 cm of litter or less above the soil layer. For peat habitats, start the sampling where the decomposed organic matter is smaller than 1 cm.
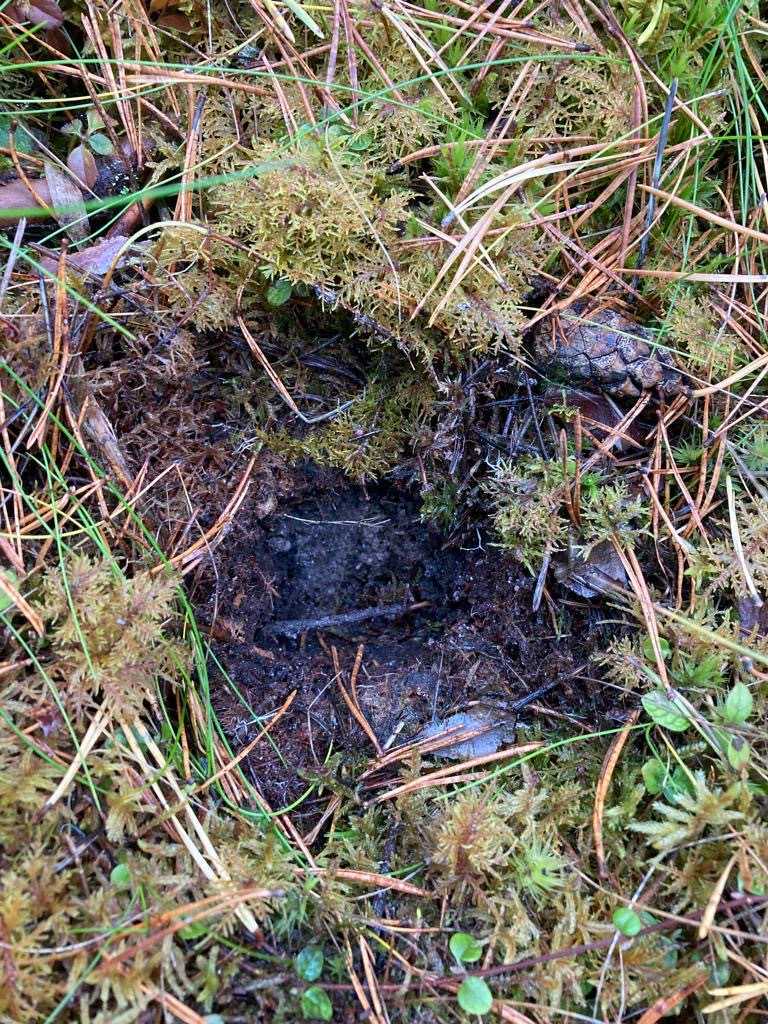
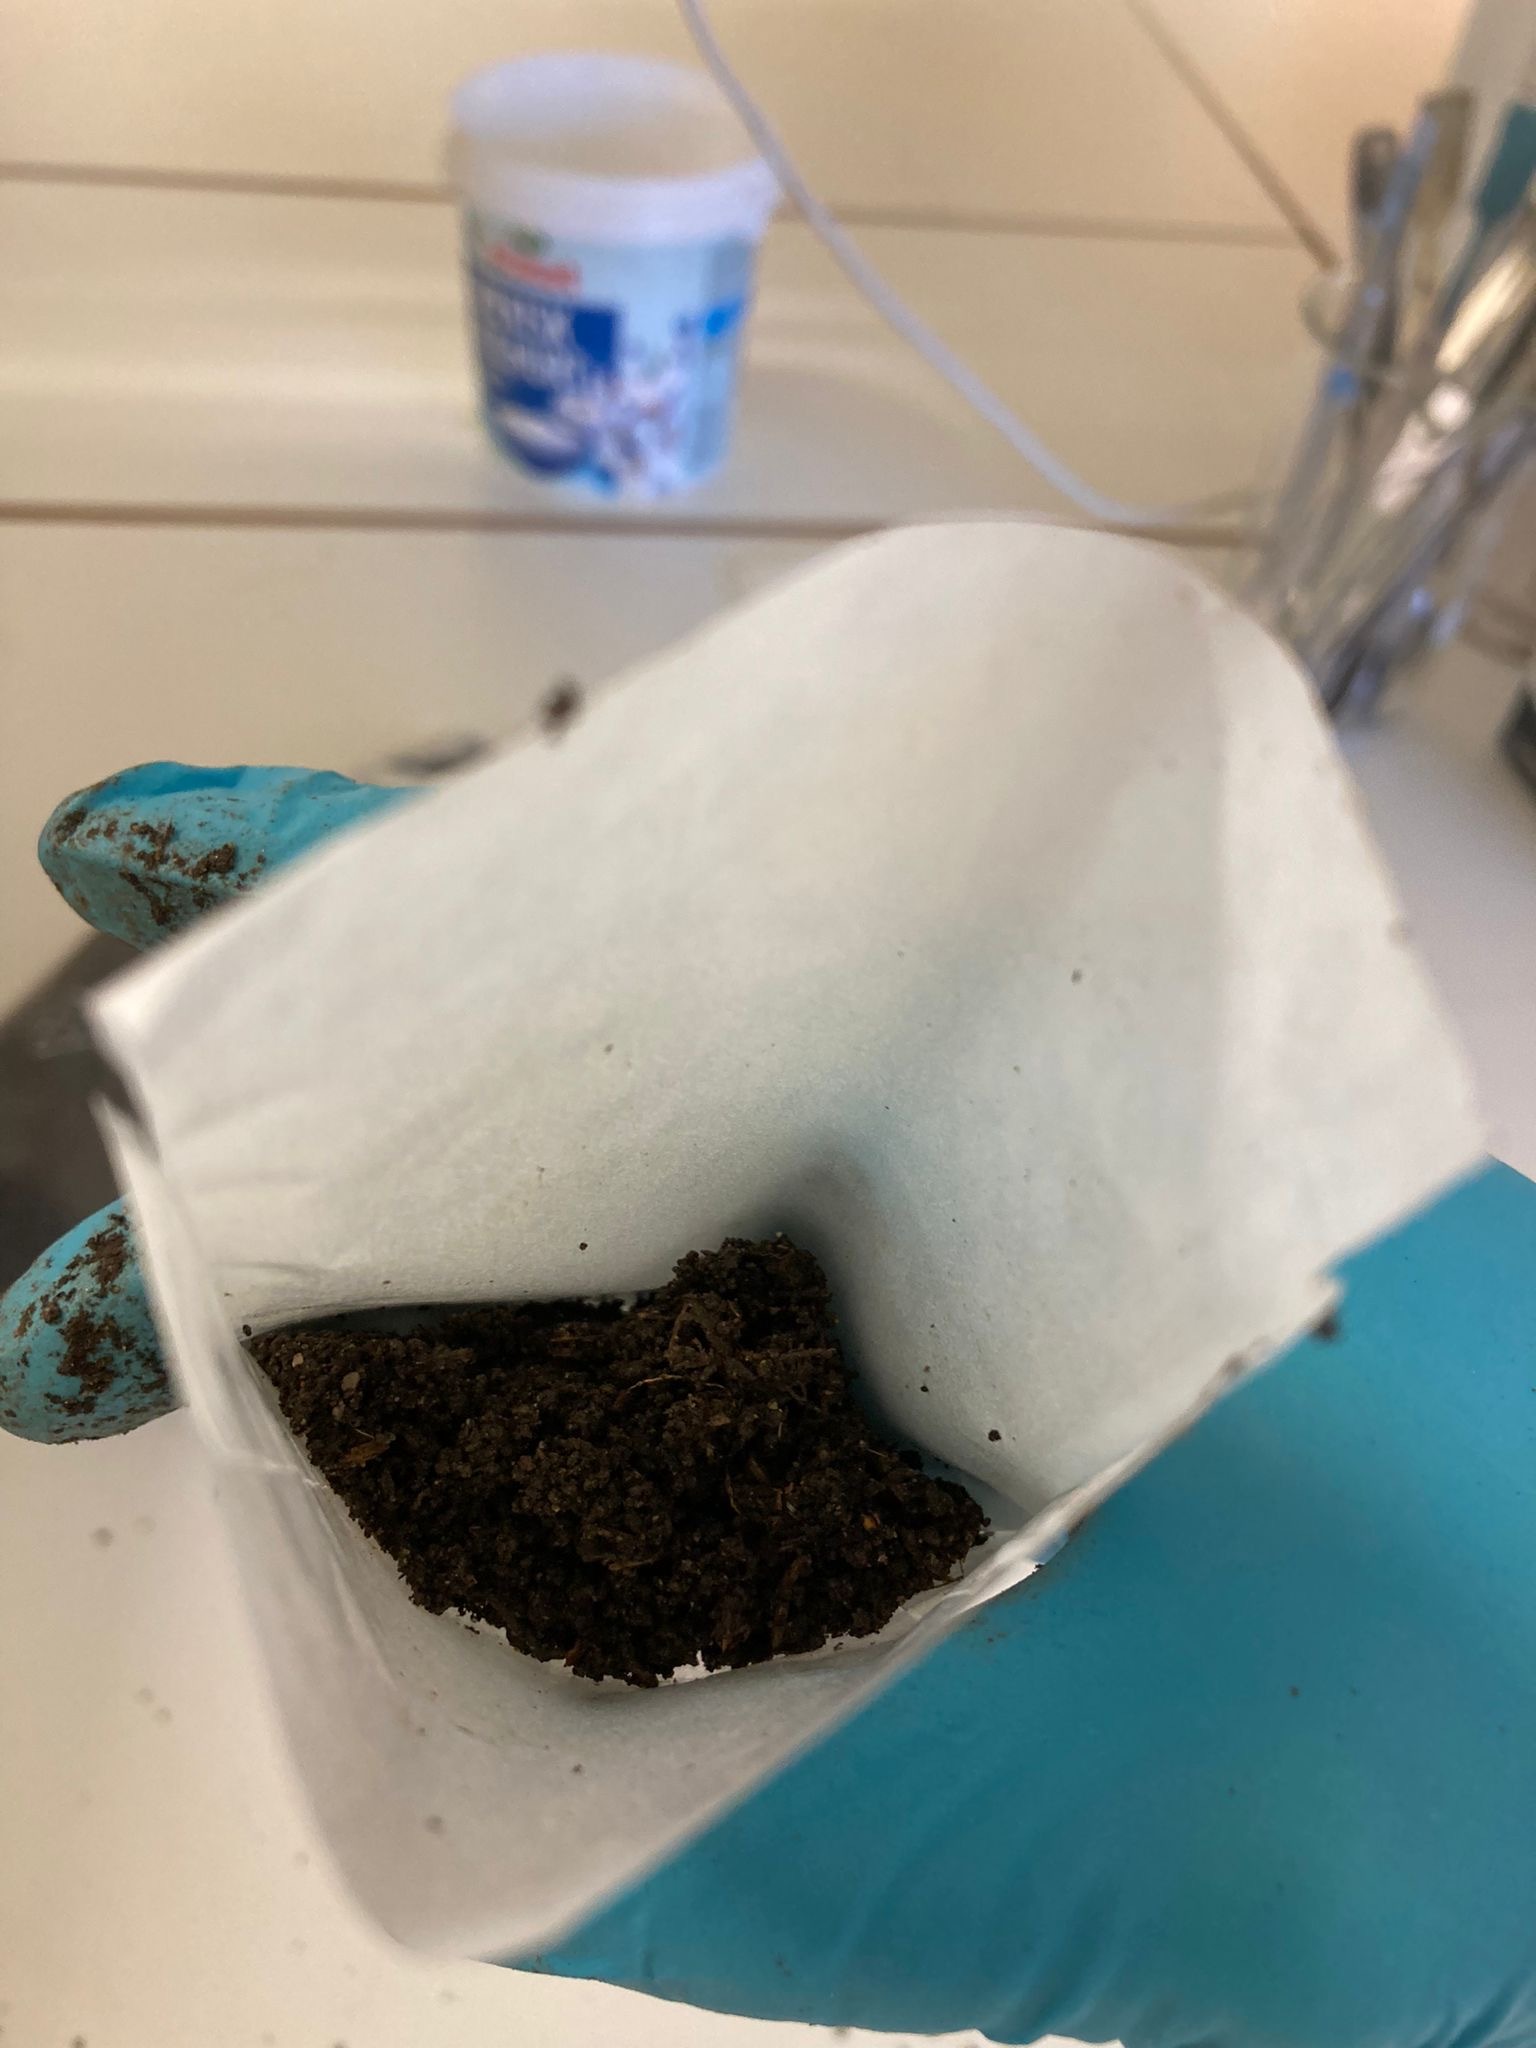
Use a knife/spade to cut a 5 cm diameter hole. With a tablespoon or a spade, dig out the soil to a depth of 5 cm and place into a clear plastic bag. You can use a 5 cm corer if you have one, and take a 5 cm deep core.
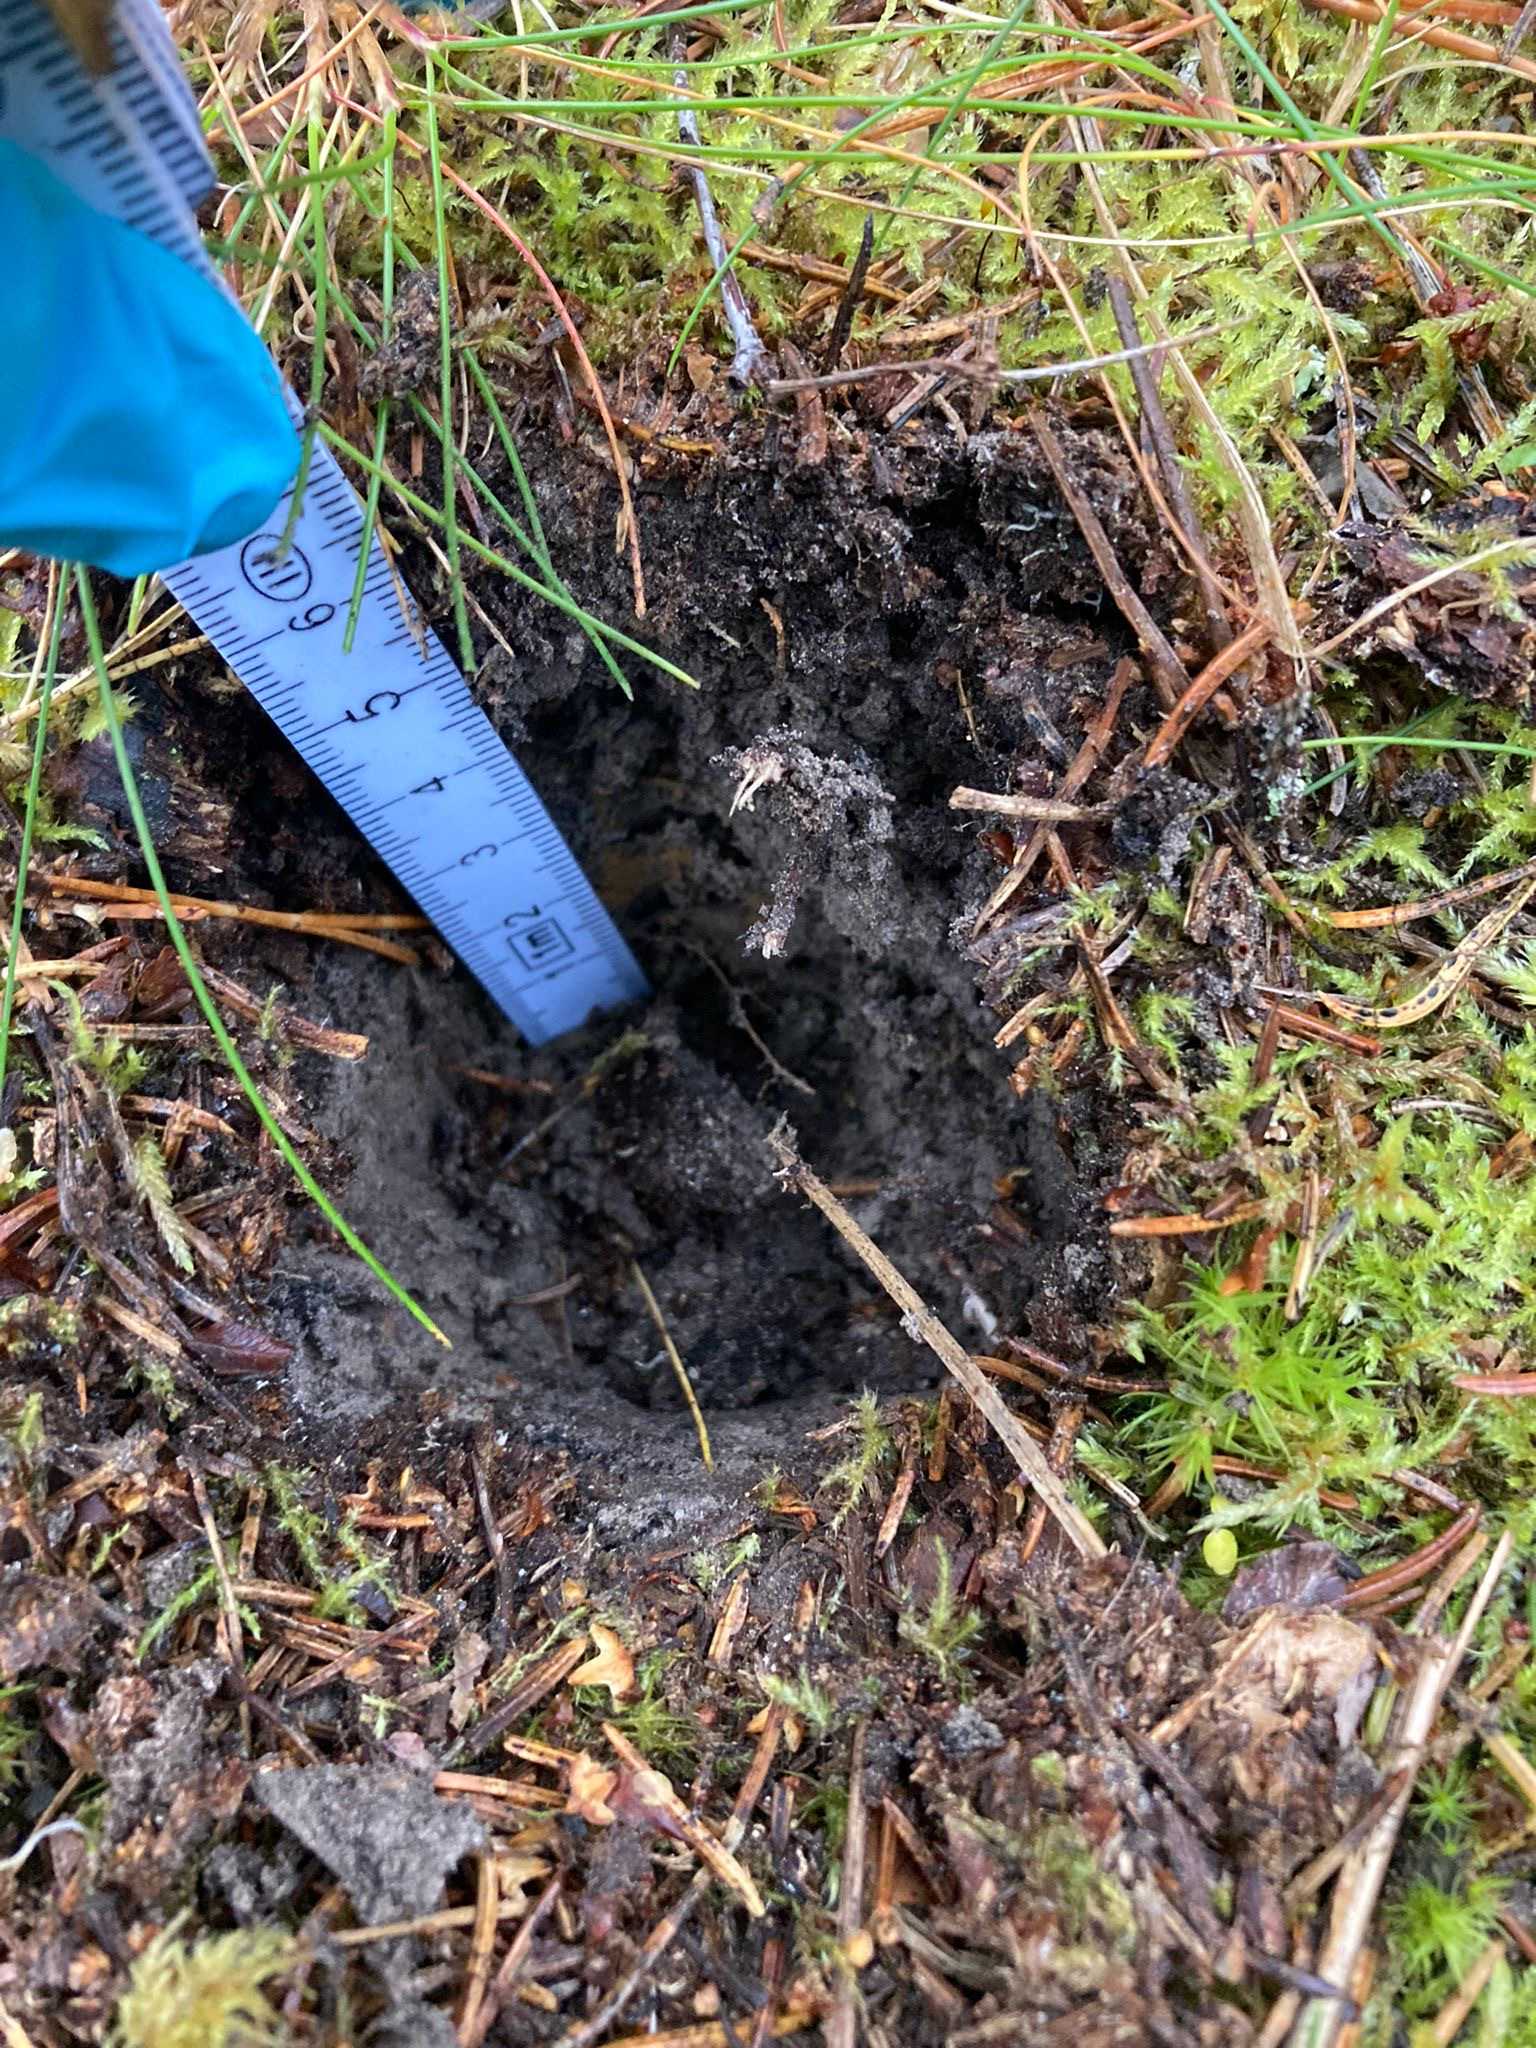
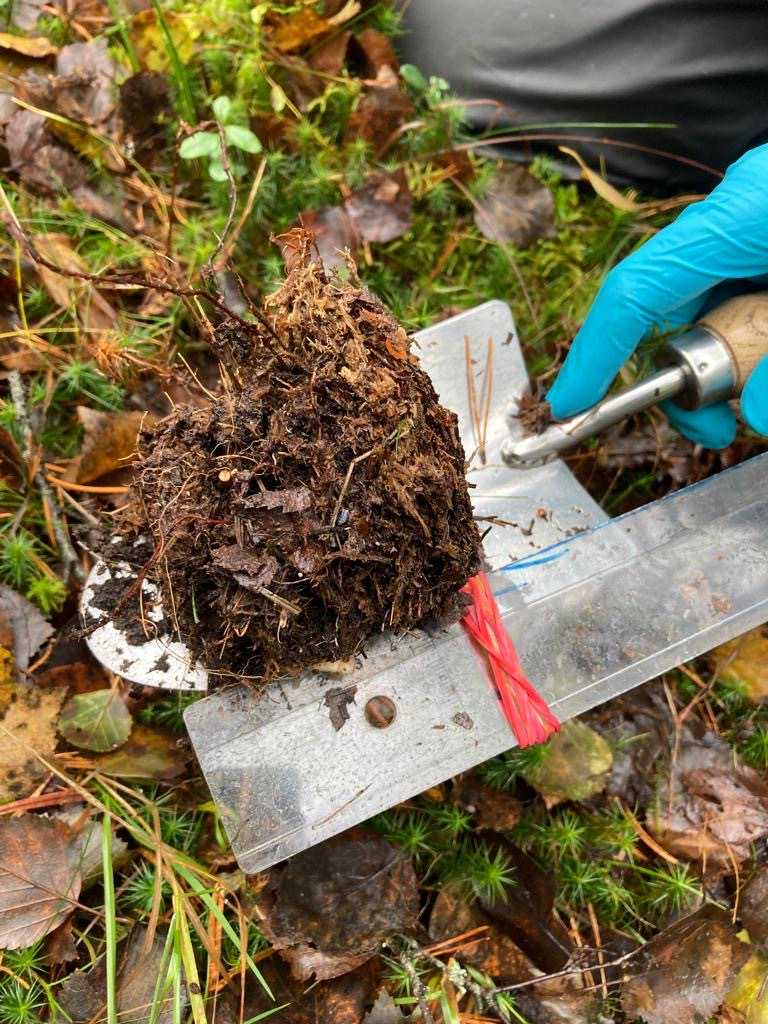
With gloved hands, remove the larger roots, leaves and branches that may have fallen into the bag. Do not tear a whole leaf into pieces, but do separate decomposed bits of litter and soil that may have aggregated together.
Mix the soil in the bag by holding it closed with one hand and scrunching the outside of the bag with the other hand to break down bigger soil or litter clumps.
Still with gloved hands, discard particles such as stones, litter, wood pieces and plant roots that are above 1 cm.
For soil samples containing a large amount of organic matter (such as peat), you may limit the removal process to 90 seconds.
The remaining soil can include organic matter with a particle size 1 cm or less.
Clean the spoon between each sample with a disinfectant (flame, bleach, Virkon, etc.) and a sterile paper tissue (e.g. Kimtech).
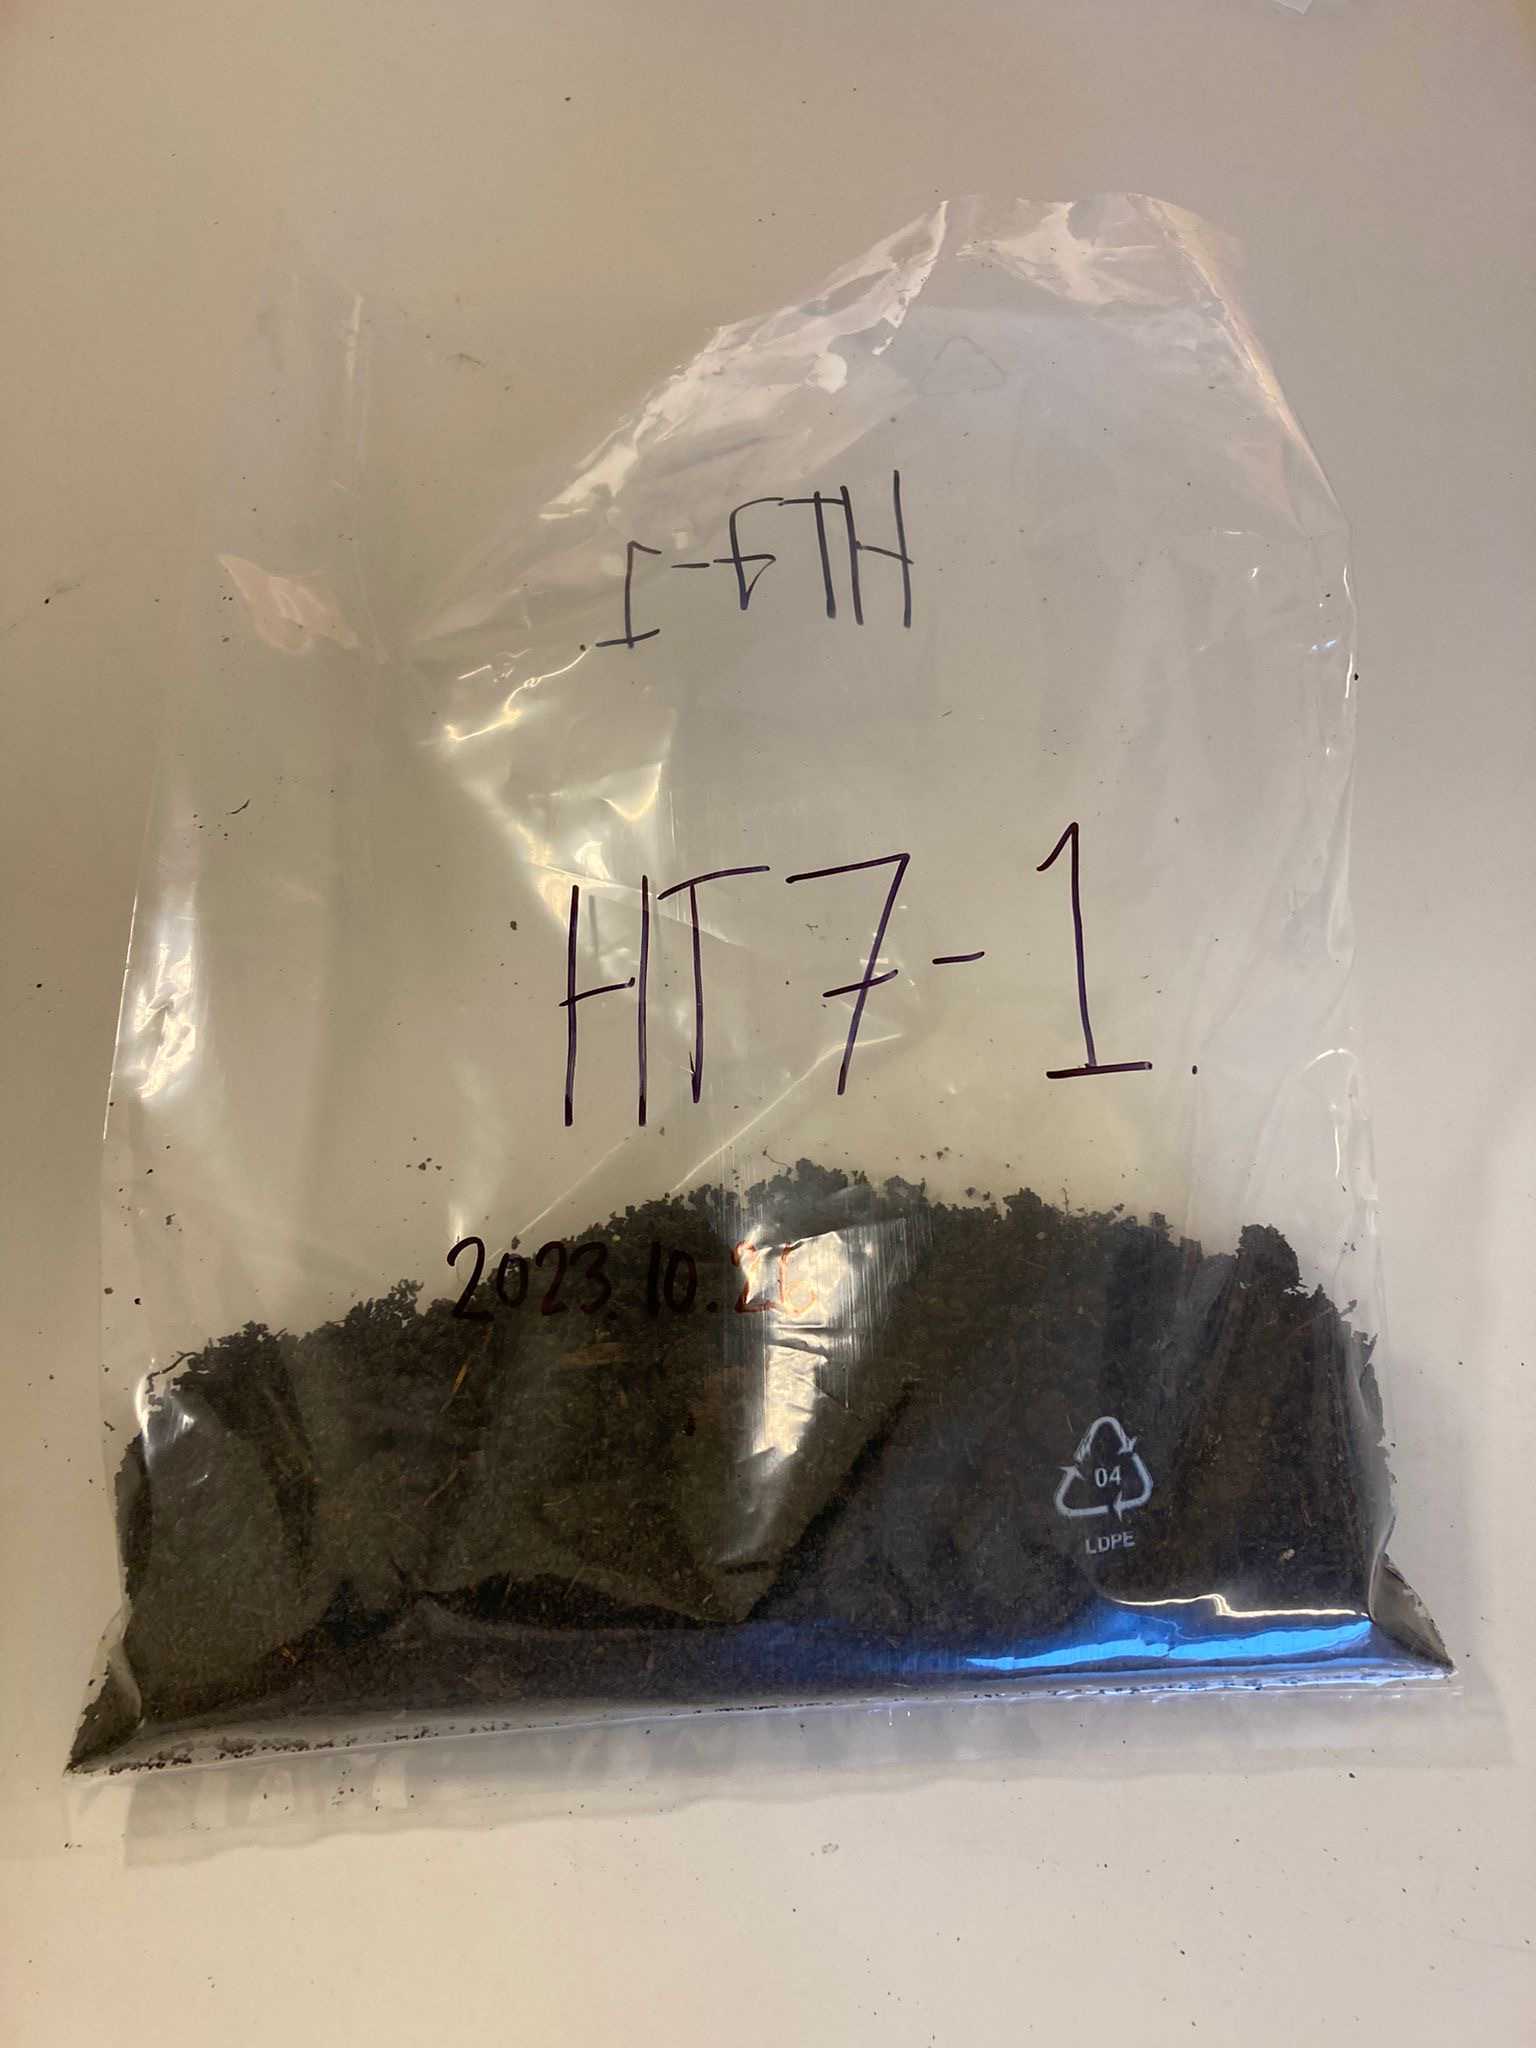
Label the bag with a sample ID and other necessary information.
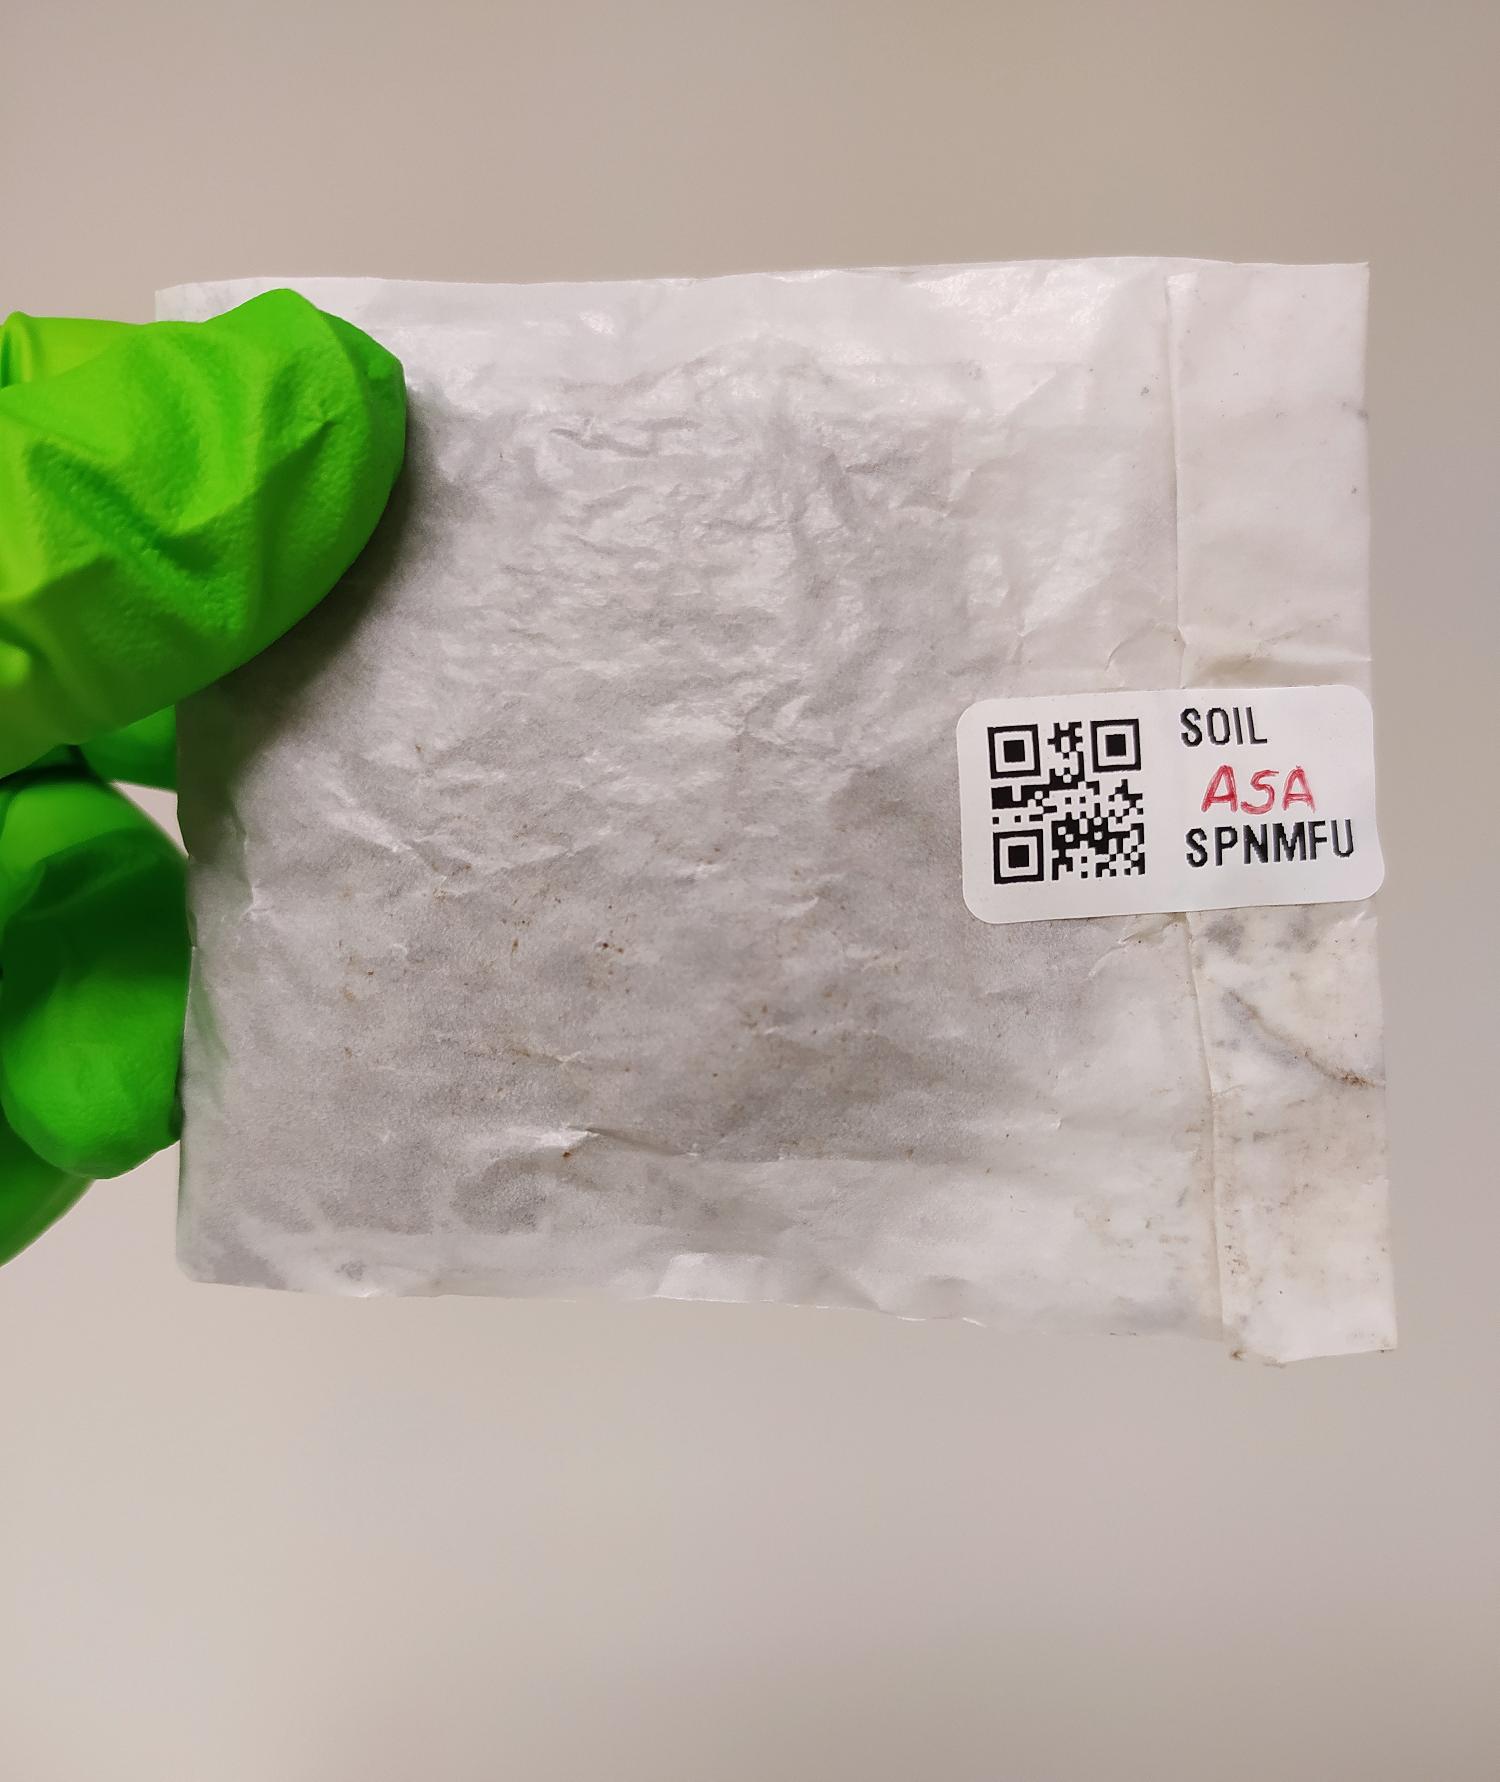
Repeat steps 3 to 13 for each camera/AudioMoth point in your site (i.e. three or five sets of samples). Make sure to put on new rubber gloves for each new sample (but not for each replicate).
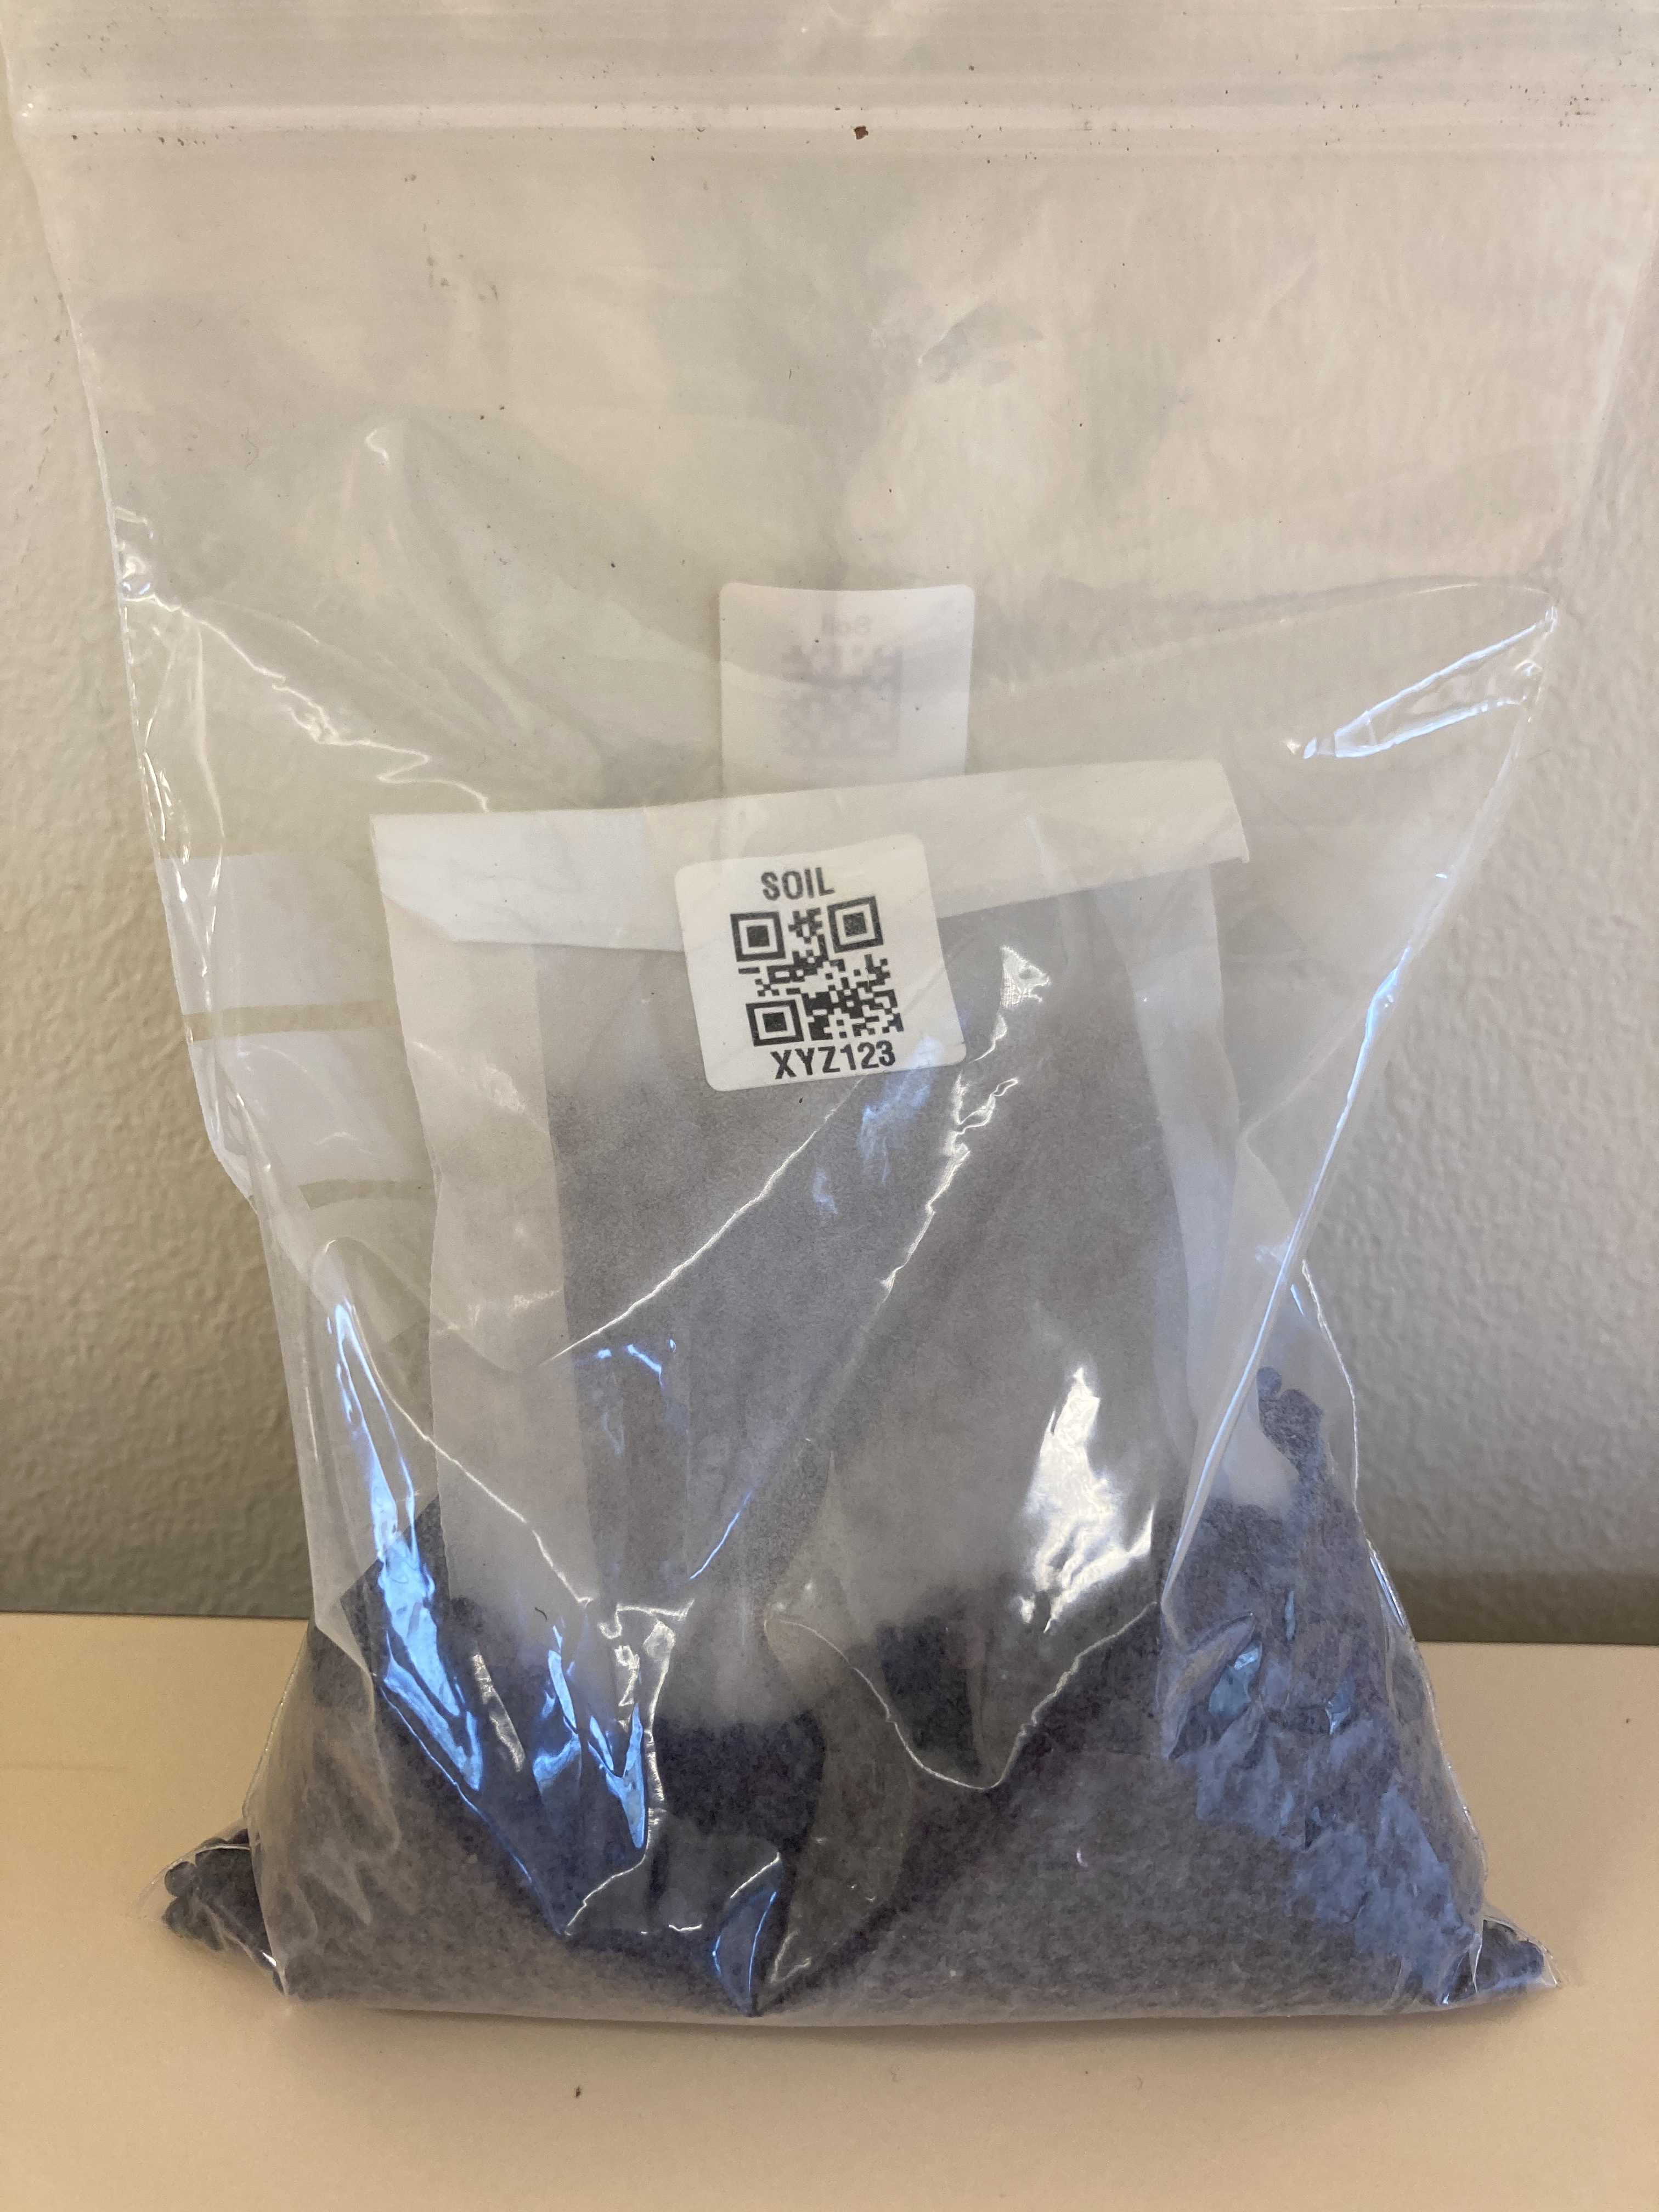
Place each soil sample into its own resealable bag and close it tightly.
Place the samples in a cooler until you have returned to the laboratory
Soil Drying
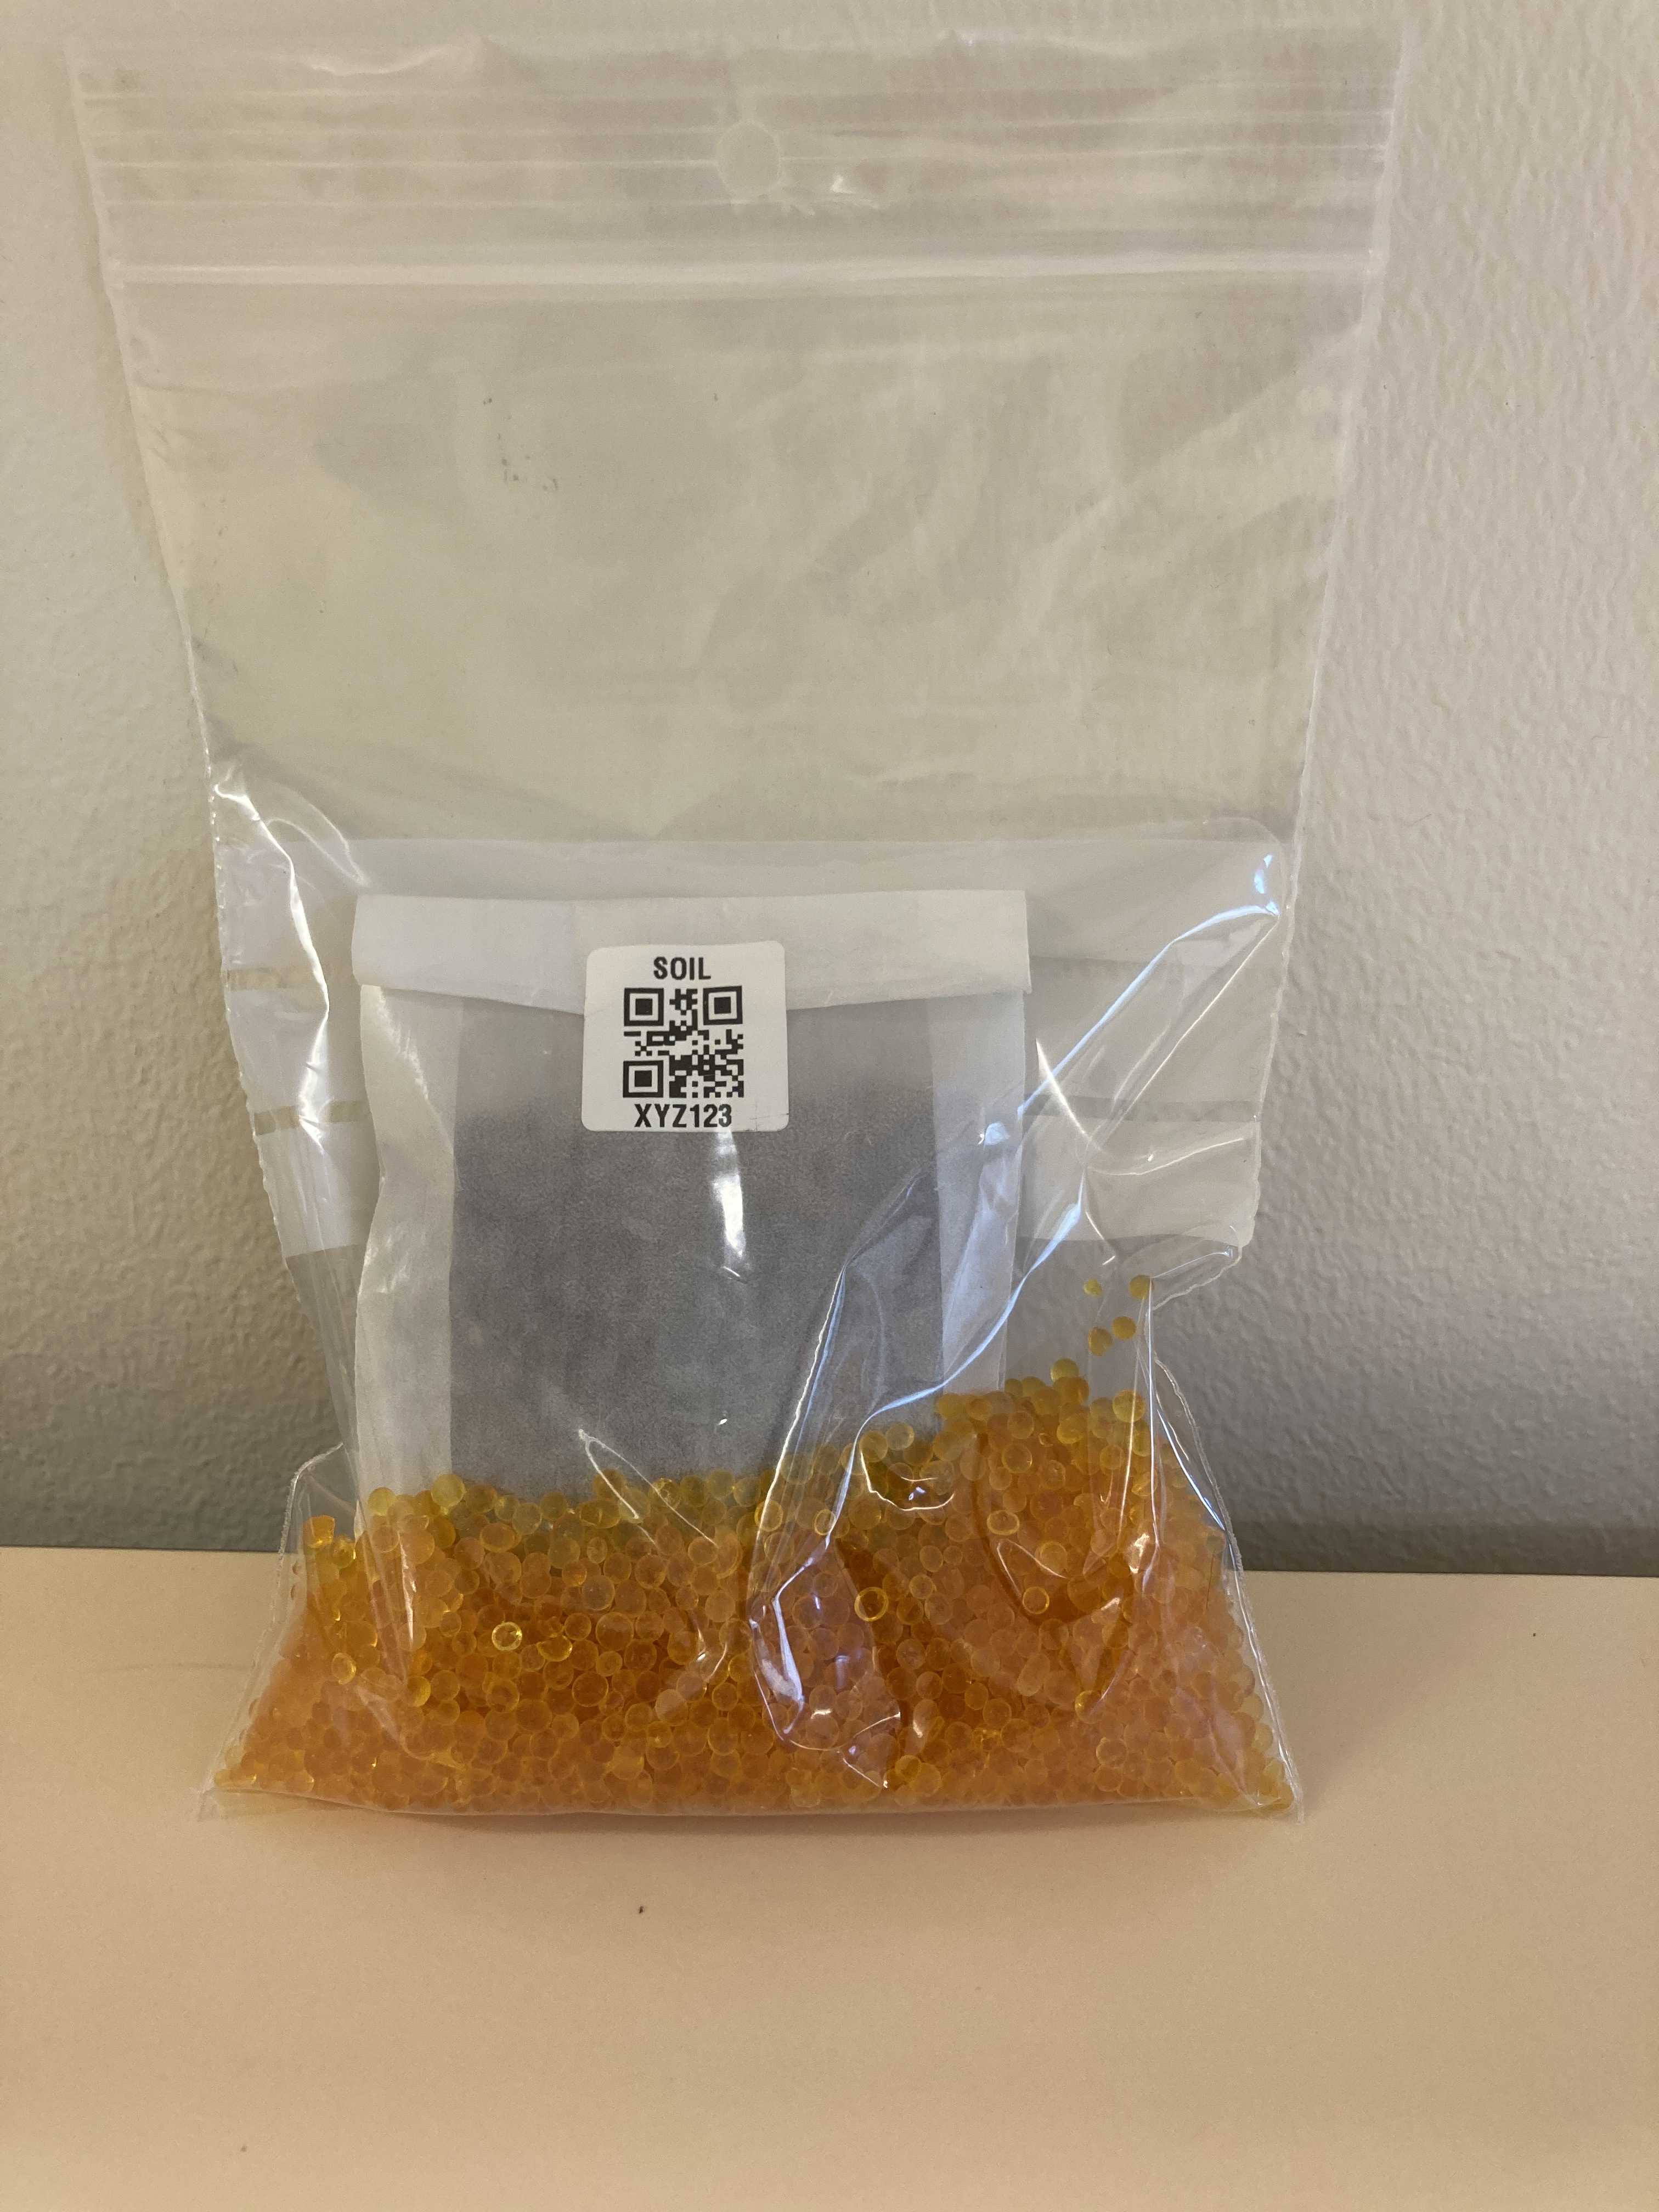
When the silica remains dry, place the sample in a -20°C freezer. Leave a few silica beads in the bag to ensure the environment remains dry until the samples can be freeze dried.
Freeze dry the soil samples.
In Lifeplan, the soil samples are freeze dried in a COOLSAFE 55-4 freeze dryer (Labogene) at -50°C for at least 72 hours.
The used silica can be dried and re-used for other samples. To dry silica, place it in an oven or a drier at 100°C until it changes to its dry colour, approximately 40 hours.

