L-1 LEECH FIELD SAMPLING
REDI-NET Consortium
Disclaimer
This work is supported by the US Army Medical Research and Development Command under Contract No.W81XWH-21-C-0001, W81XWH-22-C-0093 and HT9425-23-C-0059. The views, opinions and/or findings contained in this report are those of the author(s) and should not be construed as an official Department of the Army or Navy position, policy or decision unless so designated by other documentation.
Abstract
This protocol describes leech field sampling.
Steps
SAMPLING TEAMS
SAMPLING SITE SELECTION
Find two suitable sampling locations within the water body representing different ecological systems, if possible.
At each sampling location, leech traps should be placed in triplicate at least 10-20 meters apart from the water and sediment sample collection point, and each trap should be distant by 5 meters from each other.
LEECH TRAPPING
Insert a piece of liver into the prepared traps, as instructed in Appendix 1. Leech Traps Construction (see Figures 1 and 2). Attach fishing line to trap and tie the remaining end around the flagged tree or stake to enable trap recovery.
Use nearby rocks to weigh the leech trap when placing it in water to ensure full submersion.
Repeat steps 4 - 6 to place traps at the second sampling location in the water body.
Check traps after 2–3 hours (after completing tick/water and soil collections).
Recover traps and carefully open to expose the liver bait. Using forceps, check each side of the liver for leeches.
Leeches can gently be removed from the liver bait with tweezers and placed directly into the large (example size 500mL) pre-labeled field transport container with water collected from their original environment. Leeches can be aggregated from the three traps at the same sampling location (1 OR 2) and stored in a single container with water collected from their original environment.
Place all labeled storage containers into a cooler with ice until arriving back to the lab to prevent active swimming during transport; which promotes the consumption of the blood-meal.
After collecting all leeches from the first sampling location, advance to the second sampling location and repeat steps 9-11.
LEECH STORAGE
Keep freshly collected leeches alive in glass jars which allow air passage (net-lidded or lids with multiple holes) and two-thirds filled with source water and tightly packed (so they will not spill) in a 4°C cold chain (cooler box), ensuring air movement until return to laboratory. Storage at 4°C is not recommended for long periods of time.
Once at the laboratory, if leech samples can not be processed on the same day of collection, remove from water and freeze individually at -80°C. Leeches can be stored at -80°C for up to 1 month.
APPENDIX 1.1 LEECH TRAP CONSTRUCTION -- Trap Option 1: Pie Pan Construction
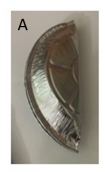
Measure and cut a piece of mesh wire that fits around the folded pie pan.
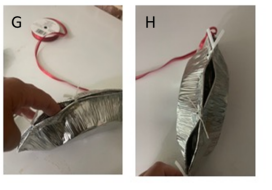
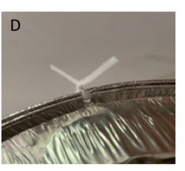
Cut a length of twine 3-4 m long. Tie the twine through the hole on one of the end holes. Thread through and twist tie two other holes shut, leaving one hole open (Figure A1D, A1E, and A1F).
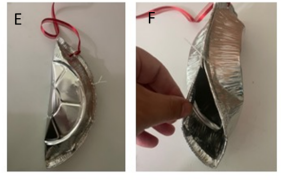
Using rubber gloves, slip approximately 8 oz of liver (add the blood drippings too) into the cavity of the pre-prepared trap and seal the trap by threading and fixing the twist tie in the final hole.
Move slightly away from the highest animal traffic area (so as not to damage the trap) and hold the trap in one hand and the end of twine in another, toss the leech trap into the water body, keeping hold of the cord.
Wait until it sinks and secure the cord of the leech trap to sturdy vegetation, or fashion ground stakes to secure.
APPENDIX 1.2 LEECH TRAP CONSTRUCTION -- Trap Option 2: Bottle Trap
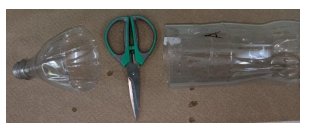
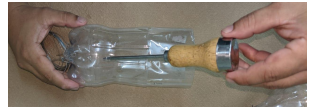
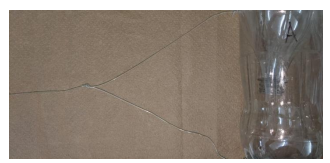
Place a piece of beef liver, approximately 8 oz, into the bottom of the bottle along with a medium-size rock. The rock will help sink the trap.
Using a stapler, staple the funnel into position.
APPENDIX 1.3 LEECH TRAP CONSTRUCTION -- Trap Option 3: PVC Pipe Trap
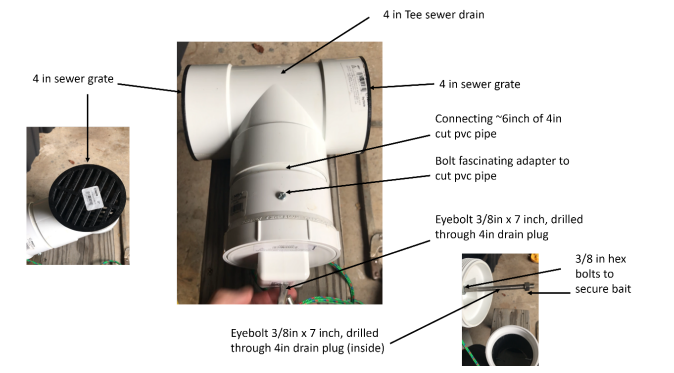
Cut 6 in of the 10 ft x 4in PVC pipe using a hacksaw.
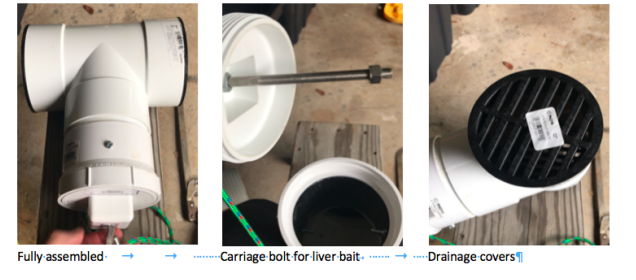
Place the 6 inch cut into the lower part of the T shaped drain. Then attach the 4 in sewer drain adapter to the other side.
Secure both the adapter and the Tee drain to the 6 in PVC section using nuts and bolts for both sides. (the image below only shows the top attached, the bottom segment will need to be attached with a bolt and nut as well).
Drill a hole using a 3/8 in drill bit through the top of the drain plug.
Push the 3/8 x 7 in eyebolt through the drain plug, then spin a 3/8 in hex bolt all the way to the top and add a second to the bottom.
Bait will be placed between these two hex bolts.
The 3/8 hex bolt might not go all the way to the top of the eyebolt and that is ok.
APPENDIX 1.4 LEECH TRAP CONSTRUCTION -- Trap Option 4: Bioquip Gee Minnow Trap
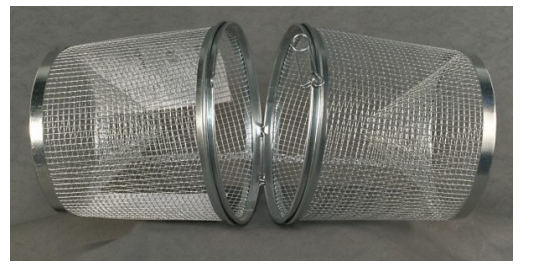
Place a piece of beef liver, approximately 8 oz, into the bottom of the trap along with a medium-size rock. The rock will help sink the trap.
Close the trap using the latch.
