96-well plate cell growth optimization for integrated live-cell and endpoint viability drug screening assay
Rolando DZ Lyles, M Julia Martinez, Benjamin Sherman, Kerry Burnstein
Abstract
This protocol details the cell growth optimization for integrated live-cell and endpoint viablility drug screening assay on a 96-well plate.
Before start
Before starting:
-
Determine the cell line to be optimized and expand cell line to ~50-60% confluence in any standard tissue t75-Flask or 15cm tissue culture dish.
-
Define cell seeding density range to be tested. This protocol uses 4 seeding densities. Always set initial seeding density to the cell line-specific lab standard or literature recommended seeding density for 96-well plate assays. Then set a range using 50% increments (one below and two above) of initial seeding density.
NoteExample : If 1000 cells/well is recommended, then the range should be set based on (%50 of 1000) 500 cells/well. The initial 4 seeding increments would be 500 cells/well, 1000 cells/well, 1500 cells/well, and 2000 cells/well. -
Determine desired cell culture media conditions to be tested. This protocol 2 media conditions with varying serum concentrations. As a reference point, this protocol suggests preparing cell culture media with cell specific recommended serum concentrations and preparing cell culture with between 50-80% less serum to regulate cell growth rates.
Attachments
Steps
Day 1: Prepare cell lines for seeding into 96-well plates for optimization
In a sterile tissue culture hood, aspirate media from t75-flask.
Perform a wash with 5mL Phosphate Buffered Saline (PBS) (Hyclone, Cat# SH30028.02).
To detach cells from tissue culture flasks, add 3mL of trypsin (Corning, Cat# 25-052-cl) directly on to the cells. Gently tilt the flask until the surface is equally covered with trypsin then place cells into tissue culture incubator for 0h 3m 0s.
After incubation, gently tap the sides of the flask to insure complete detachment of adherent cells. Return to incubator for 0h 1m 0s increments if needed.
Add 3mL of trypsin inhibitor (Thermofisher, Cat# R007100) (or equal volume to trypsin used) to deactivate the trypsin enzyme, collect all the cell suspension, and then transfer into a sterile 15mL conical tube.
Pellet cells via centrifugation at 100-300x g.
After centrifugation, aspirate all supernatant while being careful to not disrupt the cell pellet.
Uniformly resuspend the cell pellet in 1mL of SERUM FREE media using a p1000 pipette.
1mL of SERUM FREE media and slowly vortex to uniformly mix. Using the well-mixed cell suspension, accurately count cells via your preferred hemocytometry method to a final unit of [cells/mL].
Day 1: Seeding cells into 96-well plates for optimization
12mL at the adjusted seeding density concentration range previously determined.
Using the two media conditions prepared between steps 6 & 7, prepare 3mL of each seeding density/ media condition combination in separate sterile 15 mL conical tubes.
Example table:
| A | B | C | D |
|---|---|---|---|
| Cell Line | Seeding Density | Media Condition | Final Volume |
| Cell X | 500 cells/well | Condition 1 | 3 mL |
| Cell X | 1000 cells/well | Condition 1 | 3 mL |
| Cell X | 1500 cells/well | Condition 1 | 3 mL |
| Cell X | 2000 cells/well | Condition 1 | 3 mL |
| Cell X | 500 cells/well | Condition 2 | 3 mL |
| Cell X | 1000 cells/well | Condition 2 | 3 mL |
| Cell X | 1500 cells/well | Condition 2 | 3 mL |
| Cell X | 2000 cells/well | Condition 2 | 3 mL |
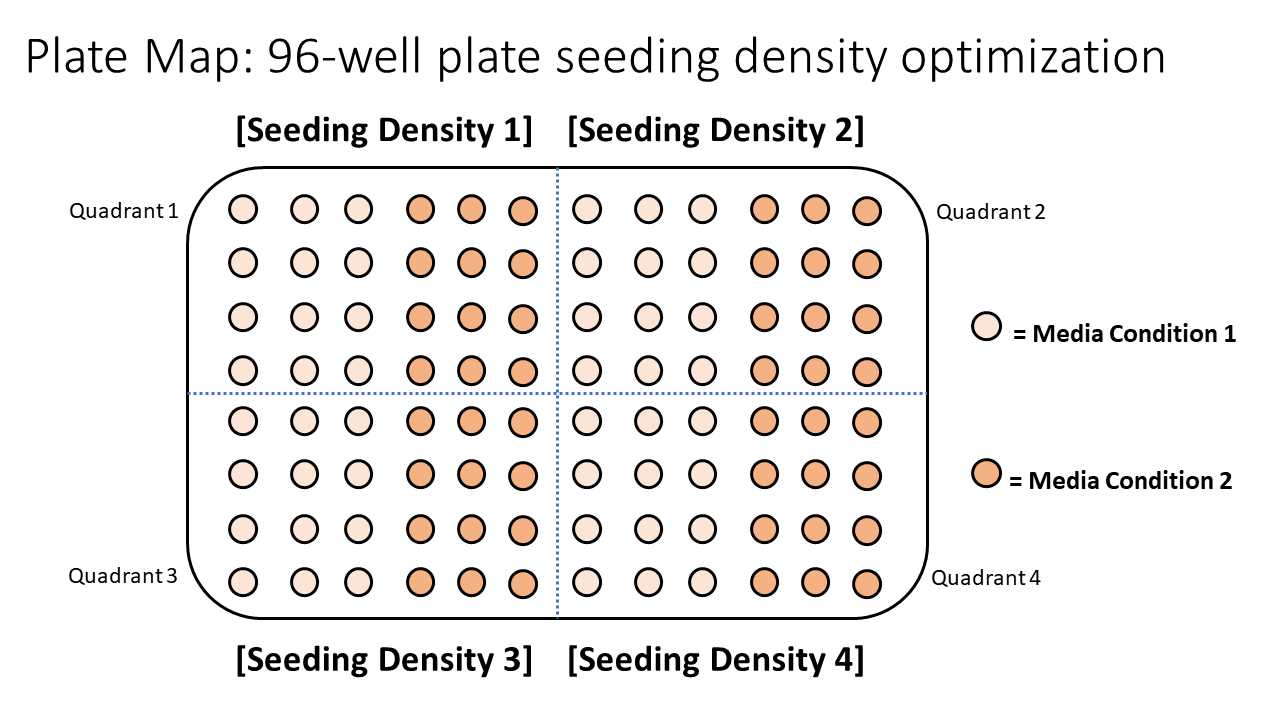
One at a time, gently vortex each tube and transfer into a standard sterile standard 25mL reagent reservoir (VWR, Cat# 89094-662). Then using an 8-channel p200 multi-channel pipette, transfer the cell suspensions into a cell culture 96-well microplate with white opaque walls and a clear bottom (Sigma Aldrich, M0437-32E) at their proper locations as specified by the above plate map.
Place 96-well plate into standard tissue culture incubator 0h 5m 0s.
Day 2: Verify cell attachment to plates and begin IncuCyte ZOOM live-cell imaging
Observe cells with a microscope at 10x magnification to verify that cells are settled and adhered to the inner surface of the 96-well plate. Verify that there is a reasonable difference in expected seeding densities.
At this stage, the plate can be transferred to the preferred live-cell imaging platform. This protocol uses the IncuCyte Zoom platform. The plate will remain in the imaging platform for 72h 0m 0s (the duration of the drug screens in the integrated live-cell and endpoint viability drug screen protocol).
The instructions below apply exclusively to the IncuCyte Zoom platform which this protocol features.
Open IncuCyte Zoom software on computer desktop.
Click the “Properties” tab and label the plate as desired.
Click “Apply” on the bottom right corner to save changes and register the plate to the IncuCyte Zoom hardware.
Connect to device.
Under the “Task List” panel on the left-hand side, select “Schedule Scans”.
Click one of the “Empty” slots on the live representative plate map for the hardware then click “Add Vessel”.
Once prompted, search from the vessel (96-well plate) by catalog number. This protocol features the Greiner bio one cell culture microplate (#655098). Once selected proceed to setting up experimental parameters:
On the bottom panel on the left-hand side, select “Edit Scan Pattern” and select all wells and set the scan pattern to 4 images/well. Save this scan pattern.
In the Channel Selection section in the center, click “Phase” (no colored acquisition channel is need for this protocol).
In the “Scan Mode” section in on the top-right side, toggle to the scan pattern that was previously created and saved.
In the “Analysis Job Setup” section on the right-hand side, toggle the “Job Type” and select “Basic Analyzer.” Toggle the “Processing Definition” tab and select a pre-determined processing definition with masks optimized for your specific cell line. (If this hasn’t been created, the “DEMO Phase” processing definition can be used.
Transfer the 96-well plate into the same IncuCyte Zoom slot selected during the software setup and begin real-time image capture.
Day 5: End live-cell imaging procedure and perform CellTiter-glo endpoint viability assay
After 72-hours have passed, end the experiment on the live-cell imagining platform software then remove the 96-well plate and allow and allow it to equilibrate to Room temperature ~ 0h 20m 0s.
Open IncuCyte Zoom software on computer desktop.
Connect to device.
Under the “Task List” panel on the left-hand side, select “Schedule Scans”.
Click on the slot housing the plate being tested on the live representative plate map for the hardware then click “Remove Vessel”.
Click “Apply” on the bottom right corner to save changes.
Manually remove the corresponding 96-well plate to the IncuCyte Zoom hardware.
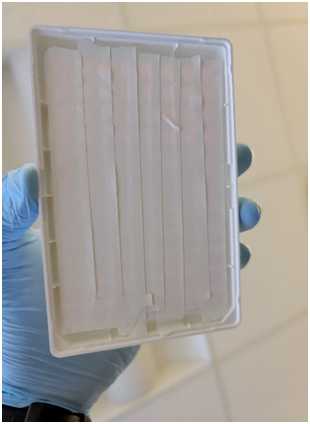
Cover the bottom of the 96-well plate with white opaque lab tape.
See example below:
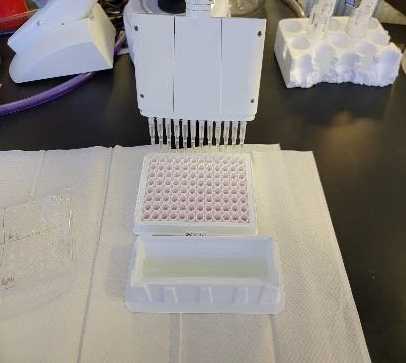
Transfer 10mL (per plate) of the thawed CellTiter-Glo reaction reagent into a standard 25 mL reagent reservoir.
Use an 8-channel p200 multi-channel pipette (or comparable multi-channel pipette) to transfer 100µL of CellTiter-Glo reaction reagent into each well of the 96-well plate.
Leave the plate cover off and transfer into a luminometer compatible with CellTiter-glo.
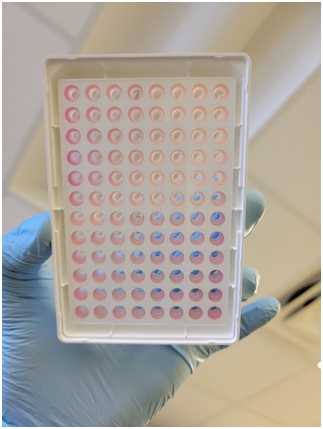
See example below:
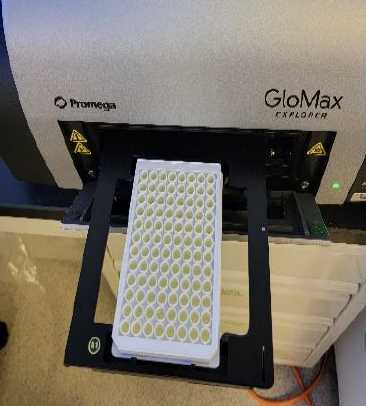
Recommended parameters for the Luminometer are as follows:
- Shake in an orbital shaker for
0h 2m 0sat 500 cycles/minute with a 1mm shaking diameter (cell lysis). - Incubate for
0h 10m 0sin a dark environment (reaction). - Read luminescence of each well at an integration of 400ms (data acquisition).
Note
*It will take ~0h 13m 0s to read each plate.
Export data and remove plate from luminometer.
