3D Mesh Cleanup Tutorial: Fossil Crab (Advanced)
Elizabeth G. Clark, Kelsey M Jenkins, Craig R Brodersen
Abstract
This protocol details about 3D mesh cleanup tutorial of fossil crab (Advanced).
Attachments
Steps
Skills developed: Advanced mesh editing
Remove External Debris
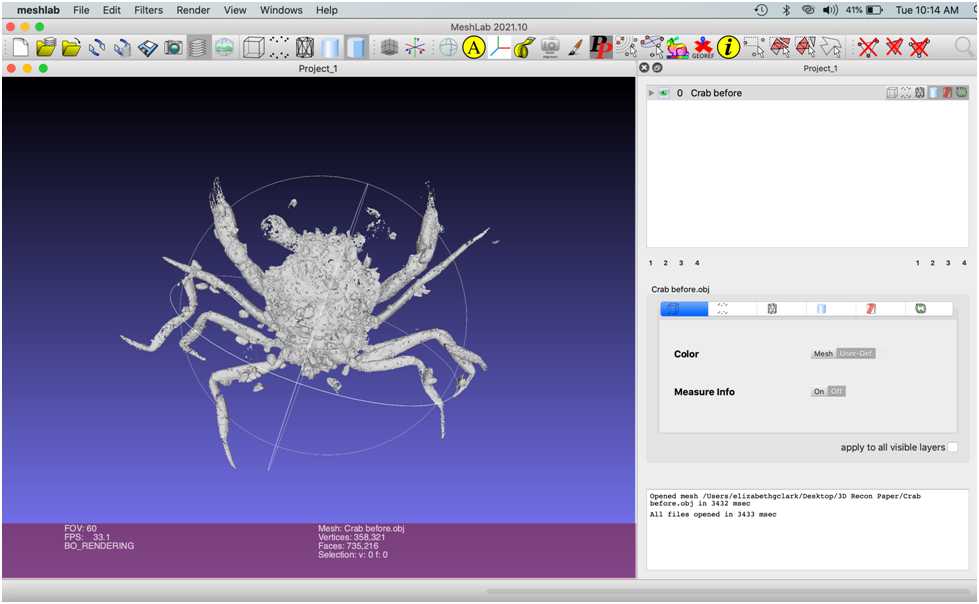
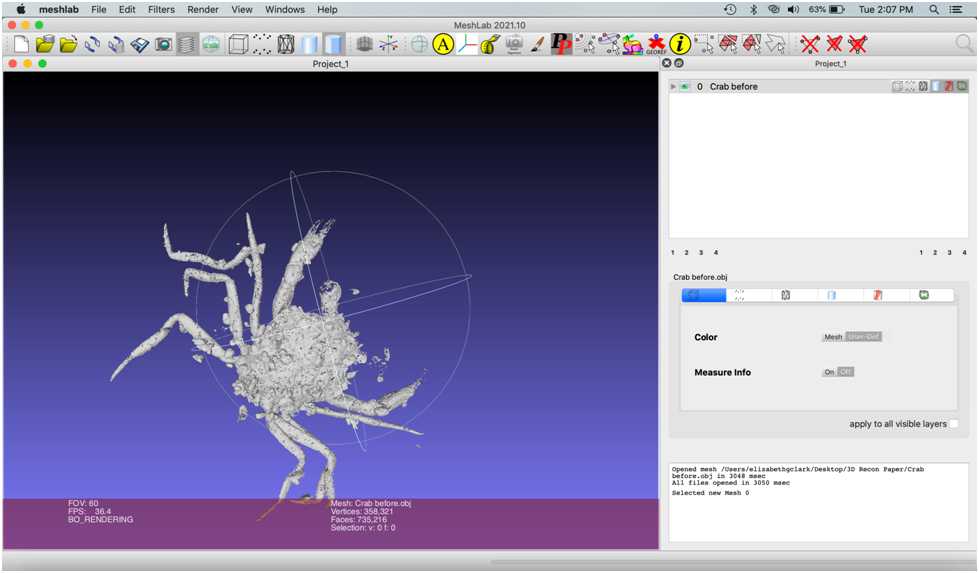
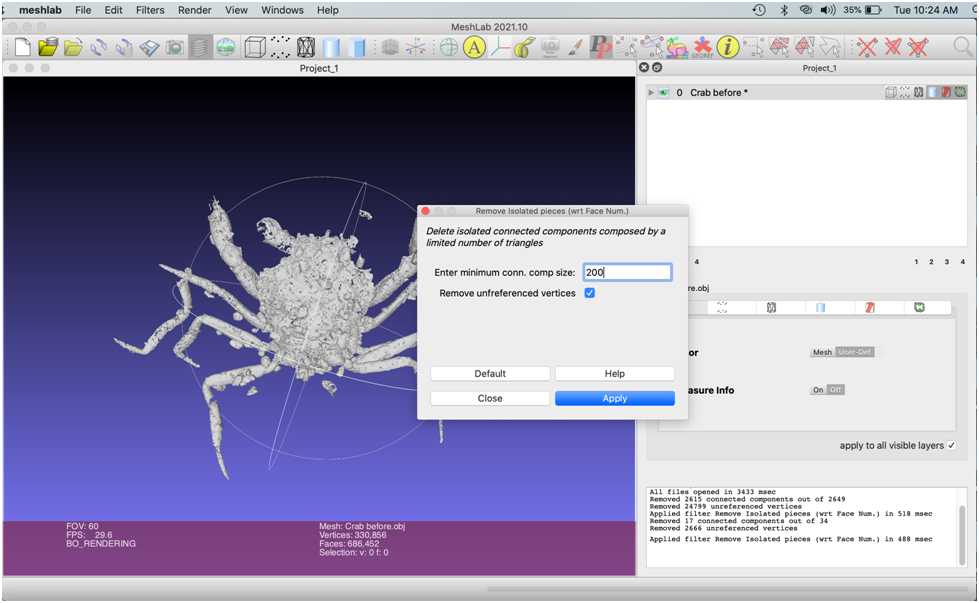
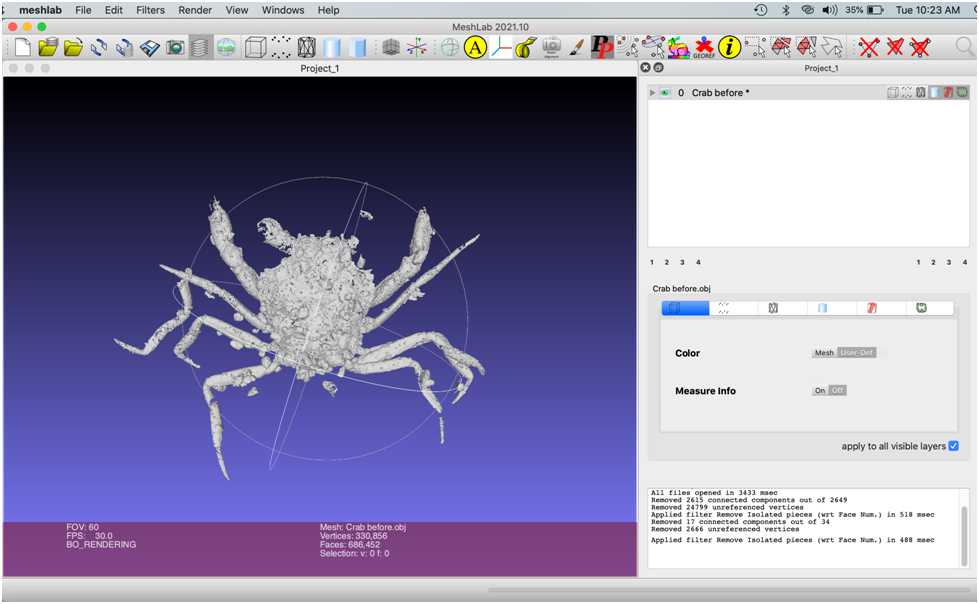
The imported mesh includes the crab, but it also includes other small isolated meshes that are 3D reconstructions of bits of the matrix. Remove this external debris by running a filter that removes small isolated mesh particles.
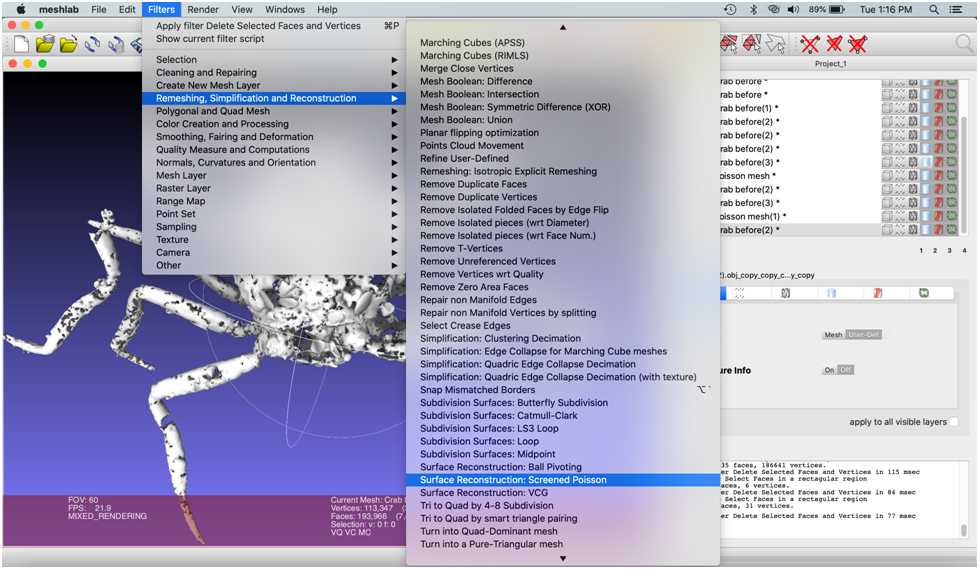
Go to Filters > Remeshing, Simplification and Reconstruction > Remove isolated pieces with respect to face number .
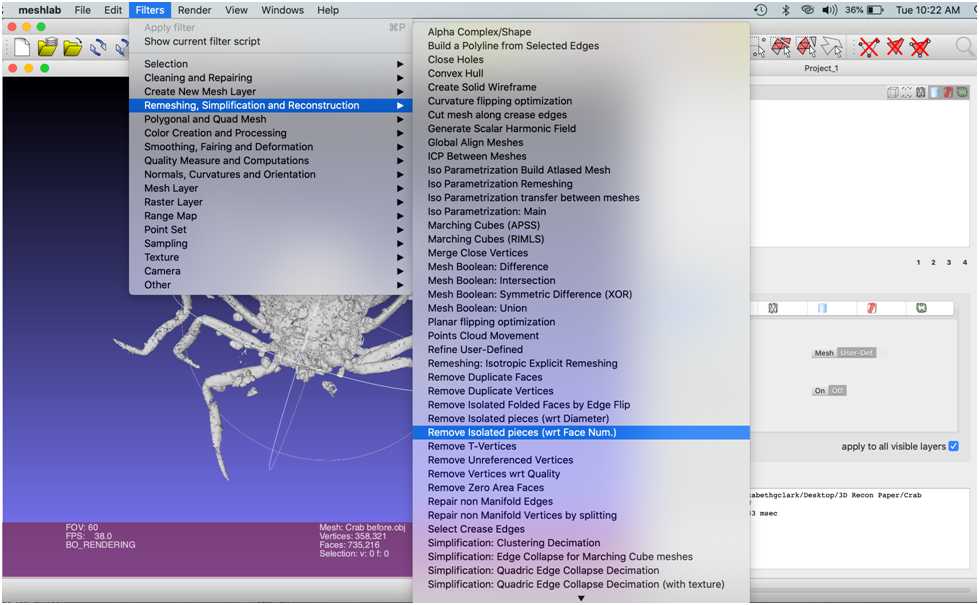
This option may be under “Cleaning and Repairing” in other versions of the software. As the 3D mesh of the crab is a large connected mesh with a relatively high number of faces, start by removing meshes with a relatively small number of faces (e.g., 200) and increase incrementally (e.g., by 50-500) until the bulk of the isolated extraneous mesh pieces are removed.
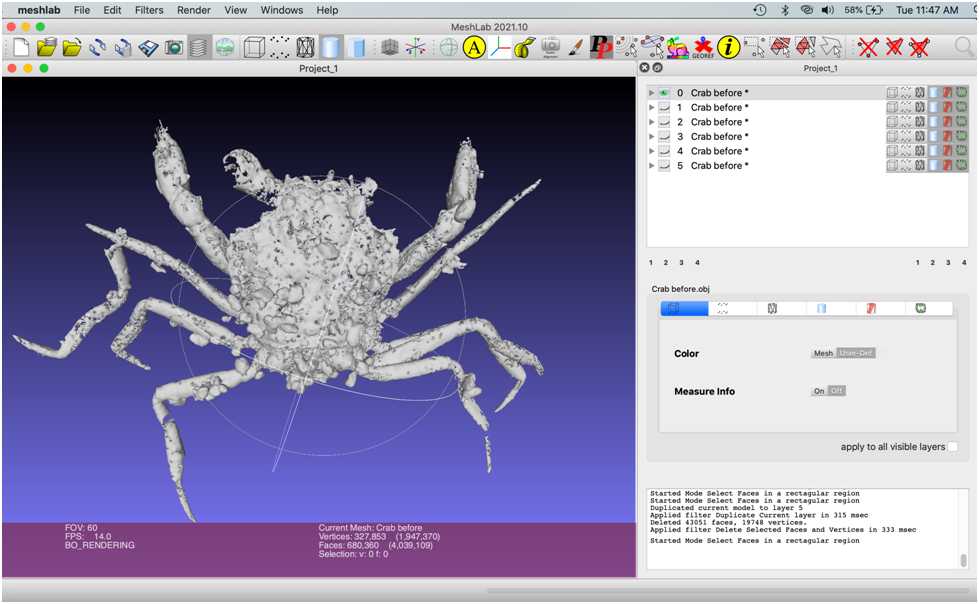
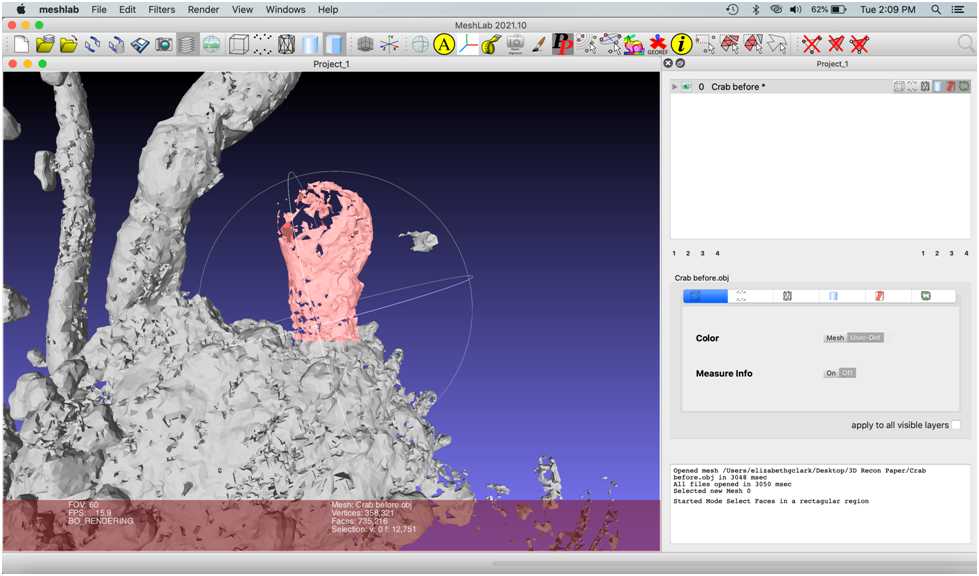
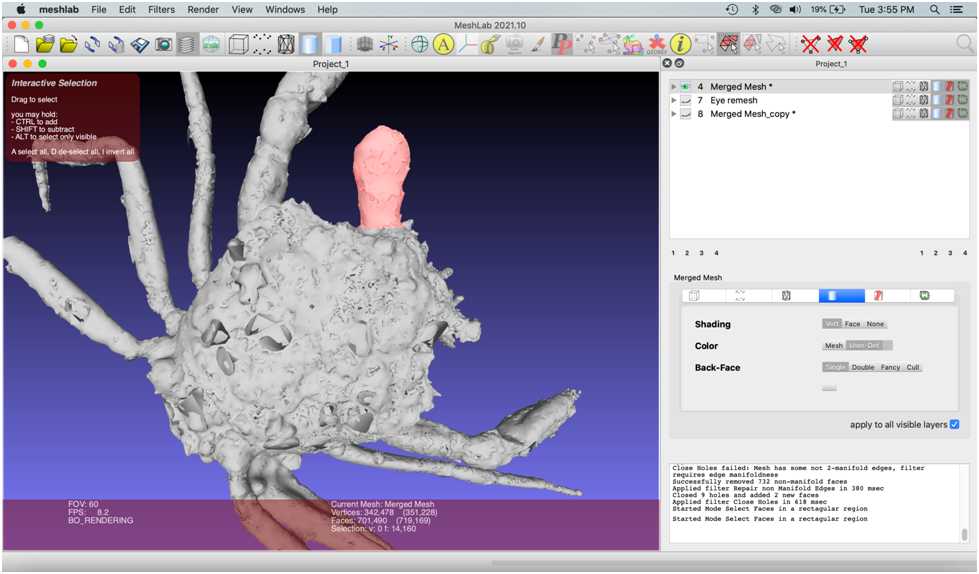
Hold left click and drag your cursor to select faces.
To add faces to your selection, hold command (Mac) or ctrl (PC) while you left click and drag . To delete faces from your selection, hold shift while you left click and drag .
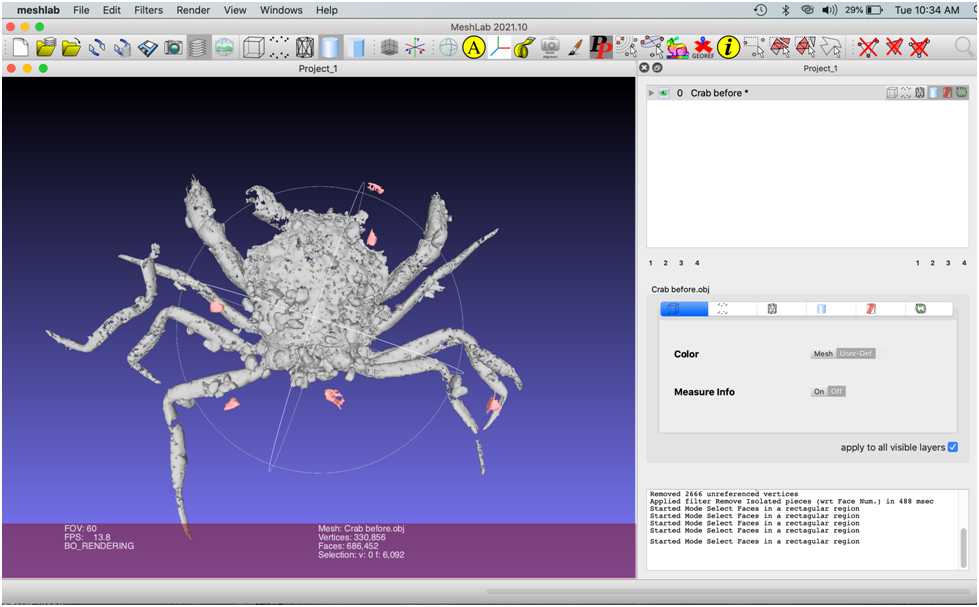
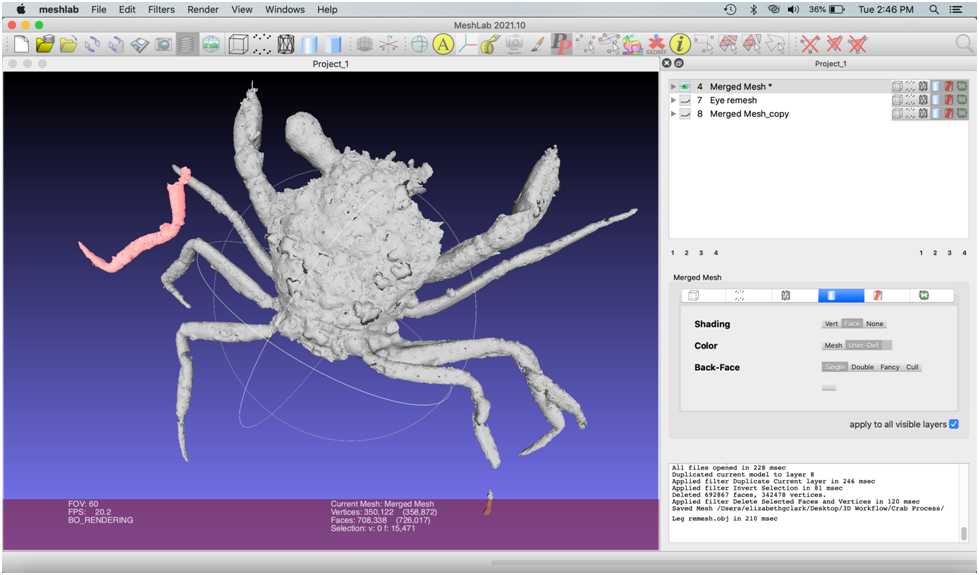
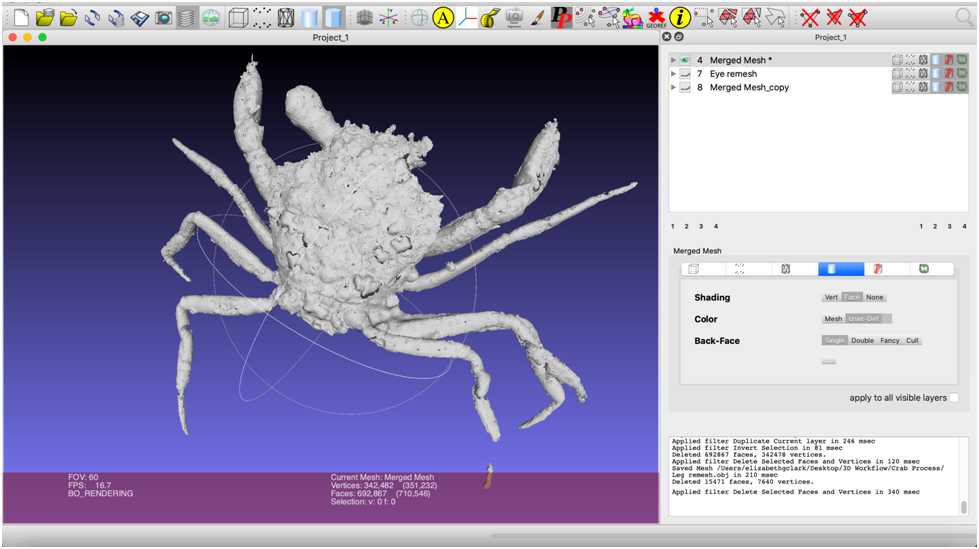
Next, repeat these steps to select and delete the small, rounded pebbles that are touching the crab mesh.

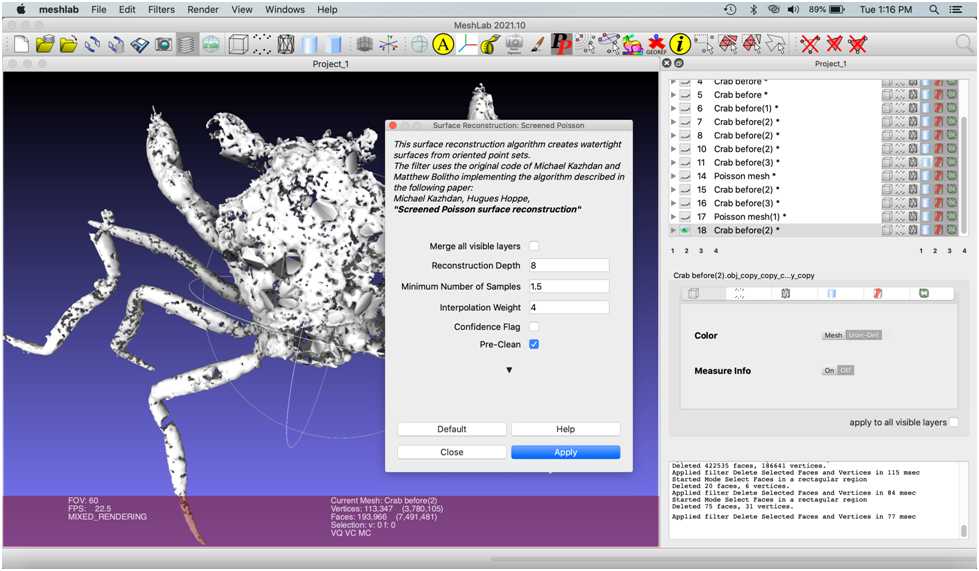
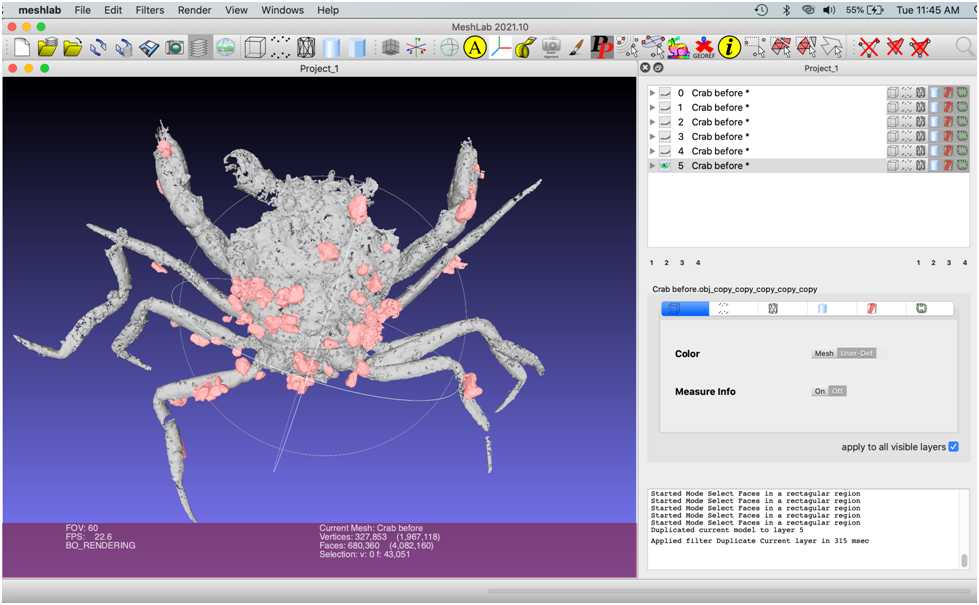
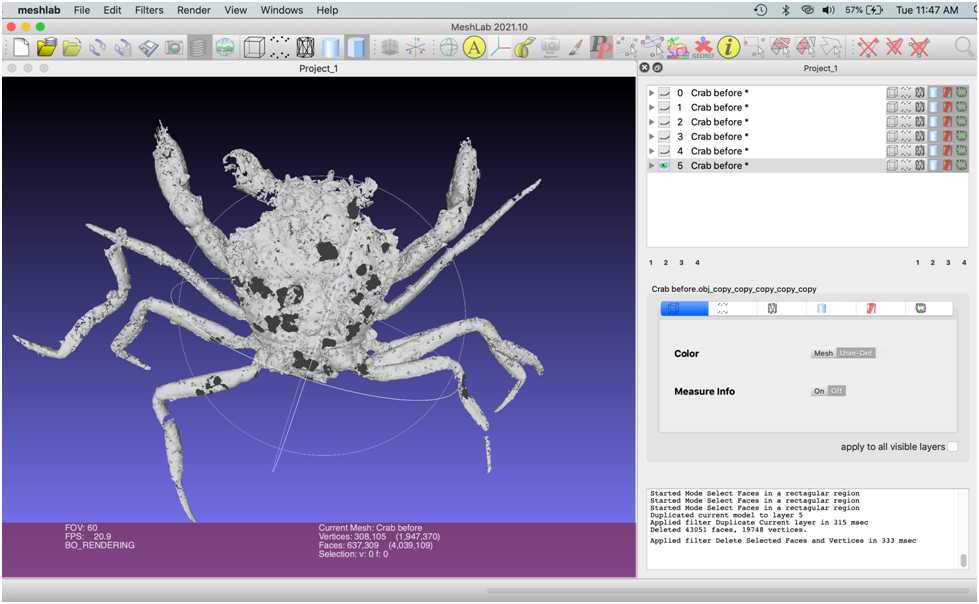
Duplicate the mesh by right clicking the file name and selecting “Duplicate the Current Layer.” Select the eye icon on the original layer to toggle visibility so you can see deletions on the new layer more clearly. You may wish to delete extraneous mesh little-by-little as you are just beginning, as opposed to all at once (as shown in the image below).
Fill Holes
Clean up the mesh by selecting Filters > Remeshing, Simplification and Reconstruction > Repair non Manifold edges . Select Remove Faces and click Apply .
Then, remove small isolated pieces that might have been formed during previous steps repeating Filters > Remeshing, Simplification and Reconstruction > Remove isolated pieces with respect to face number . Save this mesh layer by duplicating it.
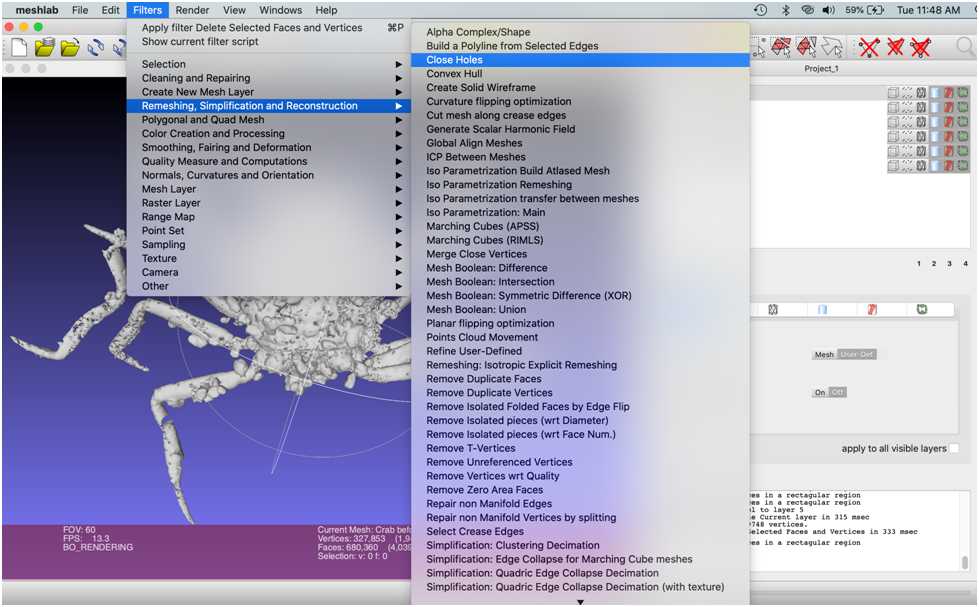
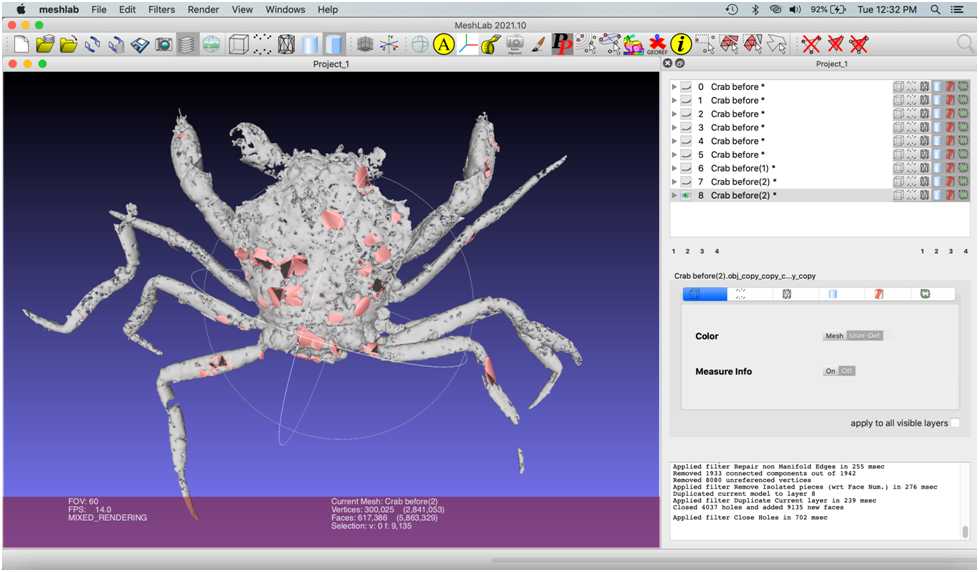
Close holes that formed in the crab mesh during the deletion of articulating debris by selecting Filters > Remeshing, Simplification and Reconstruction > Close Holes . Set “Max size to be closed” to 500 and select Apply . Alternatively, holes can be patched via the sculpting method described in the previous tutorial.
Deselect everything by selecting Filters > Selection > Select None .
Shrinkwrap surface
Now, we’re going to shrinkwrap a copy of the crab mesh to fill the leftover holes and smooth the surface of the crab.
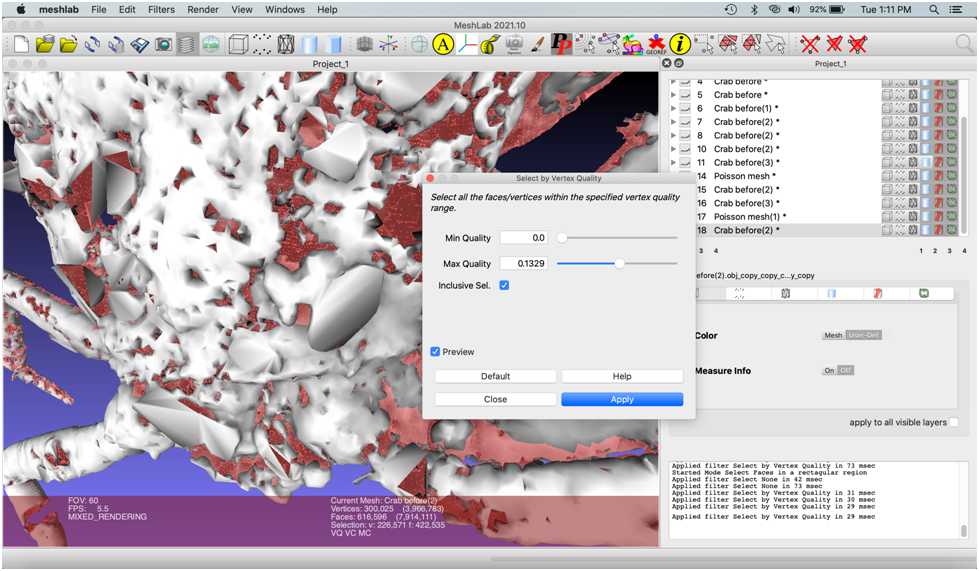
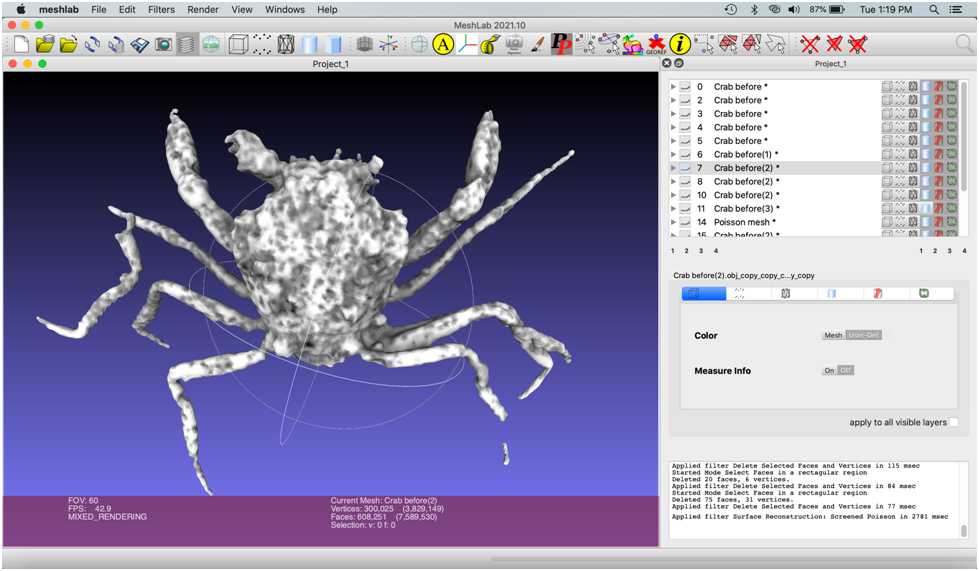
The first step to do this is to hollow out the inside of the mesh. Duplicate the mesh and select Filters > Color Creation and Processing > Ambient Occlusion. Keep default settings selected click “okay” on the popup window . This tags the external faces white and internal faces dark.
Save this mesh by selecting File > Export Mesh . Name the file “Body remesh.” A new pop-up window will appear. Select “none” in the bottom left corner and click “OK.”
Repair Missing Features: Eye
To simplify your scene and get rid of unwanted meshes, close and restart Meshlab. Reopen Crab before.obj in Meshlab.
Zoom in using the scroll wheel on the mouse.
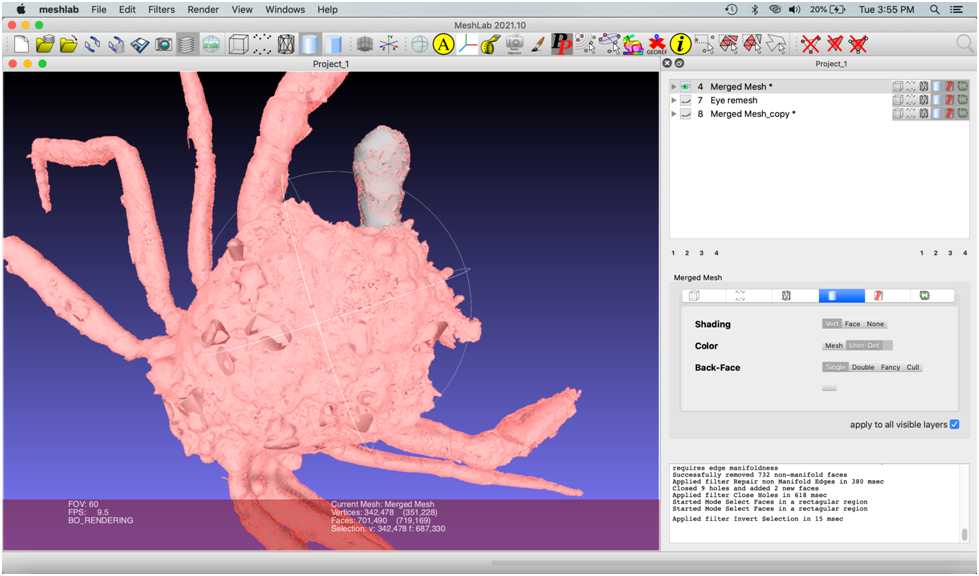
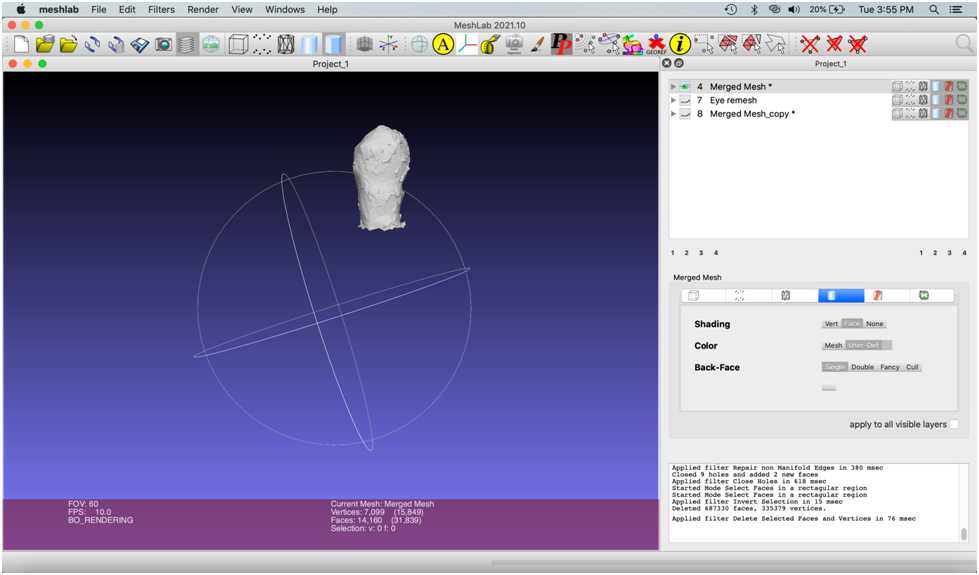
Shrinkwrap the eye. Perform the ambient occlusion filter and delete the internal vertices. Save this mesh by duplicating it. (See “Shrinkwrap surface” section for details.)
Apply the Surface Reconstruction: Poisson Remesh. Enter 4 into the “Reconstruction Depth” window.
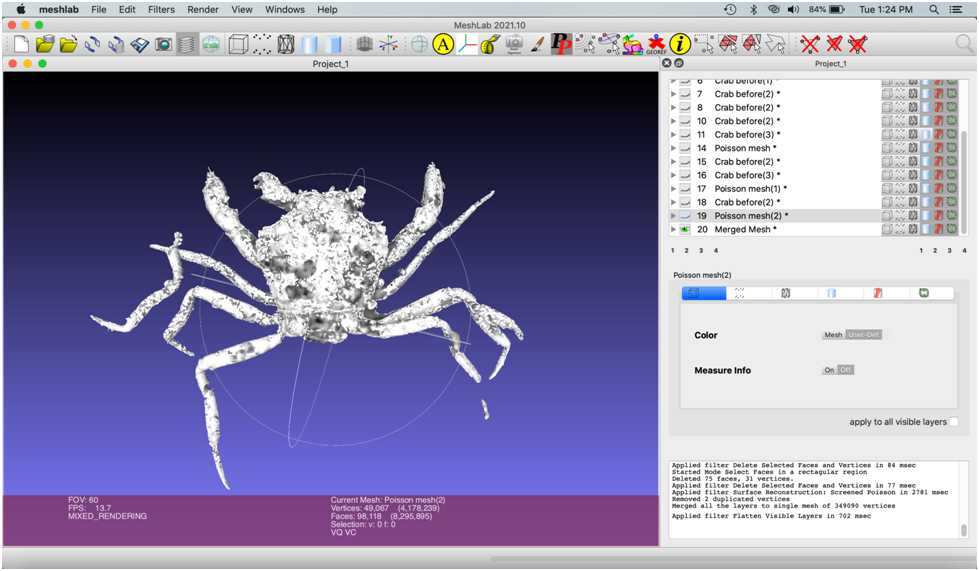
Merge the two meshes of the eye created here. Perform a Poisson Remesh of this new mesh: enter 5 into the “Reconstruction Depth” window. Export the file as “Eye remesh.”
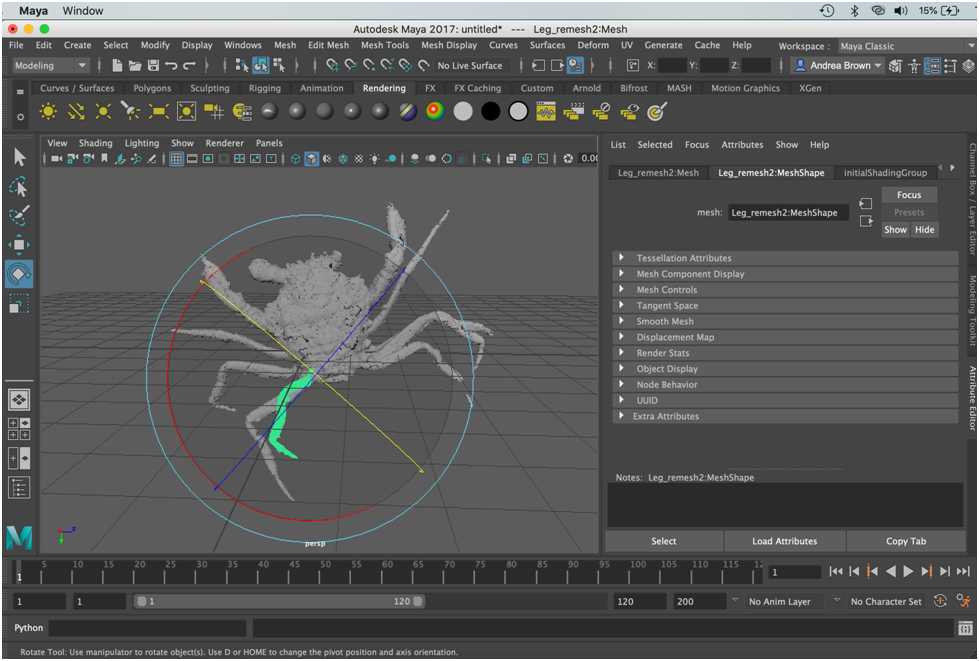
Repair Missing Features: Leg
Close and restart Meshlab. Import and merge “Body remesh” and “Eye remesh”.
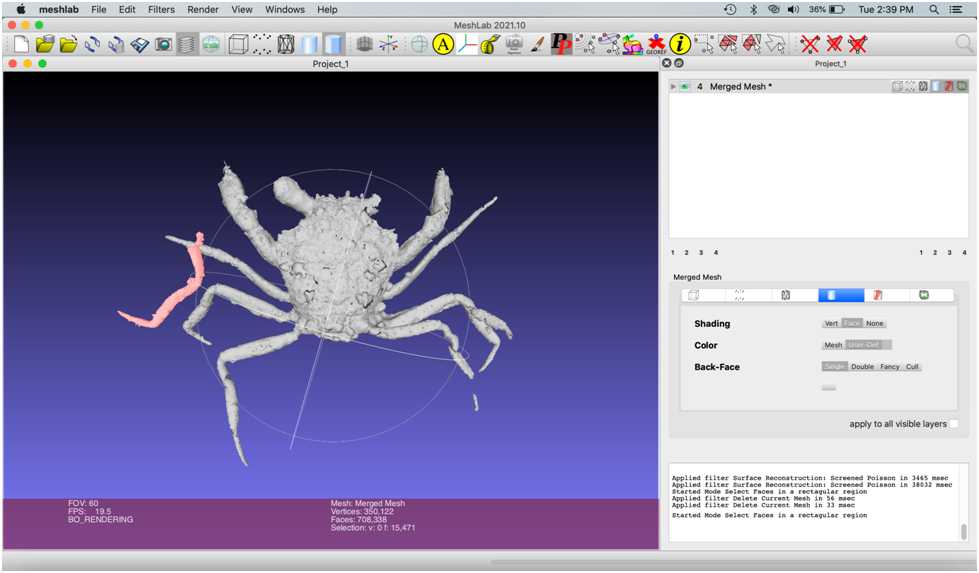
Select the leg that's isolated from the rest of the body.
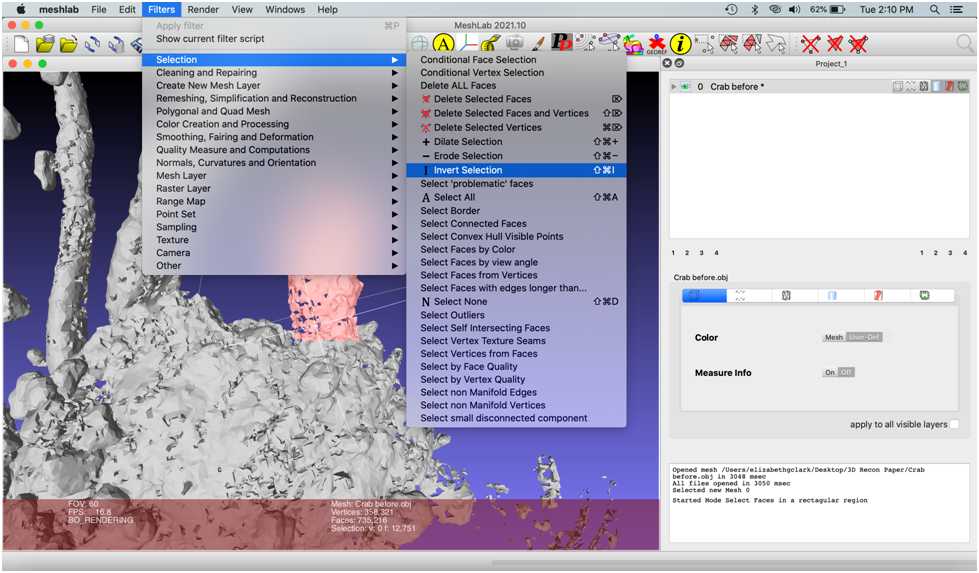
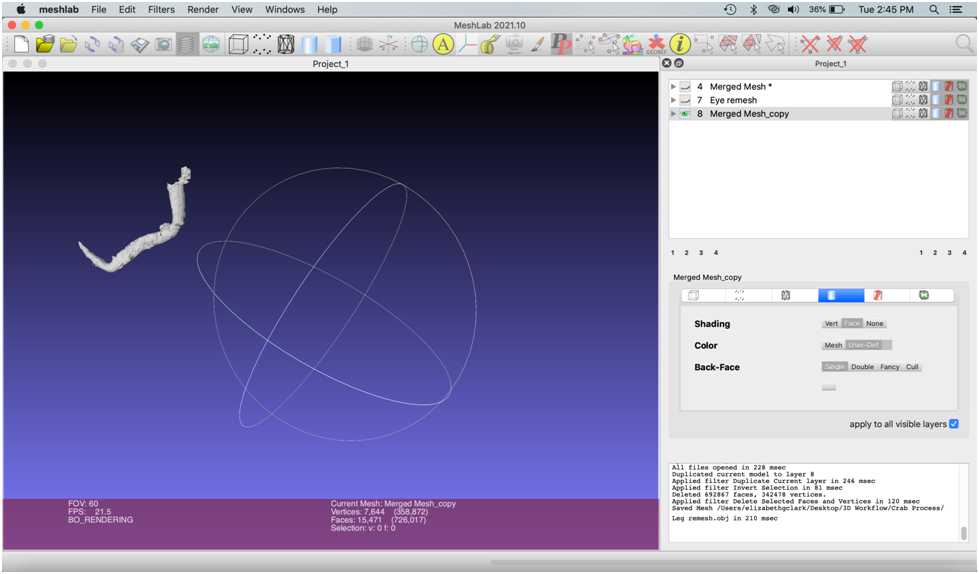
From the original mesh, invert the selection and delete the rest of the body.
Reposition and combine meshes
Click “A” to view all imported files. To rotate through the scene, hold “Alt” and left click while dragging the cursor.
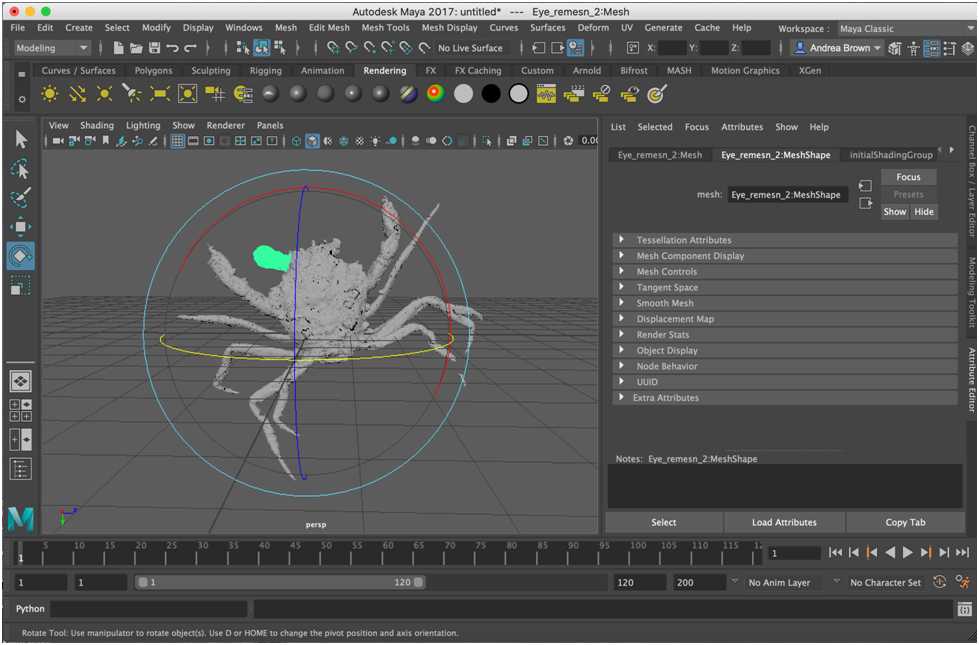
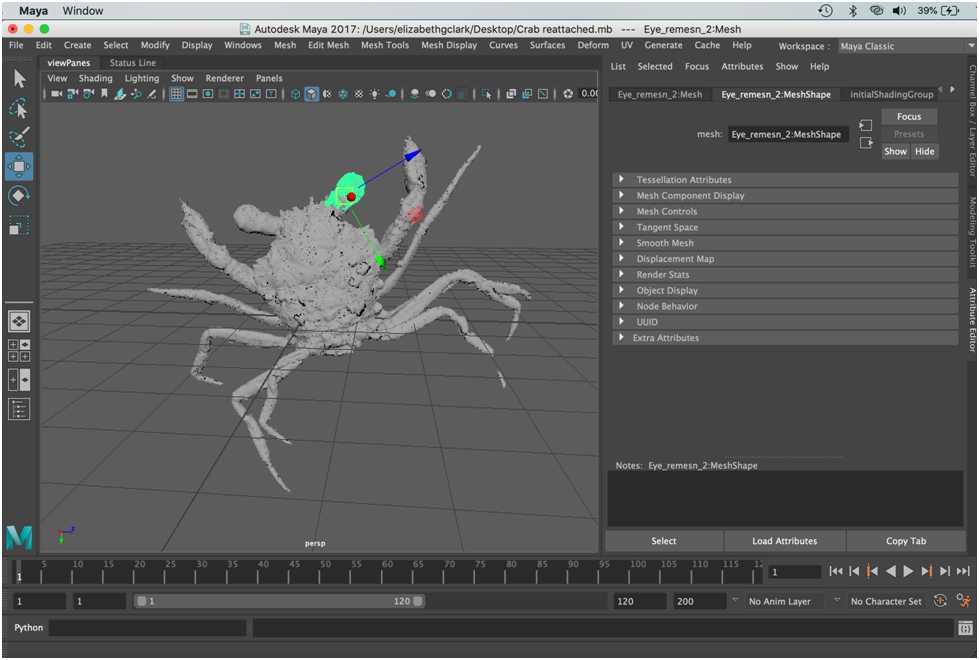
Now, we’re going to make a copy of the left eye to use as the right.
Export mesh as “Eye remesh 2.obj”.
Type -1 into the Z box and push “Enter”.
Next, select all mesh components by clicking the selection icon, holding left click and dragging the cursor over all of the objects. Command A also works.
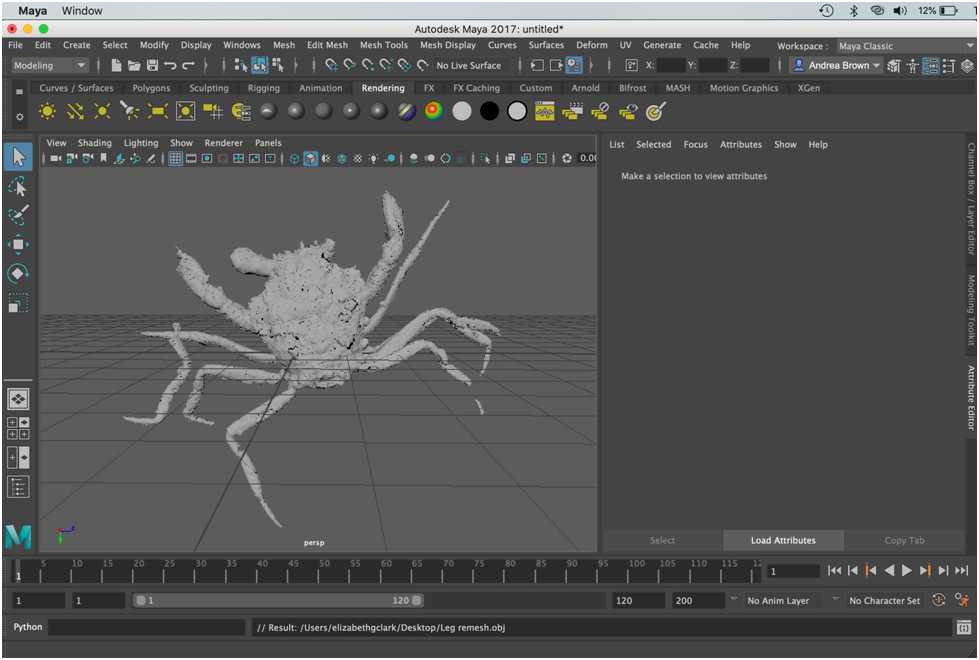
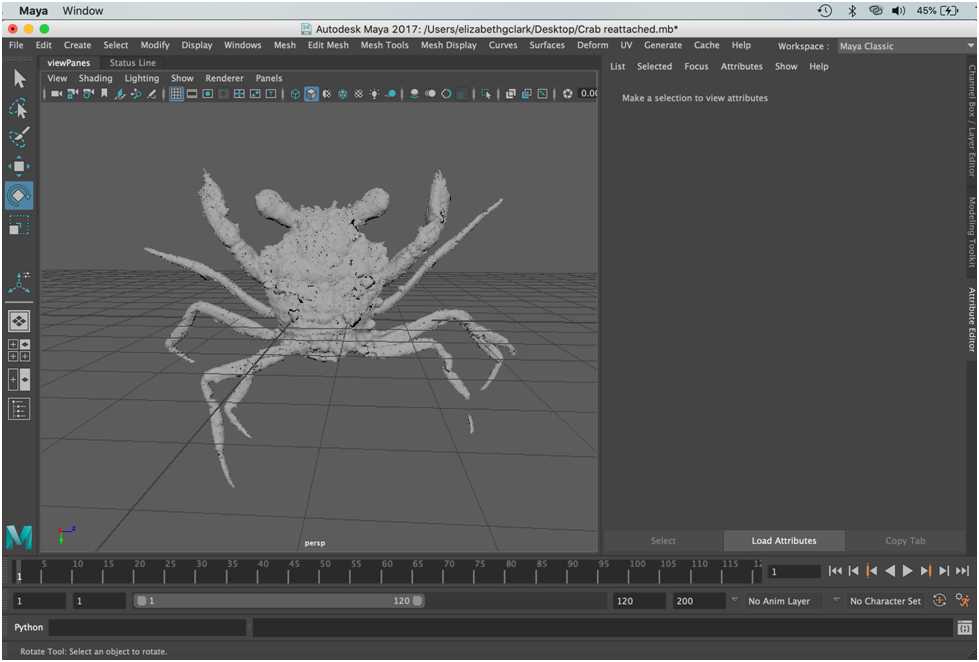
Repeat the Repair Missing Elements protocol for the eyes to fix the tip of the claws and legs. Congratulations on making a beautiful crab!
