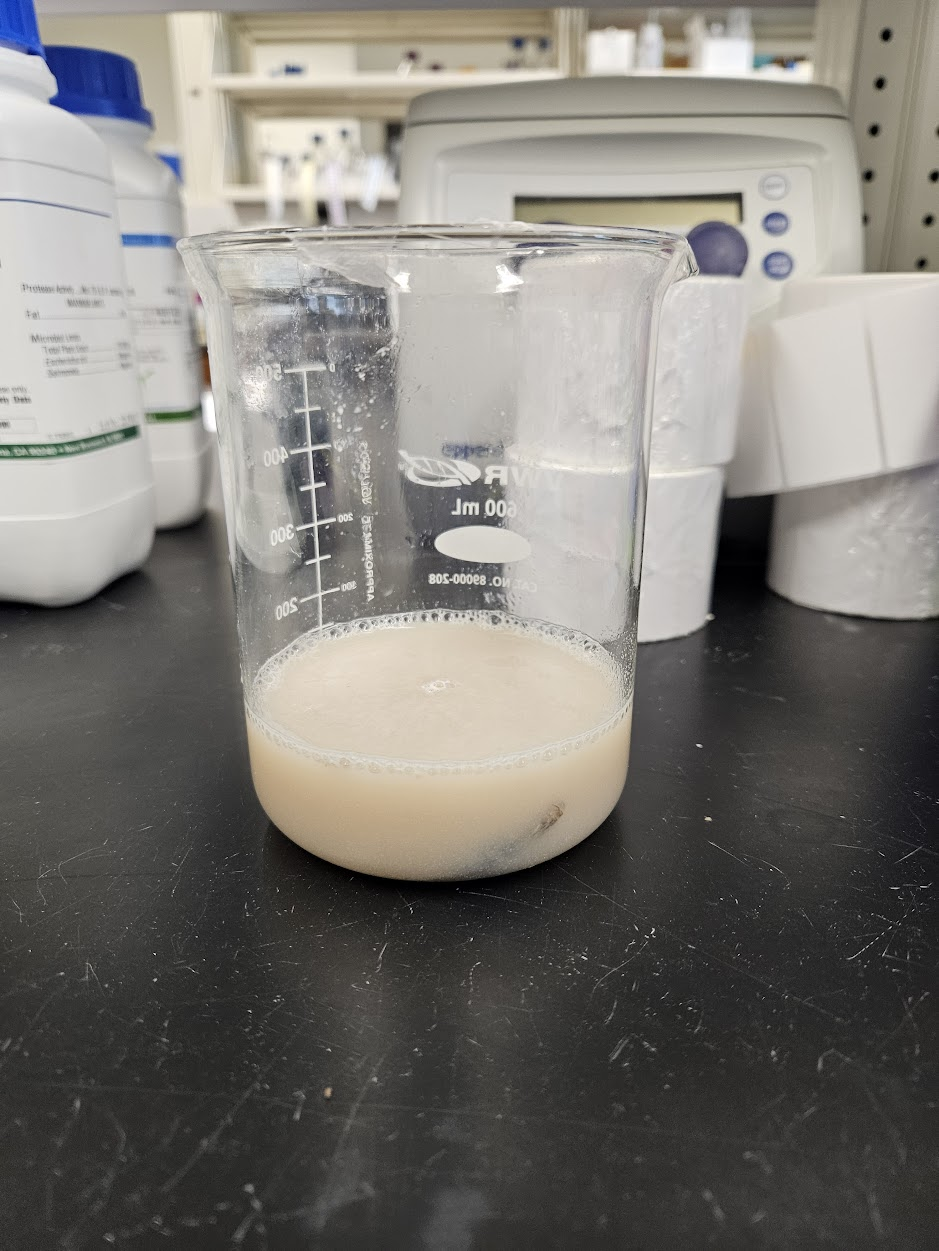
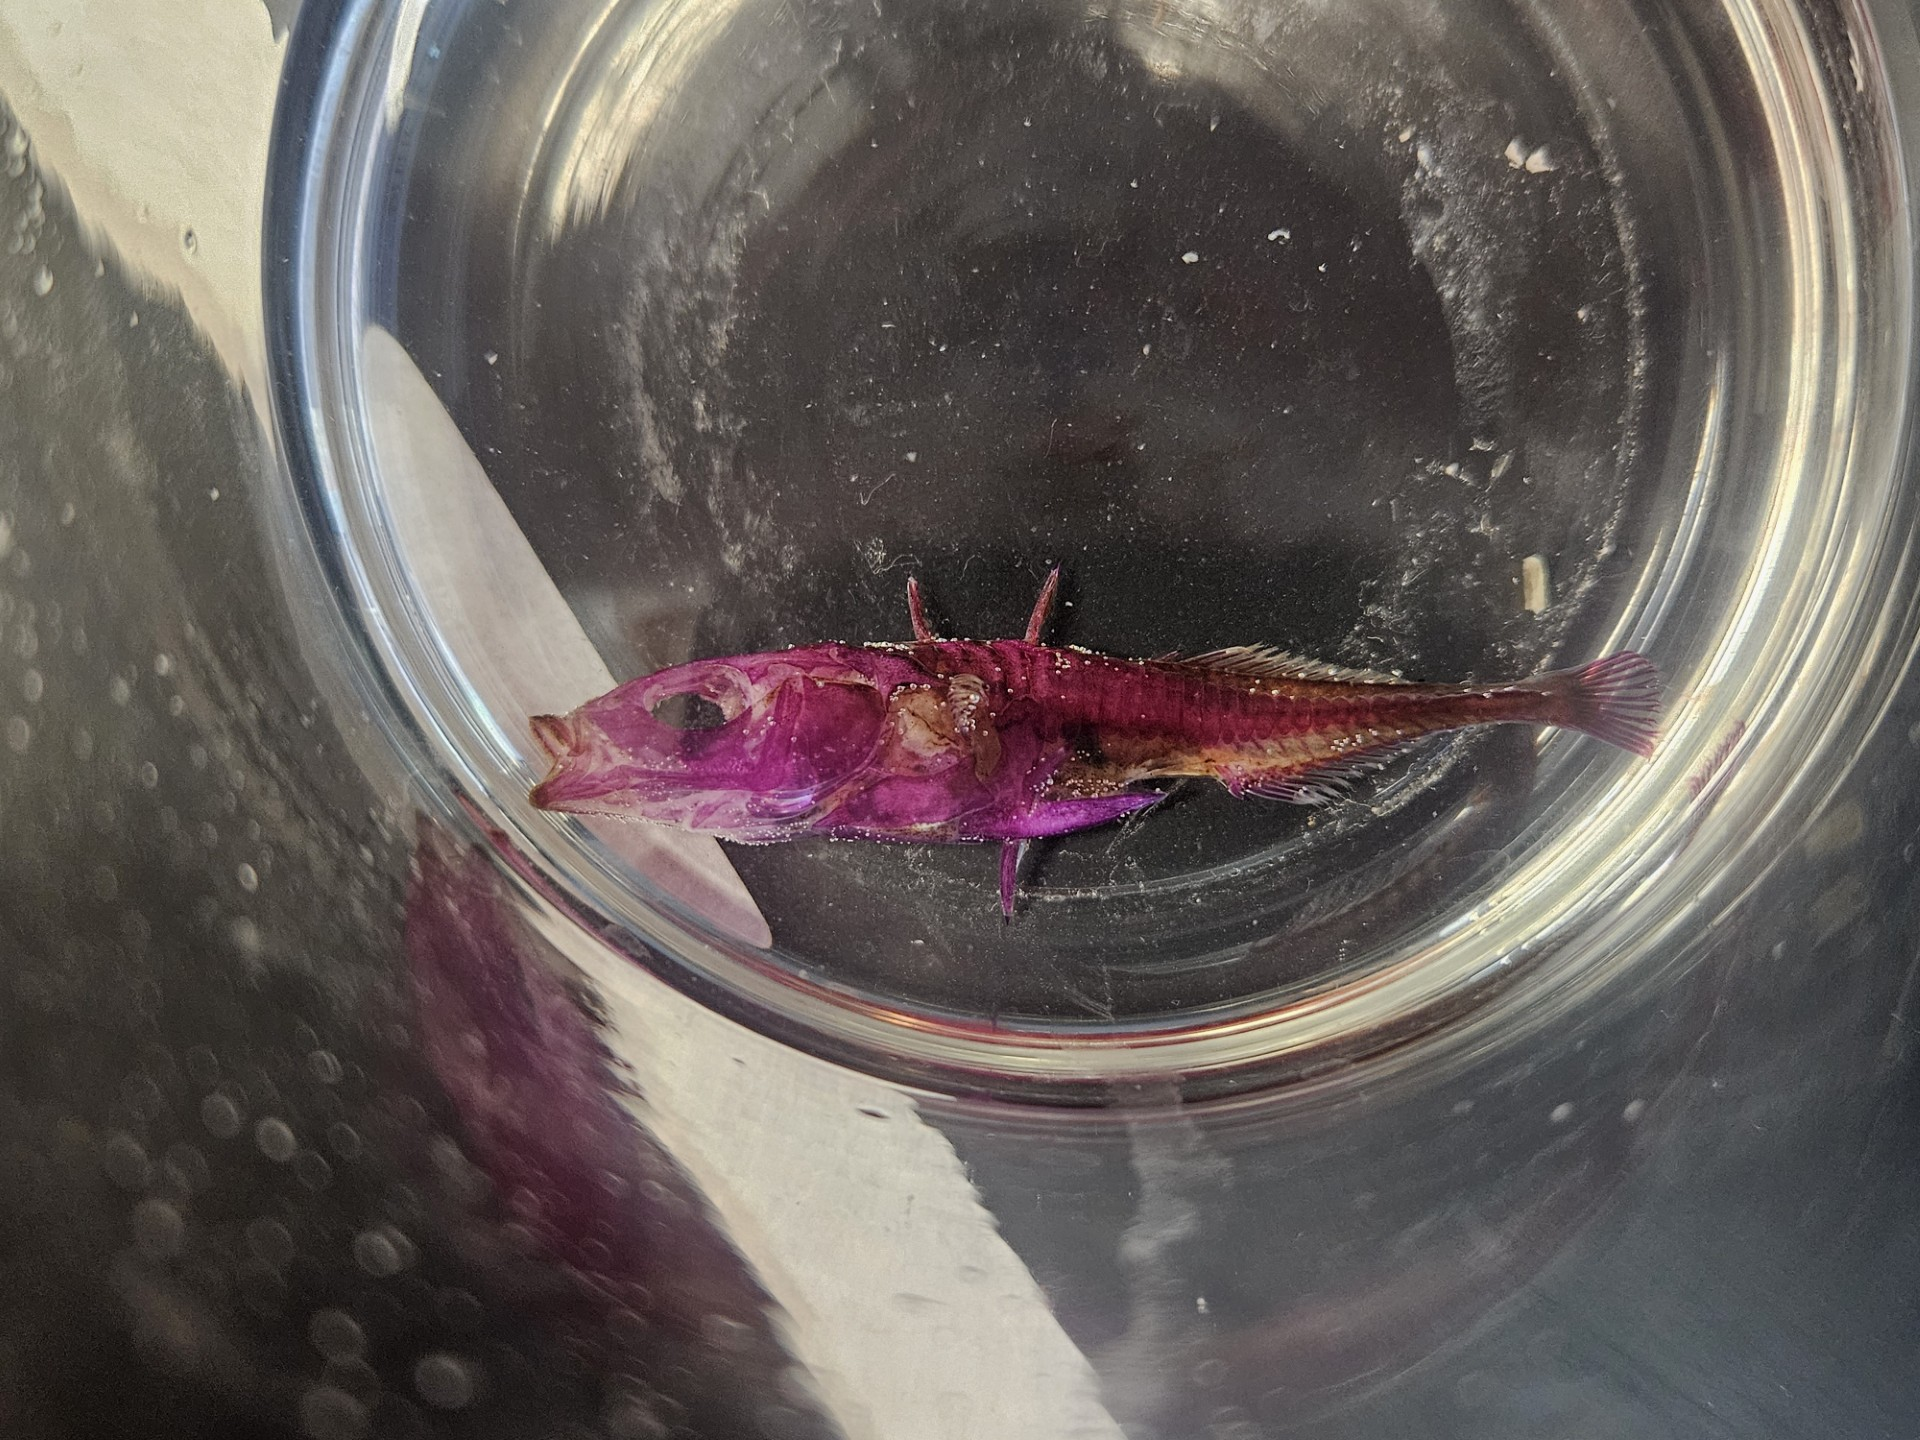
Vertebrate Clearing and Staining - 'VCaS' Protocol
Jacopo Niccolo Cerasoni, Yoel E. Stuart, Sidney E. Ryan, Kara Mia Ehler, Christina M Giudici, Emily Y. Hallett
Disclaimer
Note: This protocol was developed for use on all vertebrates. The examples included are only of fish (G. aculeatus, Threespine Stickleback), hence the language and terminology used (e.g. de-scale) are case specific.
Abstract
Small vertebrates can be stained and cleared using a trypsin enzyme, Alcian blue, and Alizarin red stains. The process is completed over several weeks and the final product allows clear viewing of internal structures including bone and cartilage. Cleared and stained vertebrate specimen can be used for educational or scientific purposes. Final products are stored in pure glycerin for an indefinite amount of time and can be viewed over a light box when needed.
Before start
Create an organized inventory of all specimens. Include relevant information to identify specimens (country, site, feature, level, etc.). Assign unique label codes to each specimen (e.g. SITE CODE/YEAR/ID NUMBER). Prepare and print a suitable form for recording observations during protocol.
Steps
Preparation of specimen
De-gut and de-scale/skin (optional, but recommended)
These processes should not be carried out if the specimen are too fragile or if either of the two features are of interest to the study.

If the specimen is stored in solution (e.g. formaldehyde, ethanol, isopropyl alcohol, etc.), rinse the specimen by draining the fluid according to the chemical-specific laboratory waste requirements.
Rinse the specimen by gently adding and pouring out
Label sterile containers with sample or identification assigned to specimen.
Remove the specimen and place into a clean plastic or glass container large enough for the specimen to be completely submerged and flat on its side.
If cartilage staining is desired, go to Step 4 . If only the bone structure is of interest, skip to Step 5 and start the clearing process.
Cartilage Staining *Optional*
This step is used to stain cartilage. Cartilage is stained with
Place the specimen into a solution of 800 ml of 95%
Remove from solution when it reaches desired staining (i.e. desired intensity of blue color).
After staining, dispose of the used Alcian solution according to laboratory waste requirements or return to a container for reuse. Specimen should then be gently rinsed using water to remove any extra stain.
Place the specimen into a clean plastic or glass container large enough to completely submerge specimen during clearing.
Enzyme Bleaching
Trypsin enzyme is used to begin the clearing process by breaking down (bleaching) proteins in the flesh of the specimen. This allows for viewing of internal structures.
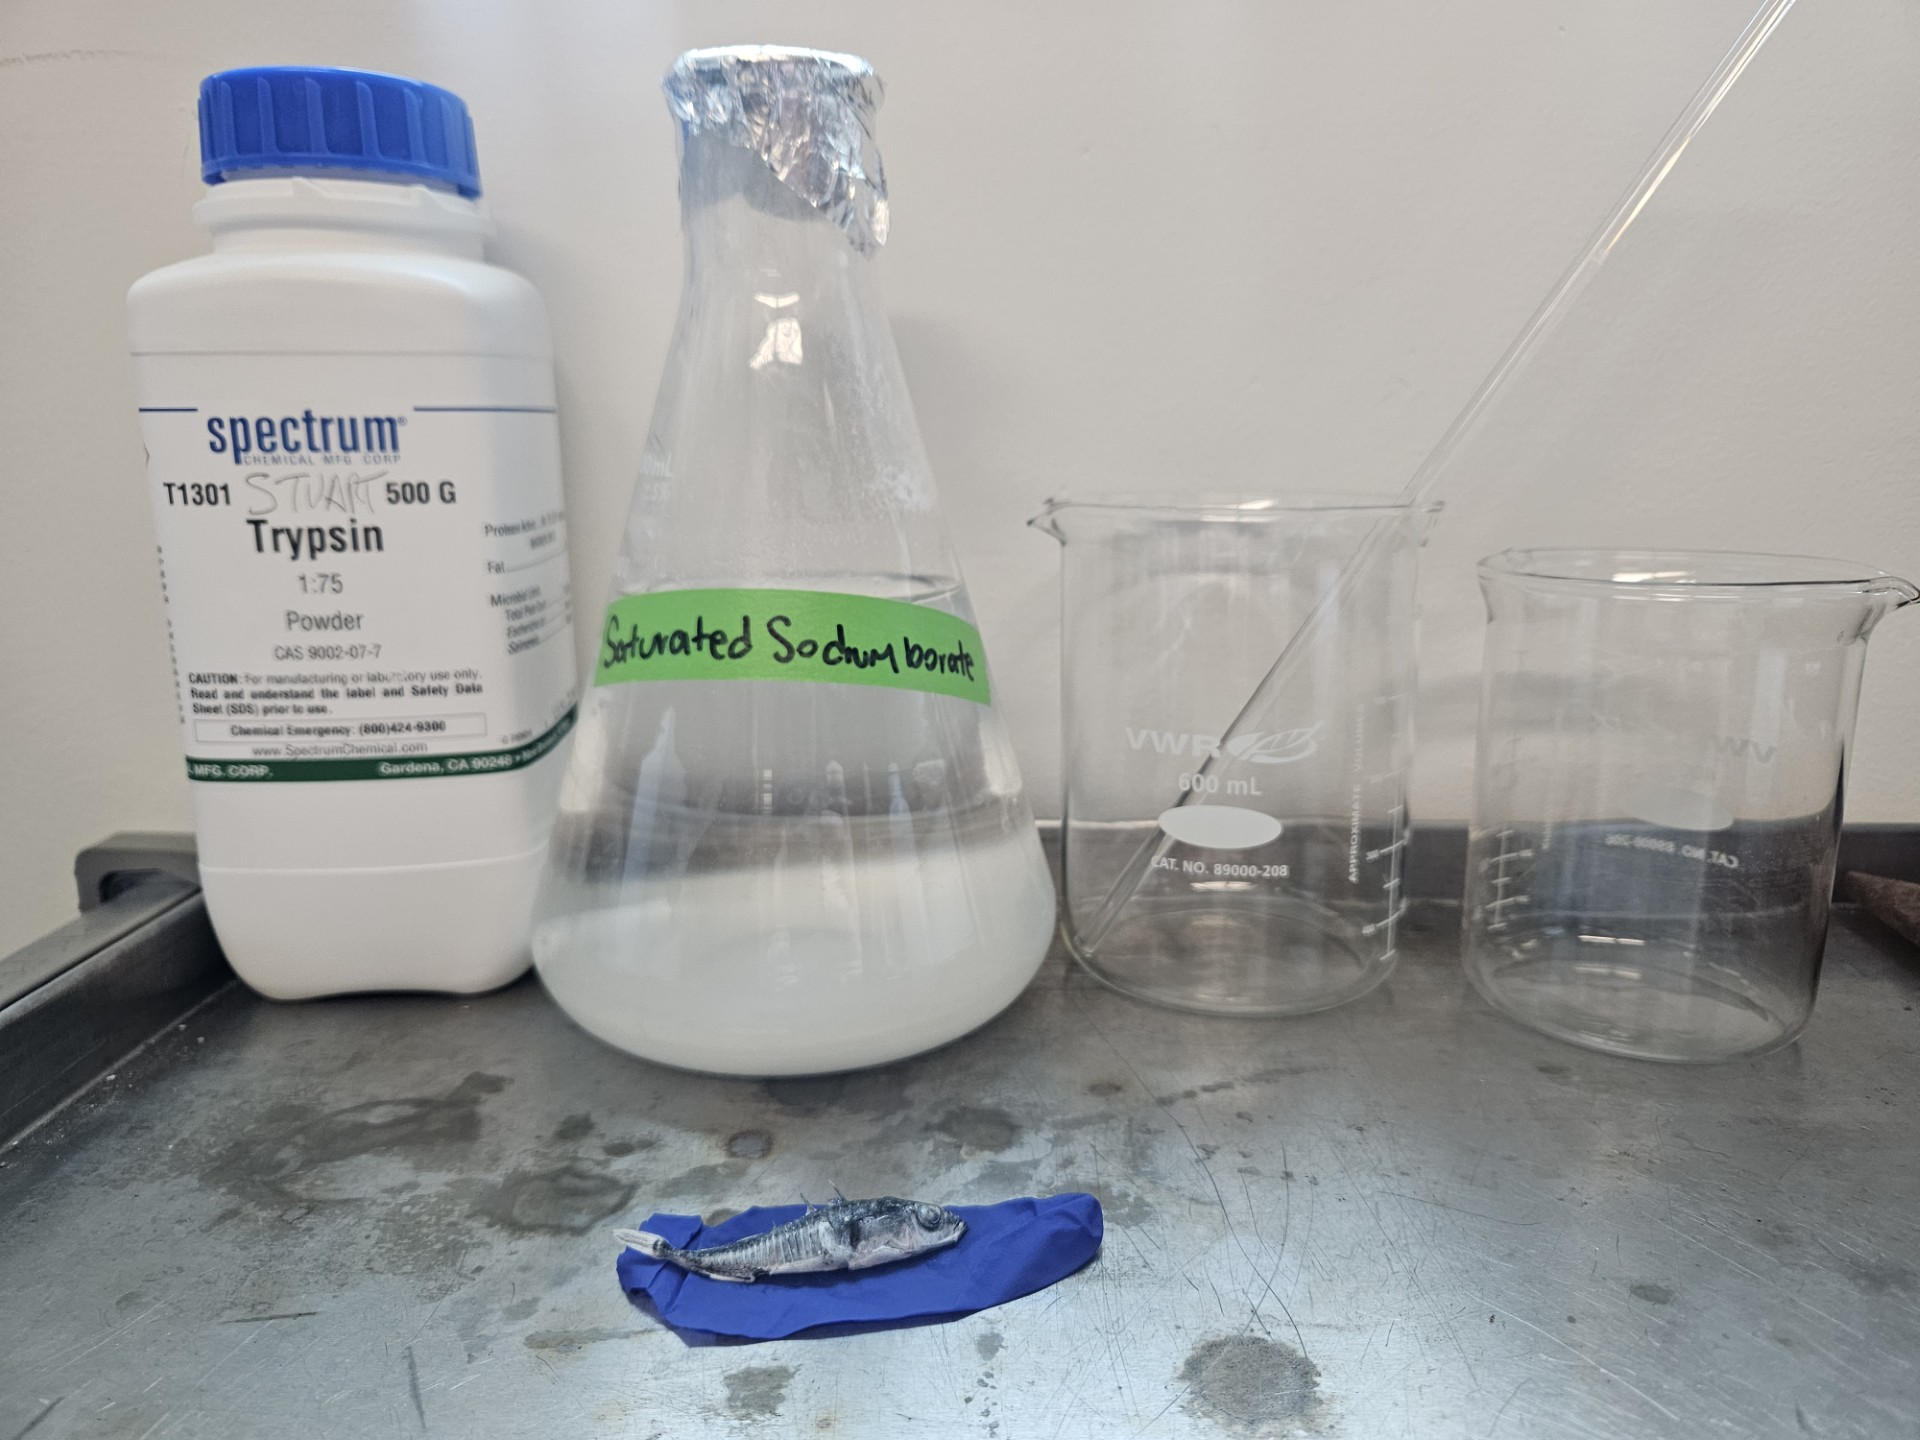
To begin the clearing process, mix 3:7 ratio of saturated
In the same beaker, mix the sodium borate solution with Trypsin. Mix with a ratio of approximately 50g of
The solution will run out of active Trypsin every two to three days depending on the amount used. Completely replace mixture, including both sodium borate solution and trypsin powder as needed. When swapping out the solutions, try to keep specimen as stagnant as possible. This can be done by gently pouring out solution while holding specimen in place with plastic spoon or other non-metal object.
After processes are complete, remove the specimen from the final solution and dispose of the used Trypsin solution. Specimen should then be gently rinsed using
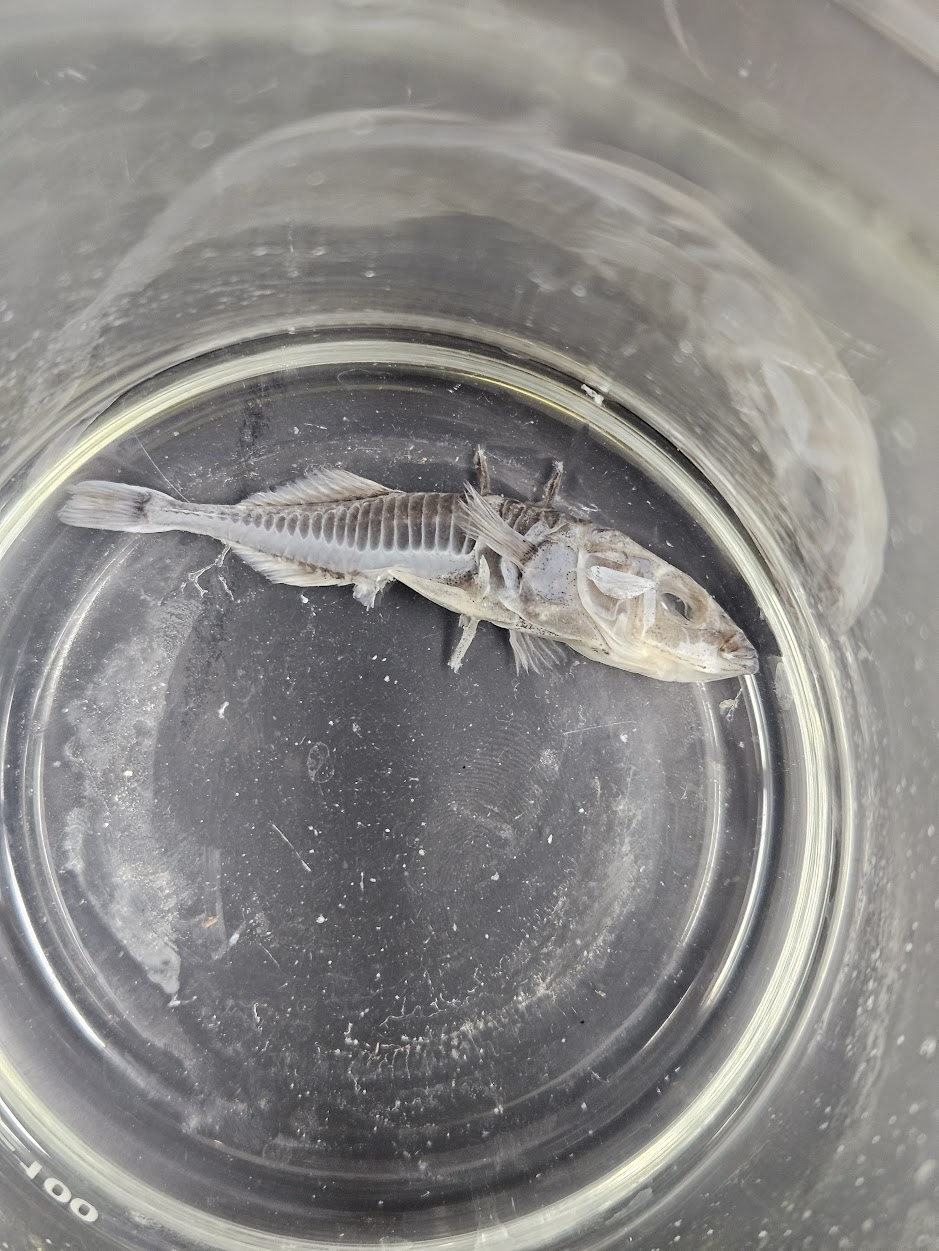
Hydrogen Peroxide Bleaching
Prepare hydrogen peroxide solution.
To do so, combine 150mL of
Place specimen in hydrogen peroxide solution for no more than 24 hours to prevent decomposition.
Remove specimen from hydrogen peroxide solution and rinse with
The specimen is now ready for staining.
Red Staining
Prepare Alizarin red solution.
To do so, a 0.5%
Once 0.5%
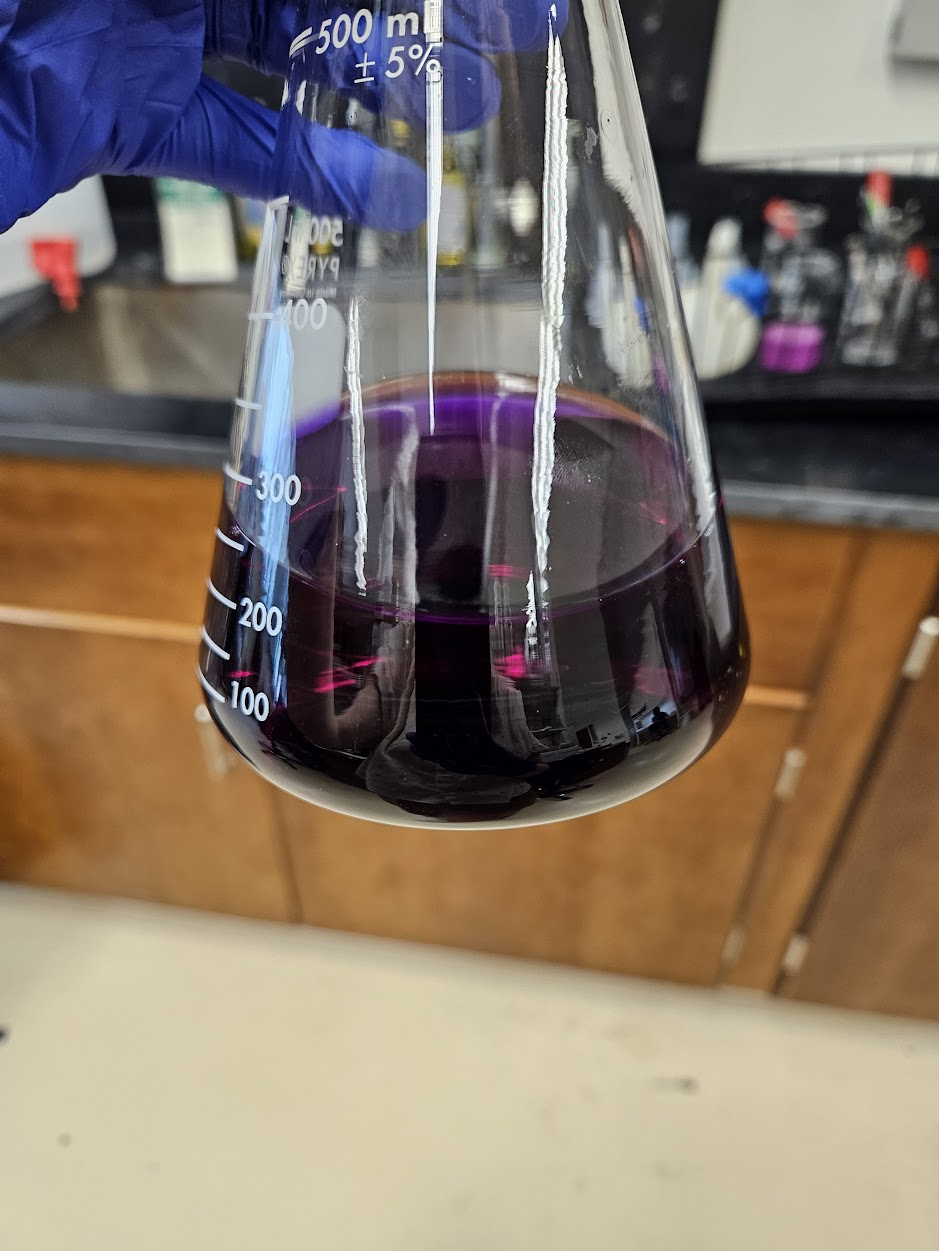
Place specimen in the Alizarin red solution and watch closely for change in hue. Remove from container once specimen has reached desired saturation.
Glycerin Clearing
Take the specimen through three different concentrations (2:1, 1:1, 1:2) of
First, place the specimen into a 2:1
Carefully remove specimen from the first solution and place into a 1:1
Carefully remove specimen from the second solution and place into a 1:2
Carefully remove specimen from the third solution and place it into 100%
Final Product
The cleared and stained specimen can be preserved in a container of 100%
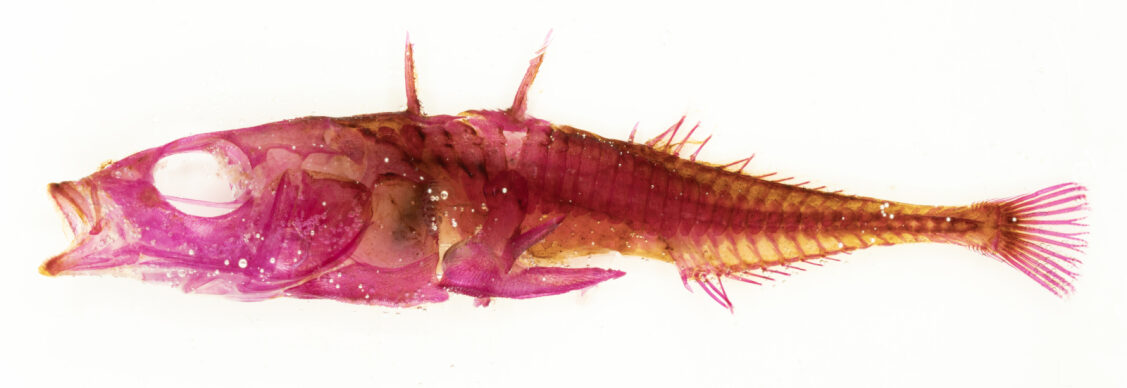
Optionally, a couple drops of
