Fluorescent in situ hybridization in sponge (Ephydatia muelleri) tissues with tyramide signal amplification
April Hill, Sally P Leys, Vanessa R Ho
fluorescence
in situ hybridization
molecular techniques
developmental biology
sponge
porifera
ephydatia
invertebrate biology
Abstract
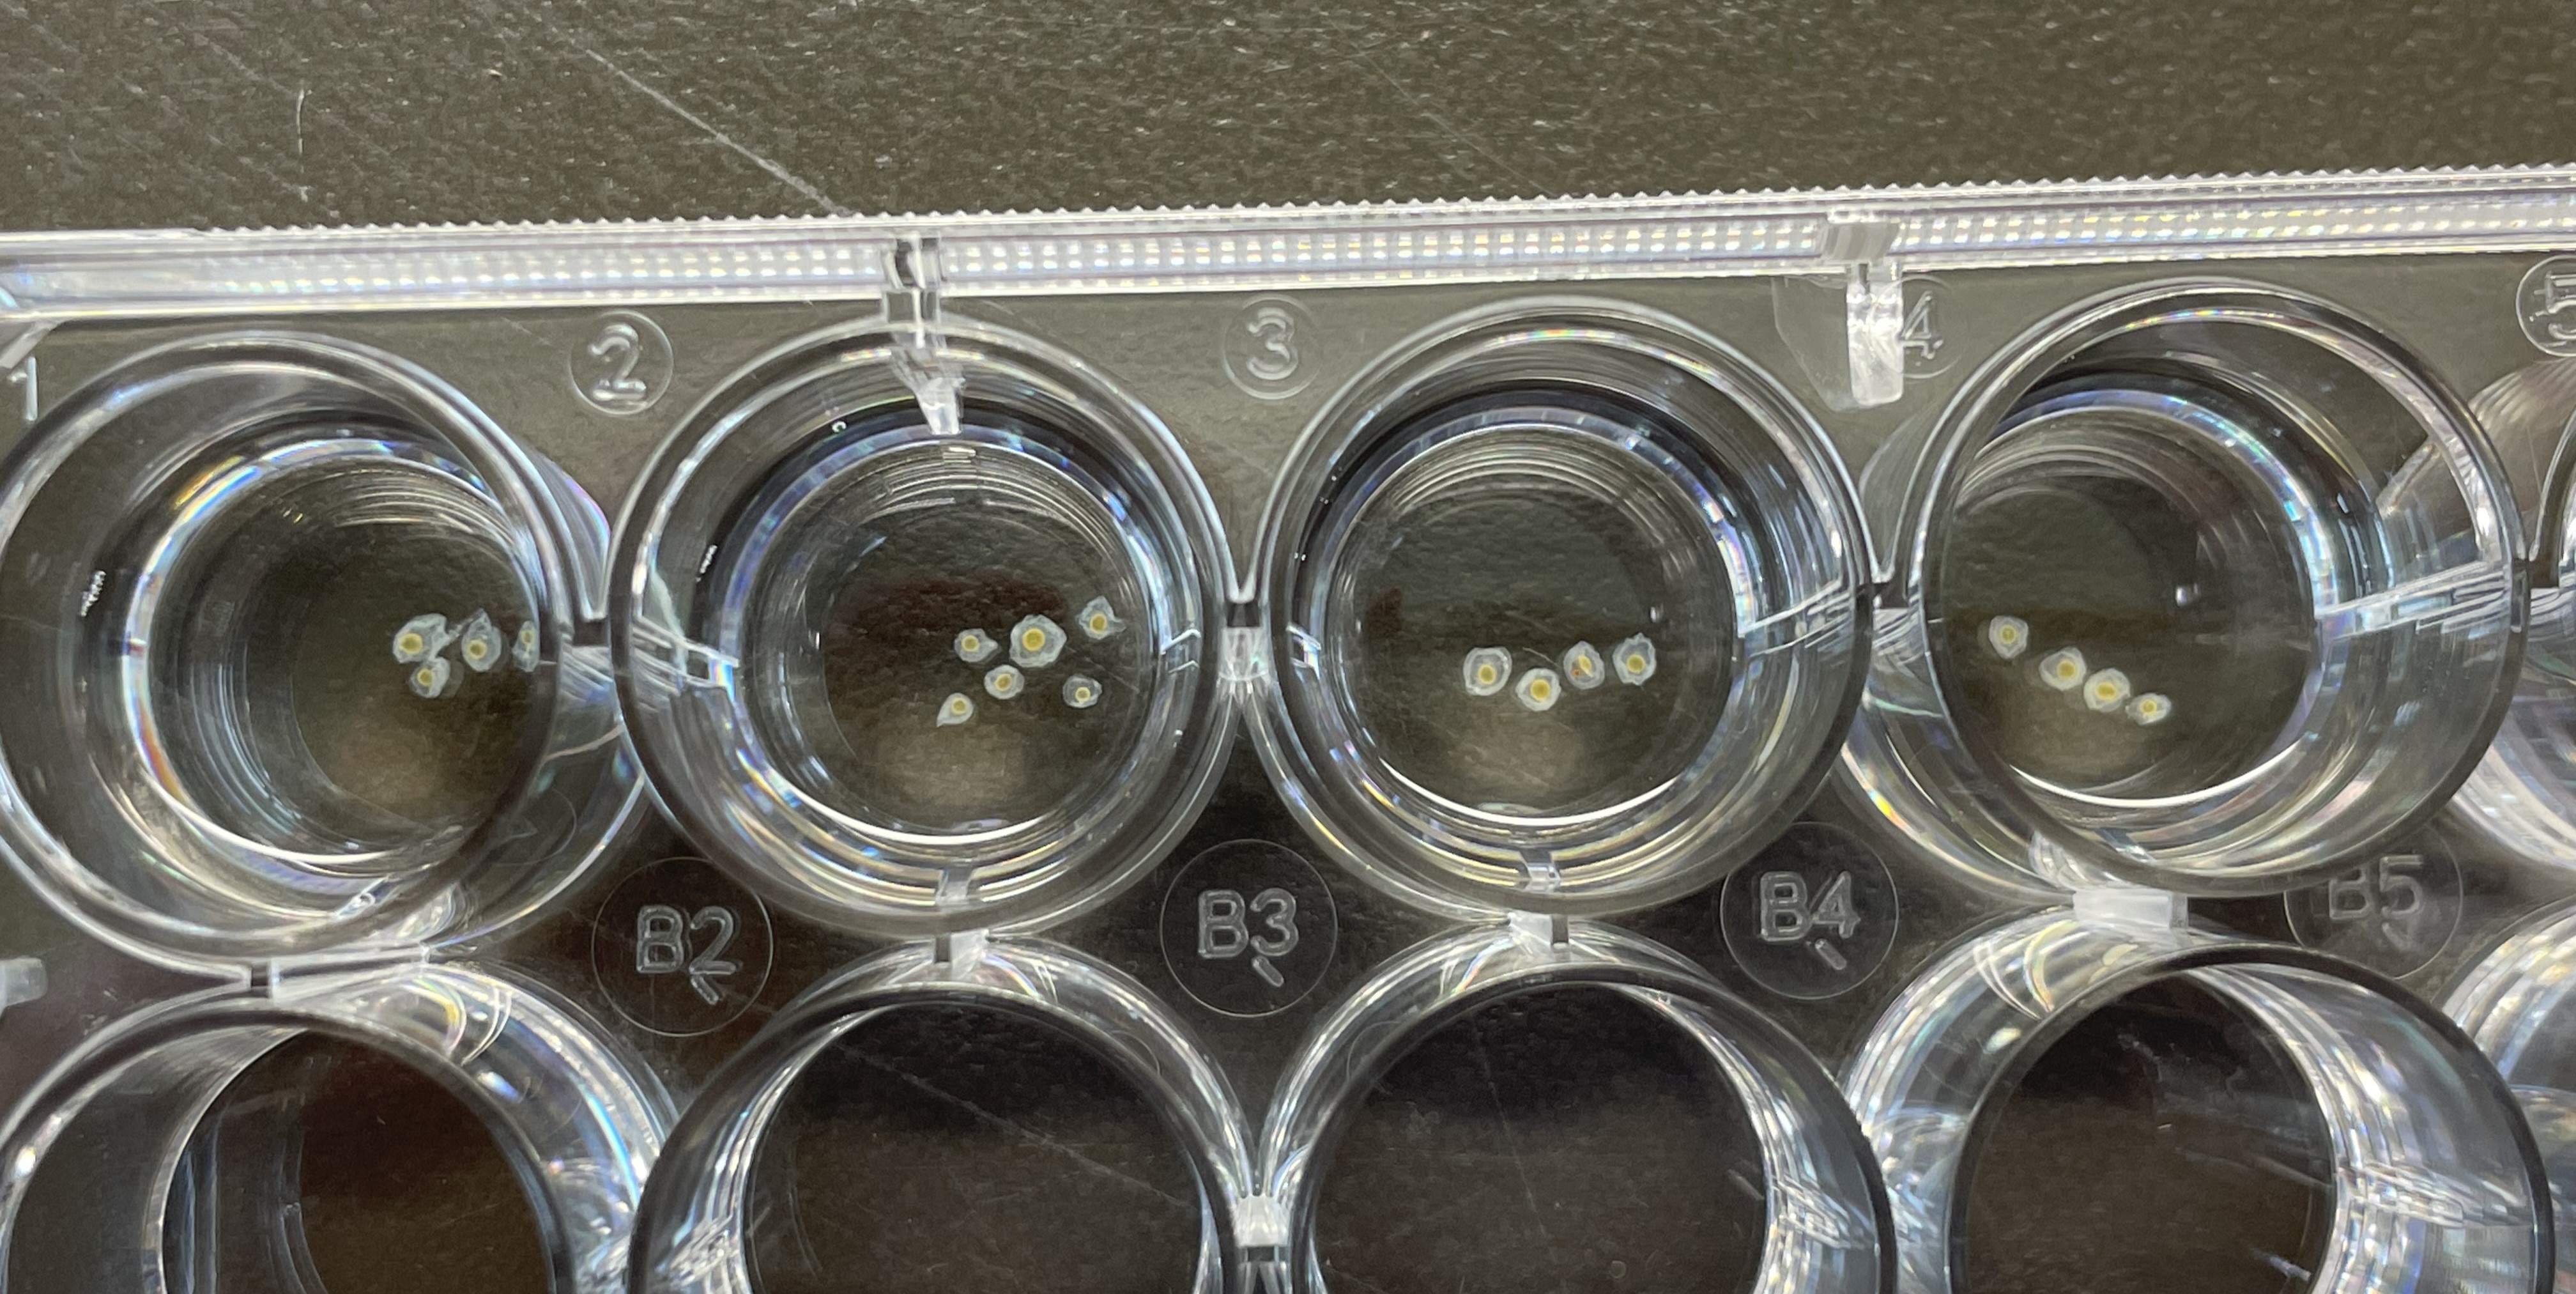
Cultured sponges such as Ephydatia muelleri (Demospongiae) have delicate tissues and are attached to coverslips, unlike many other tissue samples such as embryos that are typically free floating. This protocol also uses urea in place of formamide, which is not only safer, but is just as effective at reducing background signals and also improves signal detection.
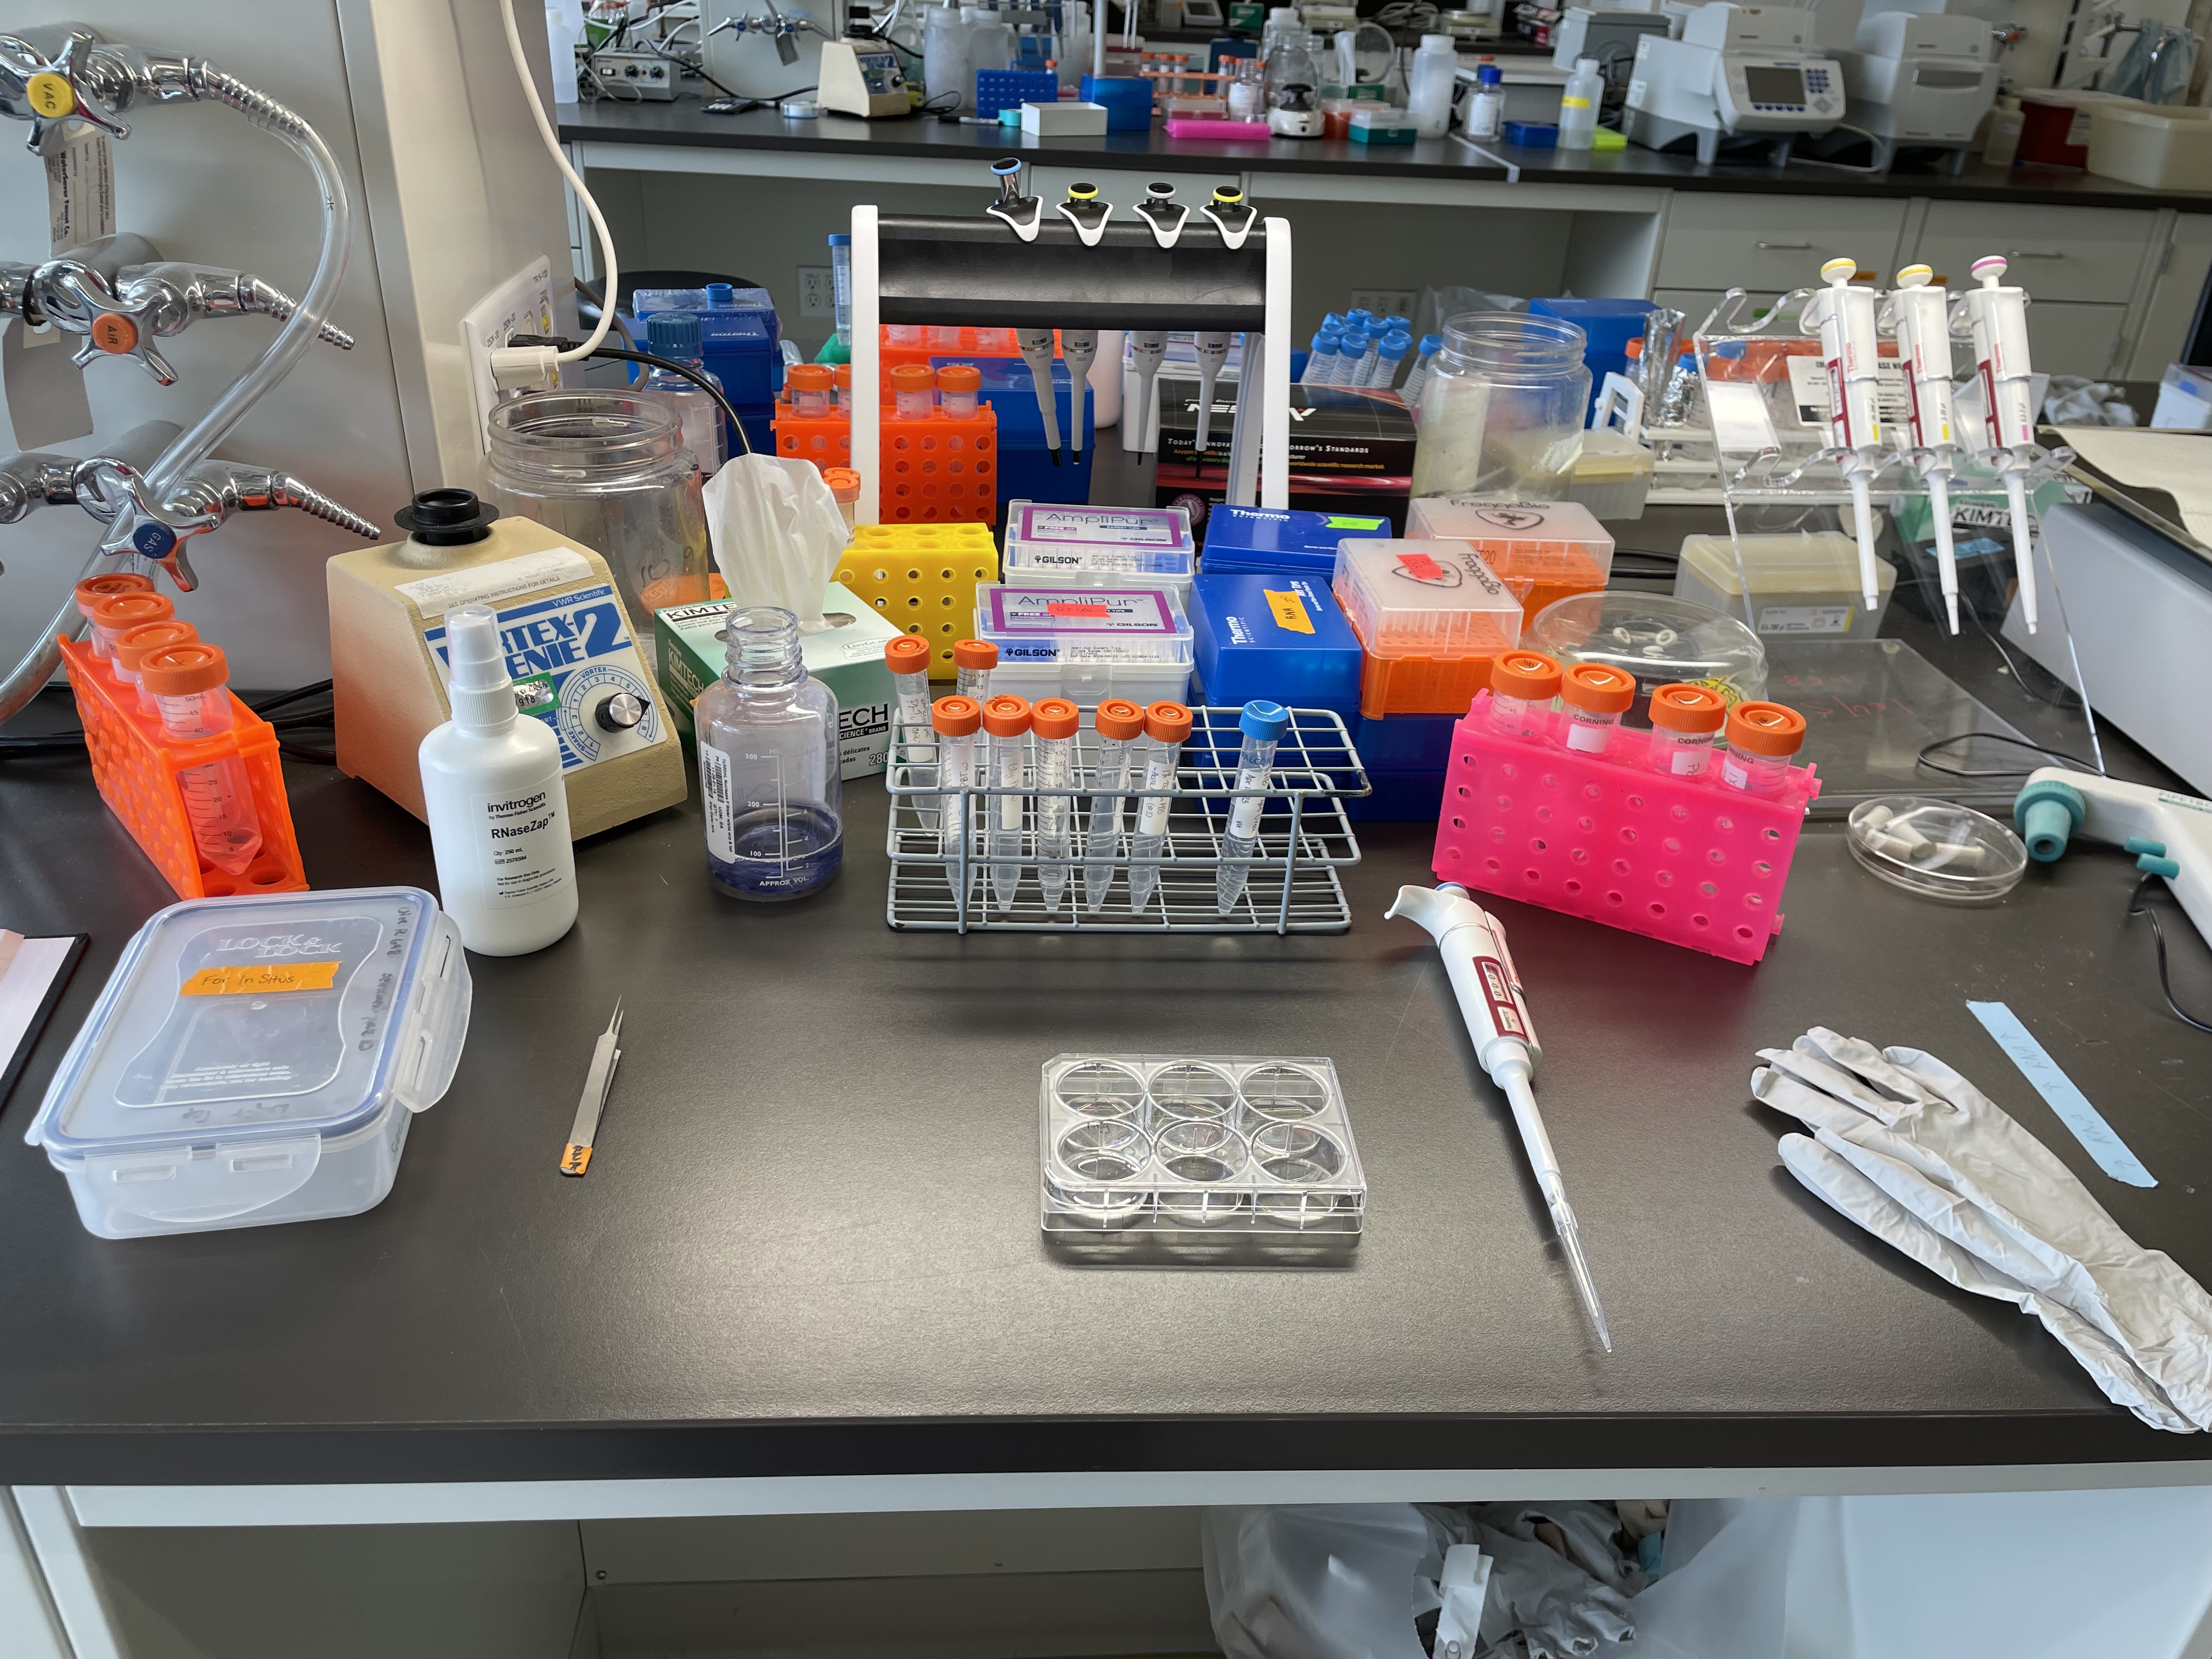
It is strongly recommended to have all the reagents prepared at least a day before they are needed. Large quantities of some solutions like PBS can be made at one time but some solutions such as the proteinase K solution are to be prepared fresh.
Steps
Tissue fixation and preparation
Fix sponges in 4% paraformaldehyde in 1:4 Holtfreter's solution (HS; diluted 1 in 4) overnight
Wash once in 1:4 HS
Dehydrate the tissues
- 25% ethanol (EtOH) and 75% 1:4 HS
- 50% EtOH and 50% 1:4 HS
- 75% EtOH and 25% 1:4 HS
- 100% EtOH
Dehydrated tissues can be stored at -80ºC until ready to use.
ISH Day 1a - tissue pre-treatment
Quench endogenous peroxidases 15 min with 2% H2O2 in EtOH
Rinse tissues
- PBS x2
- 2 min PBTw x3
1 min proteinase K digestion
Wash with Gly:PBTw solution x2 to stop digestion
Acetylation
- 1% TEA:PBS x2 (Tube #1)
- 1% TEA:PBS + acetic anhydride (Tube #2) - 3 μL acetic anhydride per 4 mL 1%TEA:PBS
- 1% TEA:PBS + acetic anhydride (Tube #3) - 6 μL acetic anhydride per 4 mL 1% TEA:PBS
Rinse with PBTw x2
Post-fix in 3.7% paraformaldehyde (PFH) + 0.3% gluteraldehyde, at least 1 h at room temperature (RT)
ISH Day 1b - pre-hybridization
Wash with PBTw x5
Wash with HB 10 min at RT
Replace HB with fresh, pre-heated (55°C) HB, pre-hybridize at 55°C 2-3 h
ISH Day 1b - probe preparation and hybridization
Dilute probe (we use 1:1000; 3 μL 50 ng/μL probe in a final volume of 3 mL HB)
- in labeled 1.5 mL Eppendorf tubes, add 3 μL probe to 0.97 mL pre-warmed (55°C) HB
- Make sure the lid is shut tight
Note
Probe template synthesized using gBlocks Gene Fragments (Integrated DNA Technologies)Reverse primer design includes T7 tail for RNA polymerase bindingPCR amplification of gBlocks using Phusion HF polymerasePCR thermocycler melting temp is 54ºC$$PCR clean up using MinElute column (Qiagen) according to manufacturer's instructionsRiboprobe synthesisMEGAscript T7 transcription kit (Thermo Fisher)DIG-labeling mix (Roche)LiCl2 precipitation and EtOH extraction
Immediately denature probe after adding to Eppendorf tube by boiling at 80°C for 10 min
- Replace the pre-hyb HB with 2 mL fresh, pre-warmed HB in the wells in the meantime
Quickly add probe (final well volume 3 mL)
Hybridize 16-72 h at 55°C

ISH Day 2 - post-hybridization stringency washes

Stringency washes - at 55°C
- 30 min fresh HB
- 20 min PHB1
- 20 min PHB2
- 20 min PHB3
- 20 min 2X SSC
Note
Preheat all solutionPHB1 - 75% PHB: 25% 2X SSC pH 7.0PHB2 - 50% PHB: 50% 2X SSC pH 7.0PHB3 - 25% PHB: 75% 2X SSC pH 7.0
Stringency washes at RT
- 50% 2X SSC: 50% MAB 10 min
- 100% MAB x3 (5 min)
Block 1 hr blocking buffer (bb) on rocker at RT
Incubate overnight in antibody (anti-DIG-POD) at 4°C on rocker
- Make the stock at 1:500 dilution in bb
- Replace half the bb in the well from the previous step with the anti-DIG-POD for final antibody dilution of 1:1000
ISH Day 3
Wash 20 min MAB x5
Wash 5 min TNT buffer x3
ISH Day 3 - signal development - photosensitive steps; keep dark
Incubate in 250 μL 1:50 TSA Plus working solution 20 min at RT
Stop reaction
- Wash 5 min TNT buffer x3 on rocker
- Rinse with PBS
Incubate in Hoechst 33342 (1:1000) at 15 min RT for nuclear counterstaining
Rinse 5 min PBS X4
Mount and store tissue samples
- Clear tissues in Mowiol + DABCO anti-fade agent
- Mount on microscope slide
- Seal with nail polish and let dry
- Store at 4°C in the dark

Single flattened sponge mounted on a microscope slide. To secure the glass coverslip scrape a small fragment of plasticine with each corner of the coverslip and gently press onto the sponge, avoiding air bubbles and shifting the sponge around.


