Chromatographic separation of strontium in archaeological cremated remains for Thermal Ionisation Mass Spectrometry (TIMS) analysis
Lisette M. Kootker, Maura De Coster
Disclaimer
DISCLAIMER – FOR INFORMATIONAL PURPOSES ONLY; USE AT YOUR OWN RISK
The protocol content here is for informational purposes only and does not constitute legal, medical, clinical, or safety advice, or otherwise; content added to protocols.io is not peer reviewed and may not have undergone a formal approval of any kind. Information presented in this protocol should not substitute for independent professional judgment, advice, diagnosis, or treatment. Any action you take or refrain from taking using or relying upon the information presented here is strictly at your own risk. You agree that neither the Company nor any of the authors, contributors, administrators, or anyone else associated with protocols.io, can be held responsible for your use of the information contained in or linked to this protocol or any of our Sites/Apps and Services.
Abstract
This protocol describes in great detail all the steps that must be taken for strontium isotope analysis on archaeological cremated remains, from the receipt of the samples to the deposition of the data generated by Thermal Ionisation Mass Spectrometry (TIMS).
Steps
Cleaning and leaching
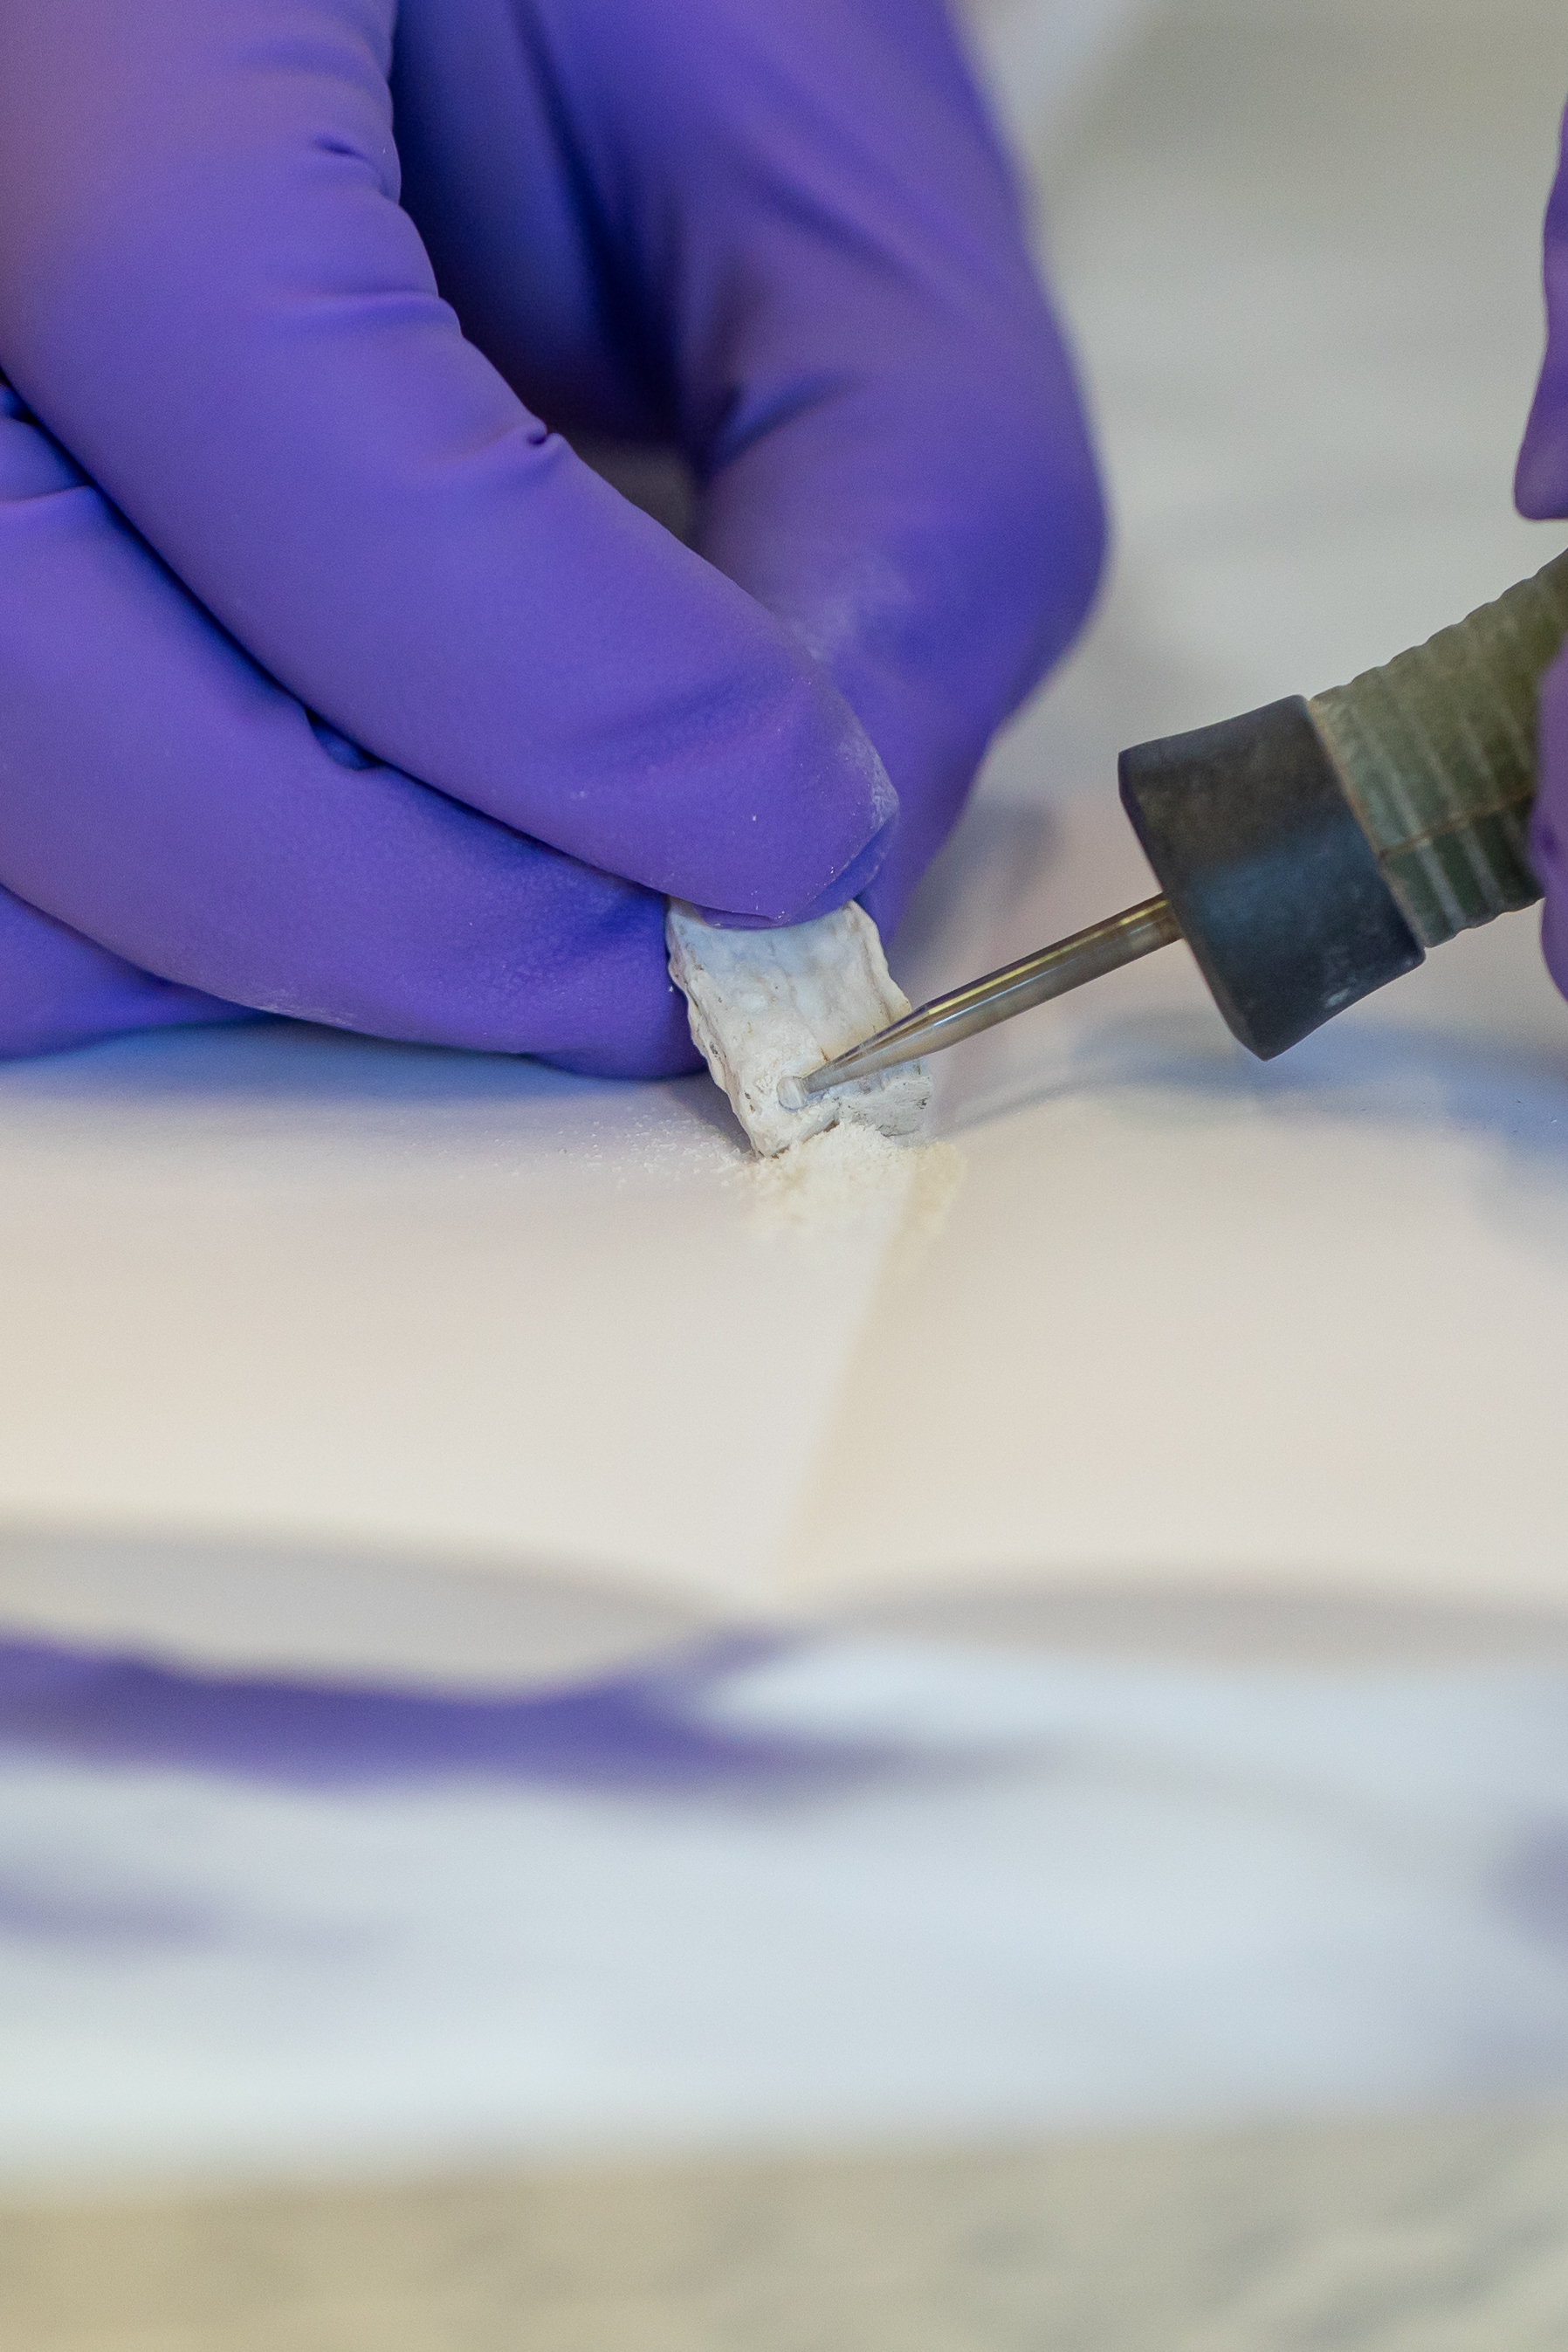
Mechanically clean the cremated bone samples using a handheld drill (e.g., PROXXON or Dremel) to remove the outer layer of the bone, so all soil residue is removed. If present, also remove all of the trabecular bone (but see De Coster et al. 2024 paragraph 4.1).
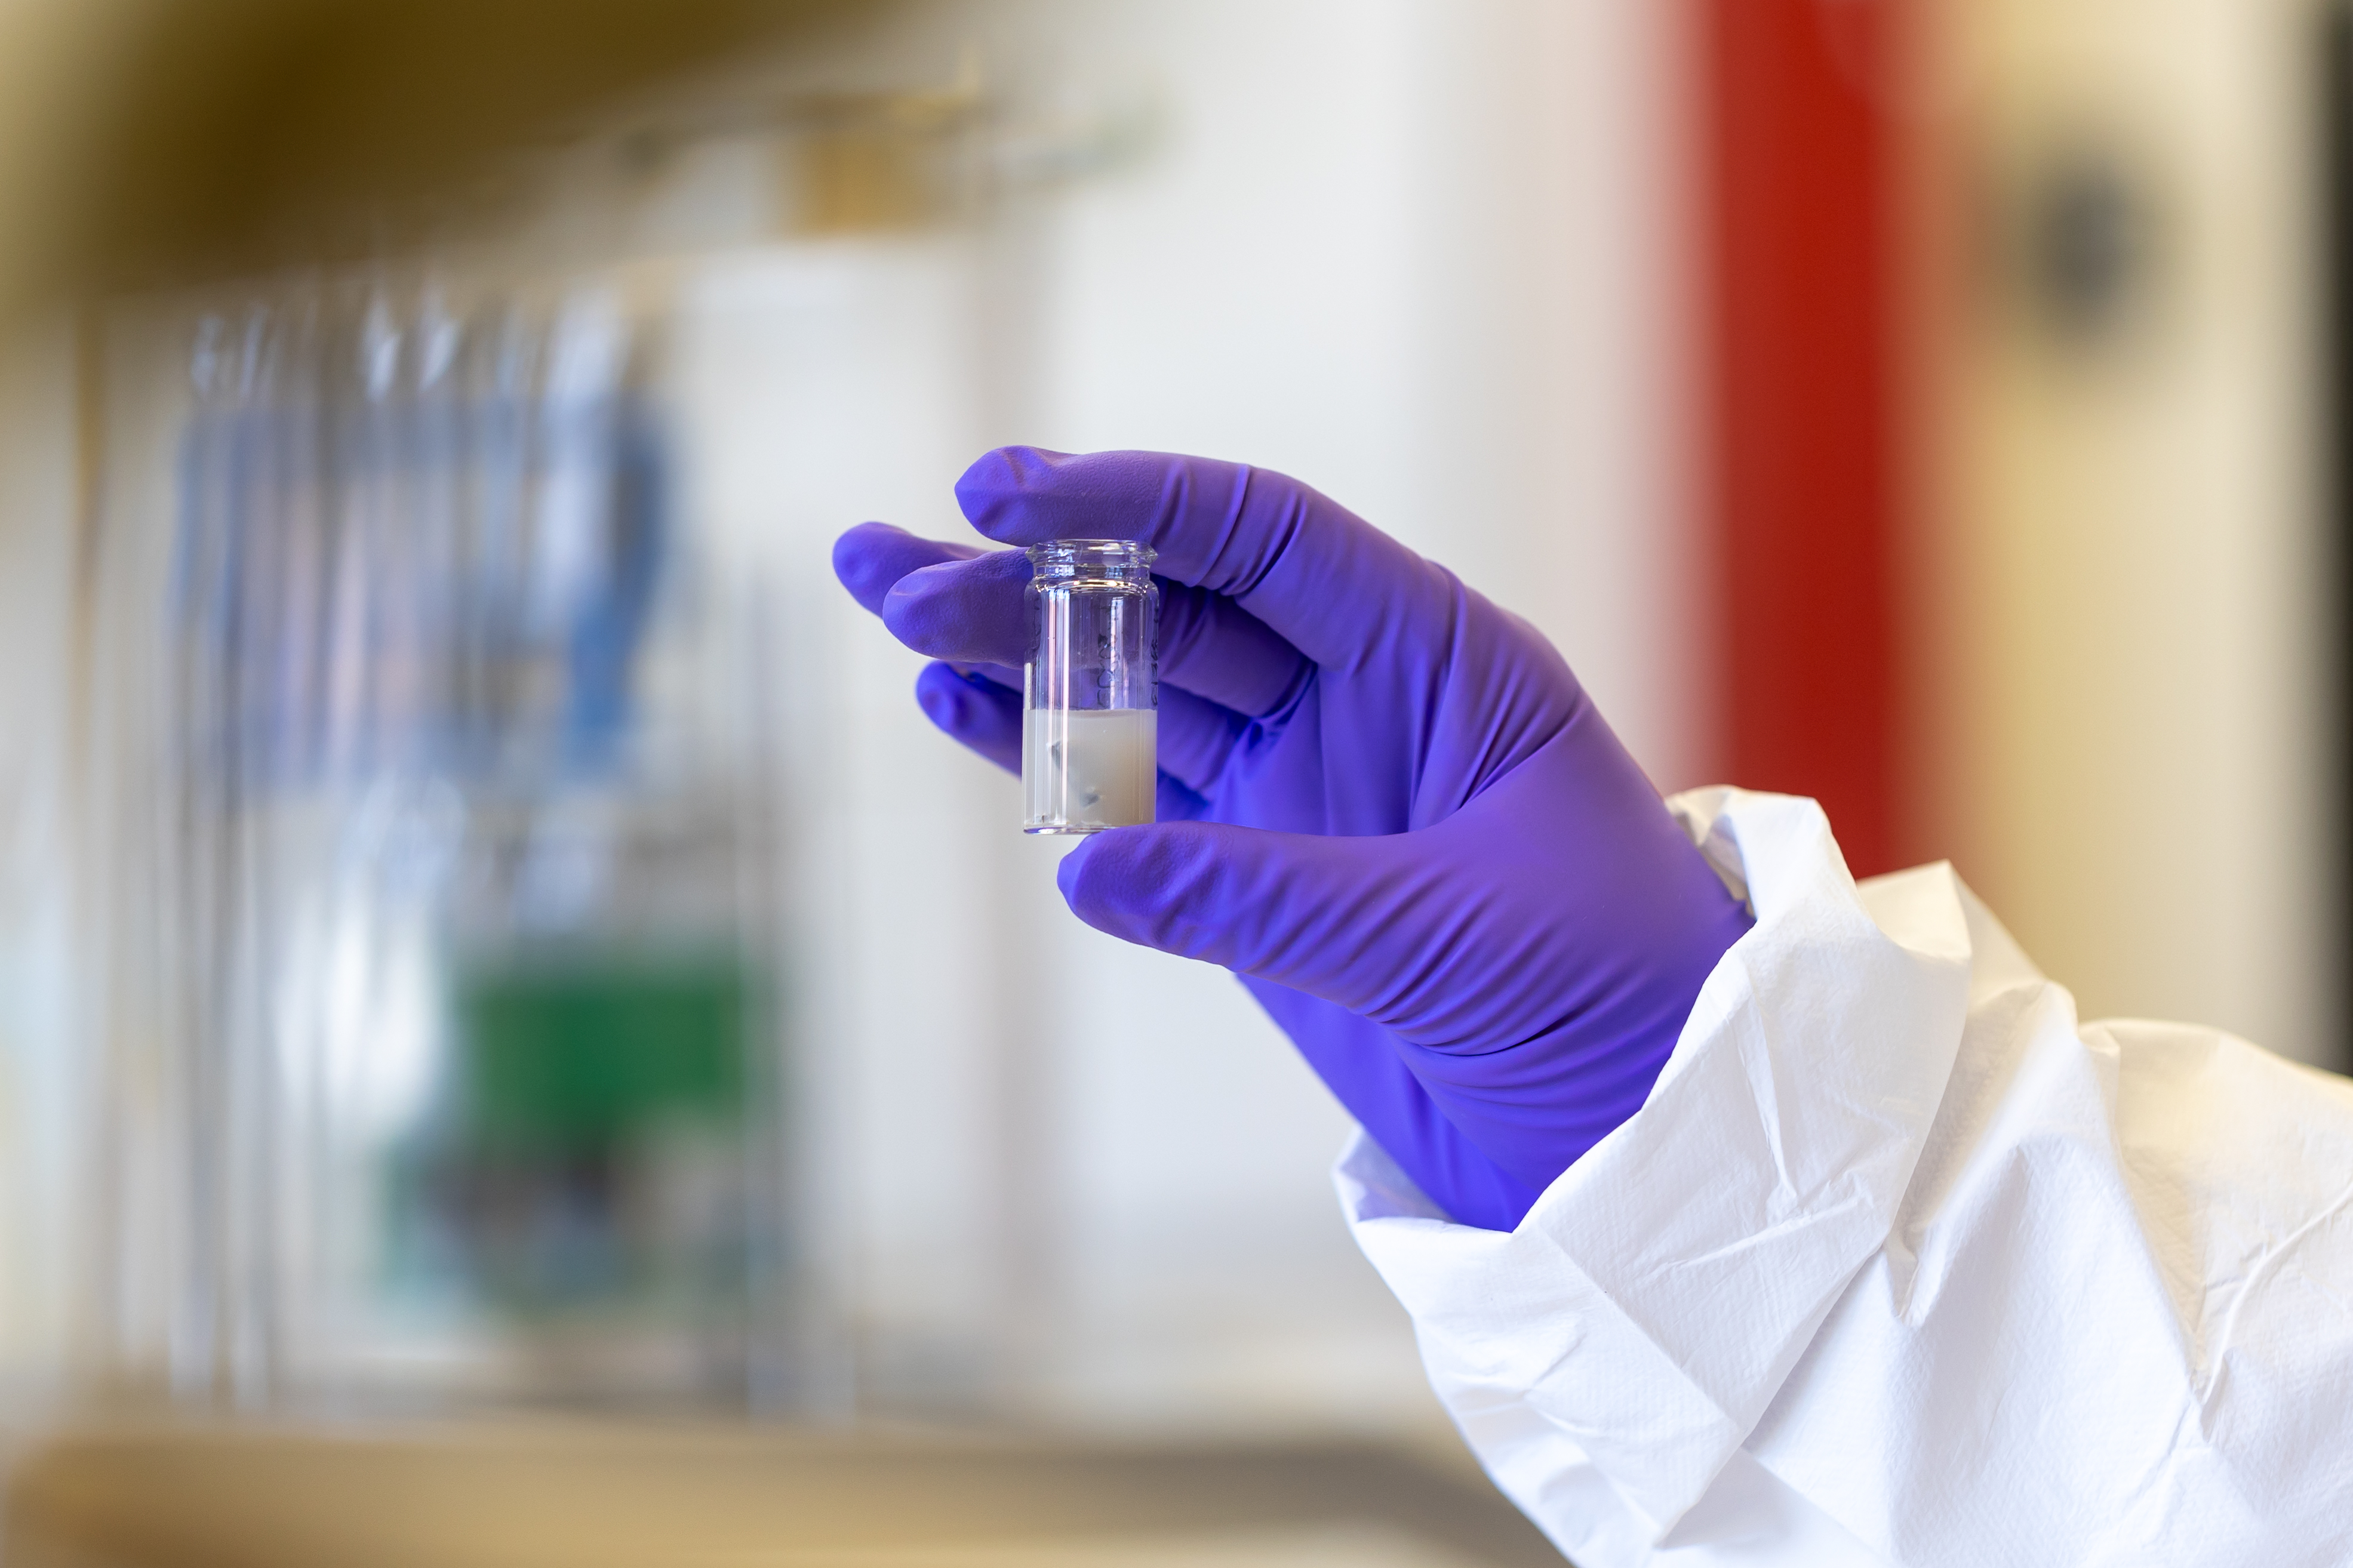
Next, following the protocol described in Snoeck et al., 2015,2018 transfer the cleaned bone fragments to glass vials and leach them with circa 1.0mL(10:1 ratio) 1Molarity (M)0h 3m 0s- 0h 10m 0s, followed by two Milli-QTM rinses, and a 0h 10m 0s Milli-QTM ultrasonic wash. Repeat these steps until the Milli-QTM in the glass vials are clear or show a white cloudy color. Dry the samples on a hotplate at 50°C 0h 10m 0s.

If Pars petrosae were sampled, cut them midmodiolarly using a Buehler IsoMet 1000 precision saw (Veselka et al. 2021). Locate the otic capsule and subsample in acid-cleaned Eppendorf® tubes approximately 10mg of bone powder with a handheld drill (e.g., PROXXON or Dremel) and transfer the samples to a clean laboratory. Here, follow the protocol described in step 1.
Subsampling
After drying the samples on the hotplates the samples, subsample ca. 10-20mg using a handheld drill (e.g., PROXXON or Dremel) equipped with a diamond tipped ball burr. The bone should be fully white after the mechanical cleaning. Any grey or black bones are not suitable for Sr isotope analysis. Therefore, exclude the discolored samples from further analysis. However, if only parts of the bone are not fully calcined/white, specifically target the white surfaces.

Sample dissolution
Weigh 2-10mg of cremated bone powder into an acid-cleaned Eppendorf® centrifuge tube. Note down the weights in gram. Next, add 600µL of pro-analysis quality 3M HNO3. Bone powder will dissolve within seconds in Room temperature. If small fragments of bone are sampled, place the Eppendorf® tube in an ultrasonic bath for ca. 0h 10m 0s to allow all enamel to dissolve. Next, centrifuge the samples for 0h 3m 0s at 12000rpm.
Chromatographic separation
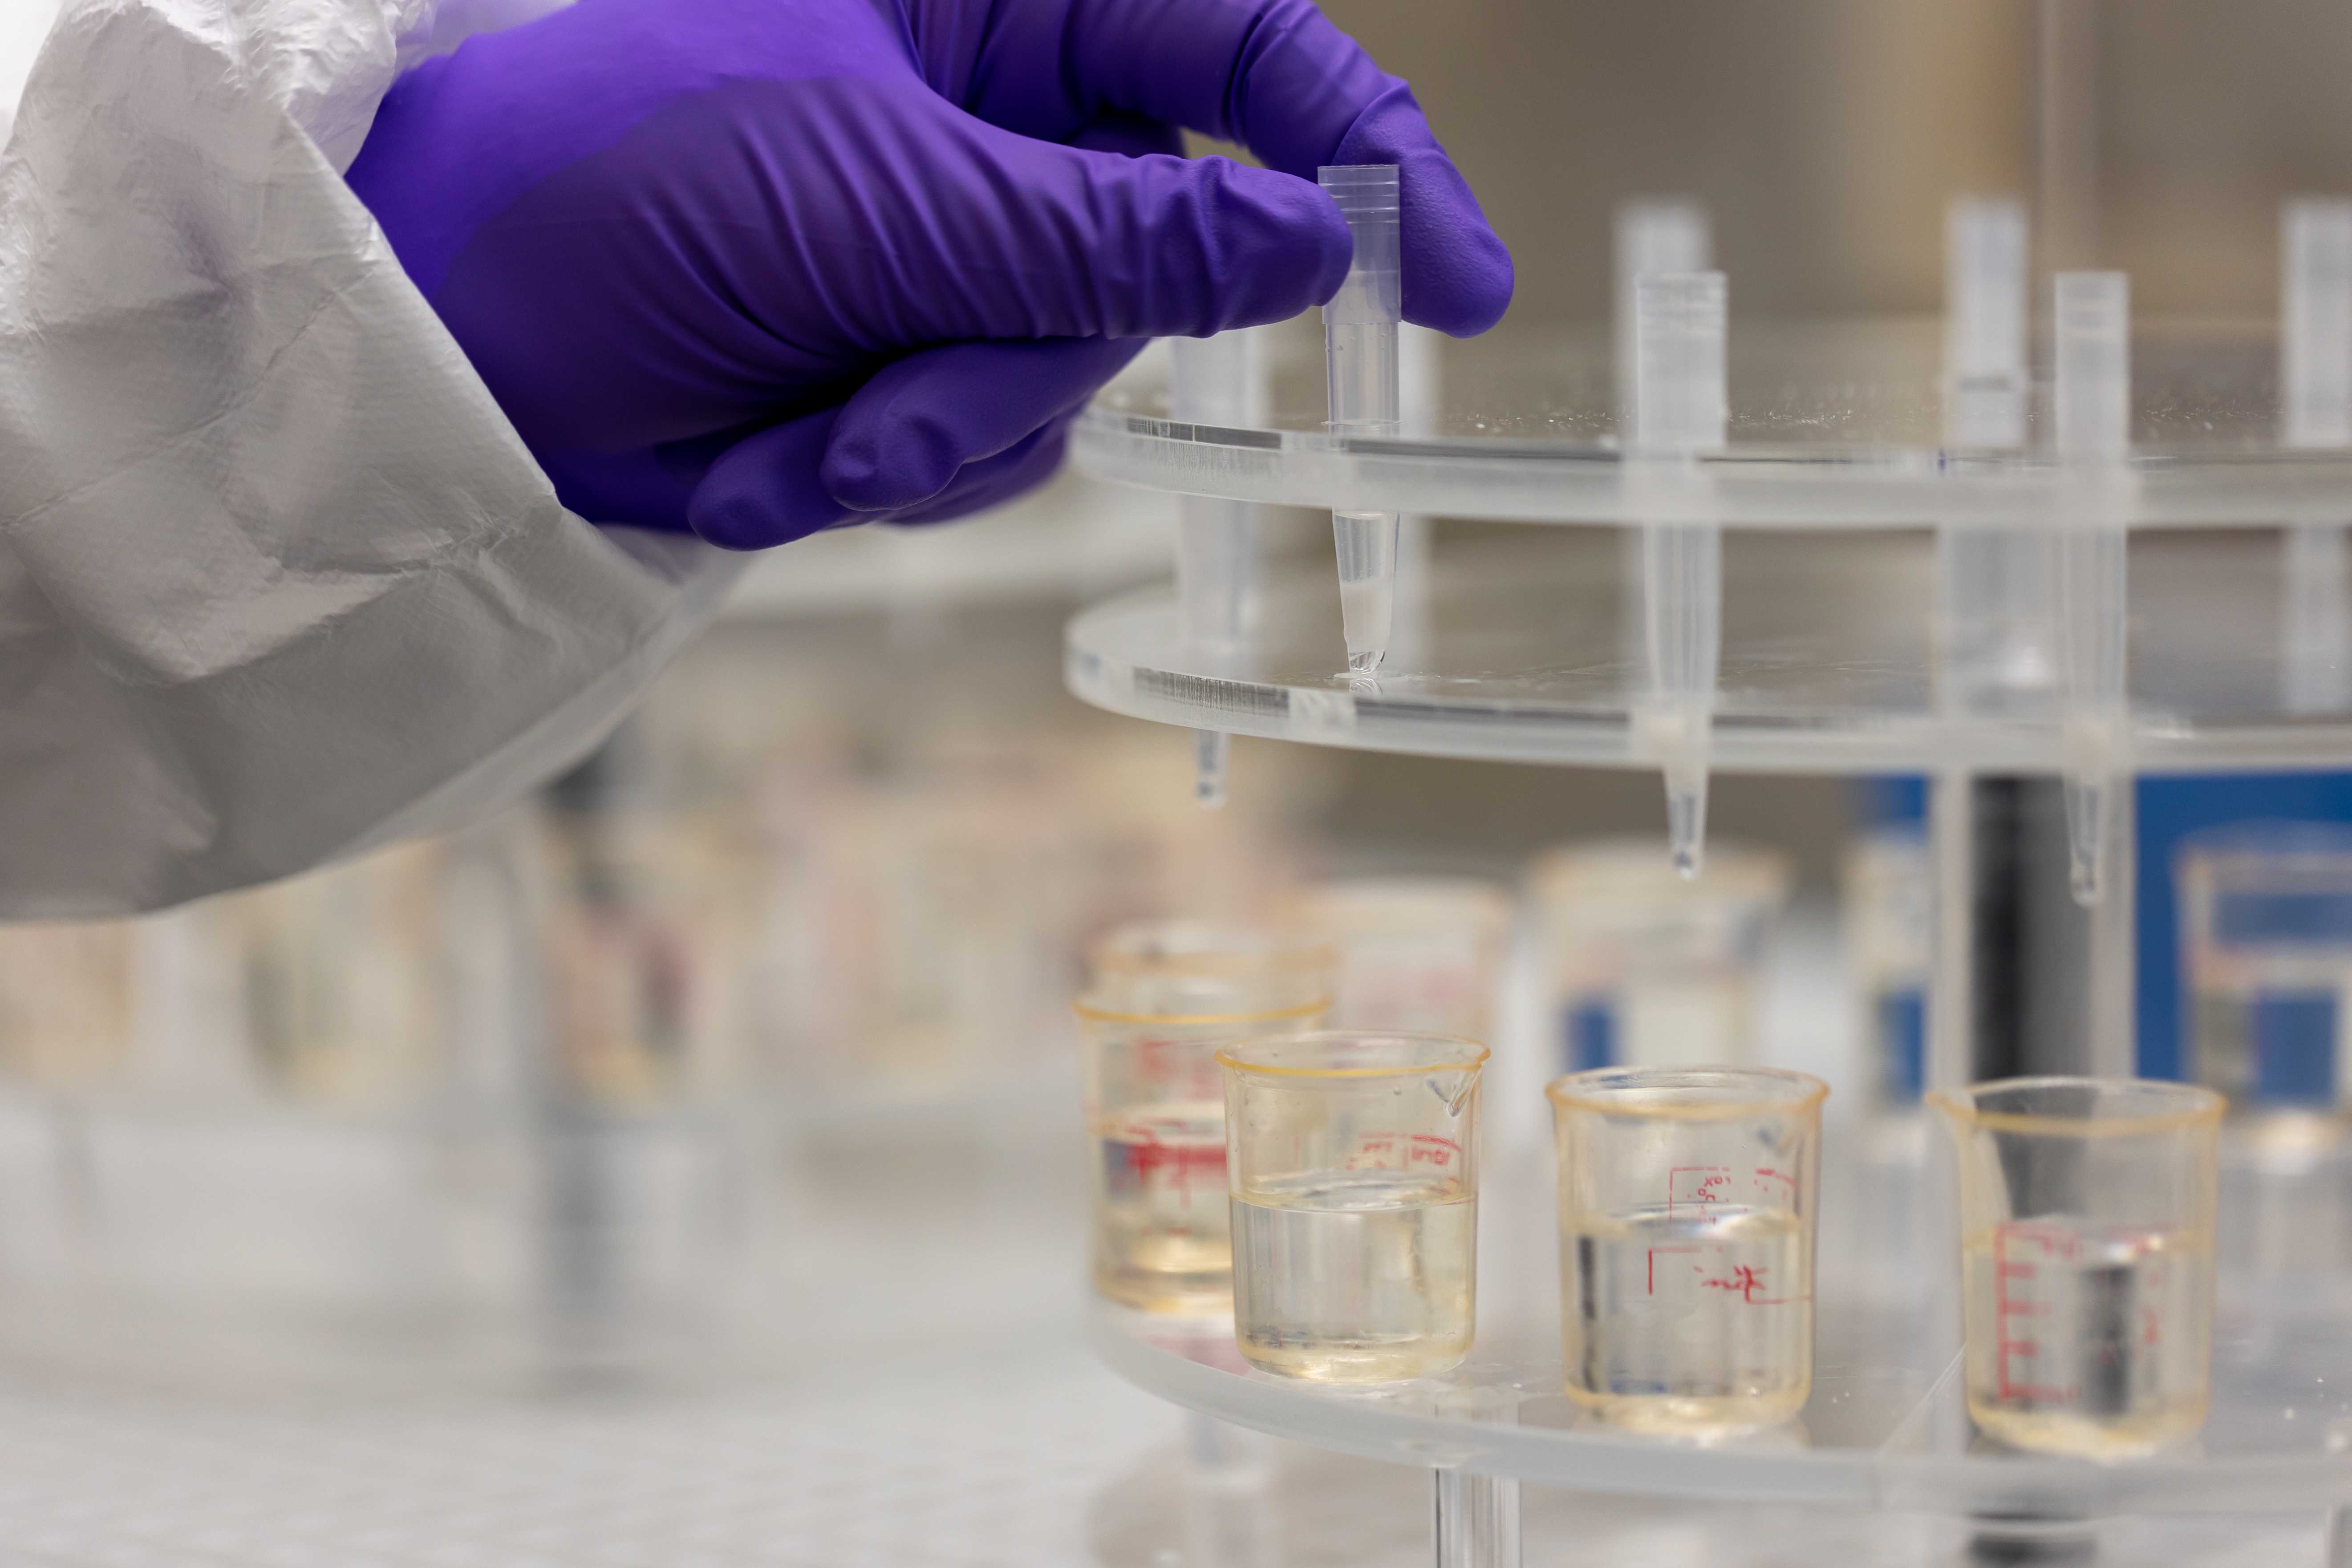
Separate Sr from the matrix using in-house made Sr columns made from 1.5 ml pipette tips and using a 3.5 mm PE frit (Angst and Pfister, h = 2 mm, porosity 35 μm).
The columns are stored in pipette tip boxes in ±3M HCl. Take out a column with a plastic tweezer, tap the HCL out of the pipette tip and rinse 3 times with Milli-Q. Place the column in the rack and carefully fill with Milli-Q. Add 80µL Sr resin (120µLin slurry (0.2M HNO3), Eichrom Technologies, 100–150 μm mesh).

Clean the columns using the following steps:
1 CV ( c olumn v olume) 3M HNO3
1 CV Milli-Q
1 CV 3M HNO3
1 CV Milli-Q
Condition the columns by adding 500µL 3M HNO3.
Next, load 500µL of sample. The remaining 100 µl can be used for concentration measurements. Use a new, acid-cleaned pipette tip for every sample (see 4.2). Once the samples dripped through the columns, wash the samples twice with 900µL 3M HNO3. Replace the waste beakers containing the pre-fraction with acid-cleaned 5 or 7 ml PFA (Savillex) beakers (see 4.1). To elute the Sr, wash with 900µL Milli-Q. Add 0.07 to 0.11 gram (1-3 drops) of 84Sr spike to the blank(s). Add 1 drop 0.5% H3PO4 to the samples (and blanks and in-house standard if applicable).
Close the beakers and transfer them to a hotplate. Place the beakers and the caps on a hotplate at 120°C overnight. Once dry, nitrate with 4-6 drops of 14M (concentrated) HNO3. Dry the samples (and blanks and in-house standards if applicable) at 120°C.
Cleaning Teflon® PFA (high-purity Perfluoroalkoxy resin) laboratory equipment: sub-boil in pro-analysis quality 3M HNO3 and 6-7M HCl for 2 hours each in a fume cupboard. Rinse 3 times with Milli-Q between the baths. Add ca. 3 ml 6-7M HCl, close the caps and leave on a hotplate at 120°C for 2-5 days. Discard the acid, rinse 2 times with Milli-Q and store in a clean box.
Cleaning pipette tips: Fill a pipette box with pipette tips, leaving one slot empty. Fill the box with 500 ml of approximately 3M HCl and let it stand for about 5-10 days at Room temperature . Remove the acid and rinse three times with Milli-Q. Place on a hotplate at 60°C to dry.
TIMS preparation
Add 2µL 10% HNO3to the dried samples. Place the outgassed single annealed rhenium filaments in the dedicated holders and increase the current to 1.5 mA. Create little 'dams' with parafilm. Reduce the current to 0 mA. Pipette 2µL of TaCl5and 1µL of sample (50%, to allow for a rerun if needed) between the parafilm dams on the filament. Dry slowly at 1.0 mA. Once dry, gradually increase the current to 1.3 mA until the samples turn black, then to 1.6 mA to burn away the parafilm. Increase further to approximately 1.8-2.0 mA until the samples glow. Once they are bright red, immediately reduce the current to 0 mA and load the sample onto the turret.
Use a new, acid-cleaned pipette tip (see 4.2) for every sample.
Upload data
Upload the 87Sr/86Sr data as a dataset on IsoArch.eu. IsoArcH is an open and collaborative database of georeferenced isotopic measures of bioarcheological samples from all time periods and all around the world. The IsoArcH initiative supports the CARE principles. In parallel, IsoArcH has adopted the FAIR practices to ensure that datasets are readily discoverable and compatible within the IsoArcH database.

