Indirect immunofluorescence - tissue staining in TMA and whole tissue FFPE sections
Anna Martinez Casals, Emma Lundberg, Nicholas Mitsios, Jan Mulder
Abstract
Immunofluorescence staining allows detection and localization of antigens in different tissue types providing high sensitivity. The indirect immunofluorescence protocol is based on the principle of using a primary antibody binding to the target epitope, and a fluorophore-tagged secondary antibody that recognizes and binds to the primary antibody. This methods provides signal amplification allowing detection of several targets in the same tissue sample. This detailed protocol describes an adapted protocol, from An atlas of the protein-coding genes in the human, pig, and mouse brain article, for tissue staining in Tissue MicroArrays (TMA) and whole tissue Formalin Fixed Paraffin Embedded (FFPE) sections which is used in Emma Lundberg research group at Science for Life Laboratory; KTH - Royal Institute of Technology.
Before start
Review the protocol before starting it to ensure having all the material needed.
Steps
Tissue preparation
Place the microscope slide (tissue facing up) in a slide warmer and bake it at 55°C
during 1h 0m 0s.
Label the slide.
Place the microscope slide in a staining rack and let it cool down for 0h 5m 0s.
Start the deparaffinization and hydration steps (Fig. 1): place the staining rack carefully in each of the next solvents, following the order, during 0h 5m 0s. Ensure to close the lid of each of the containers to avoid evaporation.
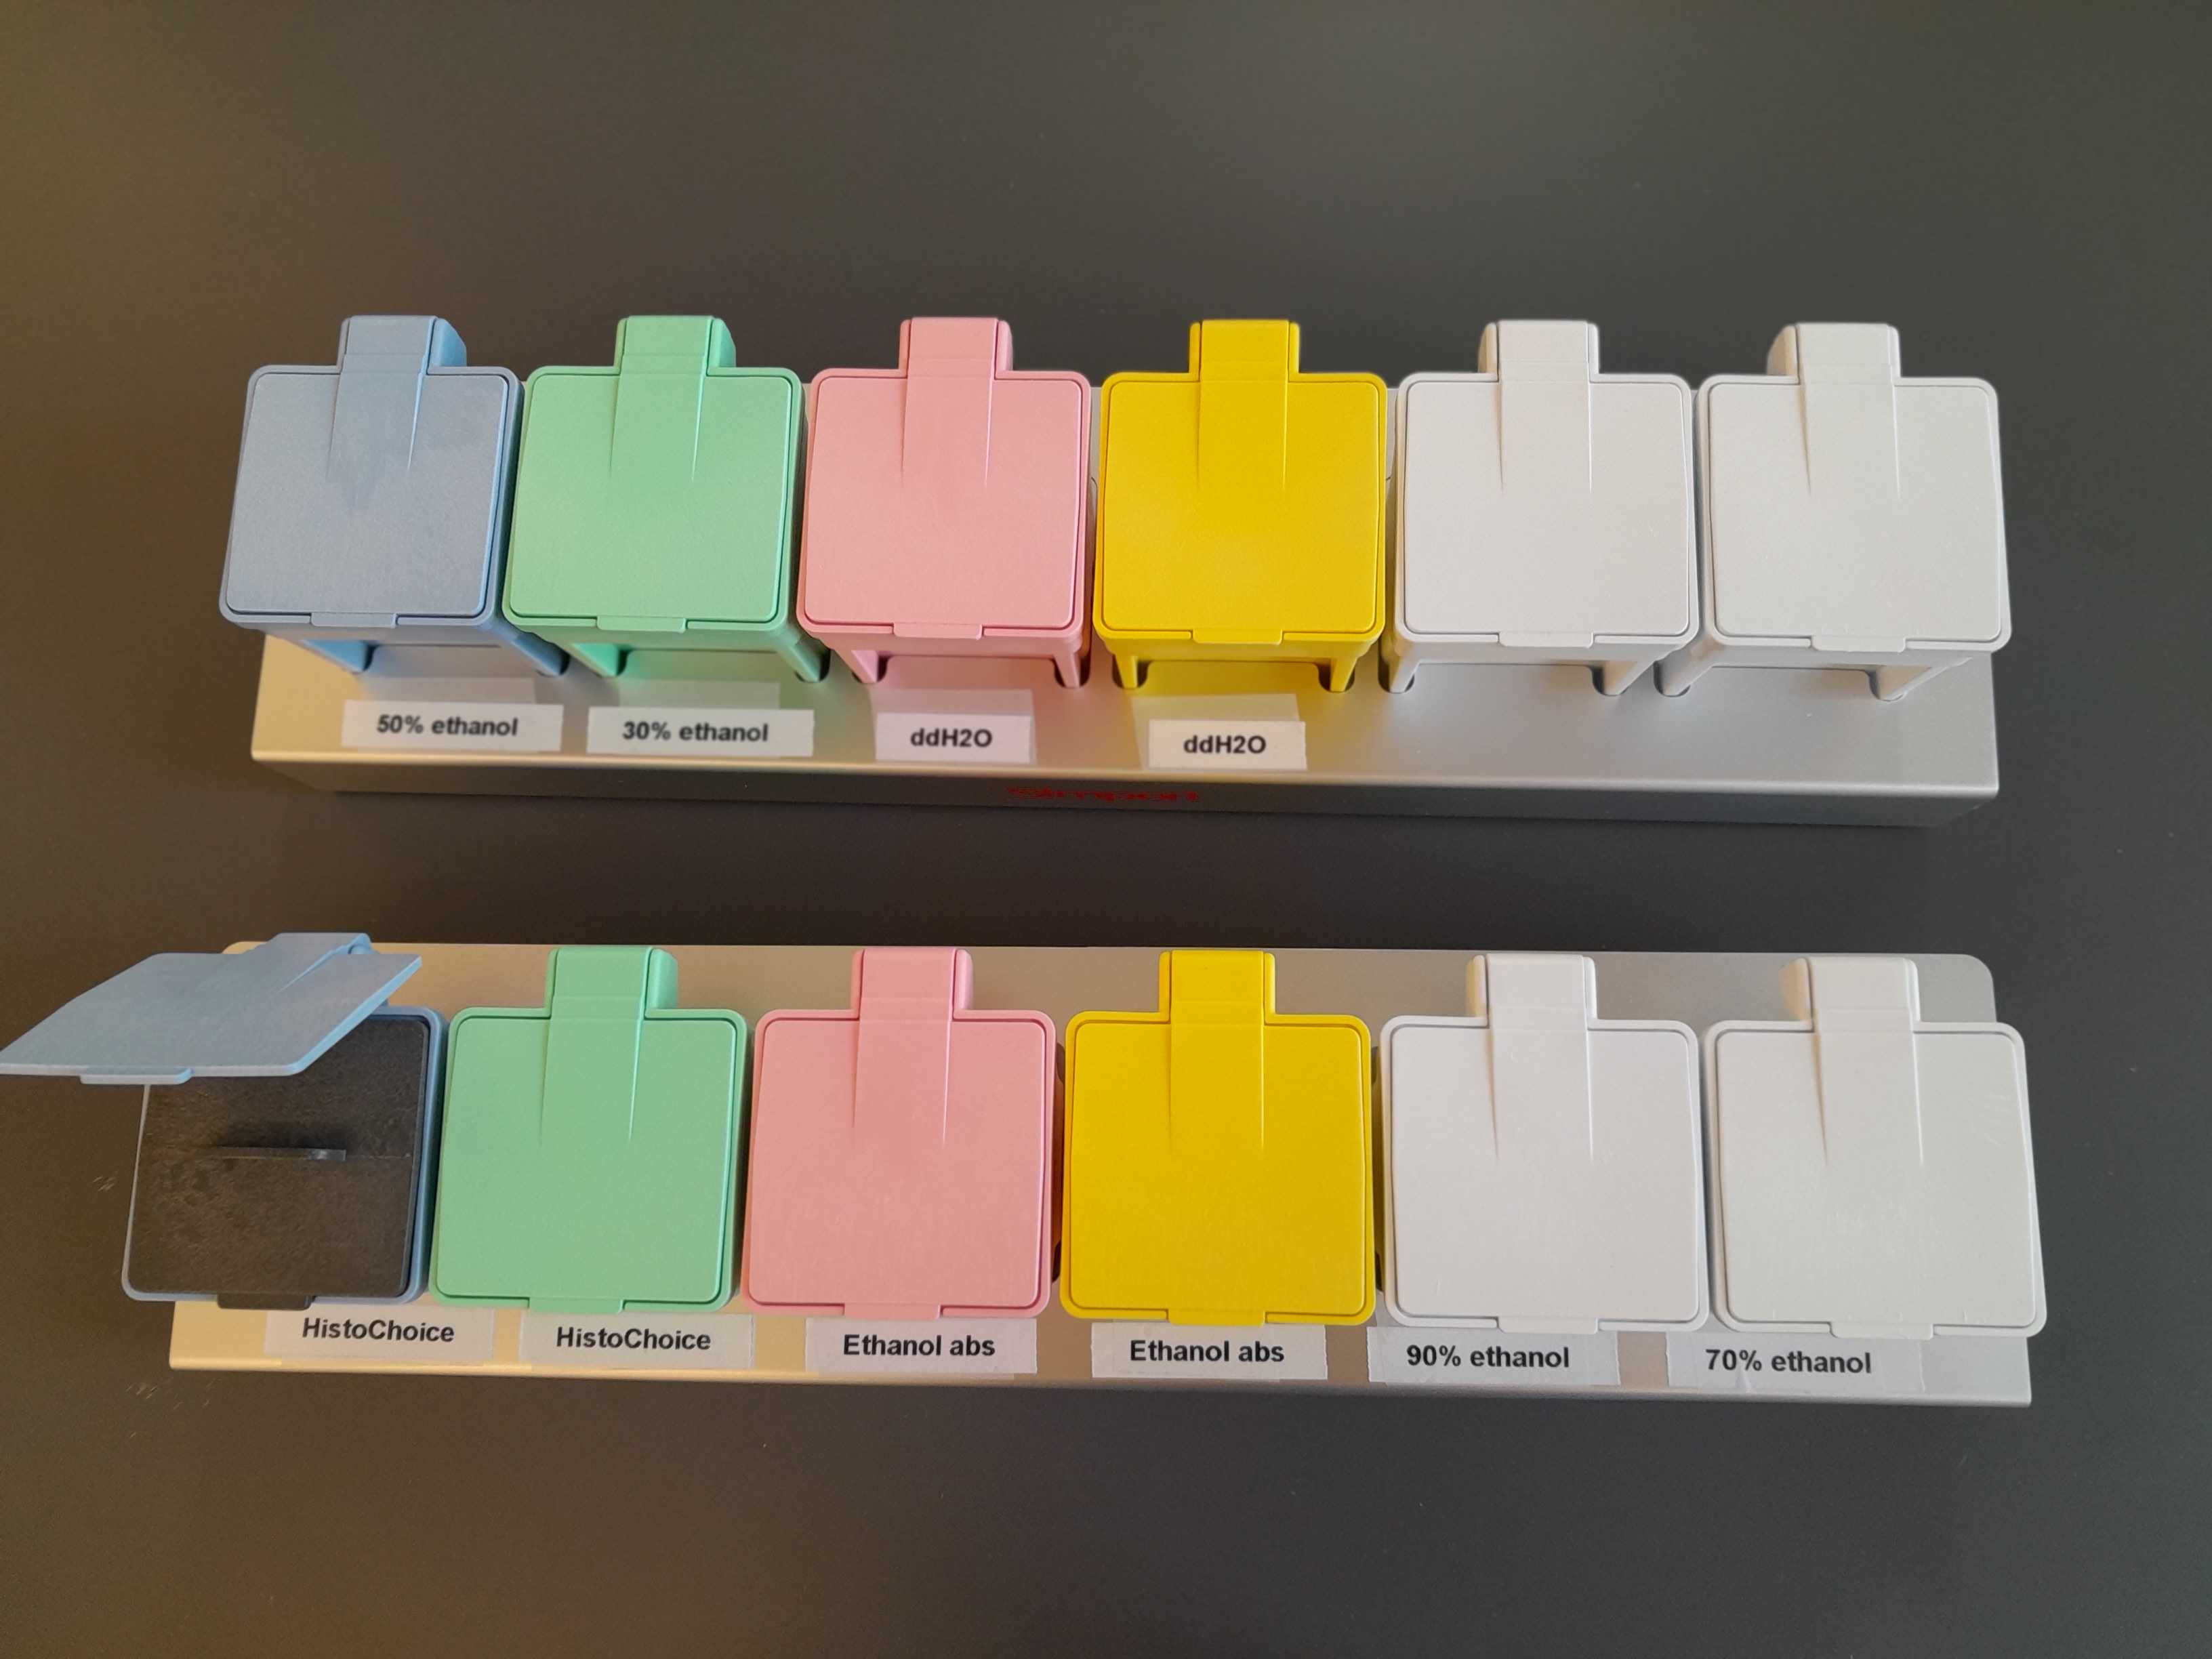
ddH2O.
ddH2O.
Prepare the 1x citrate buffer solution in the container from the heat retrieval system: 25 ml
Transfer the microscope slide to the staining rack fitting the container with the 1x citrate buffer and place the lid on top.
Place the covered container into the heat retrieval system and set up the following settings: 114-121°C, high pressure for 0h 20m 0s.
Remove the container from the heat retrieval system and allow to equilibrate to RT for at least 30min (otherwise tissue detachment may occur on the slide).
Transfer the microscope slide to a staining rack and place it in a container with ddH2O and leave it for 0h 2m 0s then transfer it to a second container with ddH2O for additional 0h 2m 0s.
90% Ethanol prepared with ddH2O.
Meanwhile prepare the pressure cooker, to perform antigen retrieval step, filling it with ddH2O using the following settings: 106-110°C and low pressure allowing to heat up.
70% Ethanol prepared with ddH2O.
50% Ethanol prepared with ddH2O.
30% Ethanol prepared with ddH2O.
Optional: Photobleaching treatment
Use two LED-lights to apply directly to the tissue to reduce the tissue autofluorescence. To avoid direct exposure to the lights, use a container (Fig. 2) and place inside the LED-lights (Fig.3) creating a sandwich where the sample will be located between them in a falcon tube.
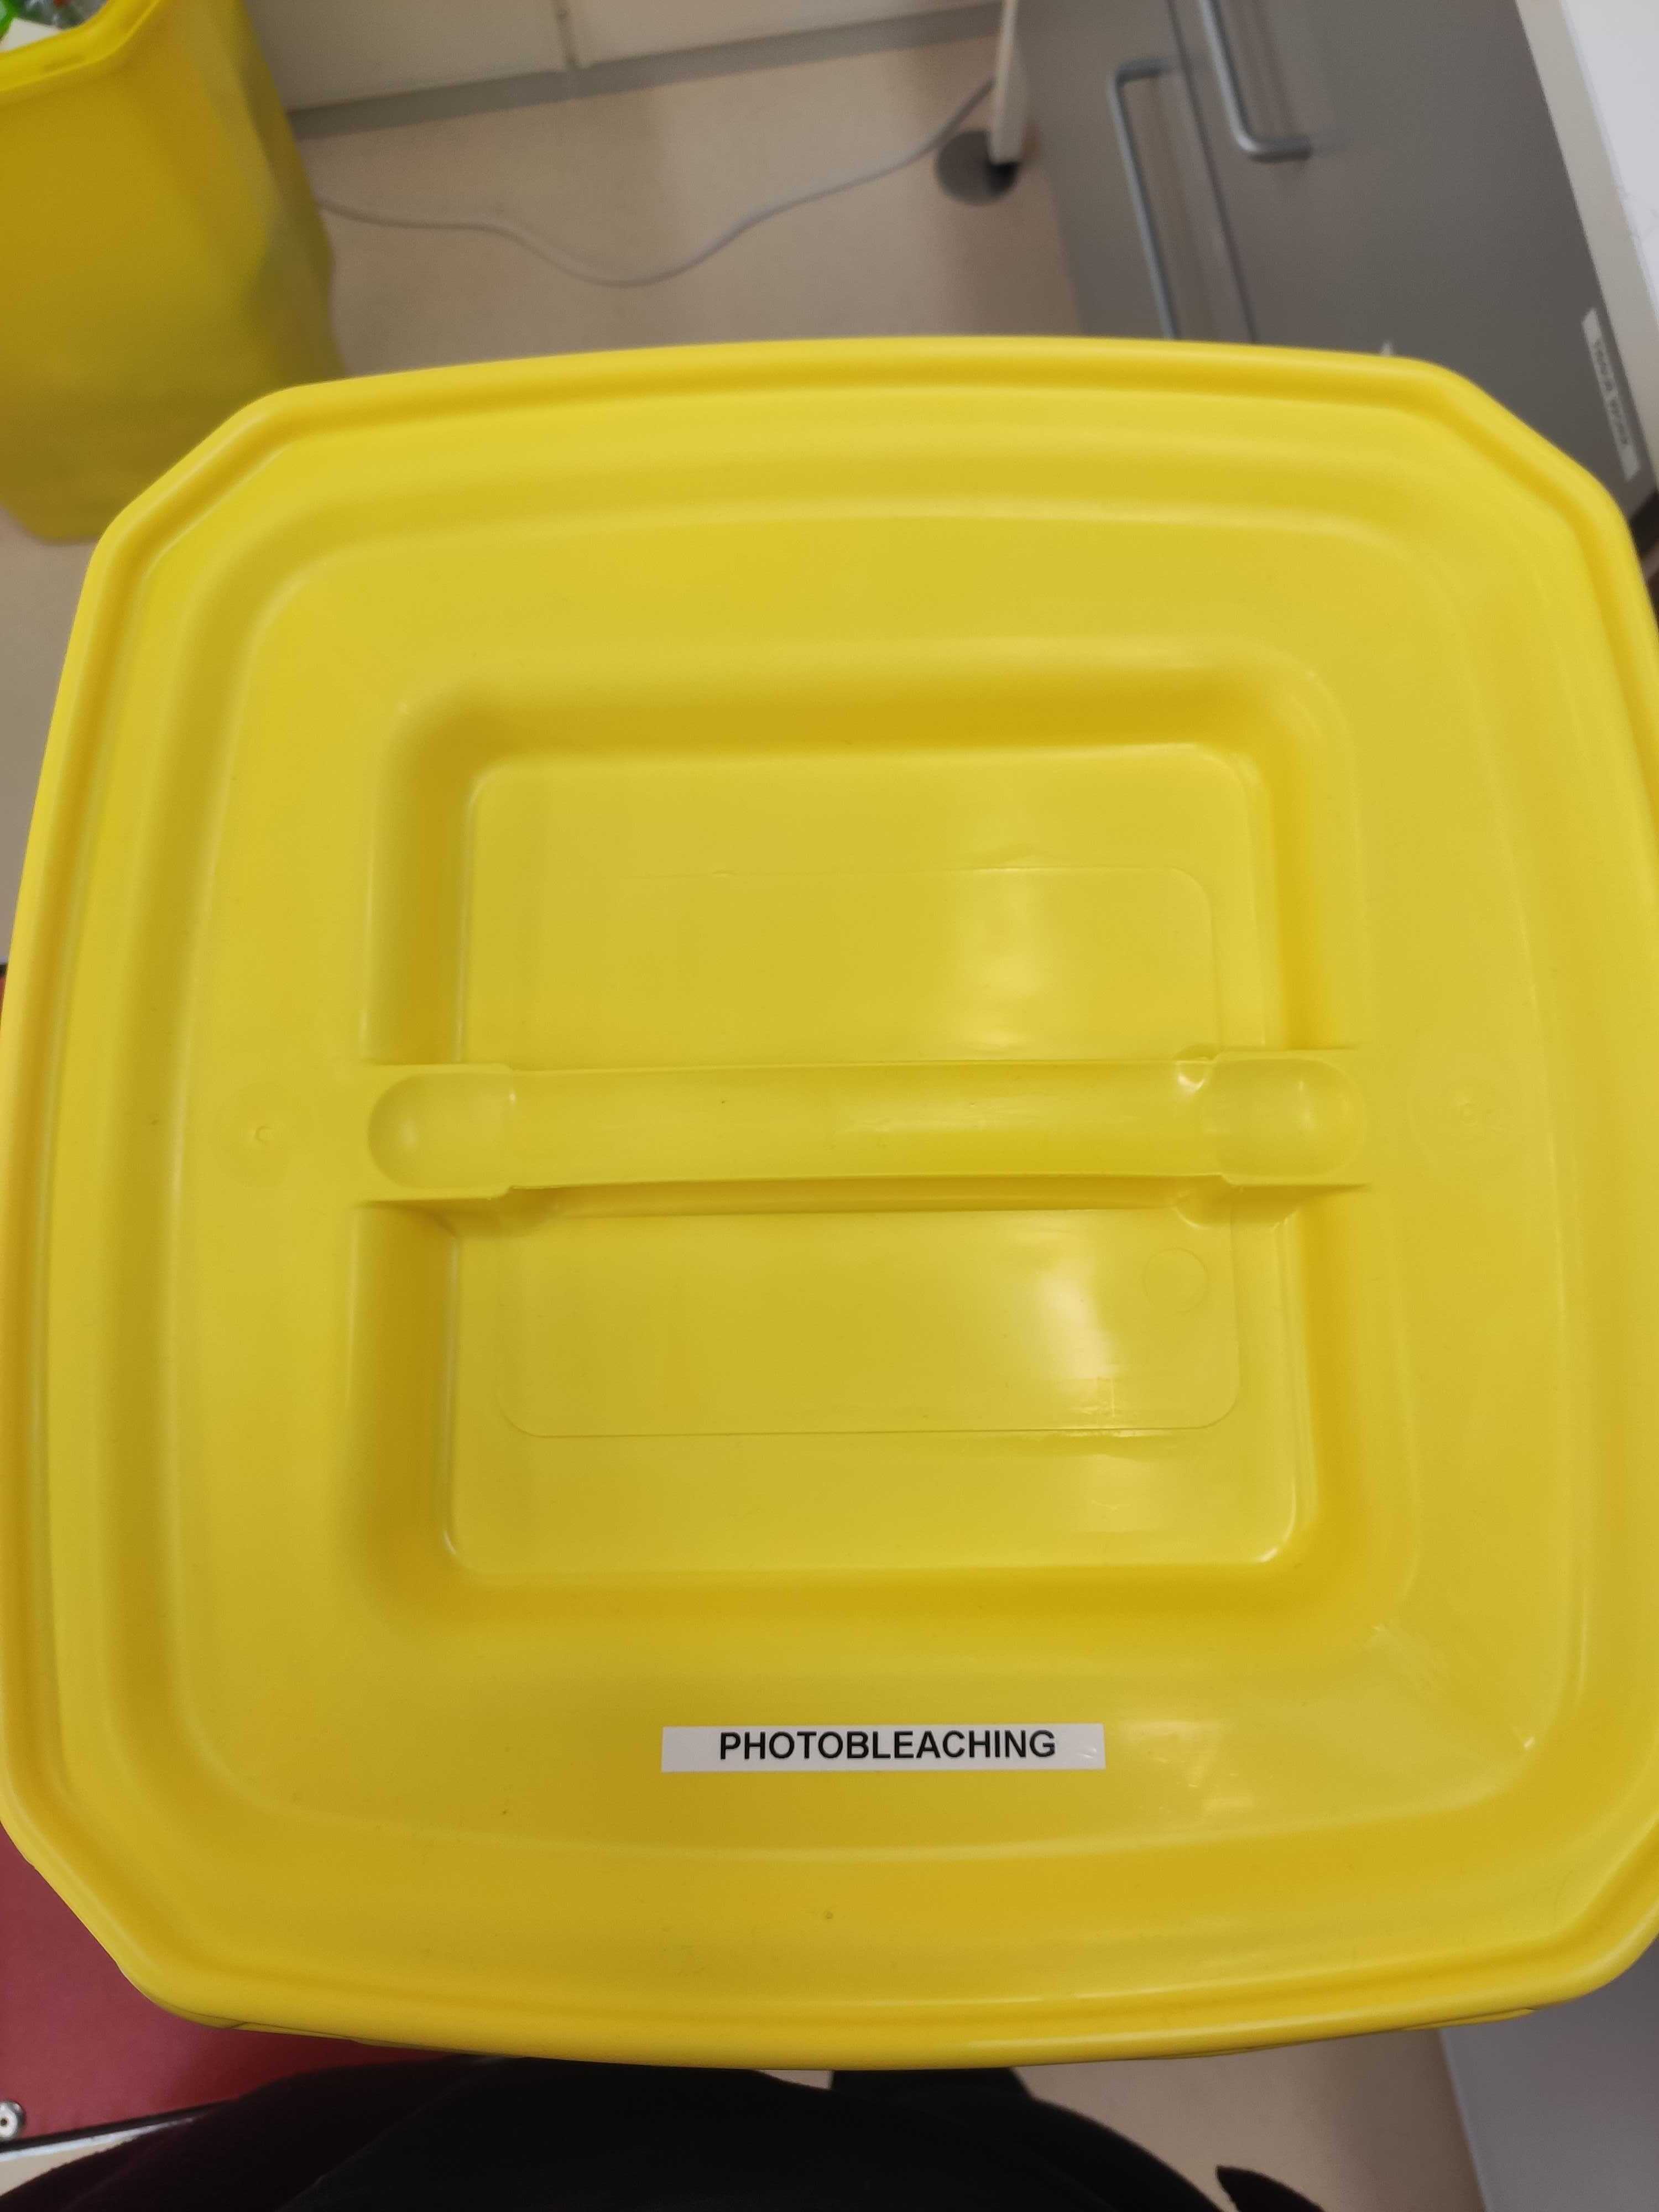
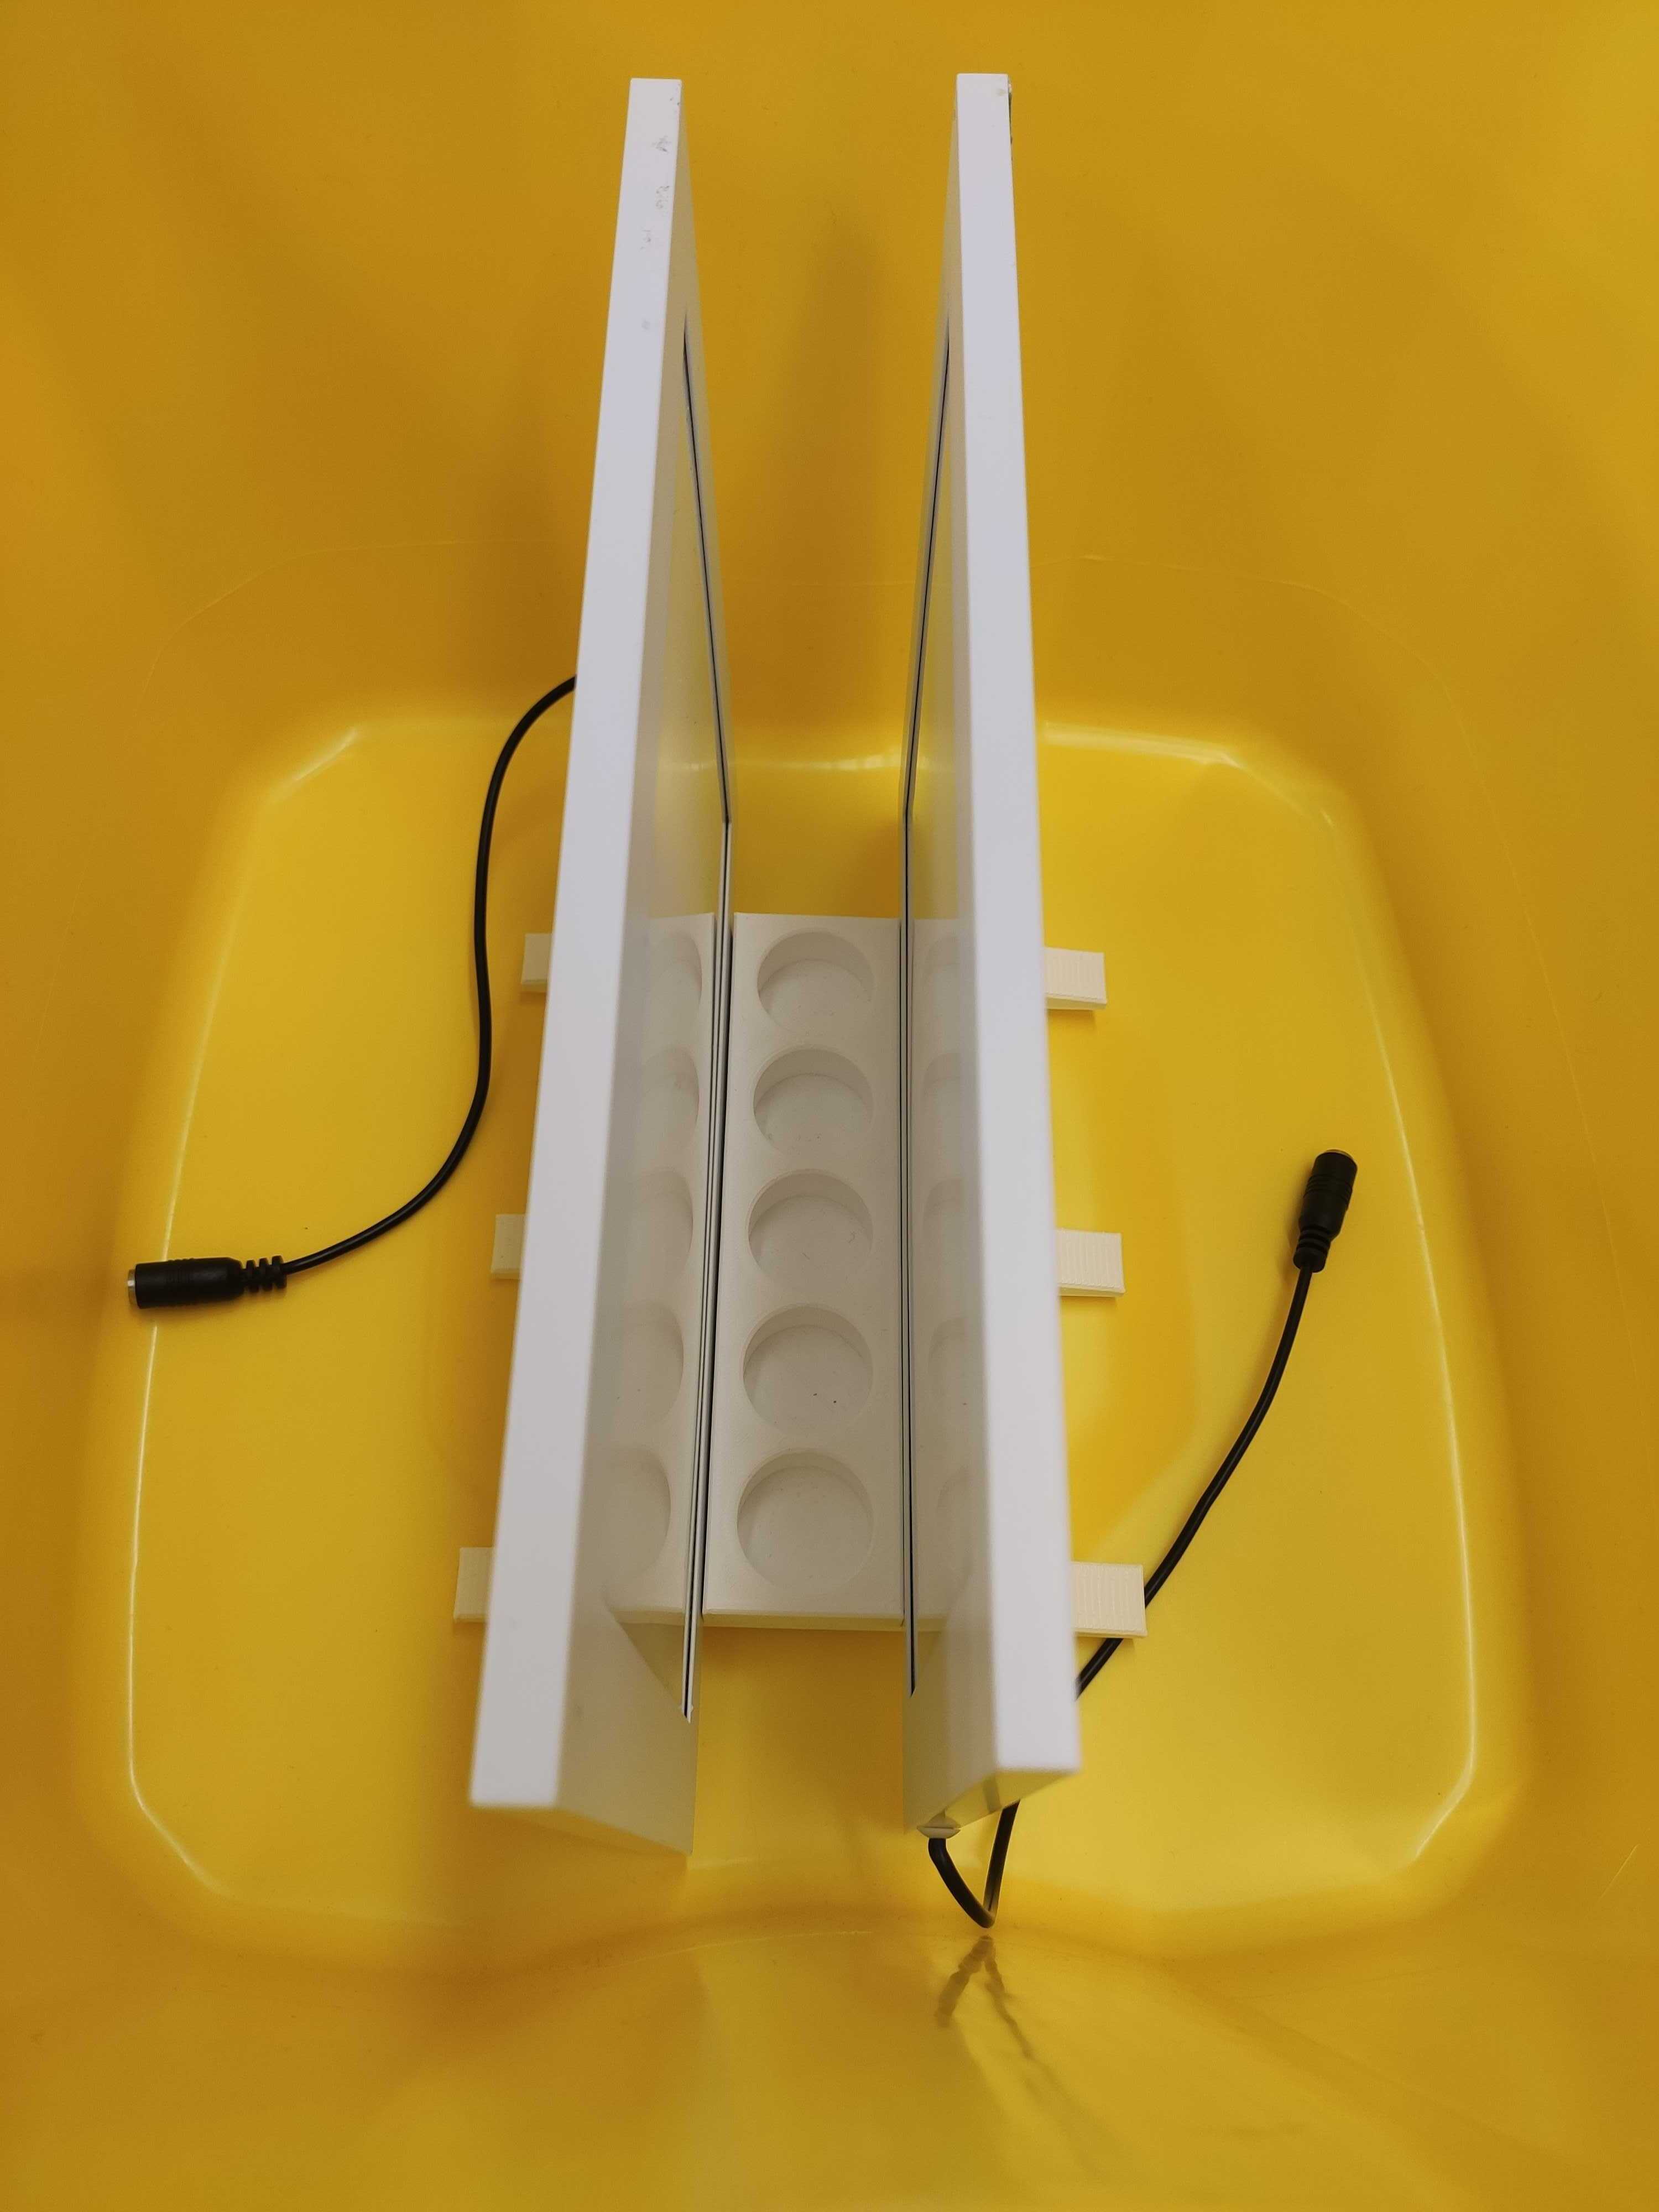
Prepare the photobleaching solution in a 50 ml tube: 25 ml 1xPBS + 4.5 ml 30% (w/w)
Transfer the microscope slide into the 50 ml tube containing the solution and place the tube in the rack between the LED-lights. Turn them on at maximum capacity during 0h 45m 0s.
Depending of the type of tissue, the sample may undergo a second photobleaching incubation repeating and .
Wash the sample with 1x PBS during 0h 3m 0s.
Repeat the for a total of 4 washes.
Staining day 1
Transfer the staining rack to a Coplin staining jar with 1x PBS: meanwhile, using a PAP pen, draw an hydrophobic barrier around the tissue.
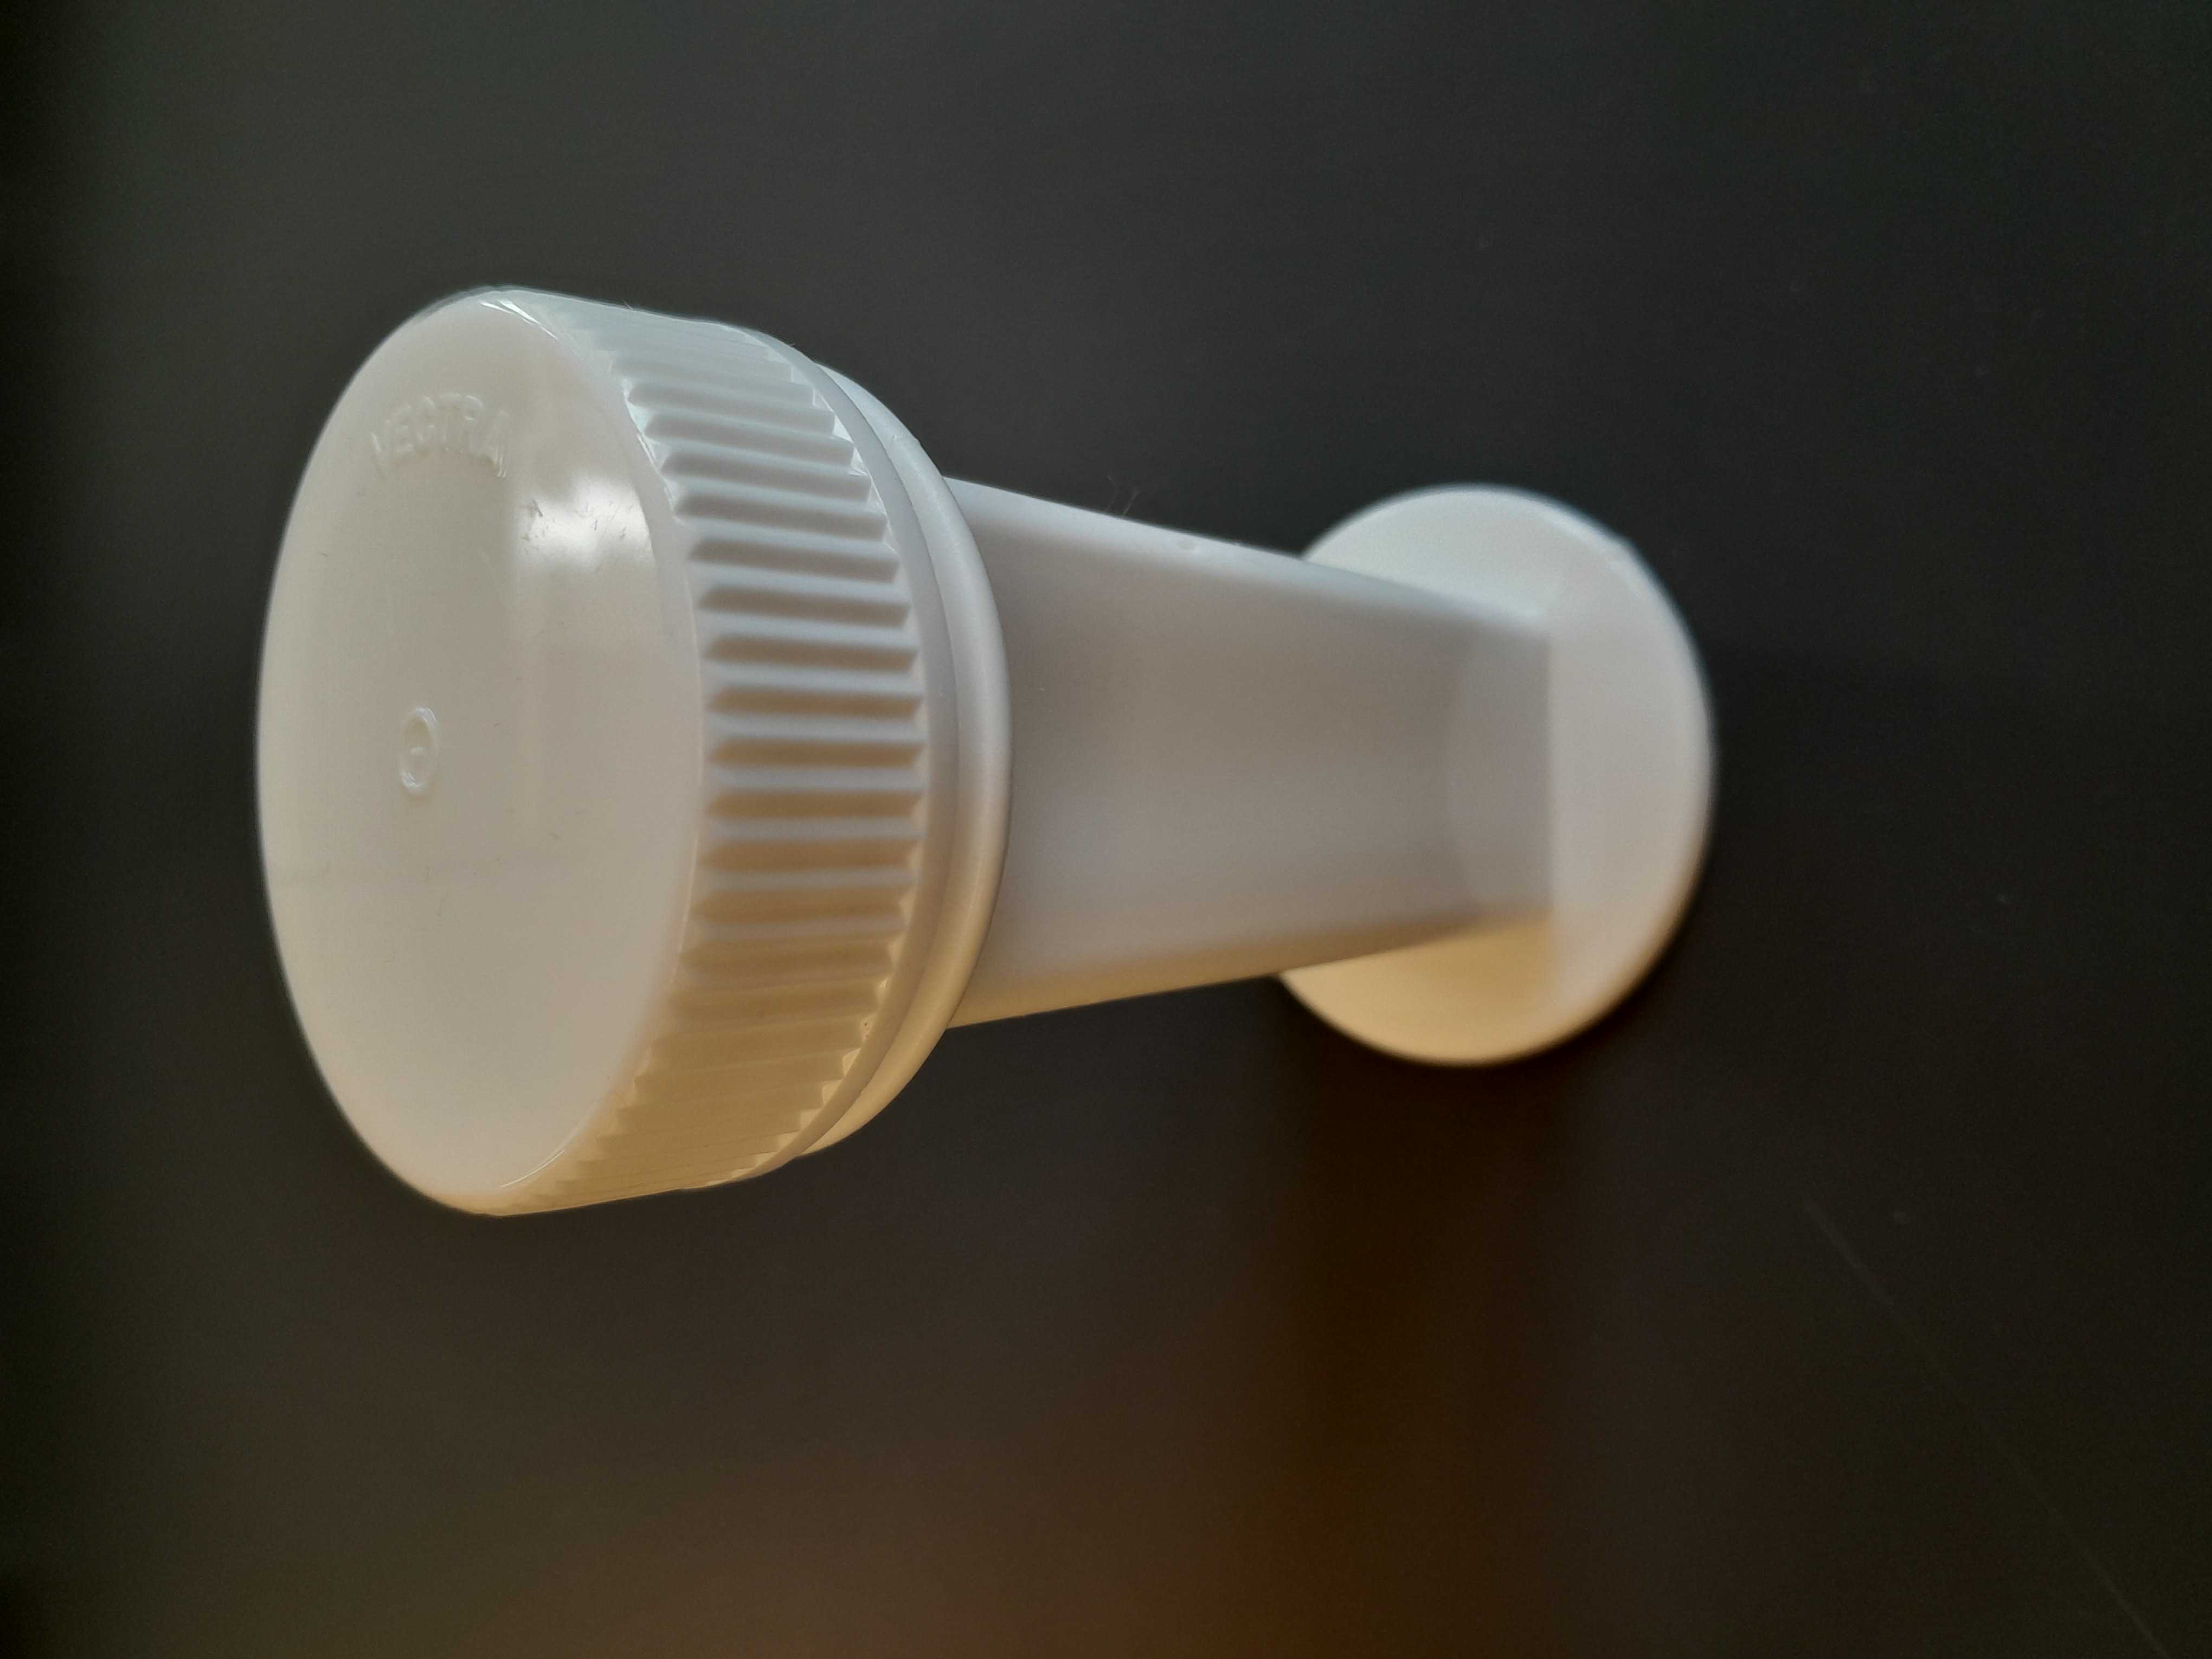
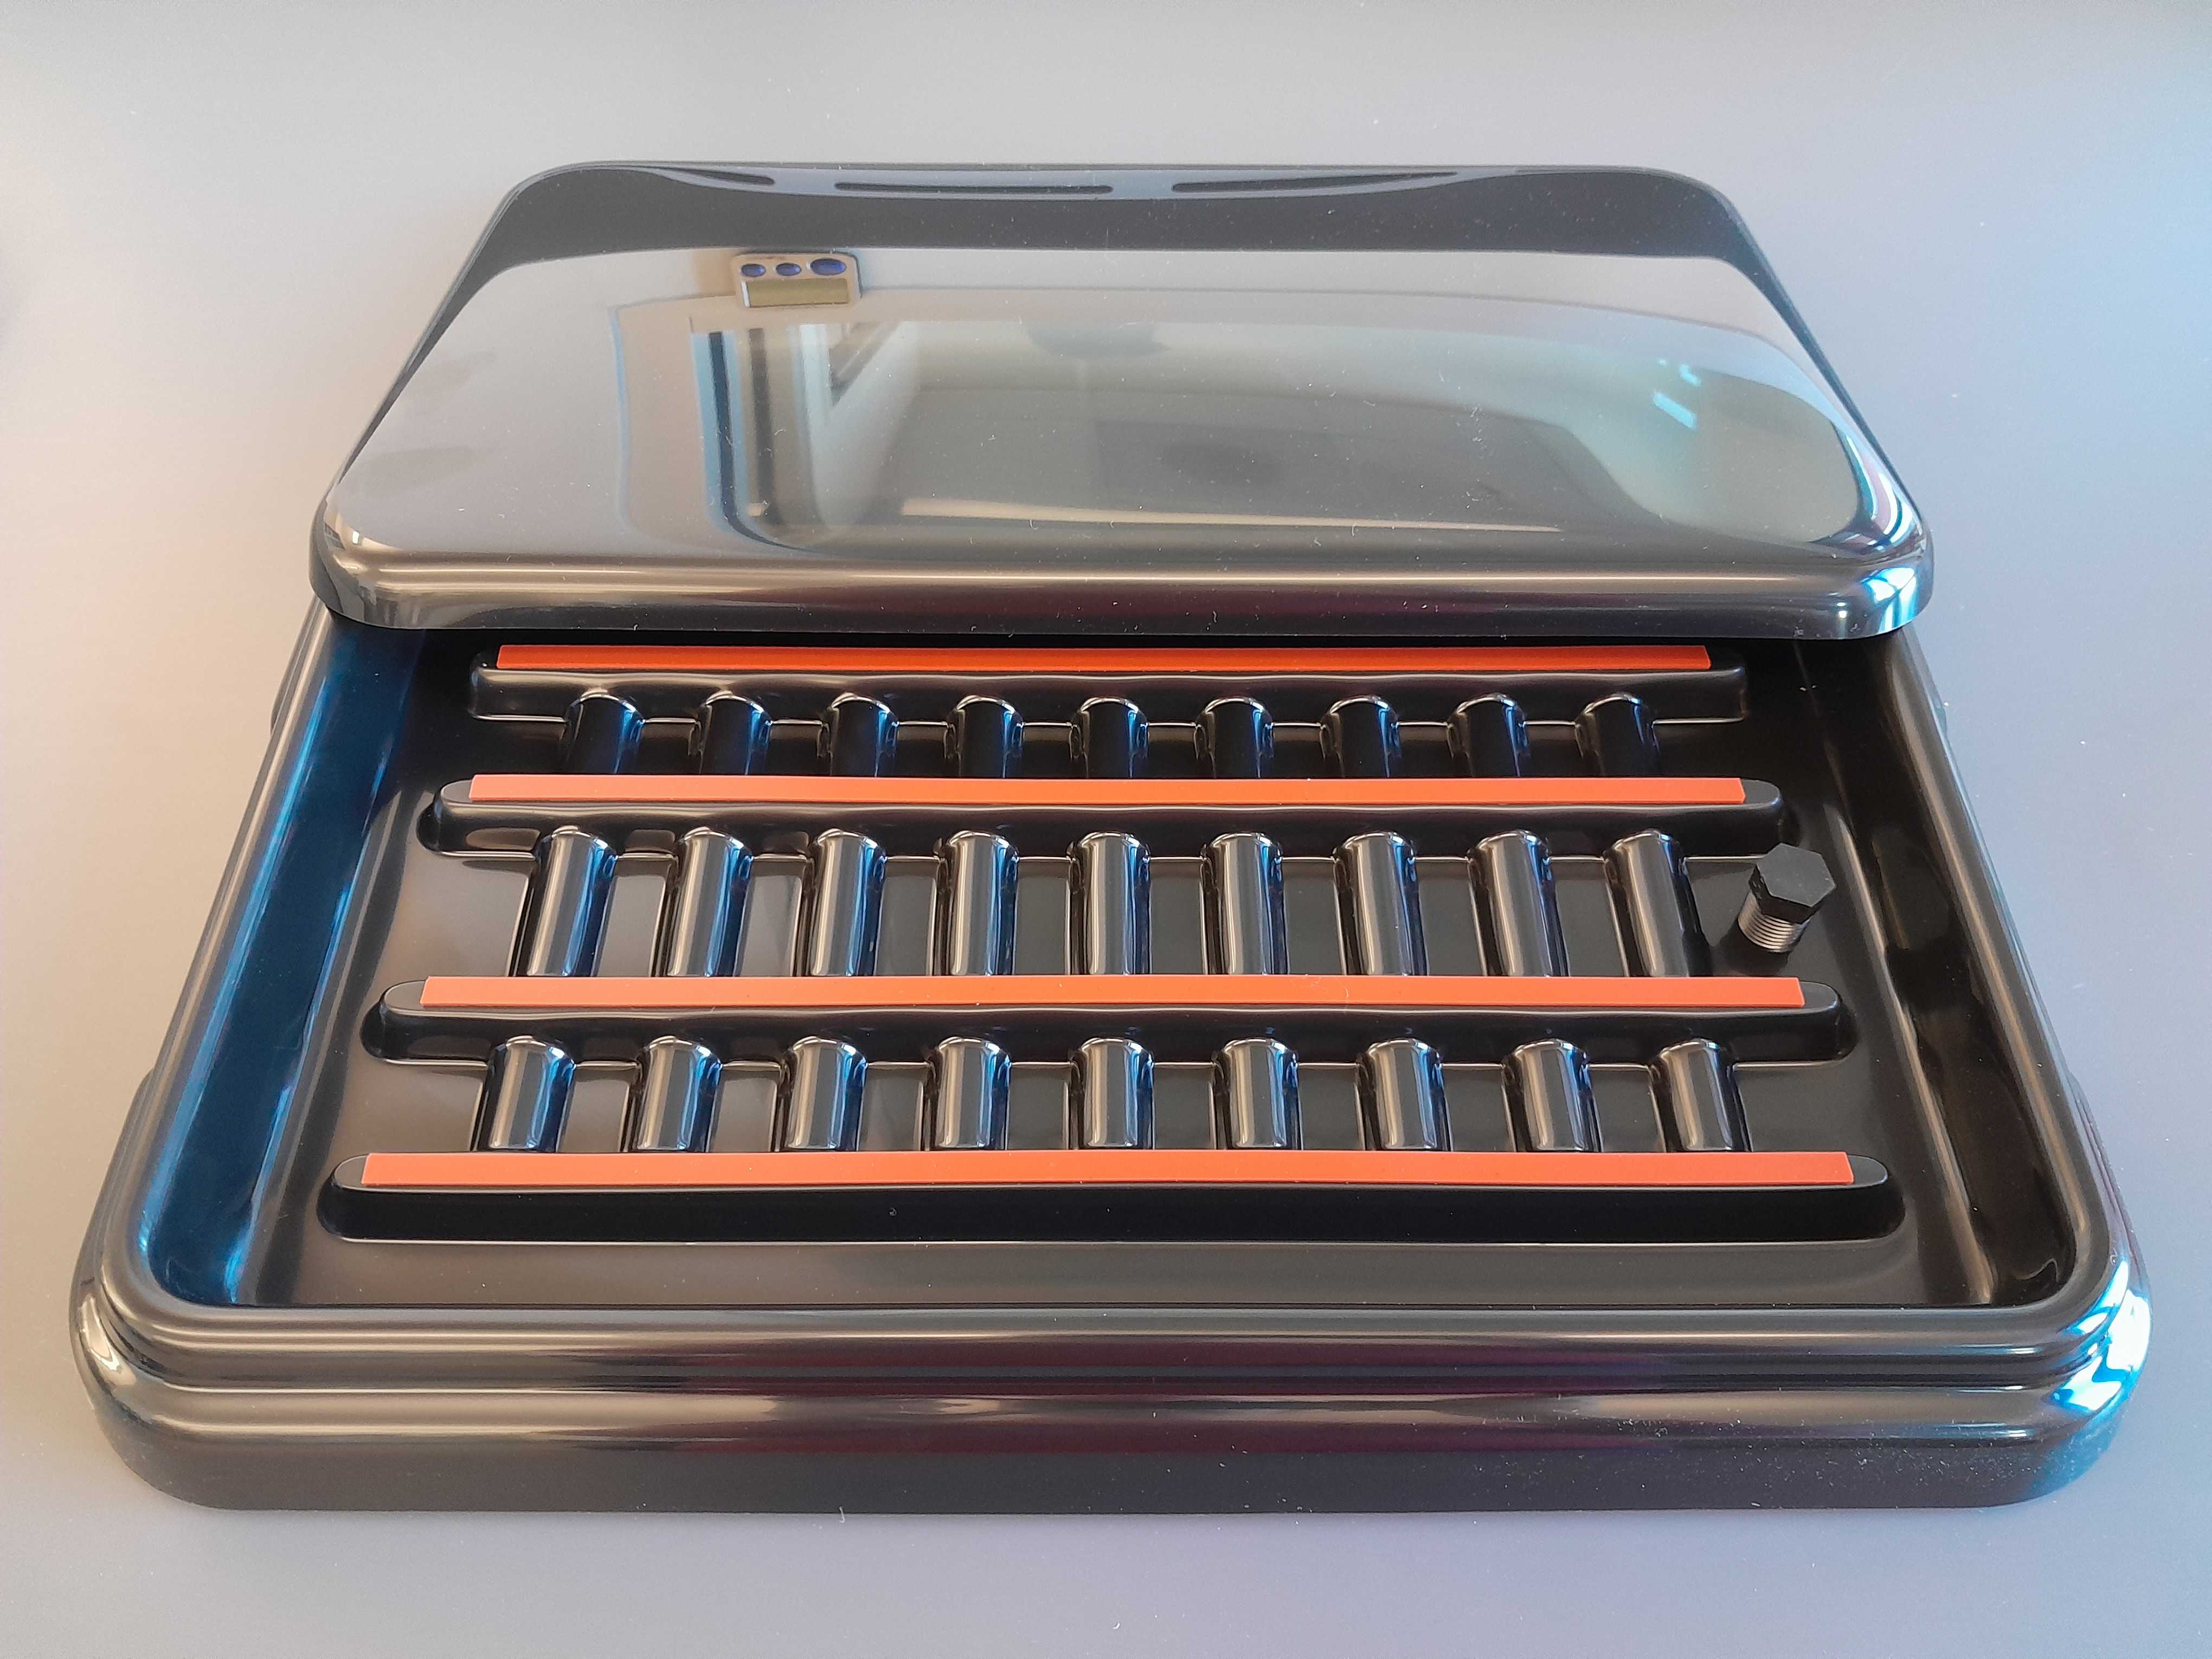
Create an humidity chamber: fill the stainTray slide staining system (Fig. 5) with ddH2O to create a humidity environment to incubate the tissue with the 1ary antibodies.
Prepare the Antibody Diluent solution (0.3 % Triton, 0.1 % NaN3 in 1x PBS pH = 7.4): add 30μl
Prepare the Antibody Cocktail solution, diluting the 1ary antibody into the Antibody Diluent Solution to 100 μl as a final volume.
Take the microscope slide and remove the excess of water gently with a wipe without touching the tissue.
Using a suitable pipette: take 100 μl of the Antibody Cocktail solution, place the tip into a corner of the drawn hydrophobic barrier and slowly release the volume. The liquid will cover the tissue within the limits of the dawn barrier.
Incubate at 4°C .
Staining day 2
Take an aliquot of TNB buffer and leave it at RT.
Fill a Coplin jar with TBS-T (TBS-0.1% Tween), remove the slide from the humidity chamber and place it in the Coplin jar: incubate for 0h 15m 0s.
for a total of 3 washes.
Take the microscope slide and remove the excess of water gently with a wipe without touching the tissue. Place it in the humidity chamber.
Block the tissue adding 100 μl TNB buffer covering the tissue, incubate exactly 0h 30m 0s at Room temperature in the humidity chamber.
Prepare 2ary antibody solution diluted in TNB to 100 μl as a final volume.
Remove the excess of water gently with a wipe without touching the tissue and place it again in the humidity chamber.
Incubate the 2ary antibody adding 100 μl 2ary antibody solution covering the tissue, incubate1h 30m 0s at Room temperature in the humidity chamber.
Fill a Coplin jar with TBS-T (TBS-0.1% Tween), remove the slide from the humidity chamber and place it in the Coplin jar: incubate for 0h 15m 0s.
for a total of 3 washes.
Take a coverslip suitable to cover the tissue and add the corresponding
Take the microscope slide and remove the excess of water gently with a wipe without touching the tissue. Place it on the bench and the take the coverslip with the mounting media to cover the tissue.
Leave it to dry and, afterwards, seal the edges of the slide with nail polish (avoid adding to much as it may give autofluorescence).
Store the mounted slide in a slide box, opaque lid, and keep at 4°C until performing the image acquisition.

