A protocol for the extraction of microremains from archaeological human dental calculus
Emanuela Cristiani, Elena Fiorin
Archaeology
Human Dental Calculus
Polarised Optical Microscopy
Biological anthropology
Dental anthropology
Abstract
This revised protocol will describe the extraction and analysis of human dental calculus using polarised light microscopy. This step-by-step procedure results from years of research and aims to guide scholars in sampling and decontaminating archaeological dental calculus as well as extracting microremains of organic and inorganic origin embedded within the dental calculus. This is the protocol employed by the DANTE Diet and Ancient Technology Laboratory (Sapienza University of Rome)
Before start
This protocol is designed for those who want to study the microremains embedded within the archaeological human dental calculus
Steps
Sampling
Select and document the DC sample
This is a critical step since DC size and texture vary from sample to sample. Calculus might be:
a) minimal and, once sampled, could break into a fine powder (powdered DC is not suitable for this protocol);
b) medium-sized, the piece can be easily removed;
c) large-sized, the DC might cover all the tooth crown. The sample might be broken into several pieces.
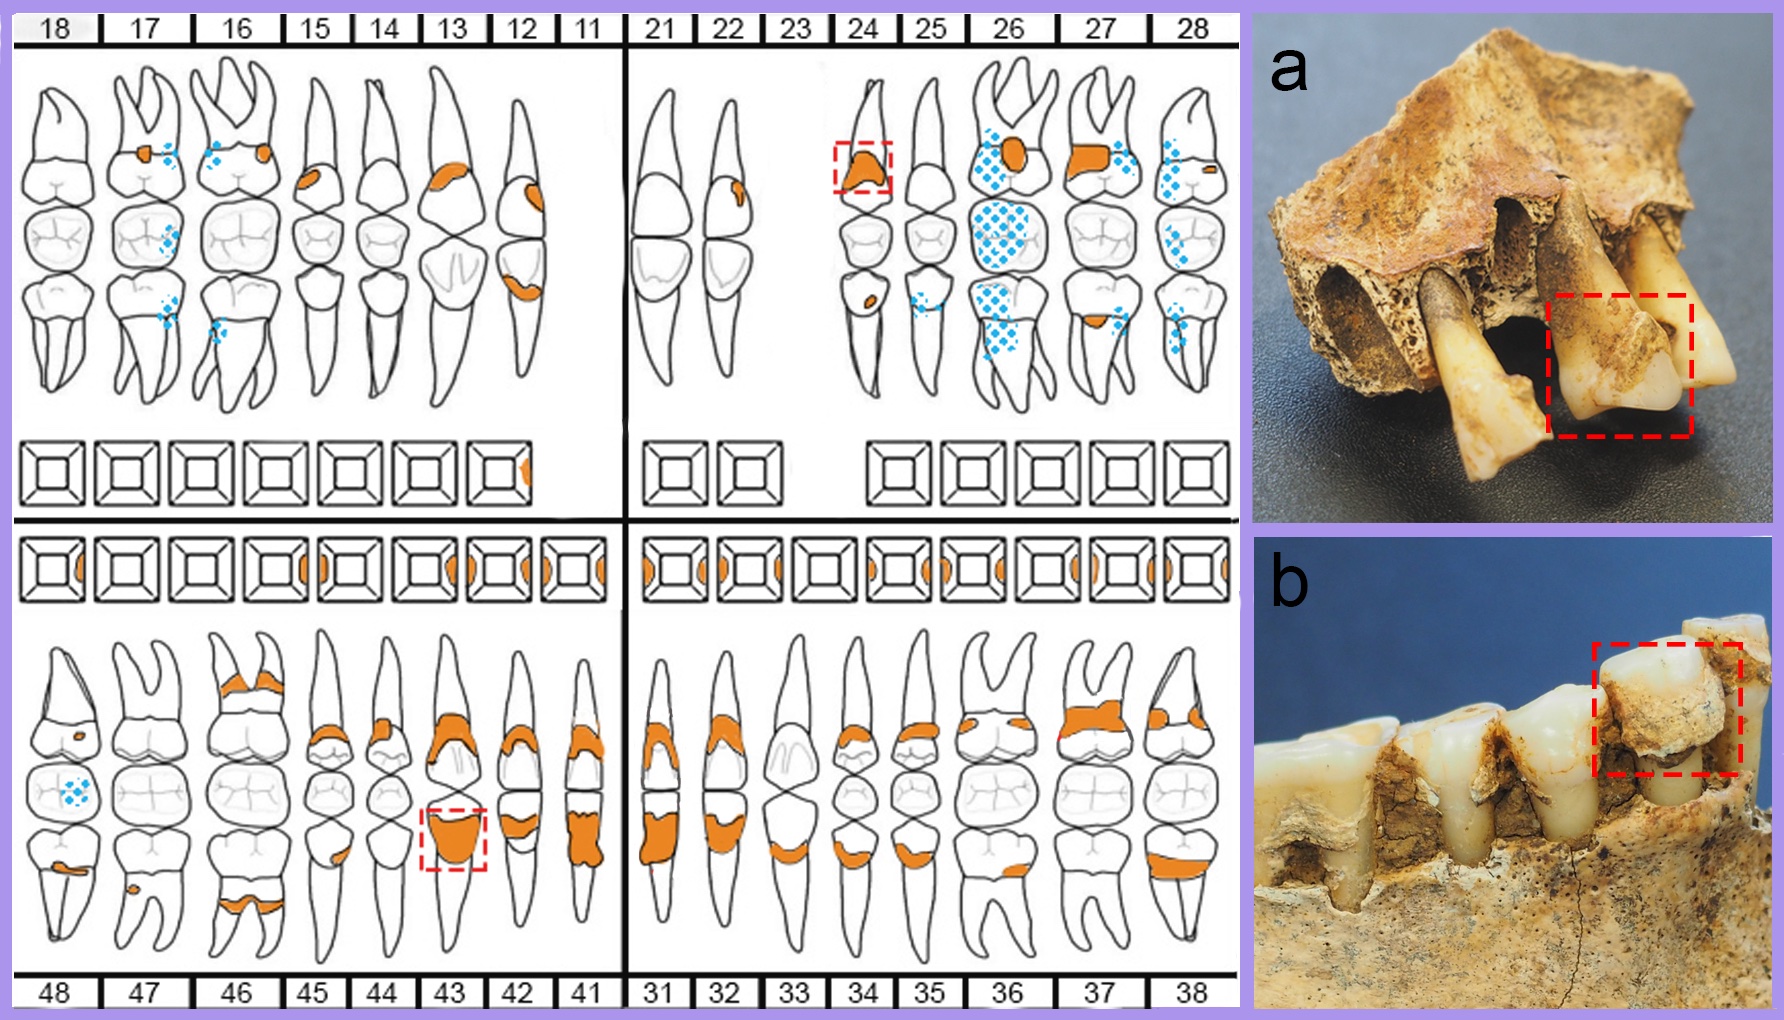
Before removing the DC, you have to document the sample. The suggested way is to photograph the DC you would like to sample and then describe its quantity, colour, and texture.
If you are a biological anthropologist, consider describing dental pathologies and anomalies that can be useful for your study. Otherwise, check the anthropological report (if the skeletal remains have already been analysed). If the teeth are not in situ, the presence of a bioarchaeologist is recommended to correctly label and describe the tooth where the DC was sampled. Avoid teeth subjected to restoration (i.e., they were in contact with glue).
Reminder: this is a destructive analysis; preserving samples for future studies is recommended. Therefore, before sampling, consider if your research is designed to conduct different analyses (i.e., PLM, aDNA, proteomics) and choose a sampling strategy designed around your possibility.

Remove the DC
Several articles have already described this step. However, this protocol shows the sampling procedure suggested to conduct PLM or chemical analyses. If the sampling also involves biomolecular analyses, see this protocol: dx.doi.org/10.17504/protocols.io.7hphj5n
Reminder: adapt this step according to your needs. Decontamination procedures can be corrected in the laboratory since archaeological calculus has already been contaminated before and after the excavation.
2.1) Wear gloves and prepare and clean the working area in which you can place your tooth or, if you are working with the tooth in situ, the mandible or maxilla. You can use the aluminium foil to prepare your working area, or if you prefer not to create too much waste, use a plexiglass board. You can also decide to sample some soil from the burial and other contaminants (e.g., insect fragments or dust) from the box or plastic bags containing the skeleton. This additional data is critical to discern some modern contaminants and exclude them from the analyses.
2.2) Place the tooth/bone on your working area and, with a dental scaler remove the piece of DC. Pay attention when you use the scaler and do not scratch the enamel. Otherwise, you can avoid a metal instrument and use a plastic one.
2.3) Place the DC immediately in a plastic tube using the tweezers. Label the plastic tube with a lab code that identifies the archaeological site, the tooth sampled, and the DC position. Store the plastic tube in a plastic bag and label the bag, too.
2.4) Clean your working area and the instruments after each sampling with bleach, alcohol, or boiling water.
Store the DC sample
The DC sampled and stored in the plastic tube can be transferred to the laboratory. The sampling has to be conducted when the DC is completely dry. If the sampling is performed during the excavation and the DC is wet, the sample has to be dried or decontaminated as soon as possible.
Decontamination
Weight the DC sample
Once the samples have been transferred to the laboratory, they must be weighed before the decontamination. This step can be repeated after the decontamination procedure to compare the weights. For this step, you need a precision balance, gloves, tweezers, a permanent marker, and aluminium foil (or filtered paper) to weigh the DC samples.
4.1) Place a piece of foil on the balance pan, close the glass doors, and press the tare button.
4.2) Open the glass doors and, with the tweezers, place the DC sample on the pan. Close the glass doors and read the weight on the display.
4.3) Write the weight on the plastic tube.
Decontamination of the DC sample
The decontamination procedure consists of removing the loose and mineralised layers of soil attached to the external surface of the calculus.
5.1) Add drops of ultrapure water to each tube to remove the loose soil. Place the DC samples in a digital orbital shaker at 170 RPM for 3 to 24 hours to accelerate the process (this step is not mandatory).
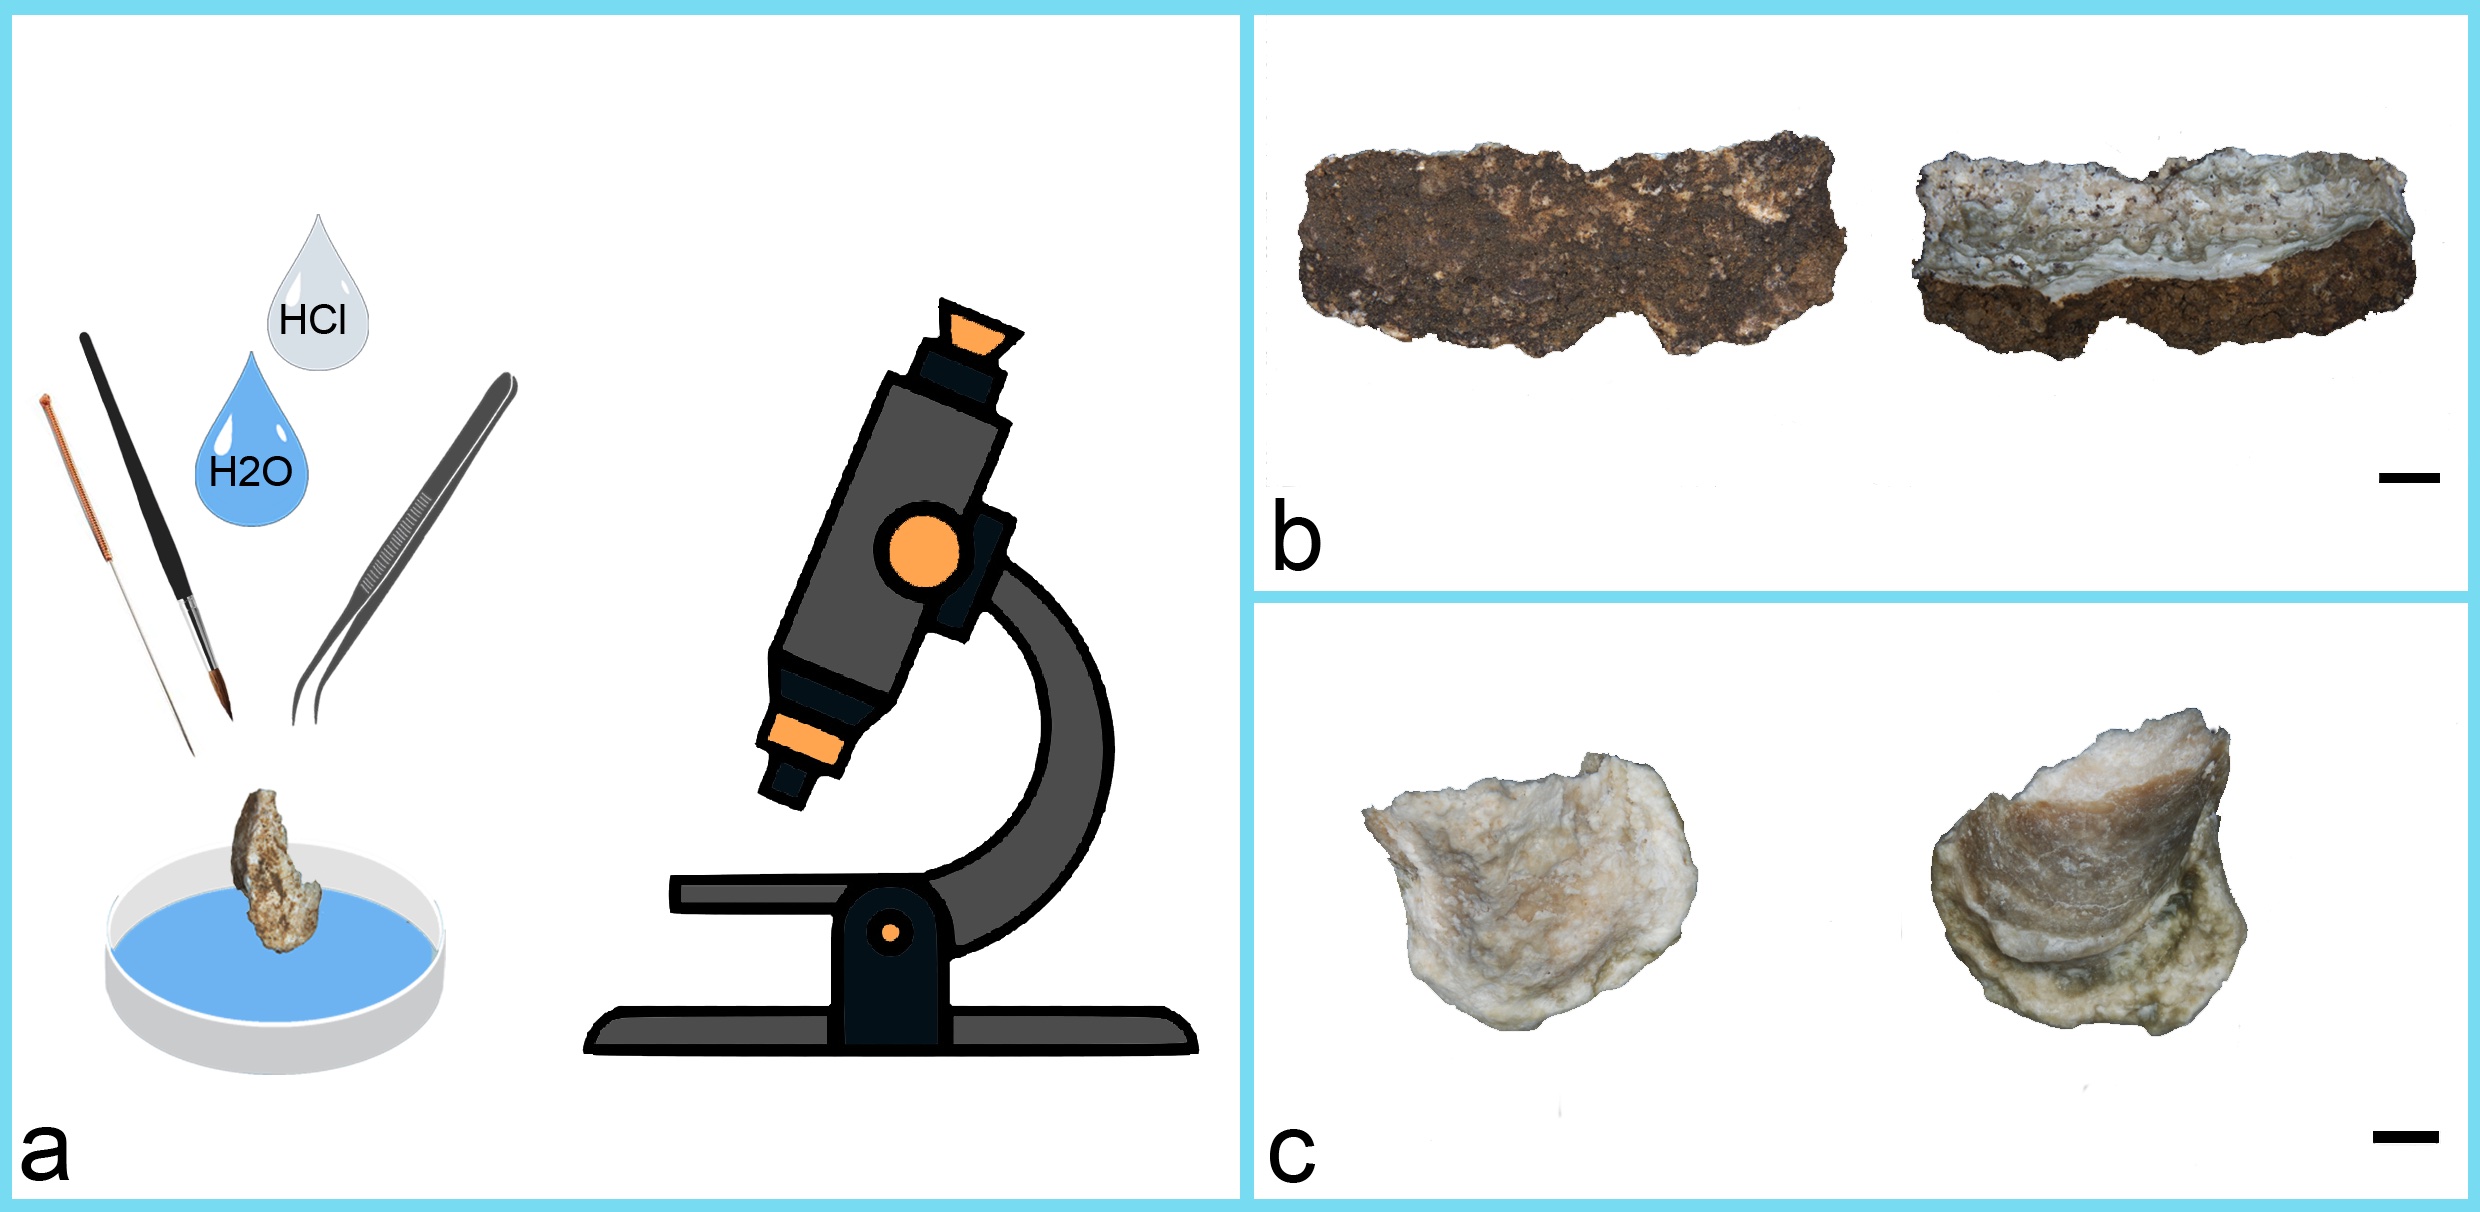
5.2) Manually remove the external mineralised layer adhering to the calculus’s surface under a stereomicroscope. Hold the DC sample with a pair of tweezers and with an acupuncture needle (or a needle) soaked with drops of 0.5 or 1.5 M HCl, remove the soil attached to the exterior layer of the DC. You can use ultrapure water to wash and remove the loose soil fragments. For tiny samples, you can use a paintbrush with nylon bristles instead of the needle. The paintbrush is more effective since the needle may break the DC into smaller fragments. In addition, it helps remove the contaminants from the DC surface.
5.3) Once the calculus surface is cleaned and the external layer is removed, wash the DC samples with ultrapure water in a minicentrifuge up to three times to remove any trace of sediment (and remove the supernatant each time).
5.4) Dry and store the DC in a new plastic tube. Otherwise, you can immediately start with the extraction step.
5.5) Collect the 'dirty' waste to check for potential post-mortem contamination.

Extraction
The last step involves dissolving the calculus in a solution of 0.5 - 1.5 M HCl.
6.1) Add a few drops of HCl in the plastic tube to dissolve the DC and leave it until it is dissolved.
6.2) Once the DC is dissolved, it can be mounted on slides using a solution of 50:50 v/v glycerol and ultrapure water. To avoid contamination, you can prepare the slides under a fume hood.
6.3) The slides are ready to be observed through PLM.
Remember that each sample is different because of its size and texture. Therefore, you can adapt sub-step 6.1 according to your needs.
To prevent any possible laboratory contamination, consider to take different precautions:
-Instruments and working areas have to be systematically cleaned with bleach, alcohol, or boiling water;
-Check under the microscope samples for contaminants that might be present on the instruments and work surfaces.

